SSO Connector for Bamboo and Crowd
The miniOrange Crowd SSO connector expands the SAML SSO functionality from Crowd to its connected Atlassian applications.The Bamboo Crowd SSO Connector allows users to enable SAML Authentication from any SAML compliant Identity Provider(IDP), where SAML SSO requests and responses to and from IDP will pass via the Crowd server. The IDP will perform user authentication while user permissions can still be controlled using Crowd.
You can refer the steps to configure Crowd connector from the video or documentation given below
Download And Installation
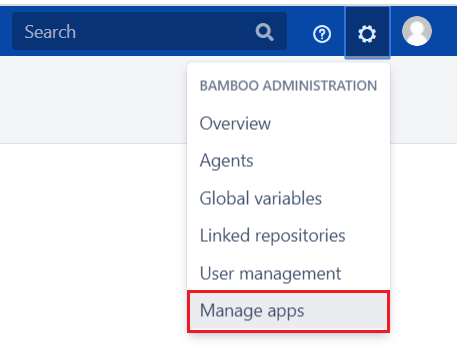
- Log into your Bamboo instance as an admin.
- Navigate to the settings menu and Click Manage Apps.
- Click Find new apps or Find new add-ons from the left-hand side of the page.
- Locate SSO connector for Crowd and Bamboo via search.
- Click Try free to begin a new trial or Buy now to purchase a license of SSO connector for Crowd and Bamboo.
- Enter your information and click Generate license when redirected to MyAtlassian.
- Click Apply license.
Plugin Configuration
- To configure the plugin, firstly configure Crowd SAML Single Sign-On (SSO) plugin for your Identity Provider as mentioned in the steps.
- Now, Enable Crowd SSO for your Bamboo instance.
-
Edit
crowd.propertiesfound inBAMBOO/webapp/WEB-INF/classes(Bamboo 3.1 and earlier) or$BAMBOO_HOME/xml-data/configuration(Bamboo 3.2 or later). Change the following properties:Key
Value
application.name
bamboo
The application.name and application.password must match the Name and Password that you specified when defining the application in Crowd.application.password
The application.name and application.password must match the Name and Password that you specified when defining the application in Crowd.
crowd.server.url
http://localhost:8095/crowd/services/
If your Crowd server's port is configured differently from the default (8095), set it accordingly.session.validationinterval
Set to 0, if you want authentication checks to occur on each request. Otherwise set to the number of minutes between requests to validate if the user is logged in or out of the Crowd SSO server. Setting this value to 1 or higher will increase the performance of Crowd's integration.
-
Edit the
atlassian-user.xmlfile (found inBAMBOO/webapp/WEB-INF/classes(Bamboo 3.1 and earlier) or$BAMBOO_HOME/xml-data/configuration(Bamboo 3.2 or later)) so that the contents of the file is:<atlassian-user> <repositories> <crowd key="crowd" name="Crowd Repository"/> </repositories> </atlassian-user> -
To enable single sign-on (SSO), you will configure Bamboo's authentication and access request calls to use Seraph. To configure Seraph-based authentication:
- Edit the
\BAMBOO\webapp\WEB-INF\classes\seraph-config.xml - Comment out the
authenticatornode :
<!--<authenticator class="com.atlassian.bamboo.user.authentication.BambooAuthenticator"/>-->Please, uncomment the authenticator "com.atlassian.crowd.integration.seraph.v25.BambooAuthenticator":
<!--<If you're authenticating against a Crowd server you can use this authenticator for single sign-on.
Enable it after configuring your Crowd properties through user management and restart Bamboo.
It does not support Crowd property changes at runtime. If you need to switch back to local users,
revert the change and restart Bamboo again.>-->

<!--<authenticator class="com.atlassian.crowd.integration.seraph.v25.BambooAuthenticator"/>-->
Bamboo's authentication and access request calls will now be performed using Seraph.
- Edit the
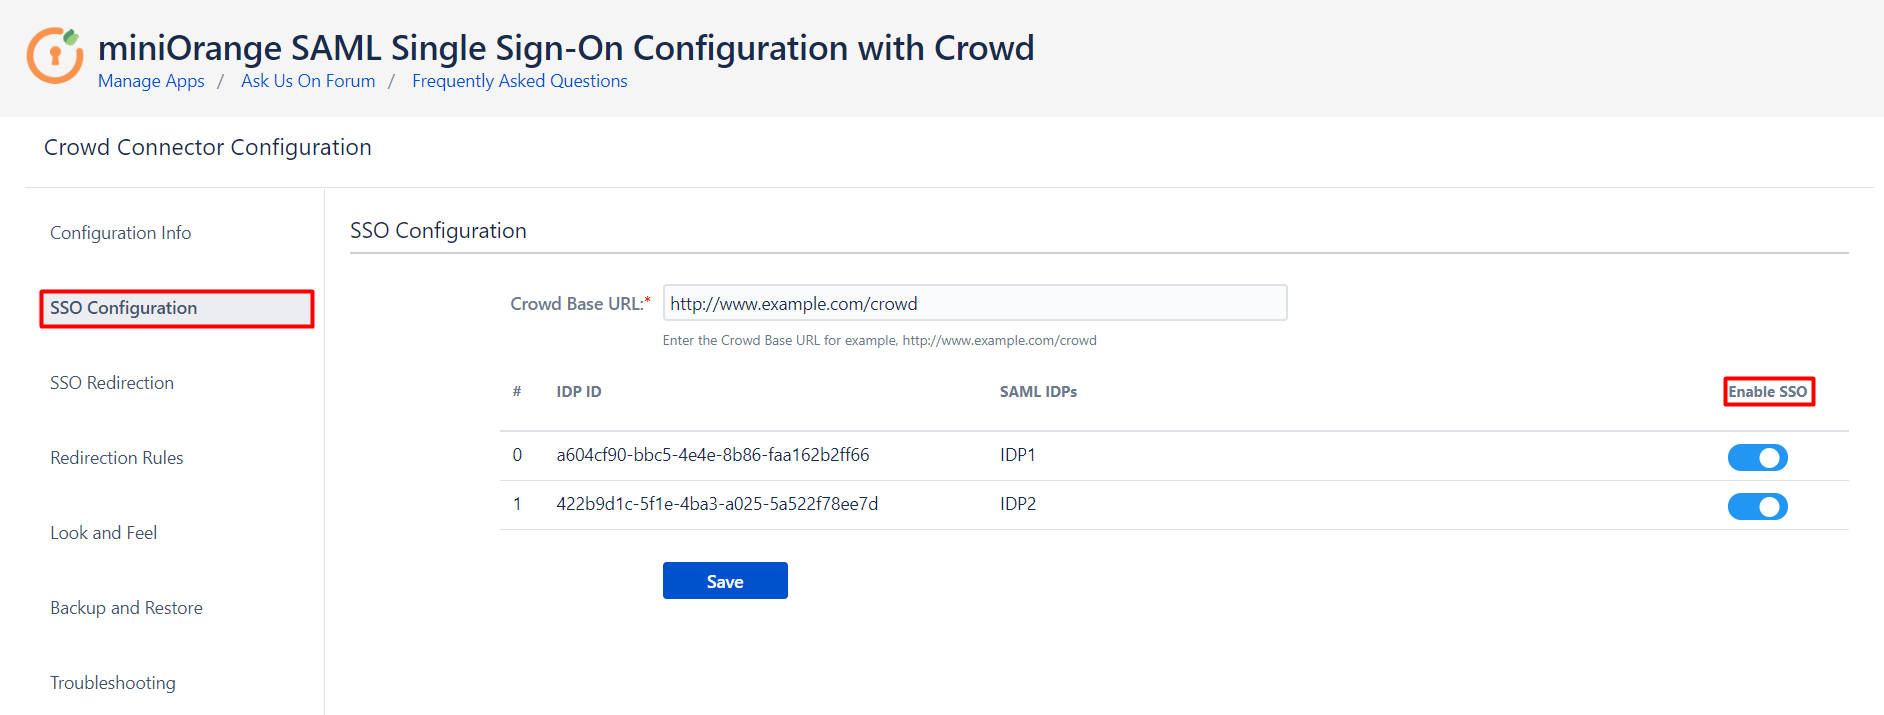
- Go to SSO Configuration tab of Bamboo-Crowd Connector plugin.
- Enter Crowd Base URL and click on Save.
- Now, all the IdPs are listed that you have configured with SAML SSO Crowd plugin.
- Button Enable SSO is provided for every individual IdP. You can enable SSO for specific IdPs with the help of buttons.
1. Edit Bamboo's crowd.properties file
Configure the Bamboo application's properties to determine how Crowd will interact with Bamboo.
2. Configure Bamboo to use Crowd's Authenticator
3 Enable Single Sign-On

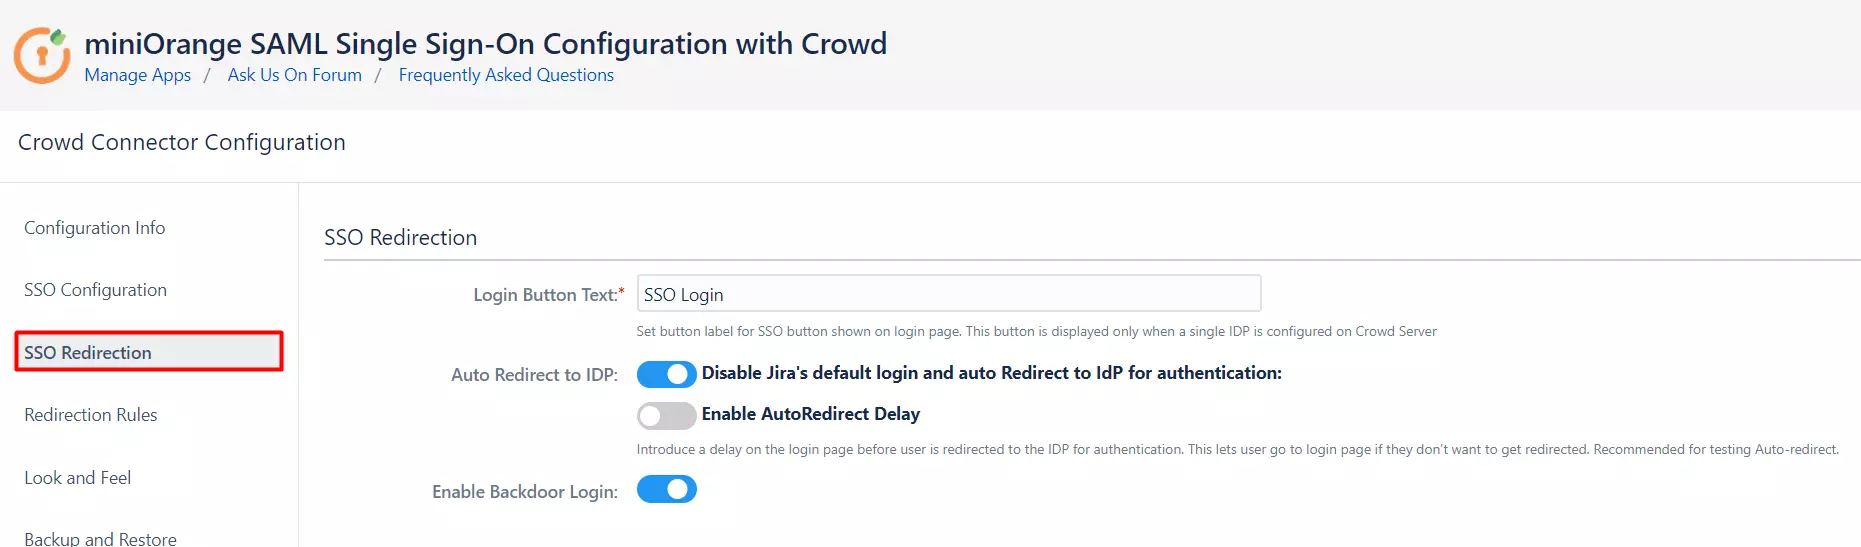
SSO Redirection
- If you have only one IDP configured, then you can use the features provided on the SSO Redirection tab and Redirection Rules tab of the plugin to manage the redirection on the login page.
- Enable the Auto Redirect to IDP option on the SSO Redirection tab if you want to allow users to log in only using IDP.
- Use the Emergency/Backdoor Login URL to allow all admins to access the Bamboo's default login page and log in using Crowd credentials.
- Use the settings given on Redirection Rules tab to redirect the users on login page based on their email domains, groups and directories. This feature is more useful in case you have multiple IDPs configured. Please refer to the next section.
Managing SSO with multiple IDPs
- If you have multiple IDPs configured, you can choose how you want your end users to use these IDPs to perform SSO.
- For example you can show the buttons for the different IDPs configured on the login page nad let the users decide which IDP to use for SSO.
- Or you could force certain users to use a specific IDP based on the domain of their username/email.
- You will be able to configure these rules in the Redirection Rules section, under the Redirection Rules tab.
- By default one rule is always configured that will be applicable to all the users, irrespective of their user domains.
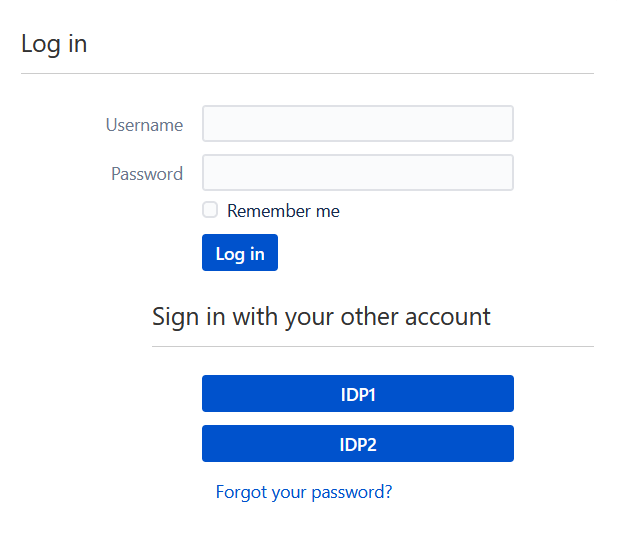
- For instance, if you want to display the login page with SSO buttons for each of the IDPs then your Default Rule will be as follows :
- Based on the default rule mentioned above, the login form will contain buttons for each IDP. The users will be free to choose whichever IDP they want to use to initiate SSO.
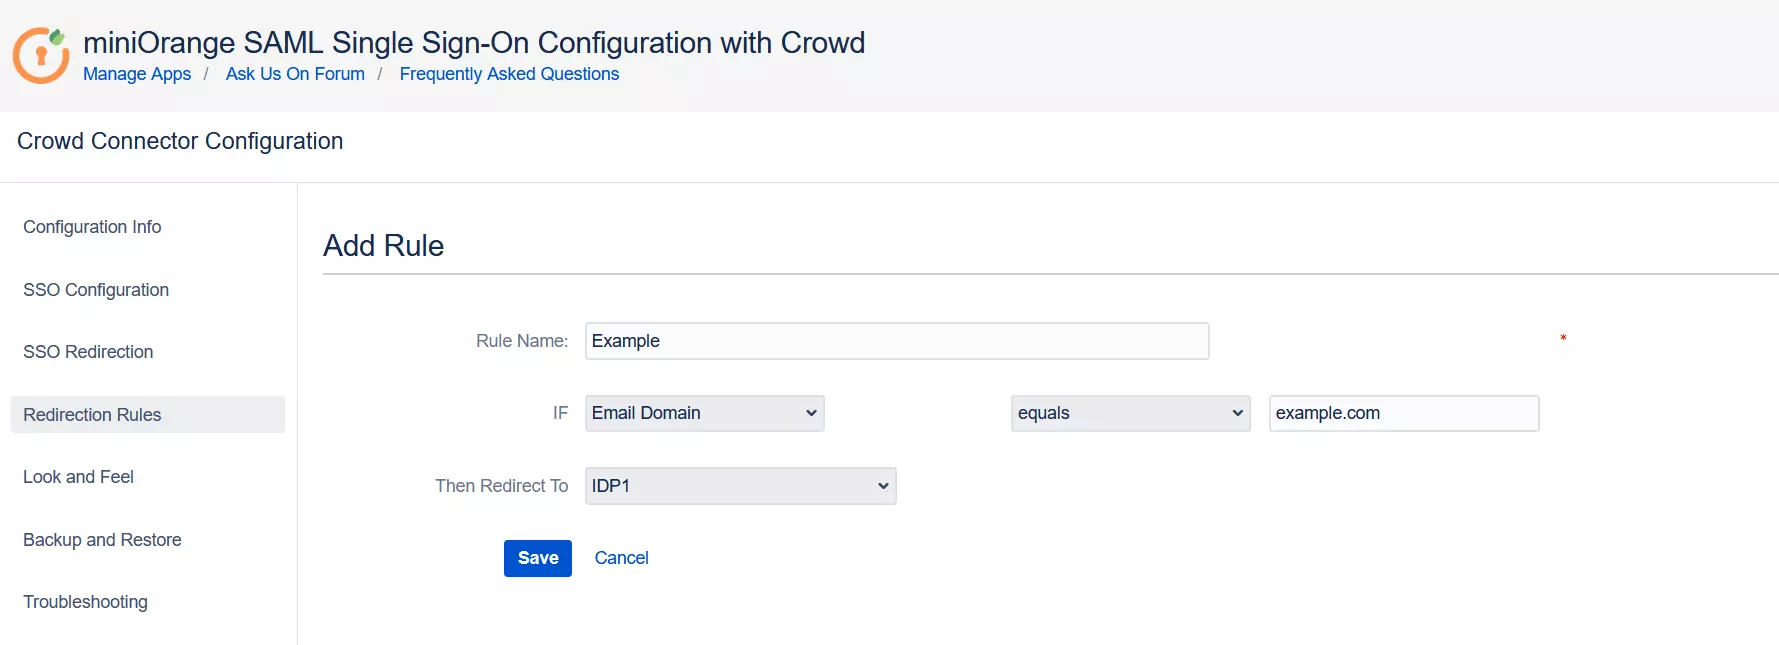
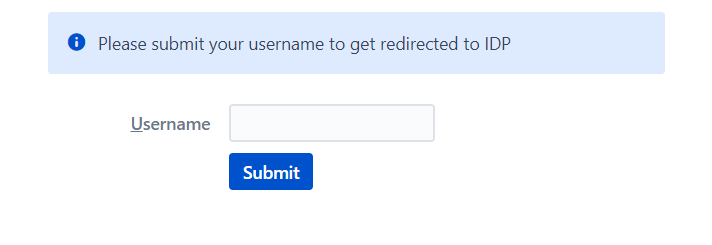
- You can also configure a rule so that your users will automatically be redirected to an IDP based on their email domains.
-
For example, if you want users with example.com as domain to be redirected to
IDP
1
you can add a rule by :
- Click on the Add Rule button in the Redirection Rules. tab
- Enter a name for your rule in Rule Name
- In the IF statement select Email Domain in the first drop-down.
- For the same statement select equals in the second drop-down.
- In the last field of the IF statement, enter the email domain(example.com for the purpose of this example)
- In the Then Redirect To drop-down, select the IDP you want the users with example.com to be redirected to(IDP 1 in this case)
- Click on Save
- When a rule such as an example given above is configured, a login form will be displayed to the users where they will have to input their email address.

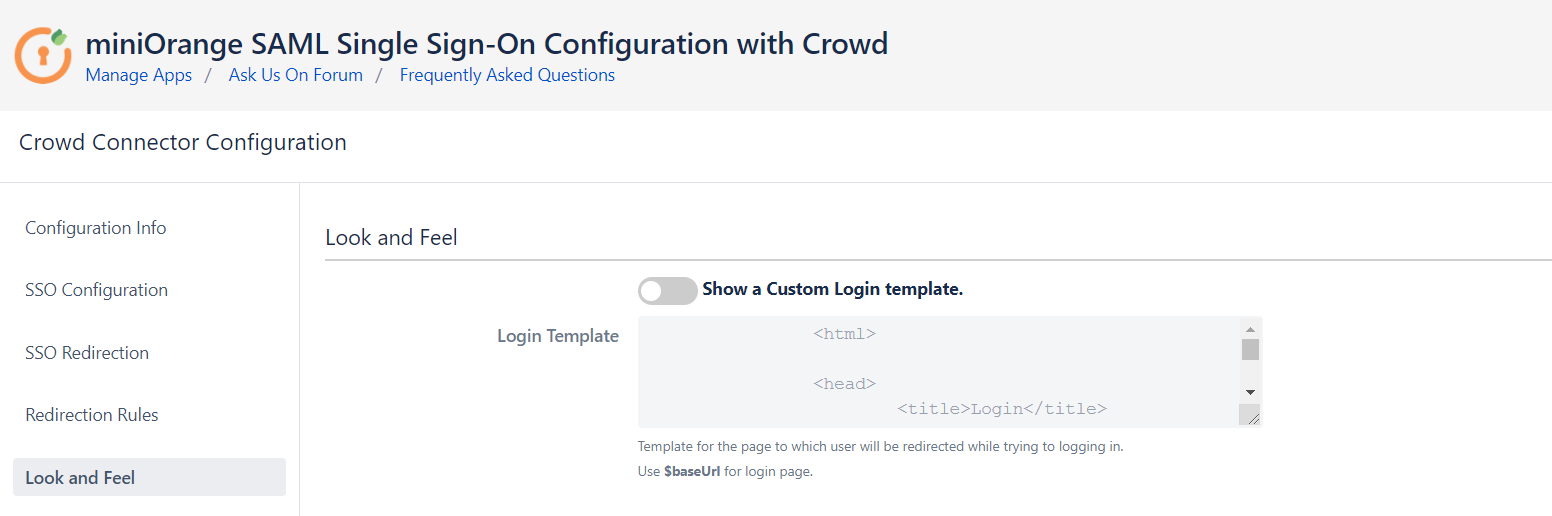
Customize your login page
- Go to the Look and Feel tab of the plugin.
- Here, you can design your own login template that will be used to initiate SSO. This will display your customized login page instead of application's default login page.
Crowd Troubleshooting
Recommended Add-Ons

Jira Crowd Connector
Crowd SAML & Connectors is the only SSO solution for Crowd SSO-enabled Atlassian apps.
Know MoreConfluence Crowd Connector
Crowd SAML & Connectors is the only SSO solution for Crowd SSO-enabled Atlassian apps.
Know MoreBitbucket Crowd Connector
Crowd SAML & Connectors is the only SSO solution for Crowd SSO-enabled Atlassian apps.
Know MoreBitbucket Git Authentication App | Kerberos/NTLM Apps | Word/PDF Exporter | WebAuthn | SonarQube SSO | Jenkins SSO
If you don't find what you are looking for, please contact us at support-atlassian@miniorange.atlassian.net or raise a support ticket here.