What's New !!

Pricing Offers

We are happy to announce special offers for miniOrange Atlassian SSO, 2FA, REST API, User Sync and Group Sync Apps.

Contact Info

For any query, product related information or any help , contact us now. You can also raise a ticket with our support.


Contact Us Now

Crowd Using SCIM User And Group Provisioning For Keycloak


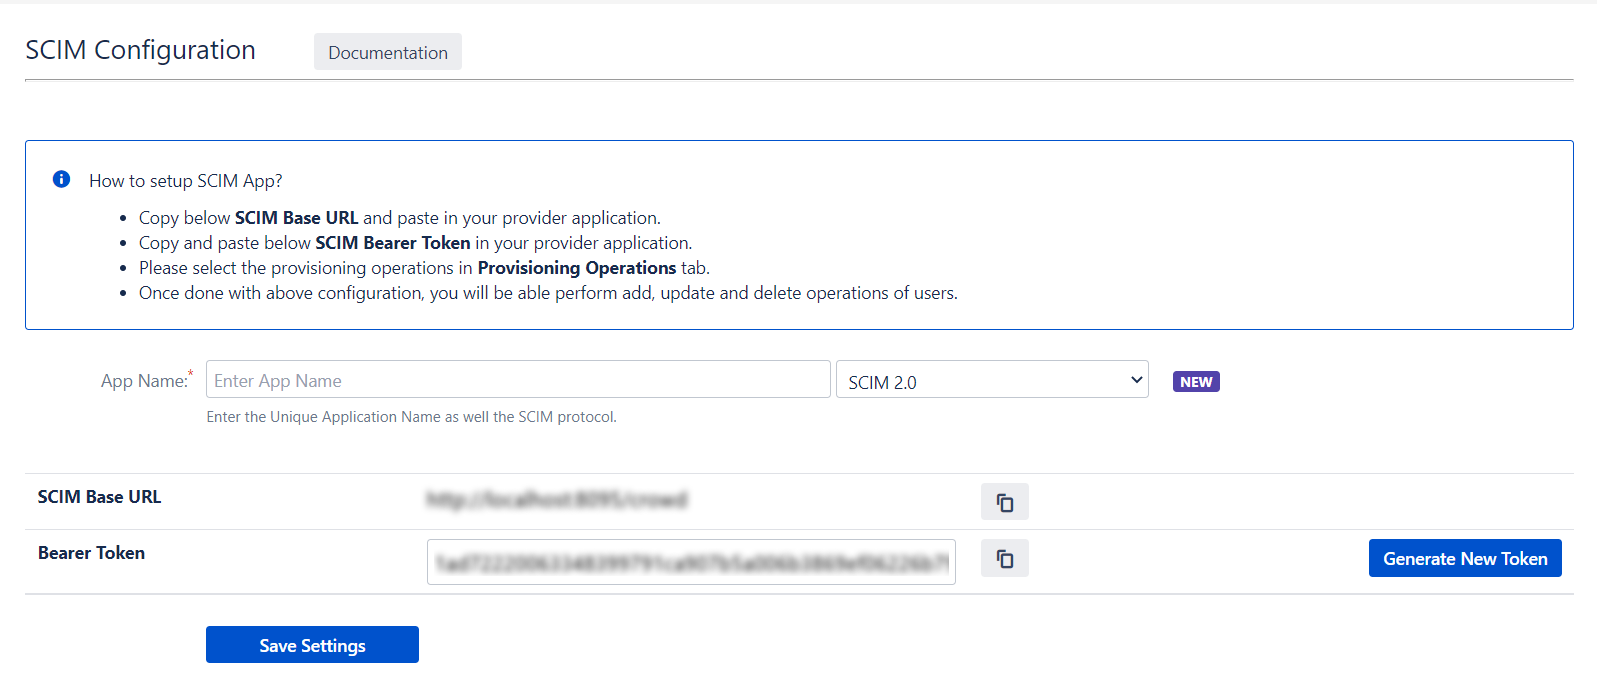
User Sync & Group Sync app provisions user and group information from Keycloak to Crowd. Users, groups, and directory details can be provisioned using SCIM. SCIM provisioning works based on events performed on IDP. This way the administrator only needs to manage user accounts in Keycloak. This reduces the administration time required to create users and groups in Atlassian modules such as Crowd.


Download And Installation


  • Log into your Crowd instance as an admin.
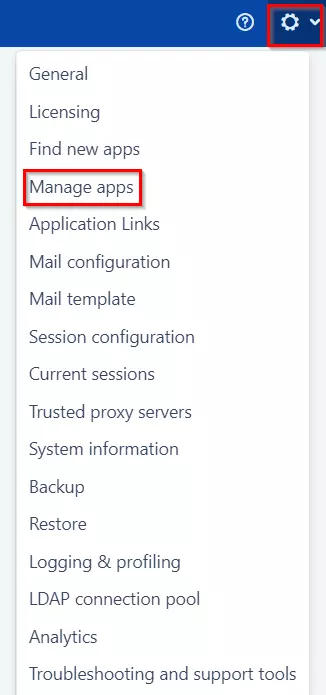
  • Navigate to the Administration menu and Click Manage Apps.
  • Click Find new apps or Find new add-ons from the left-hand side of the page.
  • Locate SCIM for Crowd via search and click on install.
  •  SCIM into Crowd, Install Crowd Add-On through manage apps menu

Step 1: Get SCIM Client Details

  • In the SCIM configuration, Please enter App Name and click on the Save Settings button. Copy the SCIM Base URL and SCIM Bearer Token, these will be used later to configure the SCIM application on Keycloak.
  • Select Keycloak as SCIM Provider

Step 2: Setup Keycloak

  • First of all, login to your Keycloak dashboard.
  • Click on Clients from the left sidebar and Create new clients.
  • User and group provisioning in Jira, Confluence, Bitbucket Clients Sidebar User and group provisioning in Jira, Confluence, Bitbucket Client Create
  • Enter a name as the Client id and select Client Protocol as open id connect.
  • User and group provisioning in Jira, Confluence, Bitbucket
  • Now, you will see the Settings page of the created client.
  • User and group provisioning in Jira, Confluence, Bitbucket Settings tab
  • Here, select Access Type as confidential . Make sure the options Standard Flow Enabled, Direct Access Grants Enabled, Service Accounts Enabled and Authorization Enabled options are turned on.
  • Also, against Valid redirect URIs put your crowd base URL. And then click on SAVE.
  • After saving, go to the Credentials tab on top. Save the client secret from here.
  • User and group provisioning in Jira, Confluence, Bitbucket Credentials tab
  • Now go to Roles from the top menu and select uma_protection.
  • User and group provisioning in Jira, Confluence, Bitbucket Roles tab
  • Under uma_protection, turn on Composite Roles and transfer all the Realm roles from Available Roles to Associated Roles.
  • Go to the Service account roles -> select "realm-management" and add the below highlighted scopes
  • User and group provisioning in Jira, Confluence, Bitbucket Roles tab

Step 3: User Sync Settings

  • Select the User Sync Settings tab from the left sidebar. Here you can configure different settings about user creation and updation.
  • You can Create the directory using Create Directory option where you want SCIM Operations to be performed.
  • User provisioning with Keycloak of SCIM Standard Start Provisioning option
  • You can also select your Directory Type from the dropdown.
  • User provisioning with Keycloak of SCIM Standard Start Provisioning option
  • Enable Import Users option to import all active Keycloak Users.
  • The user can be automatically enabled or disabled here based on IDP configuration.
  • You also have the option to set Default Project Lead and Default Component Lead.
  • Attribute mapping enables you to map your attributes sourced from the IDP to Crowd attributes. Through this section you can map your Crowd attributes to the attributes coming from IDP. By default, email corresponds to the email/mail attribute, and displayName corresponds to the full name attribute. However, if you want to map these Crowd attributes with other attributes coming from IDP, you can use this feature to change the attribute mapping configurations.
  • User provisioning with miniOrange of SCIM Standard Start Provisioning option

Step 4: Group Sync Settings

  • Select the Group Sync Settings tab from the left sidebar. Here you can configure different settings for group creation and group mapping.
  • User provisioning with Keycloak of SCIM Standard Start Provisioning option
  • Here you can configure Default groups for new and all users.
  • You can set Manual Group Mapping or On-The Fly Group Mapping.

1. Manual Group Mapping -

  • Here you can manually map Crowd groups with the groups from IDP.
  • You can also configure to import IDP groups, and to keep existing users or not.
User and group provisioning in Crowd Manual Group Mapping

2. On-The Fly Group Mapping -

  • Here users will be assigned to groups in Crowd whose group name is the same as groups from IDP. If the group doesn't exist in Crowd then it will be created.
  • You can configure to keep the existing user groups.
User and group provisioning in Crowd On The Fly Group Mapping

Step 5: Backup & Restore

  • In the Backup and Restore tab you can Import and Export plugin configurations in the JSON format.
  • User and gruop provisioning in Crowd Backup and Restore

Recommended Add-Ons


Free Trial

If you don't find what you are looking for, please contact us at support-atlassian@miniorange.atlassian.net or raise a support ticket here.