Contents
CyberArk as IDP
Step 1: Setup CyberArk as Identity Provider
- Login to CyberArk admin portal.
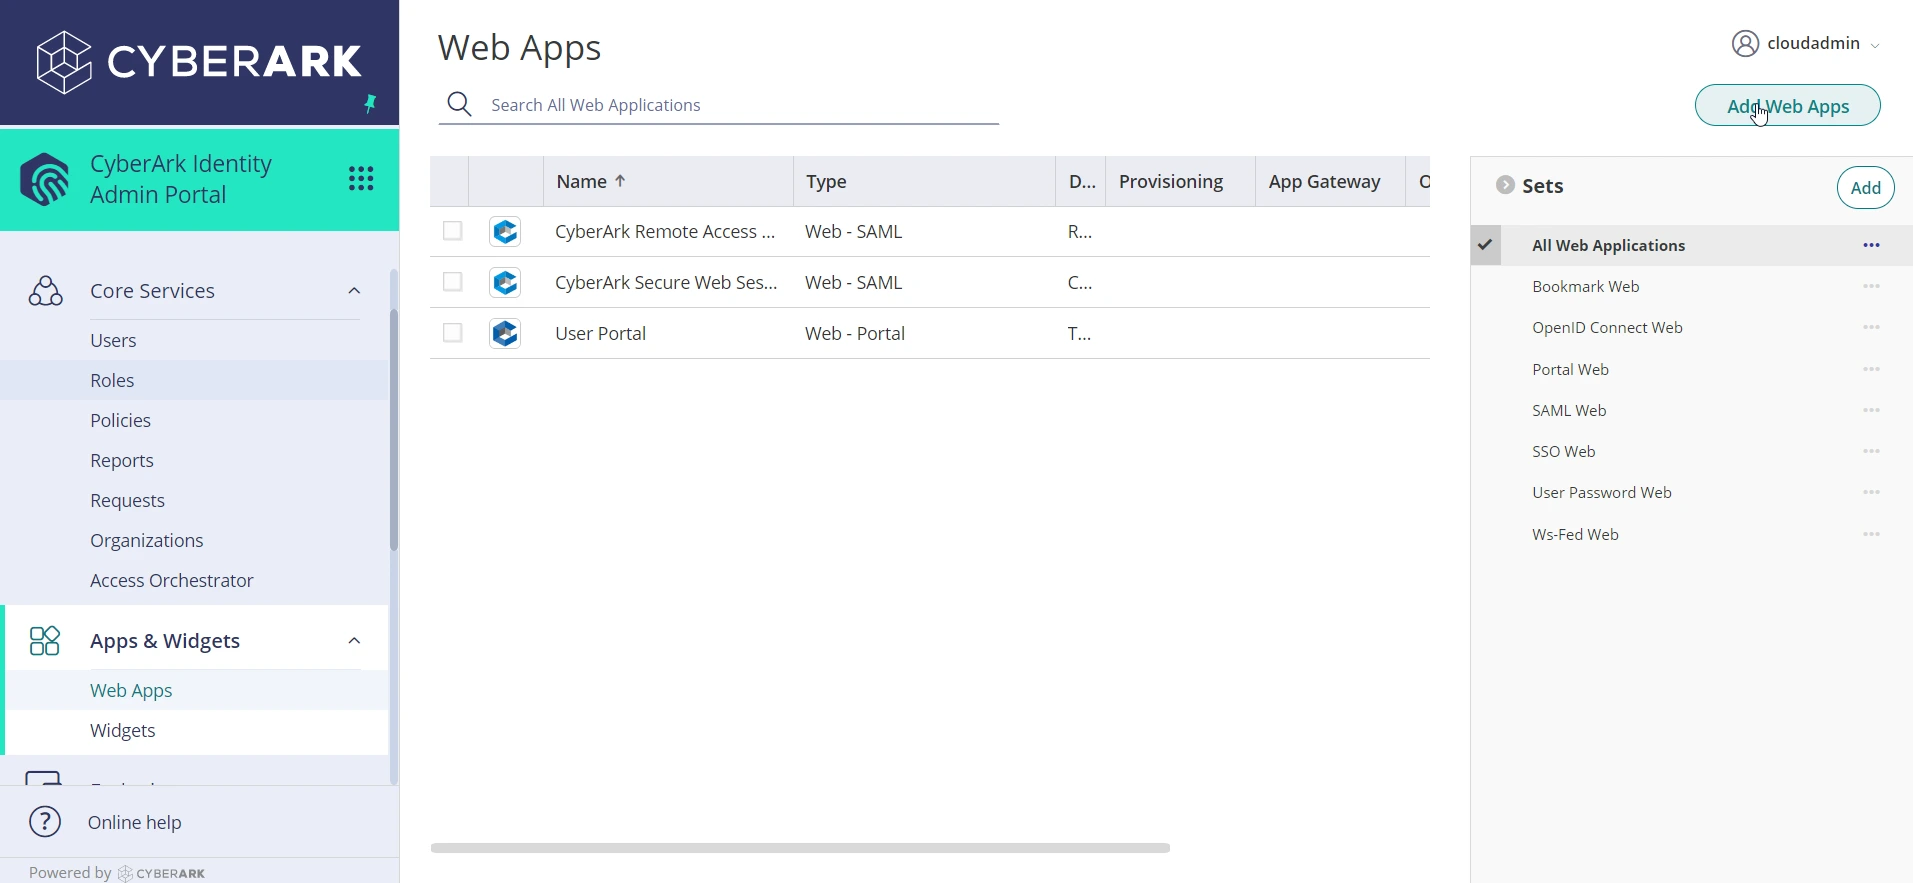
- In the left sidebar, scroll down to the Apps & Widgets section and click Web Apps.
- In the Web Apps window, click on the Add Web Apps button to open a new popup window.
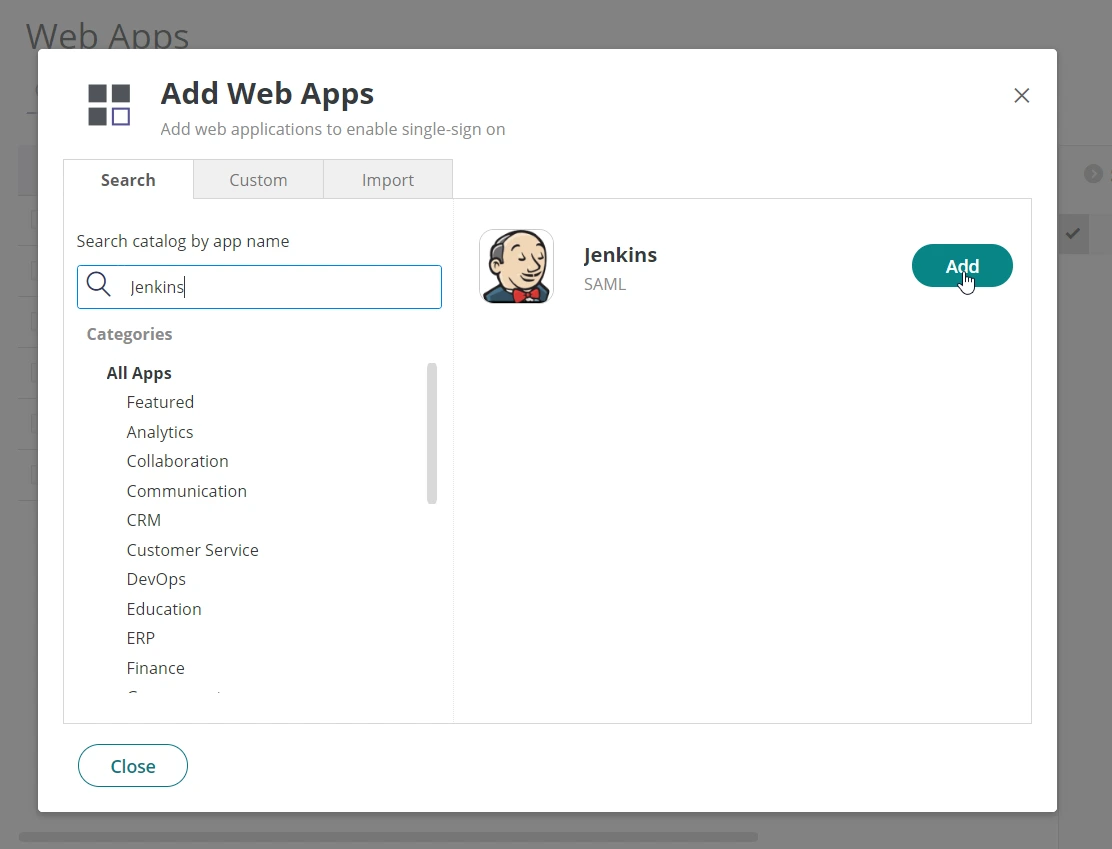
- Search for Jenkins in the Add Web Apps popup window. On the right hand side, a Jenkins app will appear. Click on Add and confirm that you want to add Jenkins app.
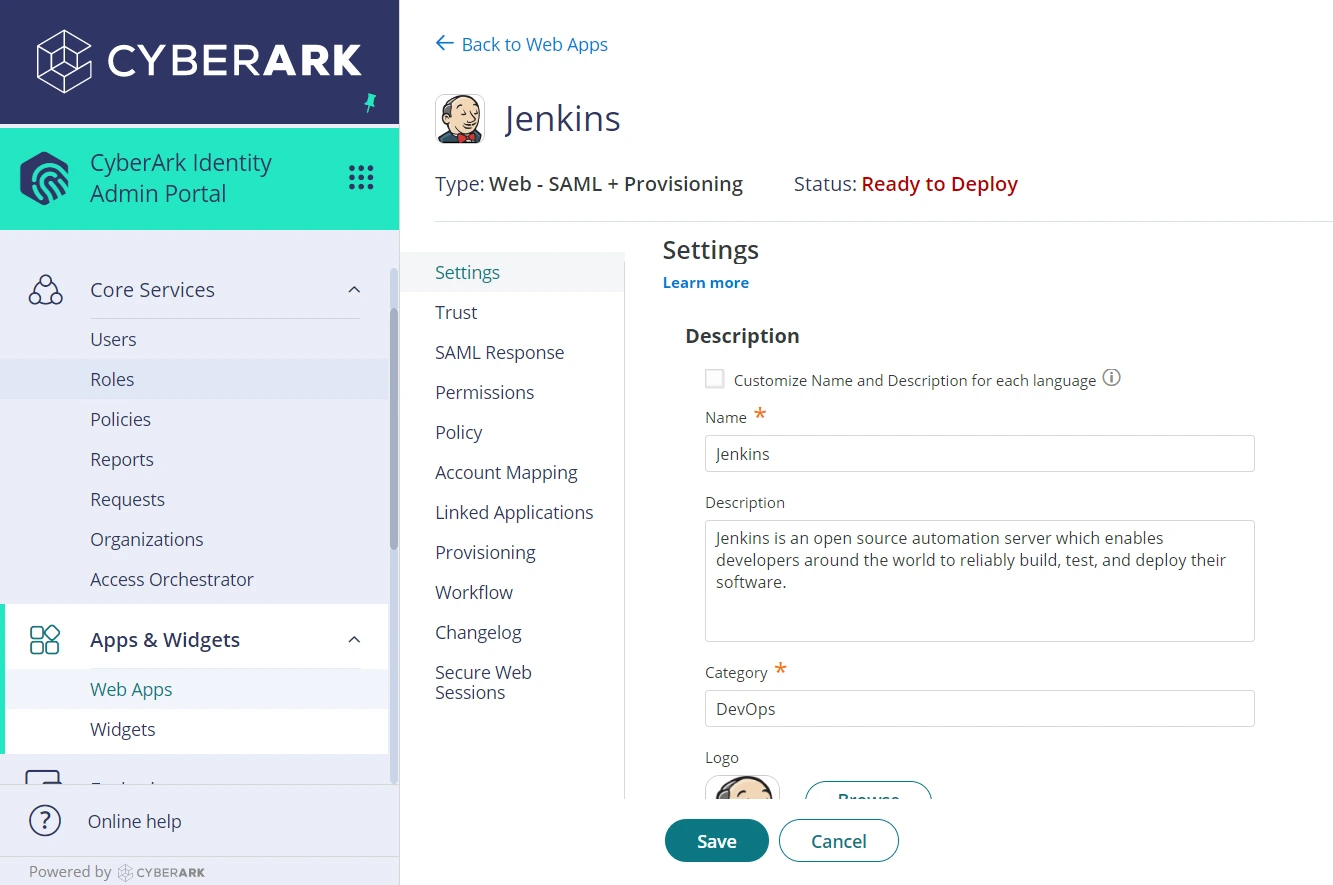
- After closing the Add app window, a new settings page will appear for the newly created Jenkins app. In the page you may change the name, description, category or logo of the app.
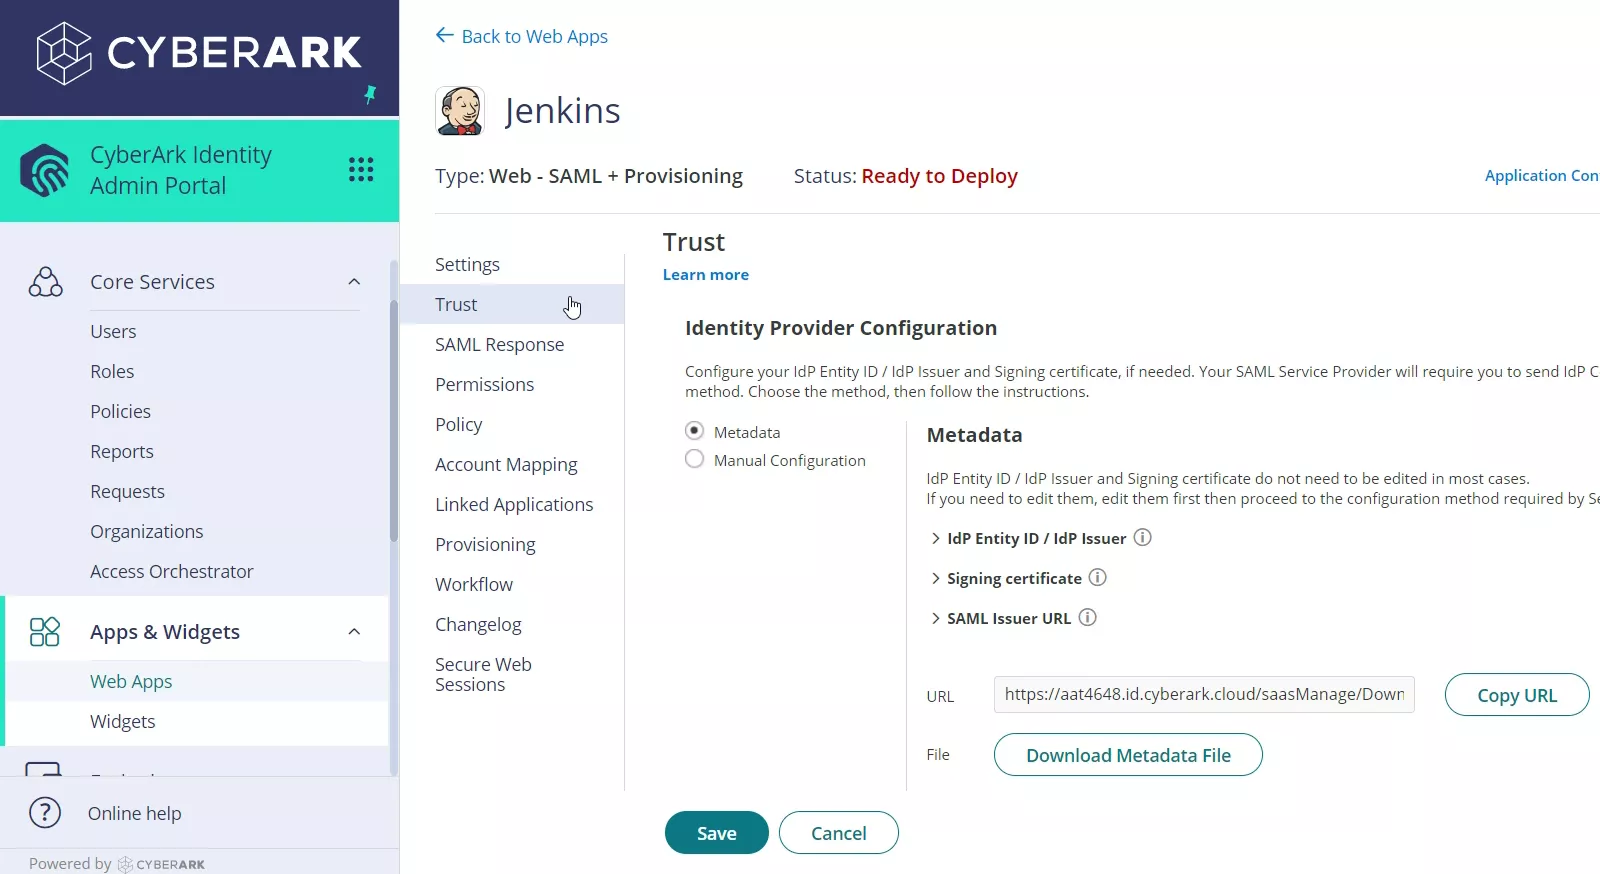
- Now, click on Trust from the left sidebar. Here you will find the CyberArk metadata required for SAML configuration under Identity Provider Configuration.
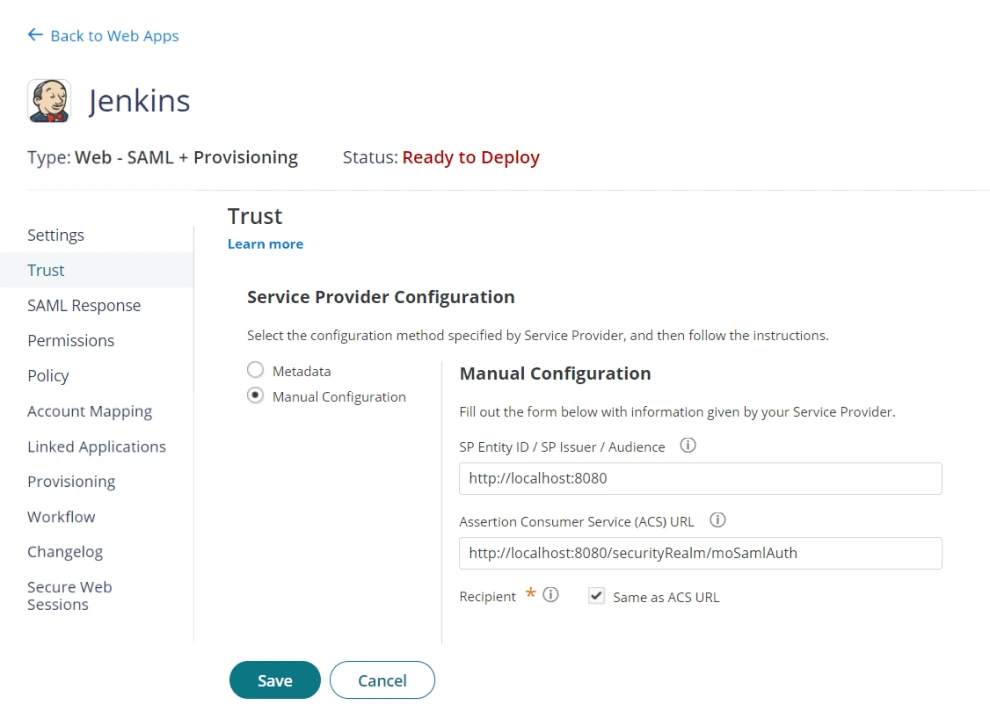
- Scroll down to the Service Provider Configuration section and enter the SP metadata from the miniOrange SSO plugin and click Save. You can enter the metadata manually or upload the metadata file.
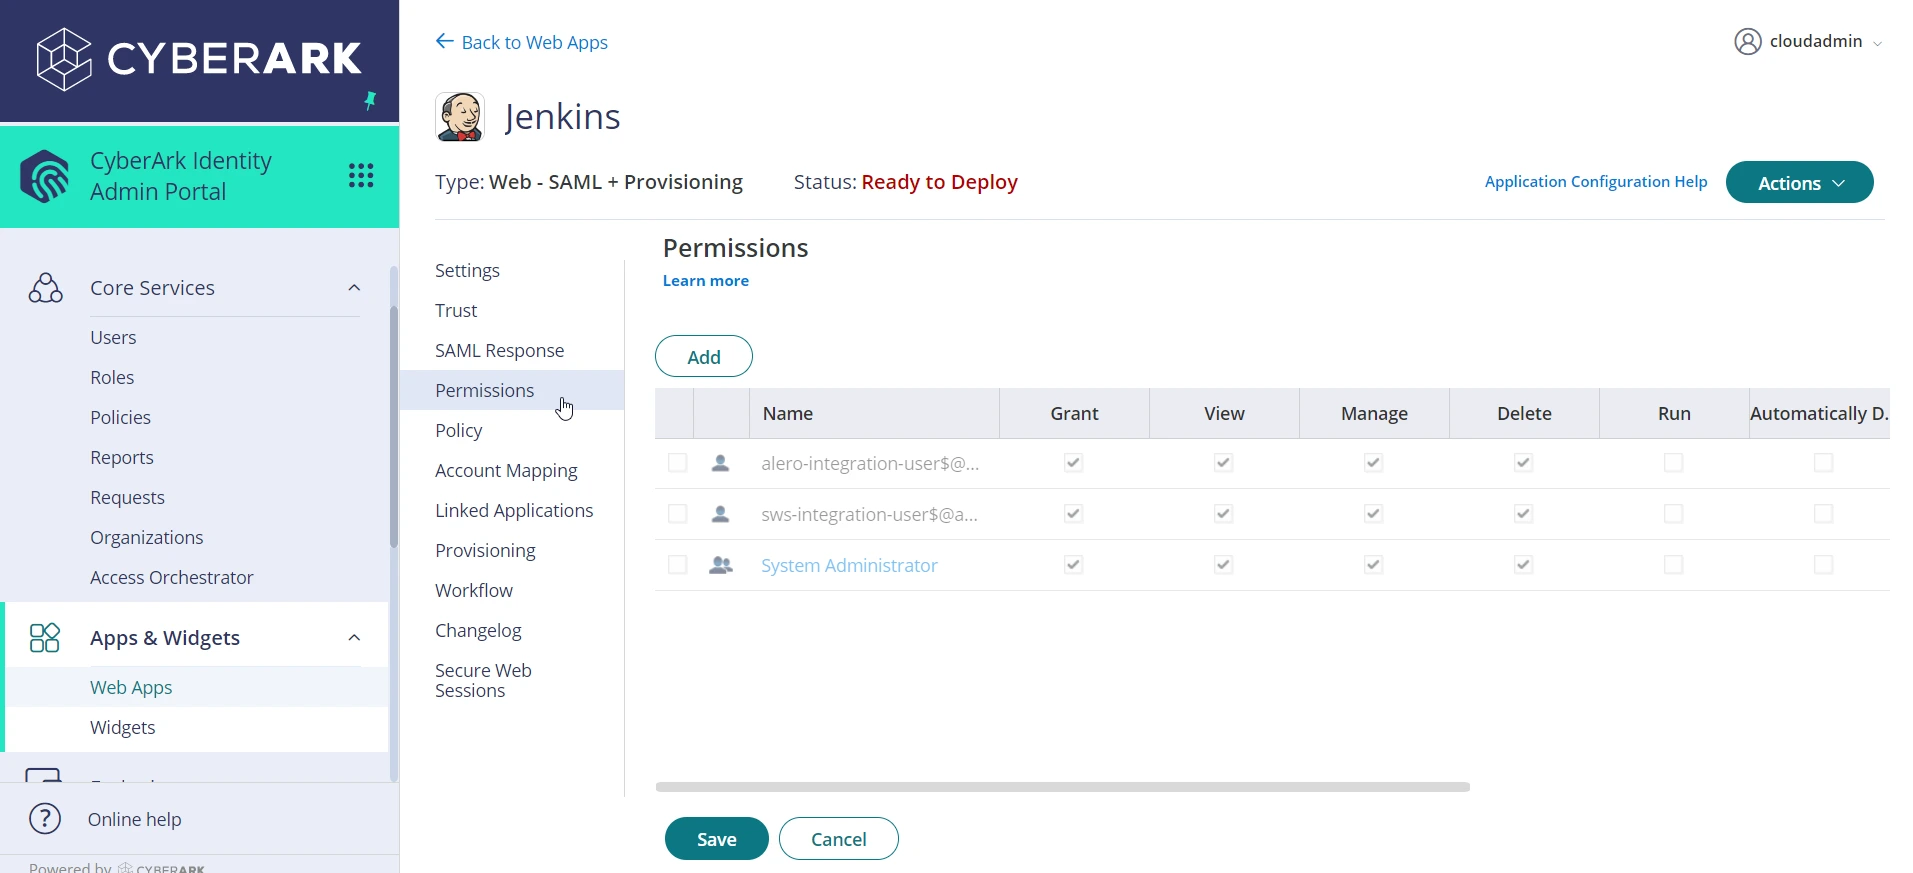
- Now, click on Permissions from the left sidebar. Here you can manage permissions of users
and groups for
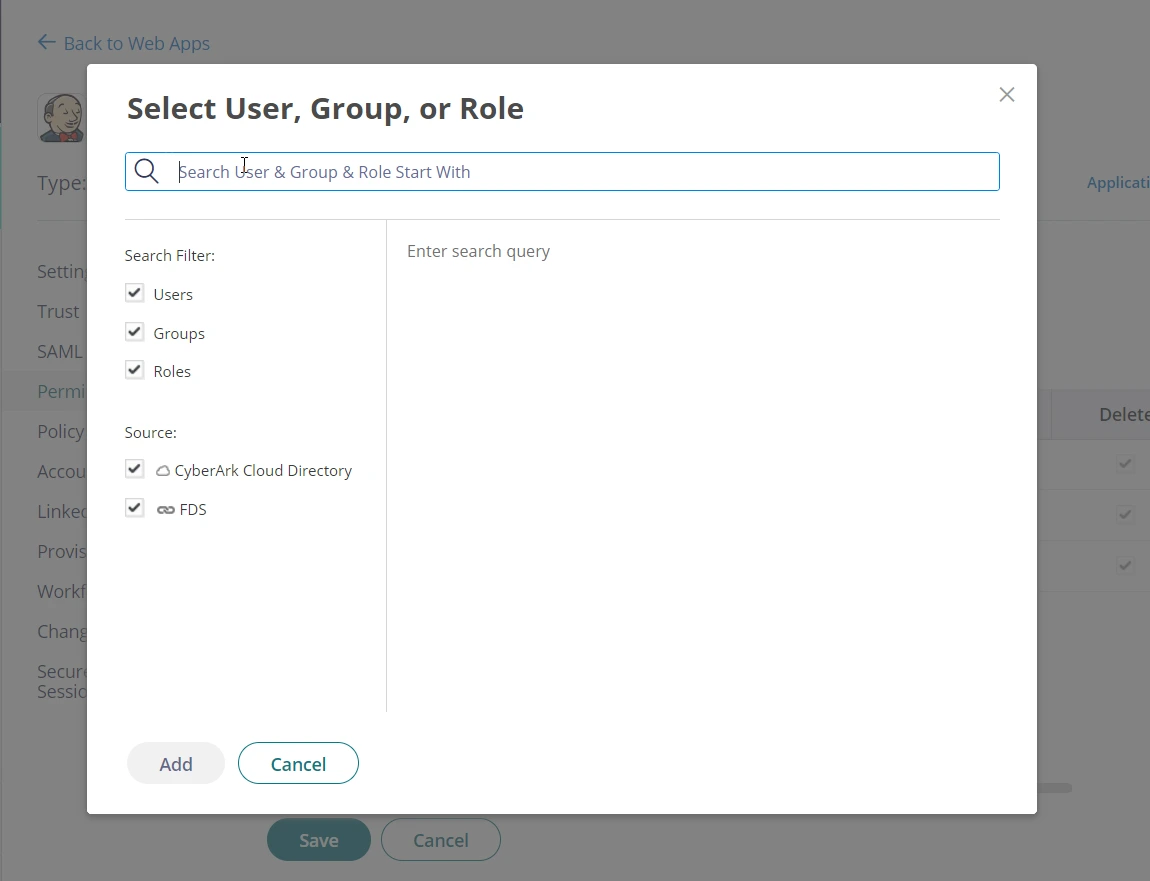
this app. Click on the Add button to search and add users, groups or roles to your
application.
You will need to add users to perform Single Sign-On (SSO)
×
![]()
×
![ADFS_sso]()
