- Home
- Web Authentication
- Web Authentication Documentation
- Jira Web Authentication

Setup guide for Jira Web Authentication
Jira WebAuthn app lets you use your device credentials (e.g Pin, Fingerprint, etc) for logging into Jira Software. Here we will go through a guide to configure WebAuthn for your Jira application. By the end of this guide, users will be able to use local credentials for logging into the Jira Server and Datacenter application.
 Try it for free
Pre-requisites
- Jira should be installed and configured.
- Admin credentials are set up in Jira.
- Valid Jira Server and Data center Licence.
- Windows Hello/Apples touch id should already be setup on your device. If not Click Here to learn how to setup Windows Hello on your device.
Download and Installation
- Log into your Jira instance as an admin.
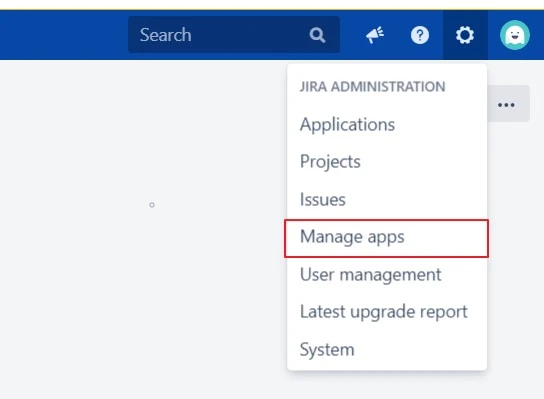
- Navigate to the settings menu and Click Manage Apps.
- Click Find new apps or Find new add-ons from the left-hand side of the page.
- Locate mO WebAuthn - Passwordless login for JIRA via search.
- Click Try free to begin a new trial or Buy now to purchase a license for mO WebAuthn - Passwordless login for JIRA.
- Enter your information and click Generate license when redirected to MyAtlassian.
- Click Apply license.
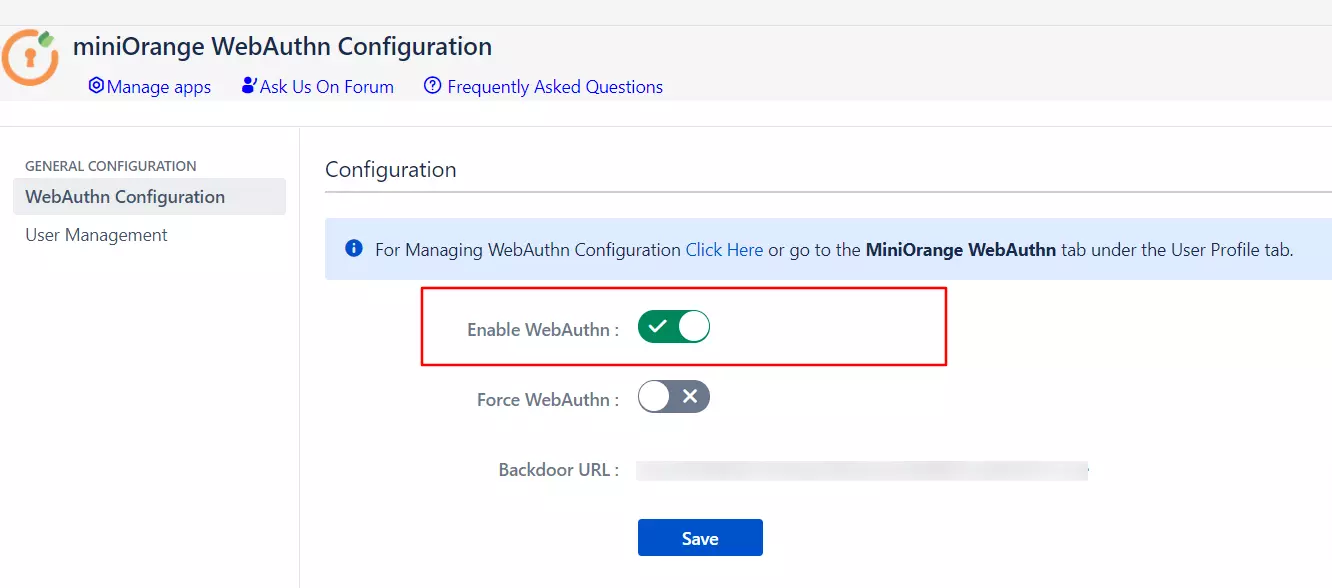
1: To configure miniOrange WebAuthn Plugin
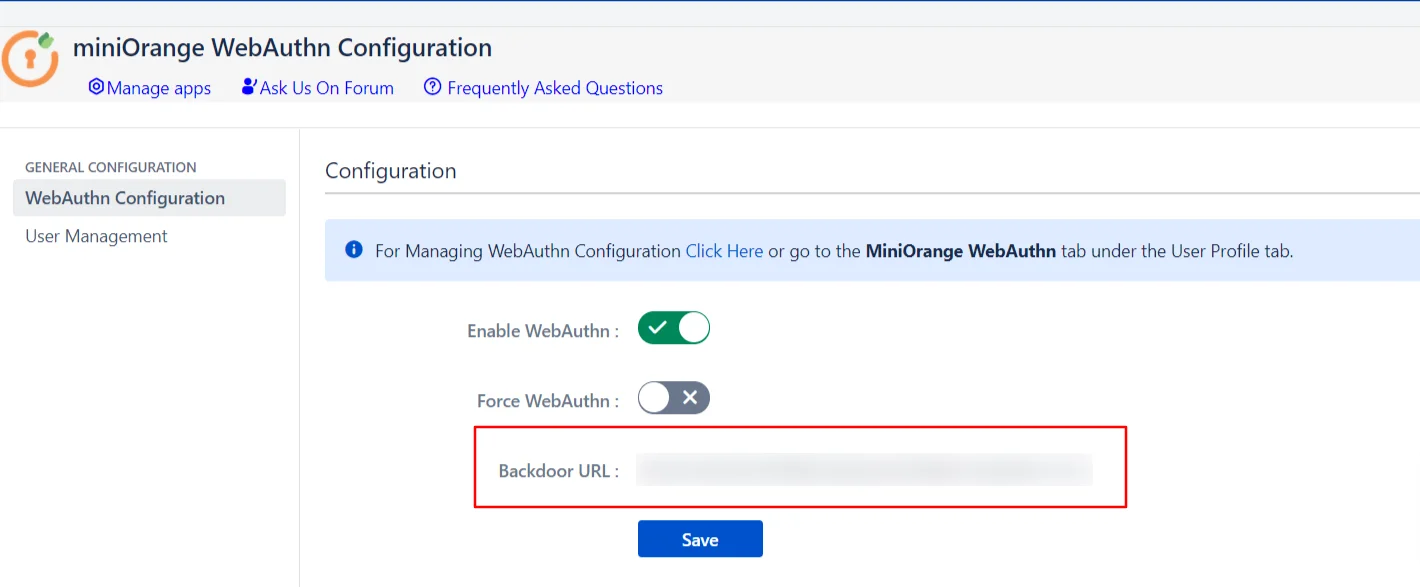
- Navigate to WebAuthn Configuration tab & click on the Enable WebAuthn and click on Save.
2: Working of WebAuthn Plugin
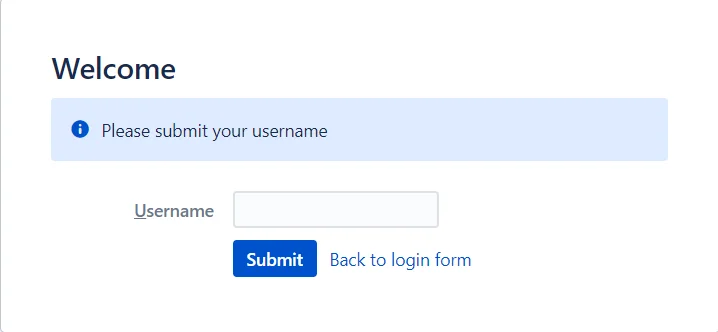
 2.1 When Platform Authenticator is not registered
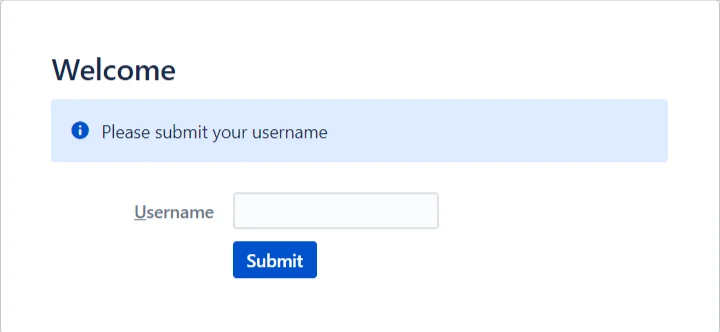
- On login page user will be asked to enter its username.
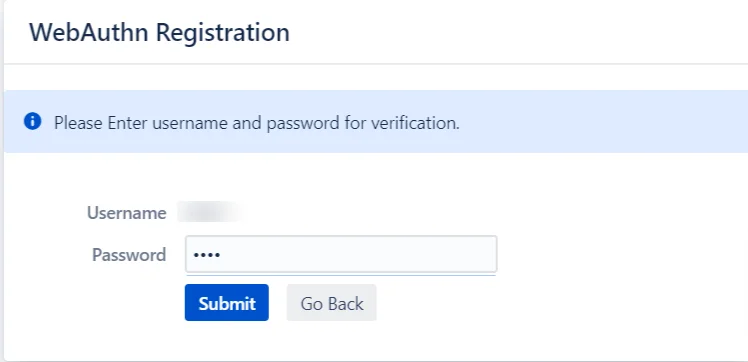
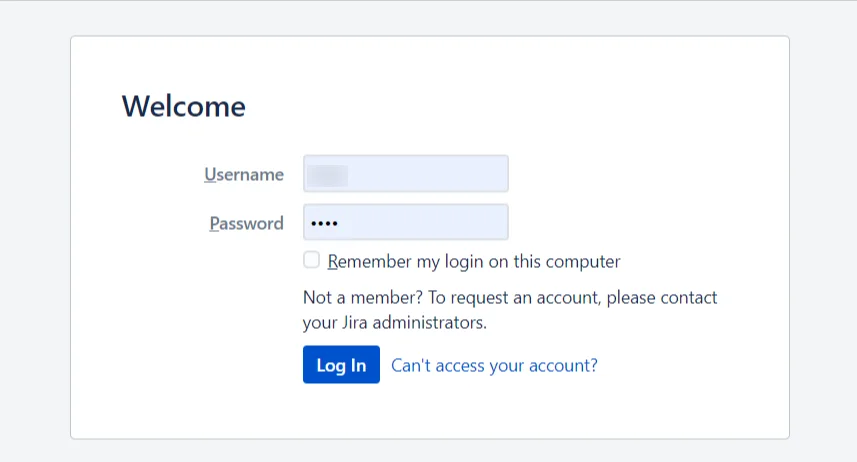
- As user has not registered its authenticator with the server it will be asked to enter its password so as verify user's authenticity.
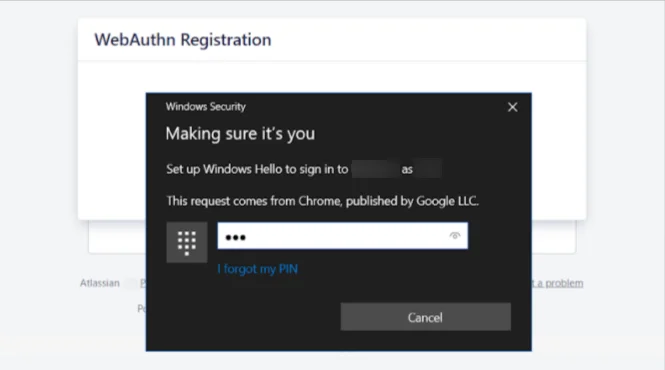
- After successfull authentication of password windows pop-up will occure user to enter its system password (pin,figerprint, etc.)
- Now that you have successfully registered your platform authenticator, you can use it for logging into your atlassian product.
2.2 When Platform Authenticator is registered
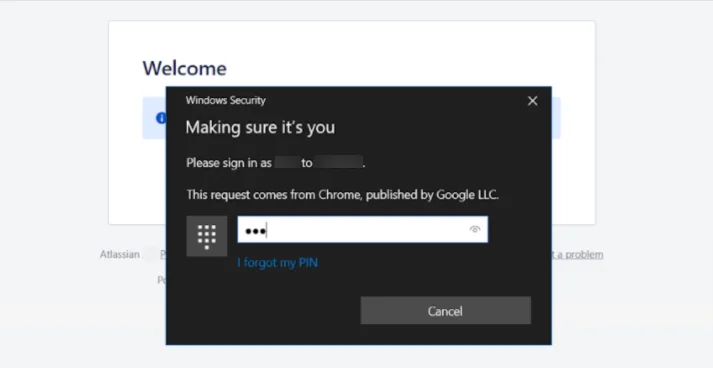
- On login page user will be asked to enter its username.
- A browser pop-up will occure asking user to enter its platform credentials(pin,fingerprint,etc).
- On Successfull authentication user will be logged in.
3: Features of miniOrange WebAuthn Plugins
3.1 Force WebAuthn
- This feature basically lets Admin to control users login flow. By this feature Admin can decide whether user's can use Server's default login page or not. This feature is disabled by default.
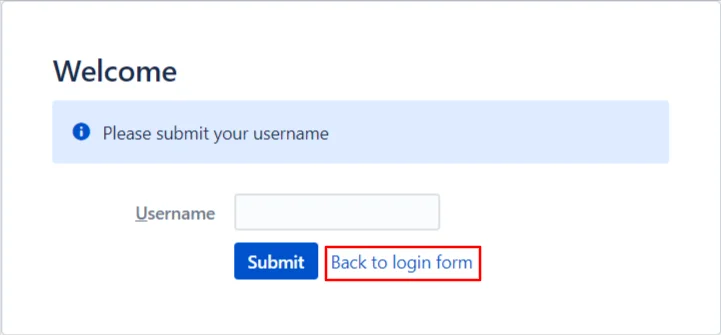
- When Force WebAuthn is disabled users will see back-to-login-page link on login form.
- Clicking on that link will redirect user to default login page which they can use for logging into the server.
- When Force WebAuthn is enabled users wont have option to use back-to-login-page link, they can only use WebAuthn for logging in.
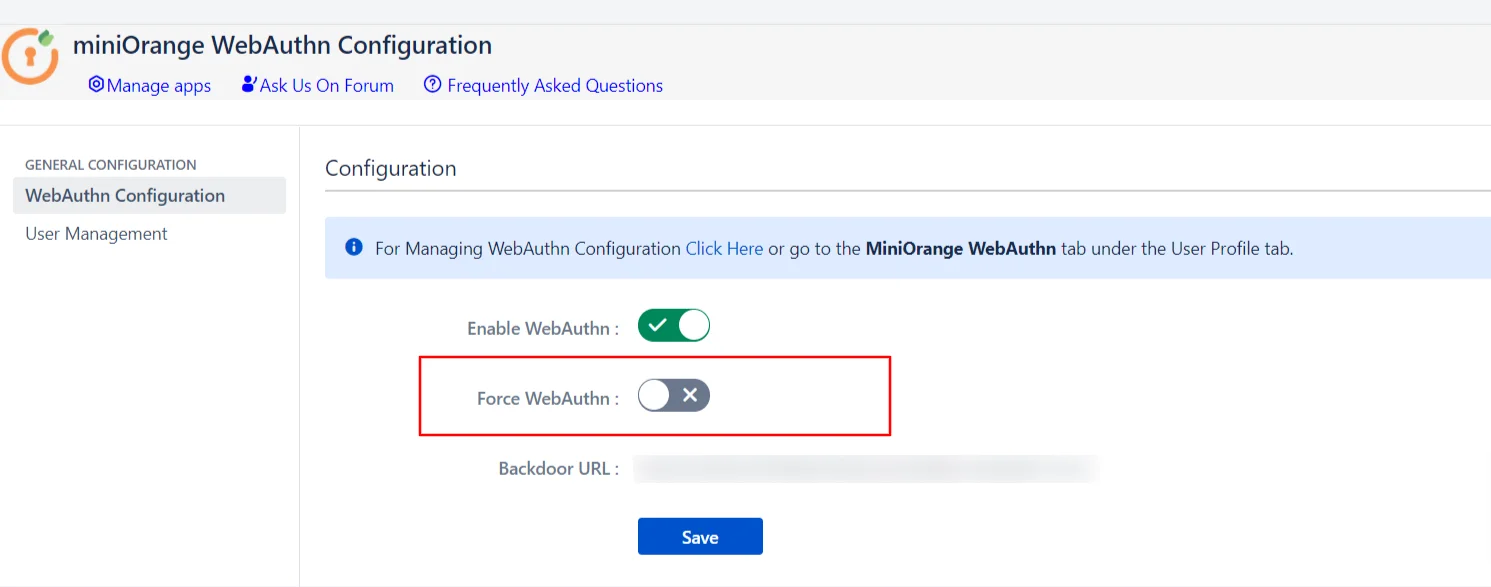
3.2 Backdoor URL
- Users can use this URL for logging into server with default credentials in case of emergency.
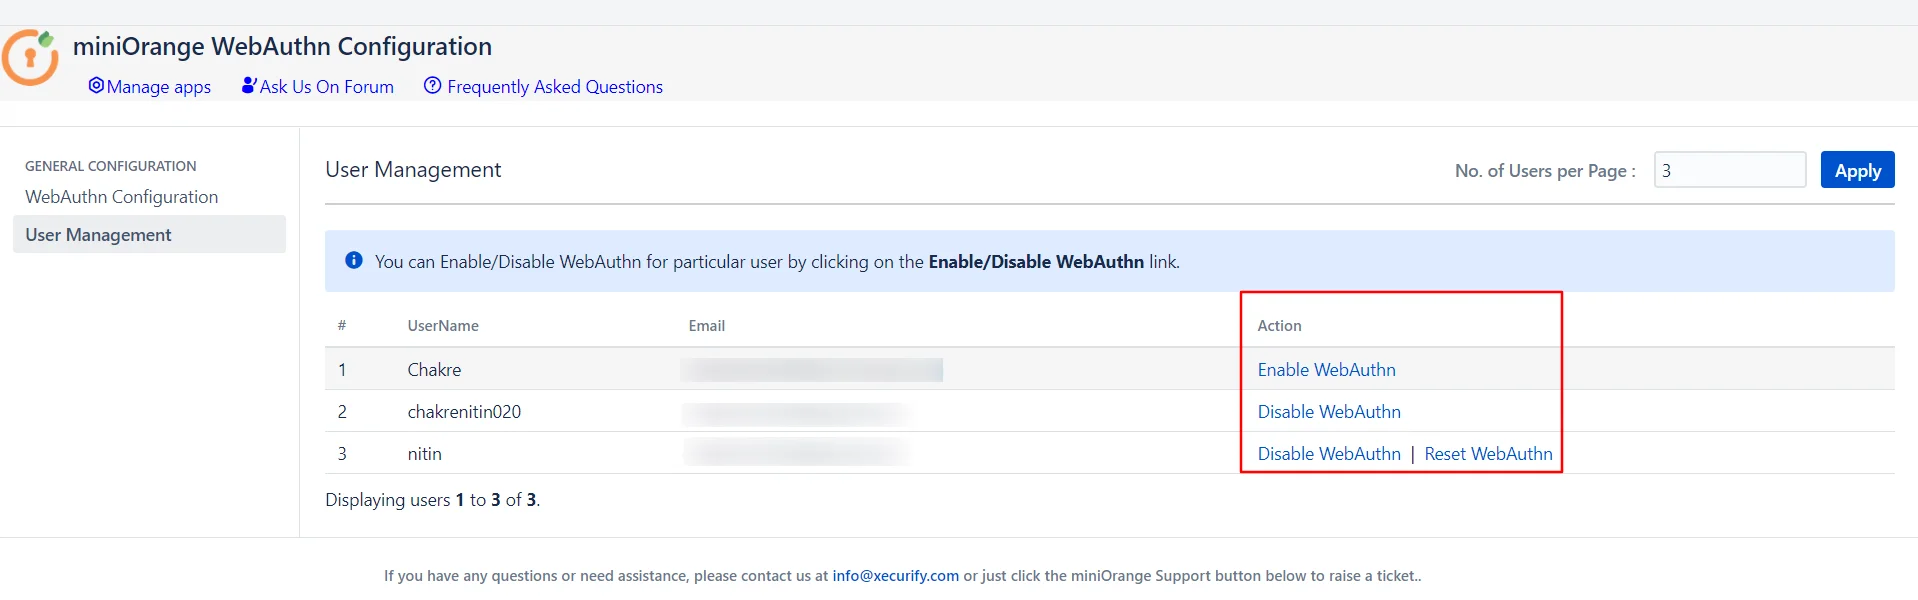
3.3 User Management
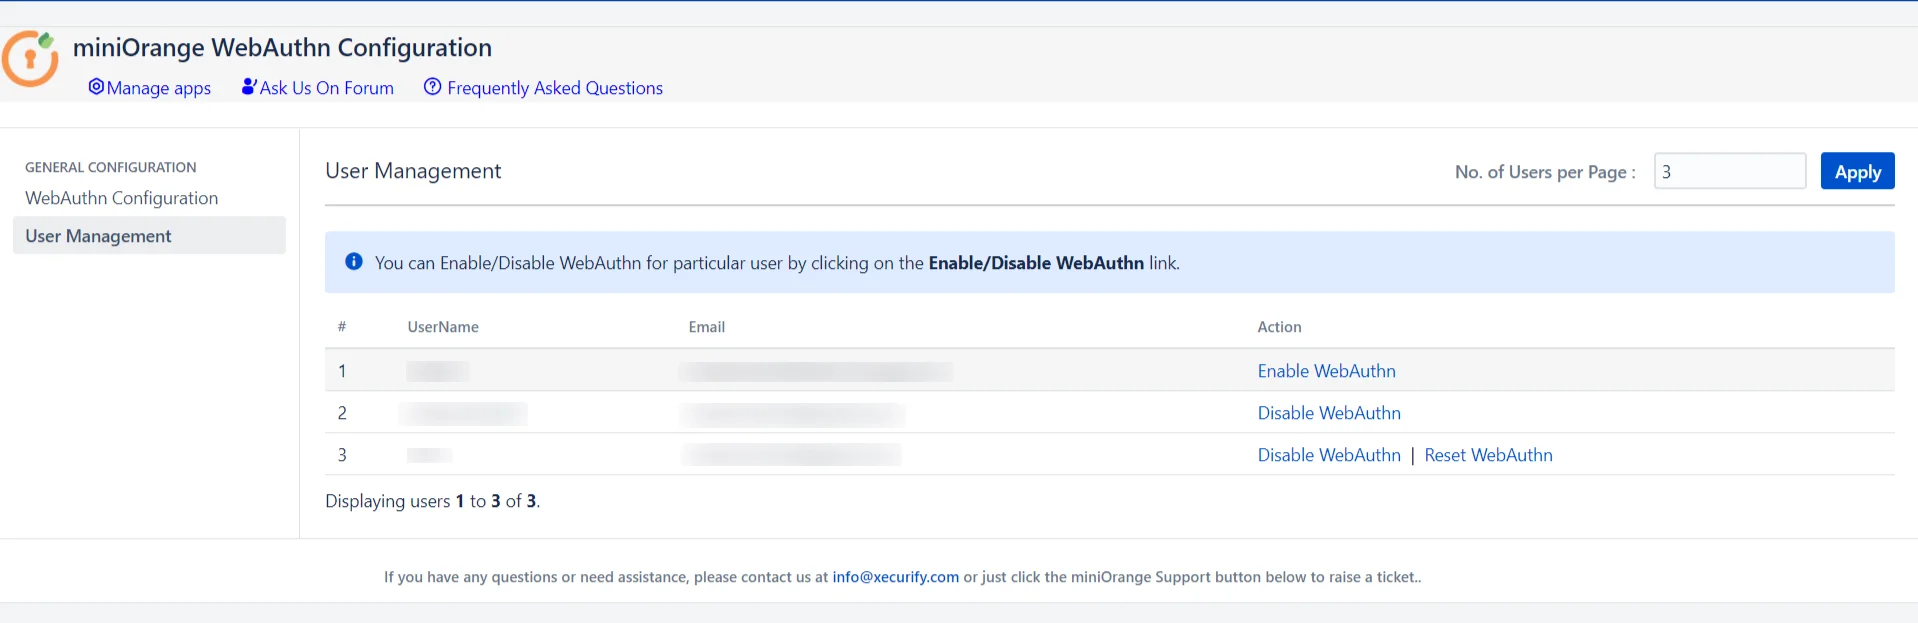
- User Management tab has the different functionality which will let admin manage WebAuthn for specific user's also.
- This tab contains the list of all active users currently present on the server with diffent options for each of those users.
- Admin can reset particular user's configuration if user is facing some issues with its configuration.
- Admin can Enable/Disable Webauthn for particular user by clicking on respective button, So that the user's for which WebAuthn is enabled can only be log into the server.
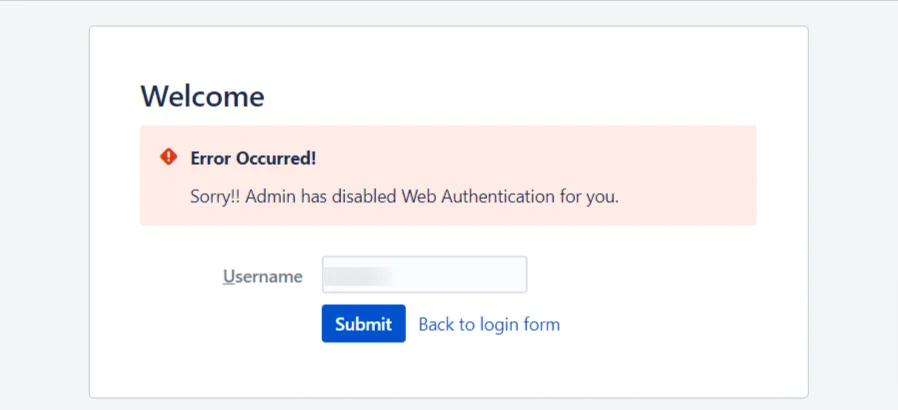
- User's for which WebAuthn is disabled wont be able to login into the server.
3.4 miniOrange WebAuthn Configuration tab
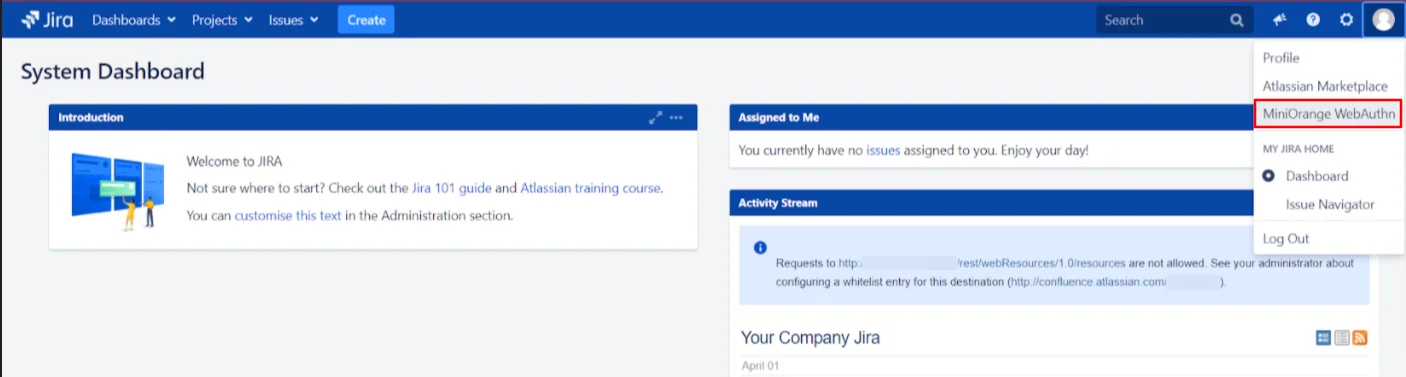
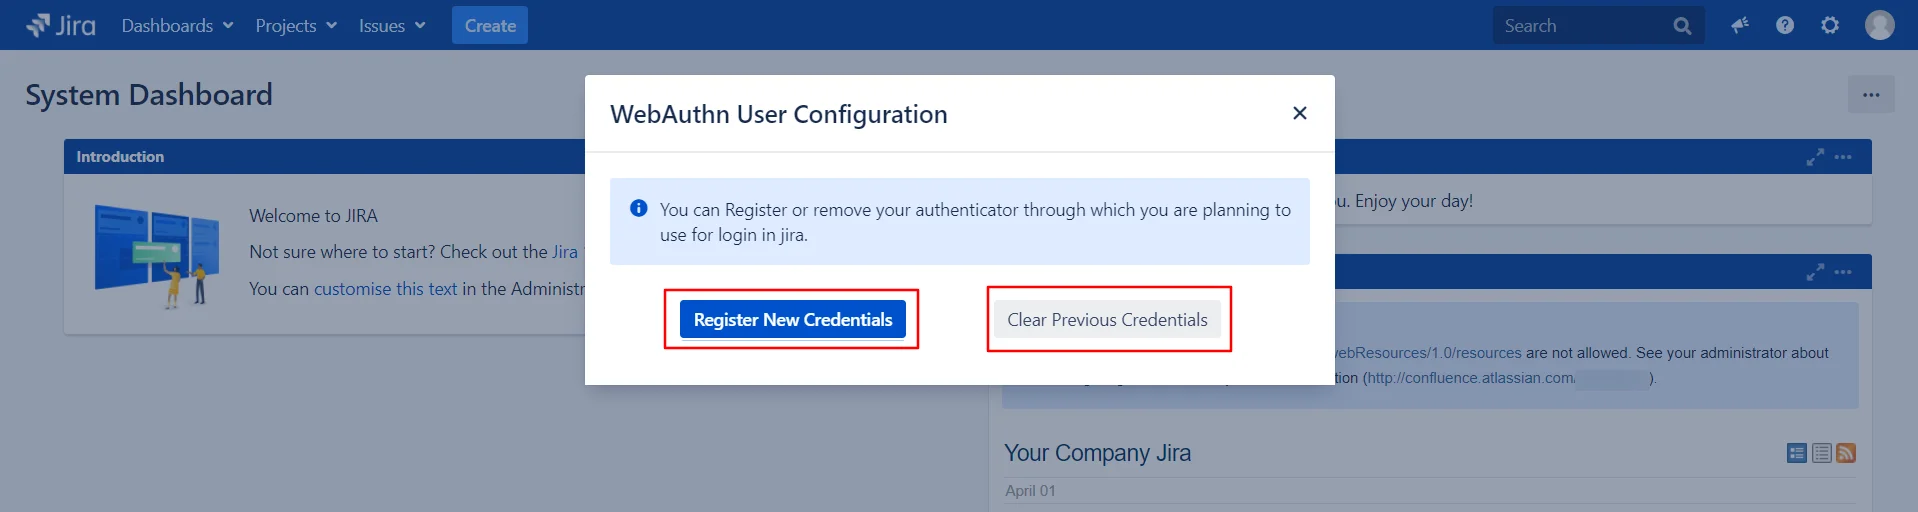
- Clicking on the tab will pop up a box where user's can manage their configurations.
- User's can register new authenticator by clicking on Register new credential, which will be used for logging into jira.
- User's can remove their previously configured authenticator by clicking on Clear previous credential, if they wish to do so.
Additional Resources
Did this page help you?
