How to secure
Microsoft Office365 using CASB Solution
Secure your Microsoft Office365 with the CASB solution to protect sensitive business information against
unauthorized user access by enabling dynamic security restrictions, deep visibility, active threat
detection, and granular access controls. In this guide, we will see how you can configure Office365 with
miniOrange CASB Solutions for your organization.
Step 1: Sign up with miniOrange CASB
- Sign in to the Cloud Access Security Broker (CASB) with your email and
password. (Don’t have an account? No worries, click here to create a new
account)
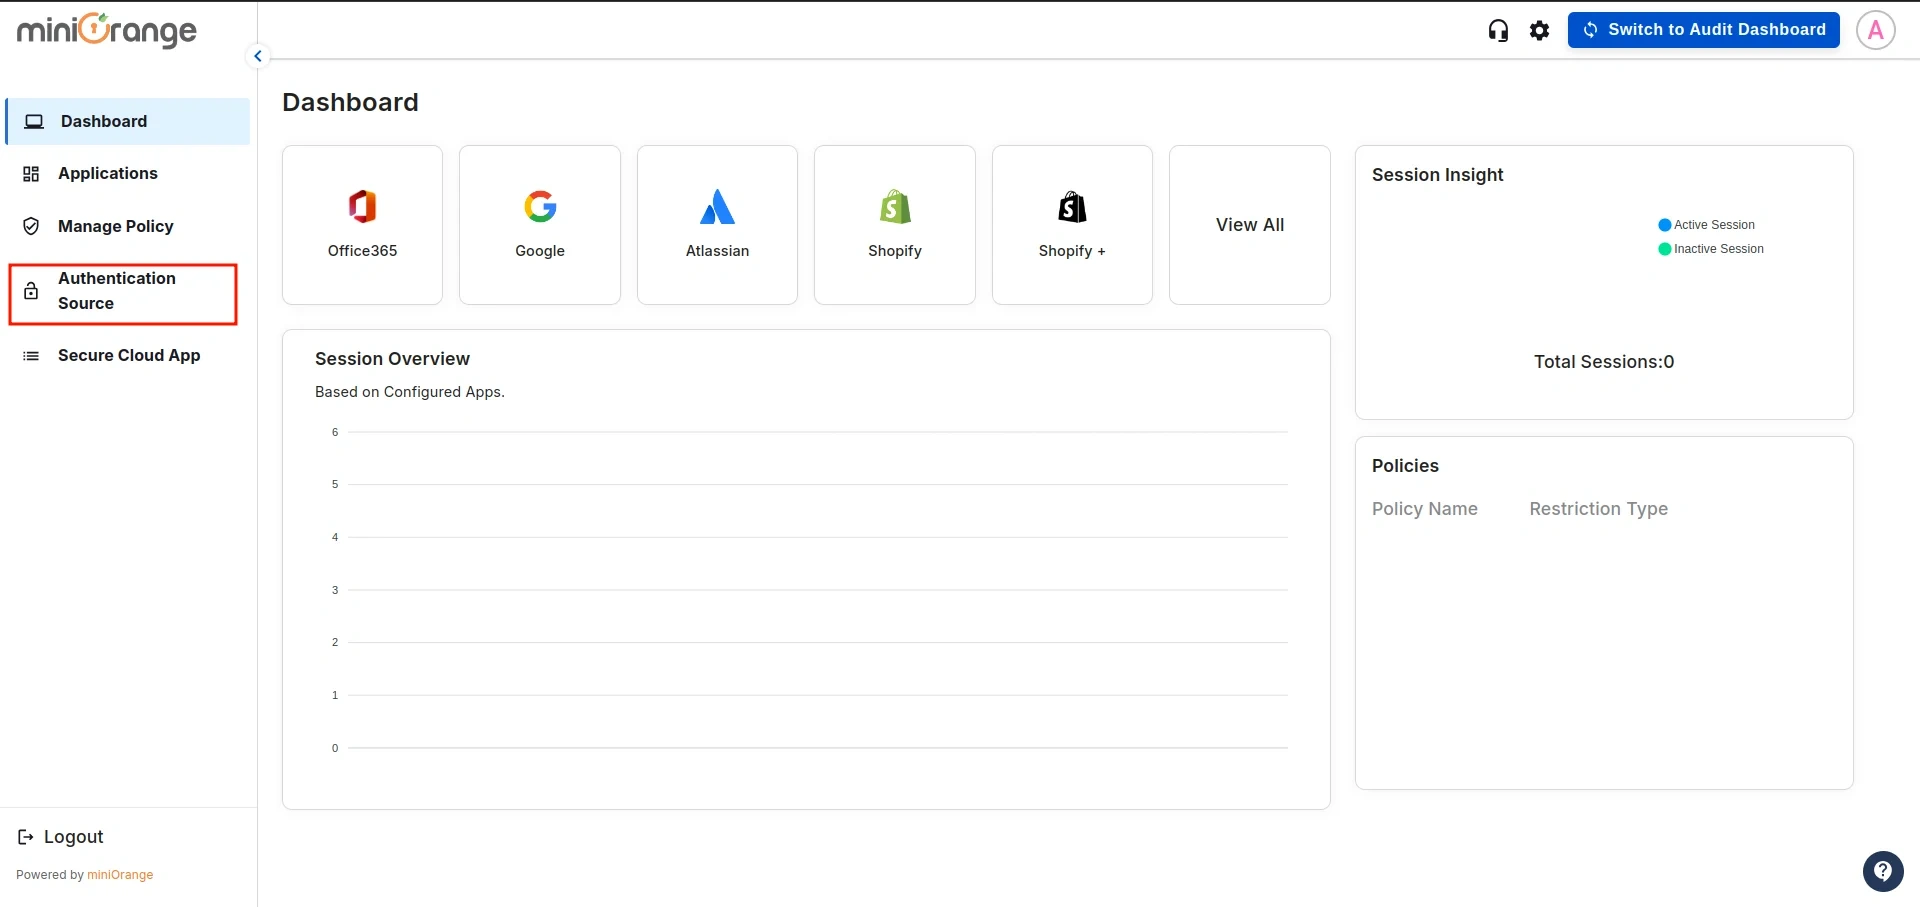
- After signing in, navigate to the Authentication Source in the left sidebar.
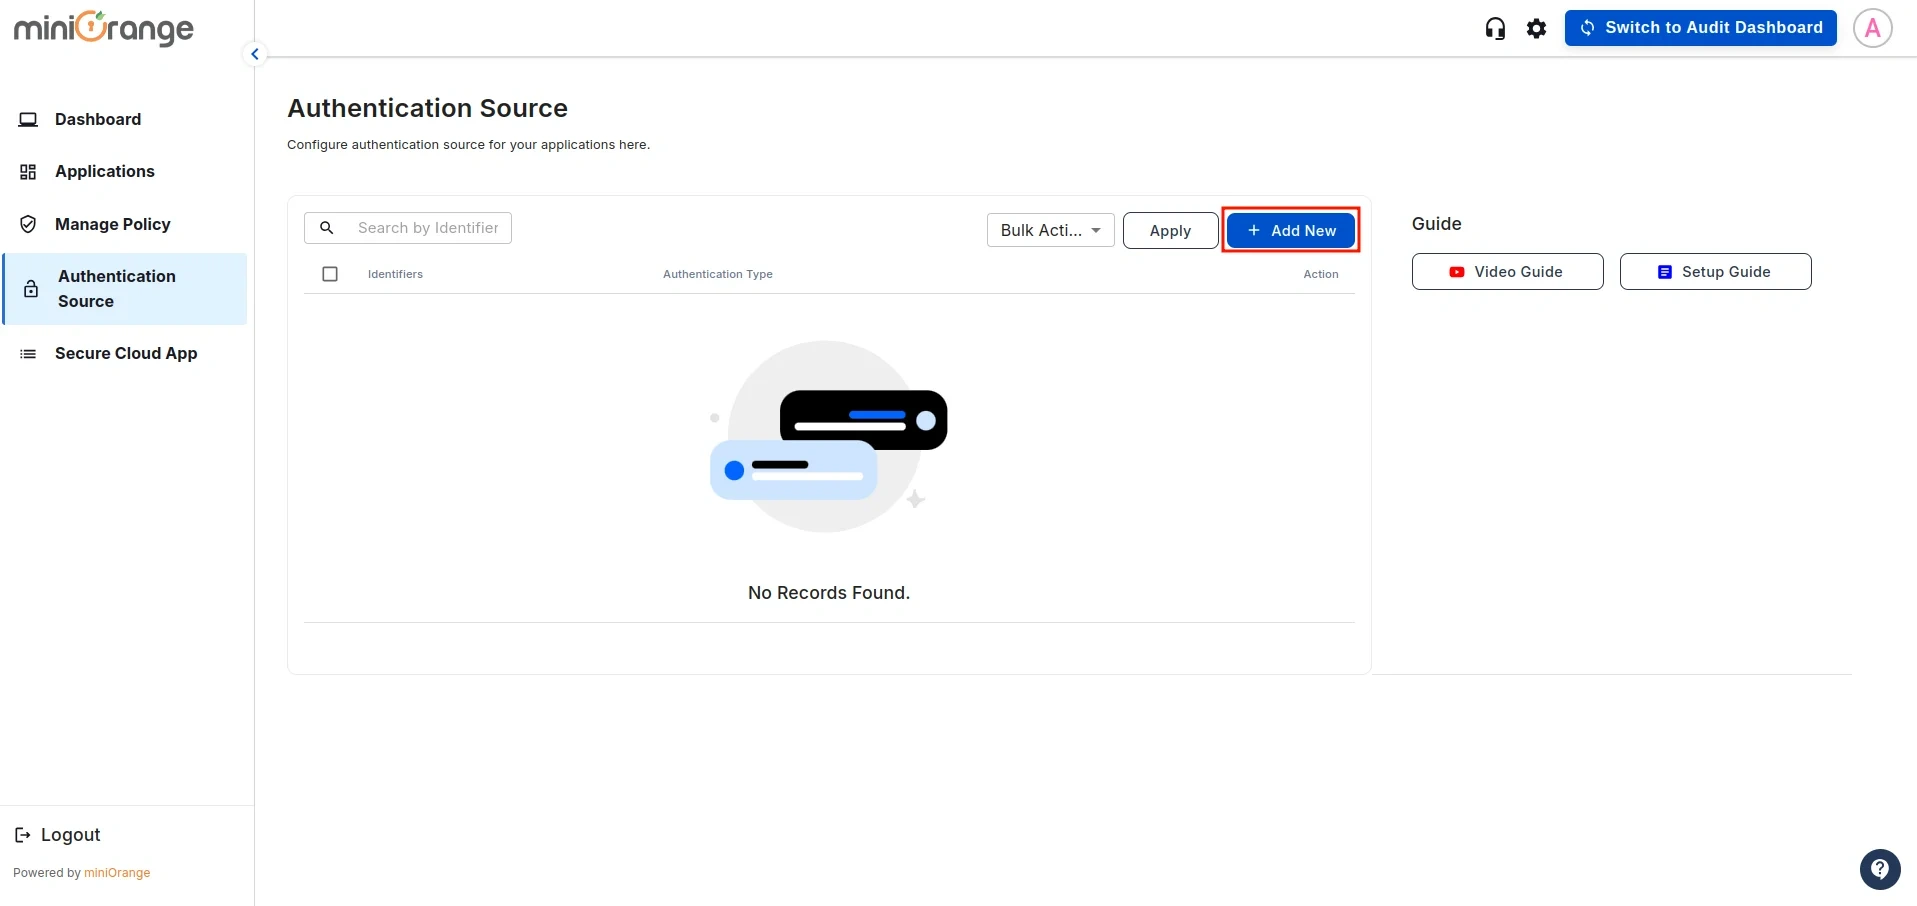
- You will see the list of all existing authentication sources configured in the CASB dashboard.
Click on Add New to create a new one.
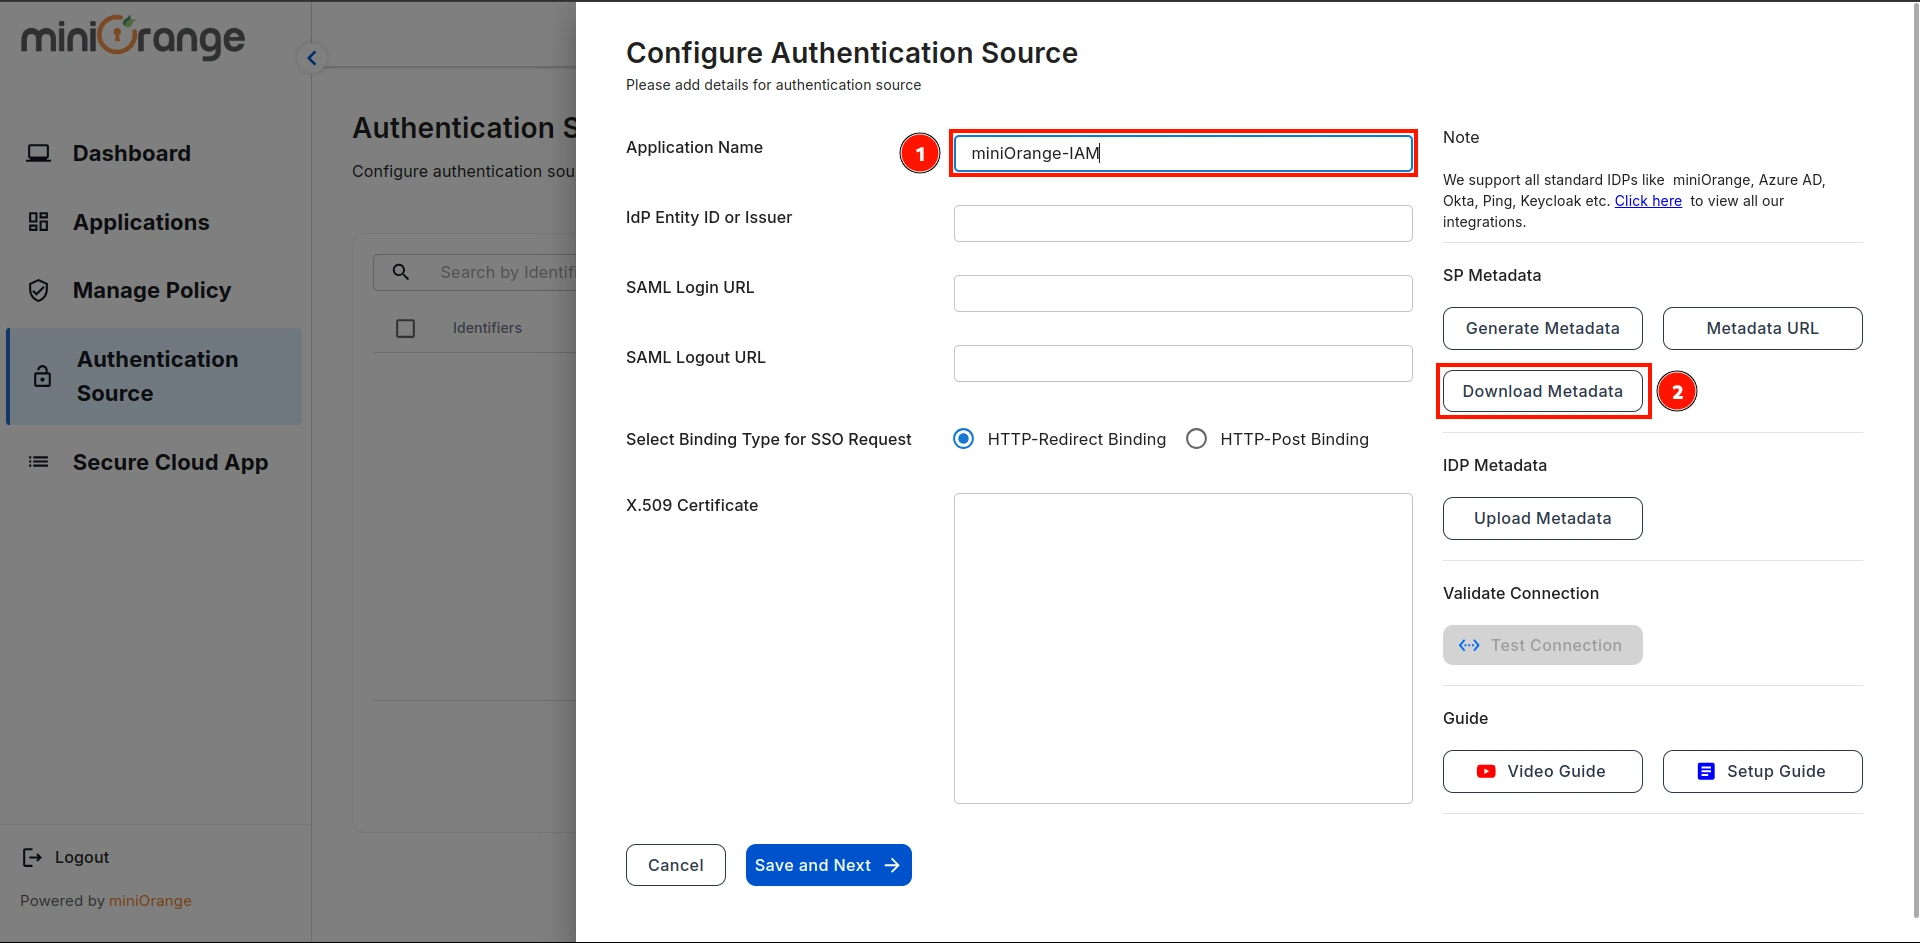
- This will open the configuration screen for the Authentication Source. Enter
the Authentication Source Name and click Download Metadata.
Step 2: Configure Microsoft Office 365 as a Identity Provider
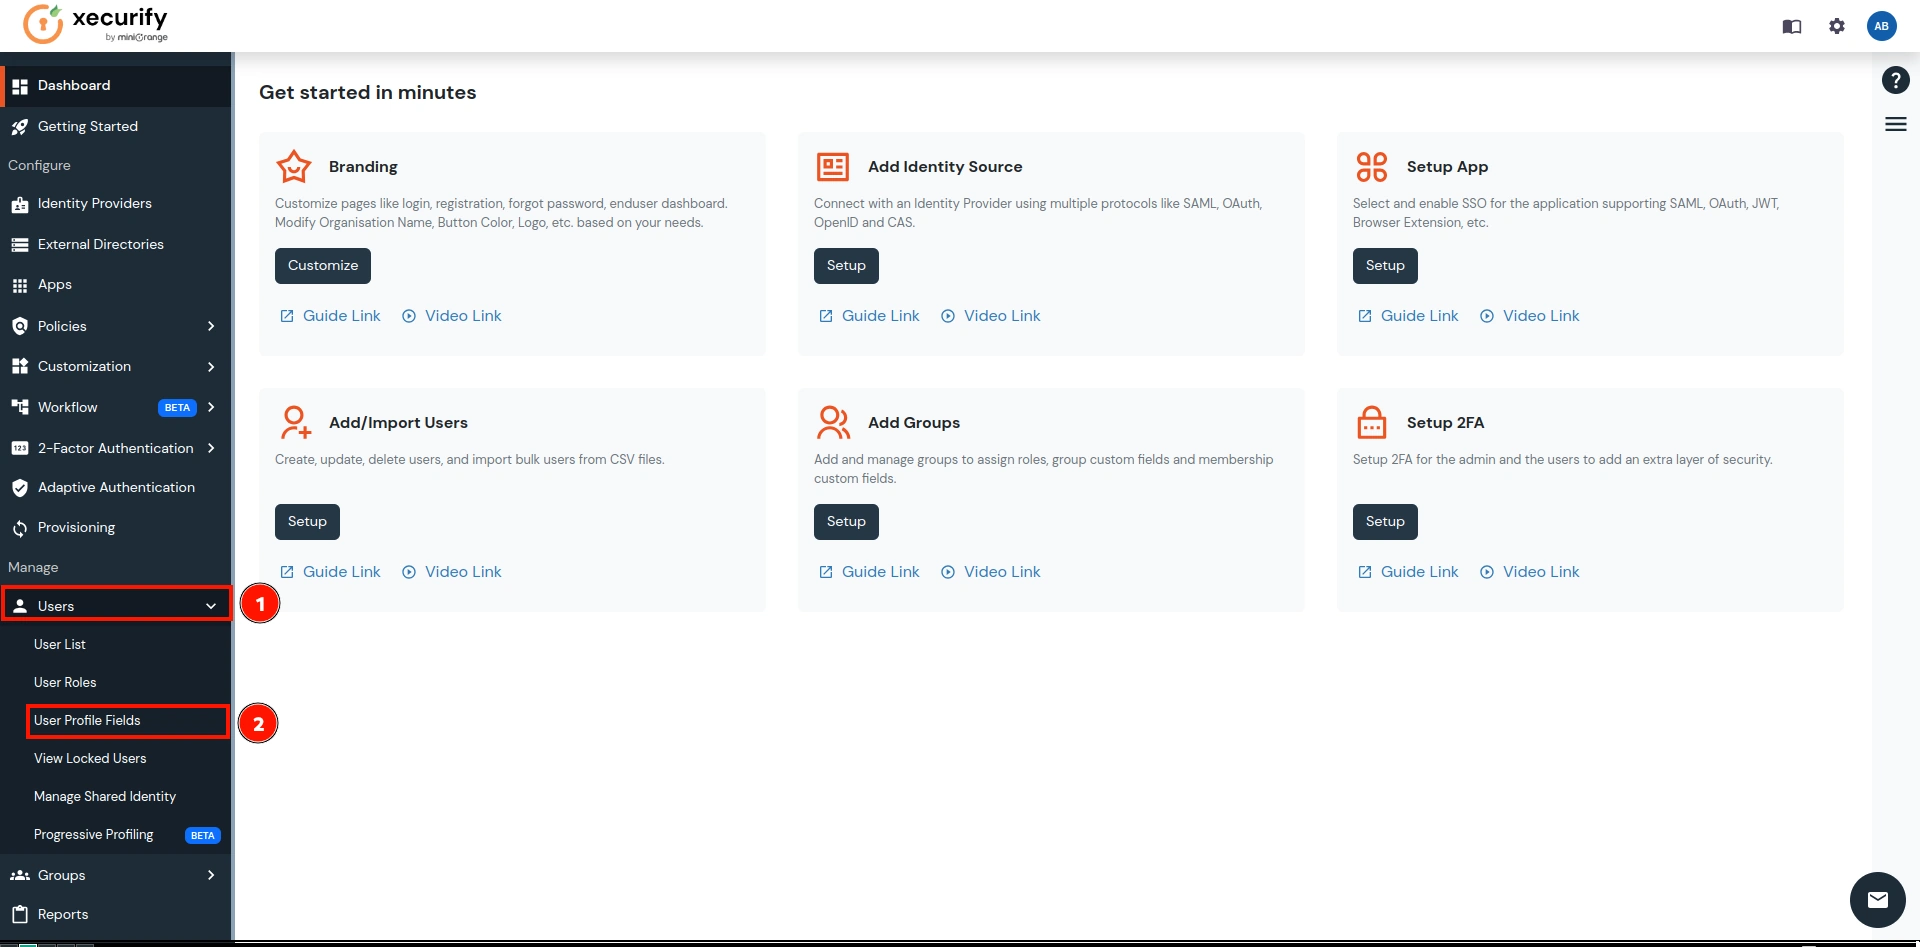
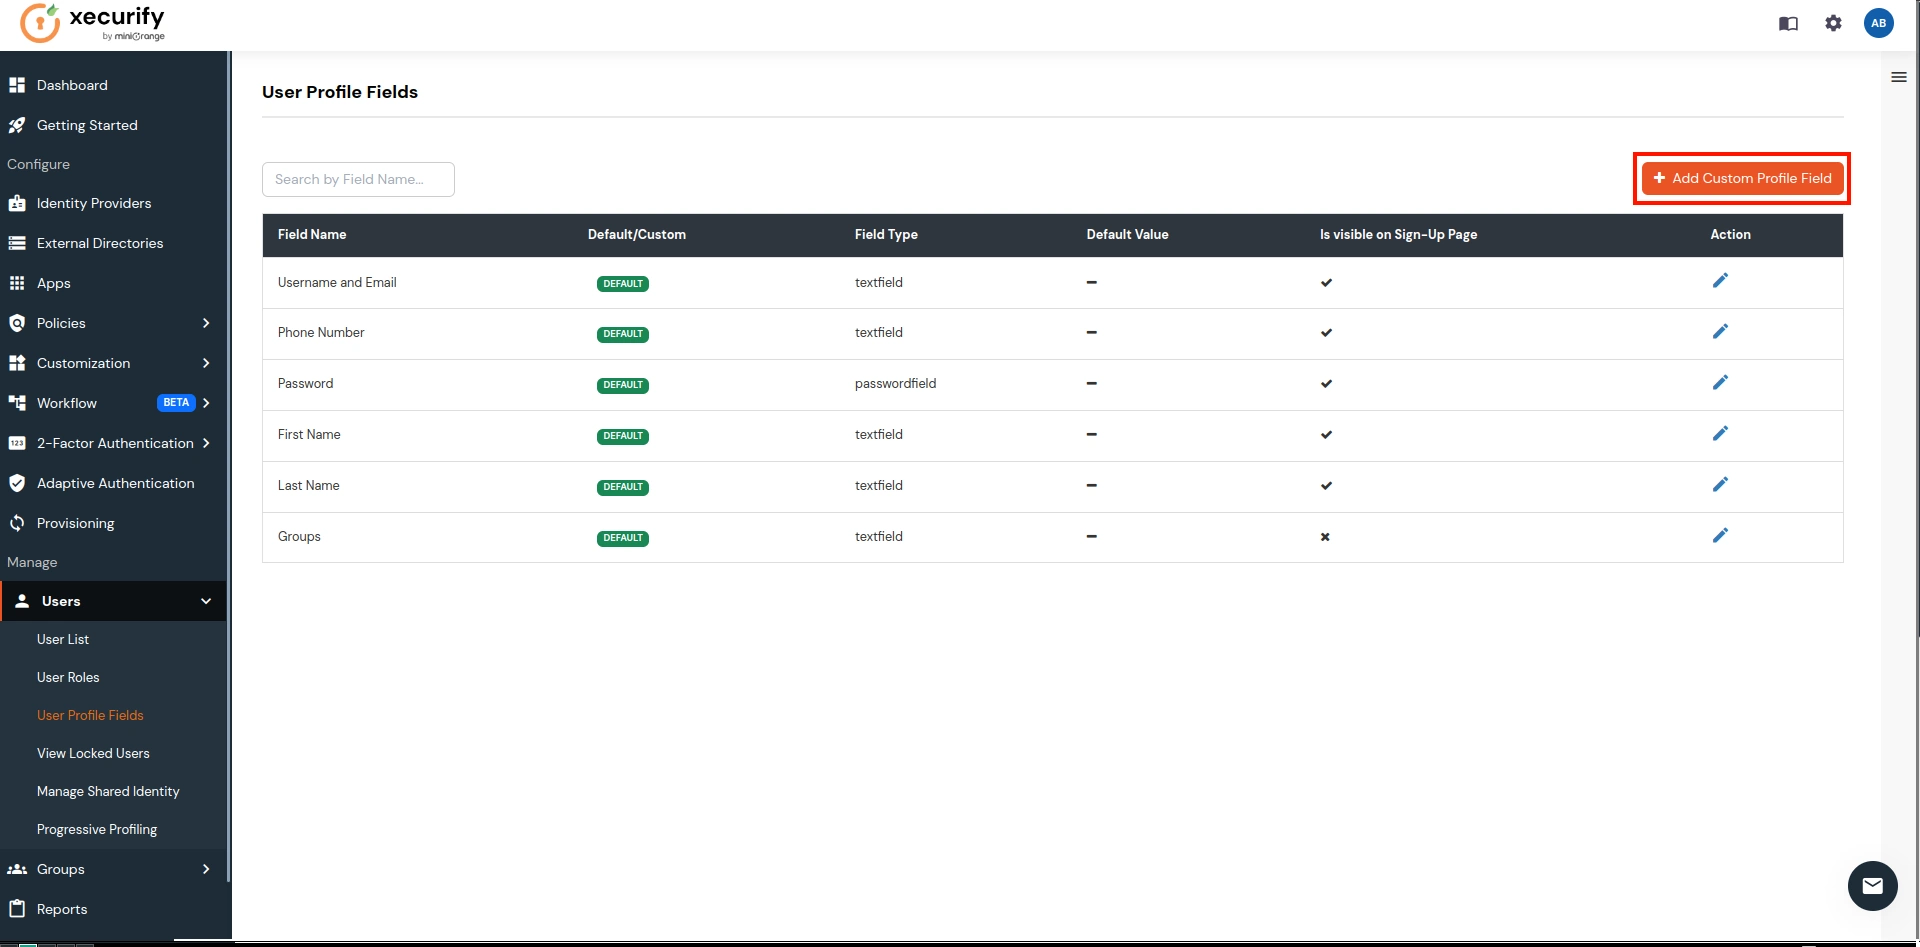
- Sign in to miniOrange IAM and go to the User Profile Fields as shown below in the image and click on it.
(In this guide, we are using miniOrange as the IDP, but you can contact us at
uemsupport@xecurify.com
to set up your preferred IDP.)
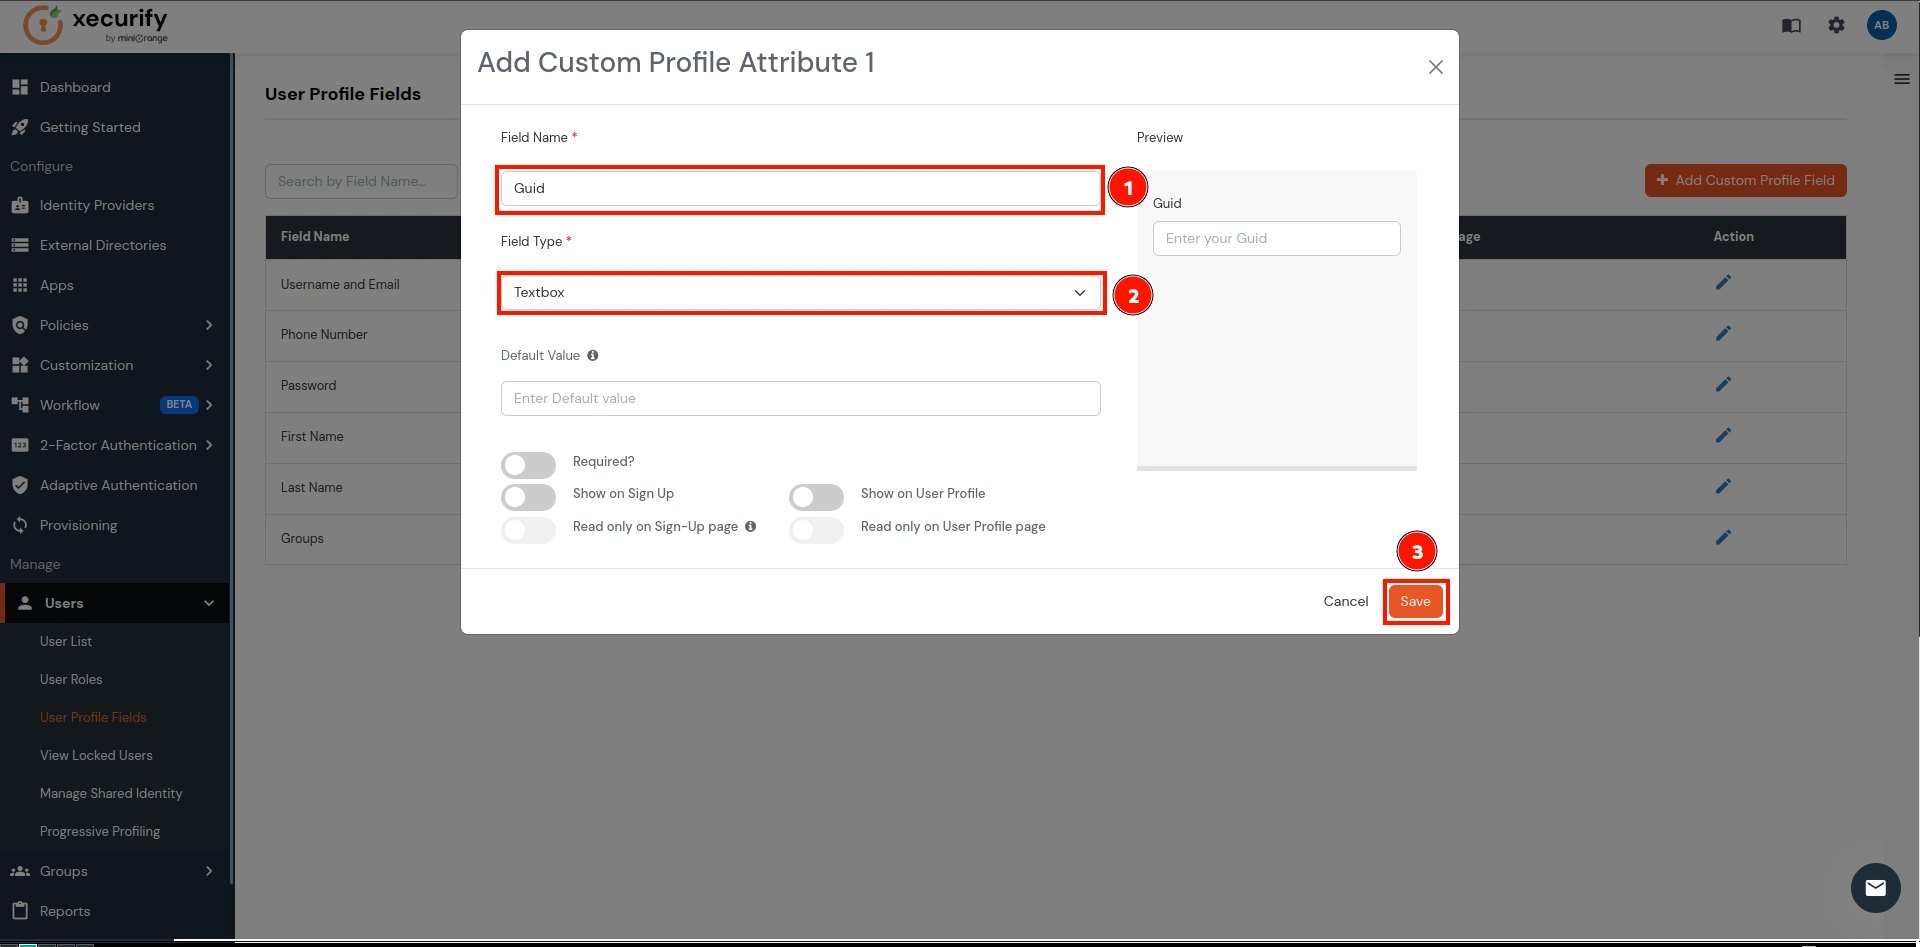
- Click on the Add Custom Profile Attribute button.
- Enter Field Name as Guid and Field Type as Textbox (select from dropdown). Click on save button.
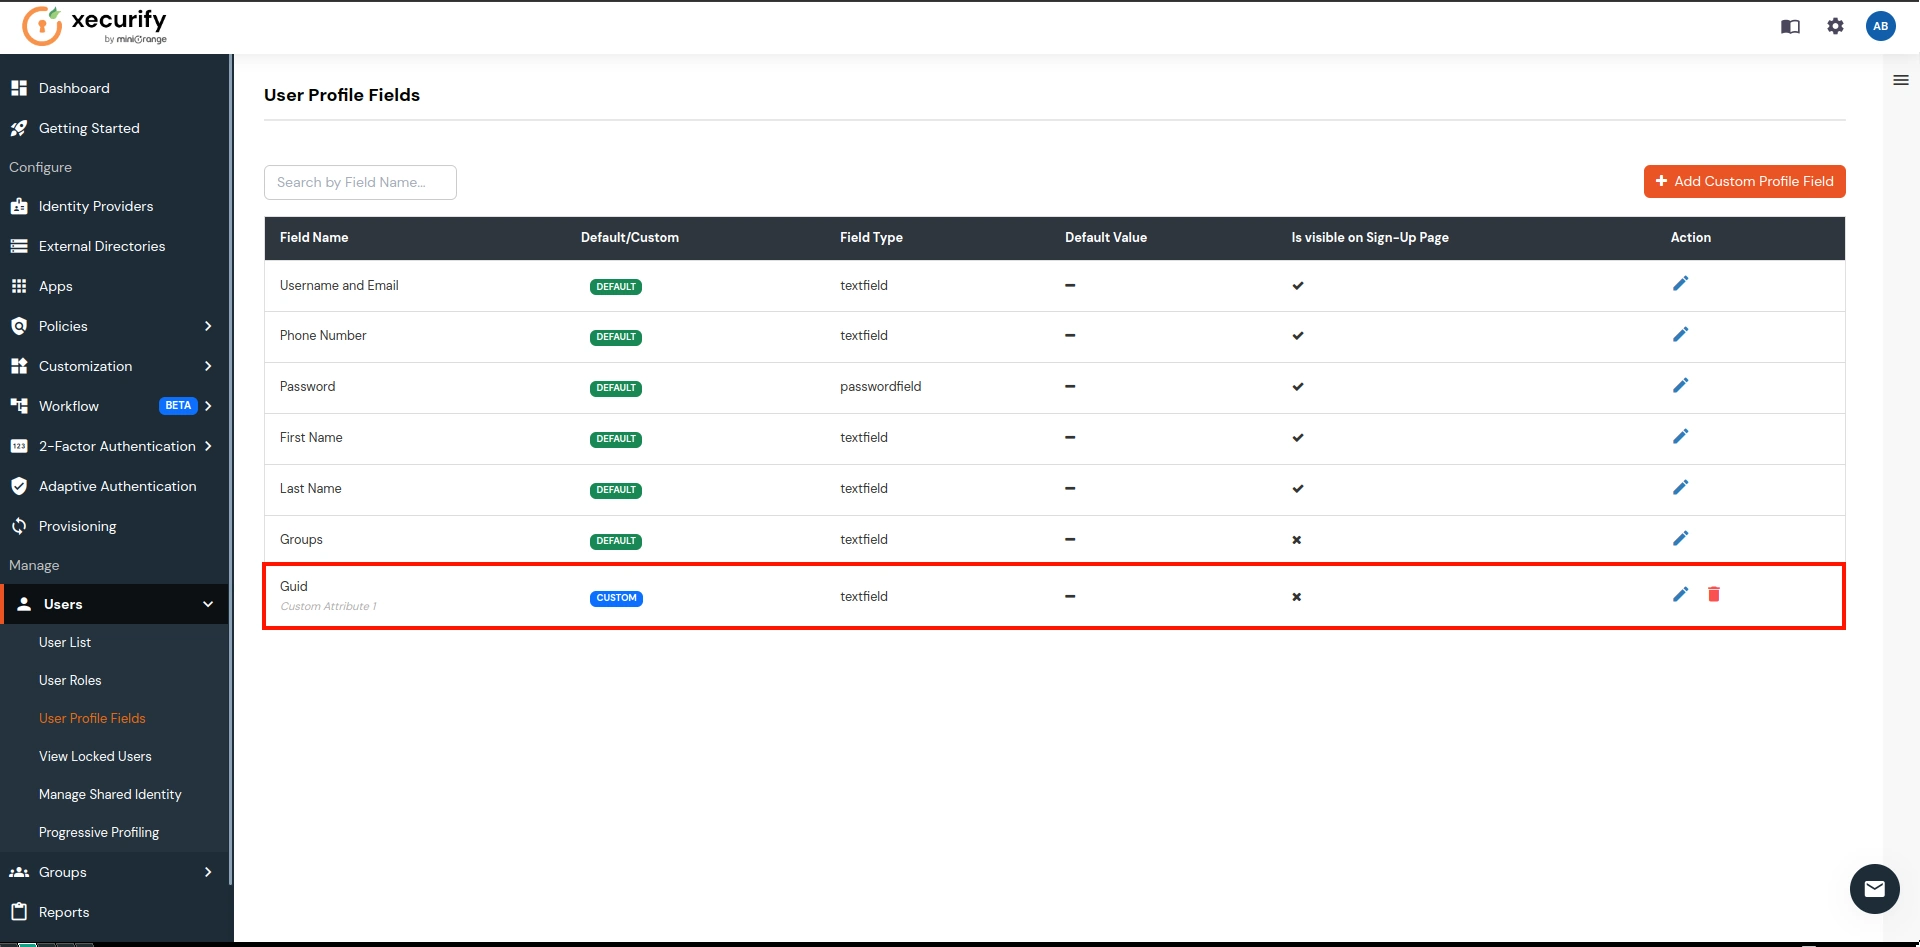
- This will create a custom attribute field as Guid as shown below in the image which will be used to sync the ImmutableID for the users.
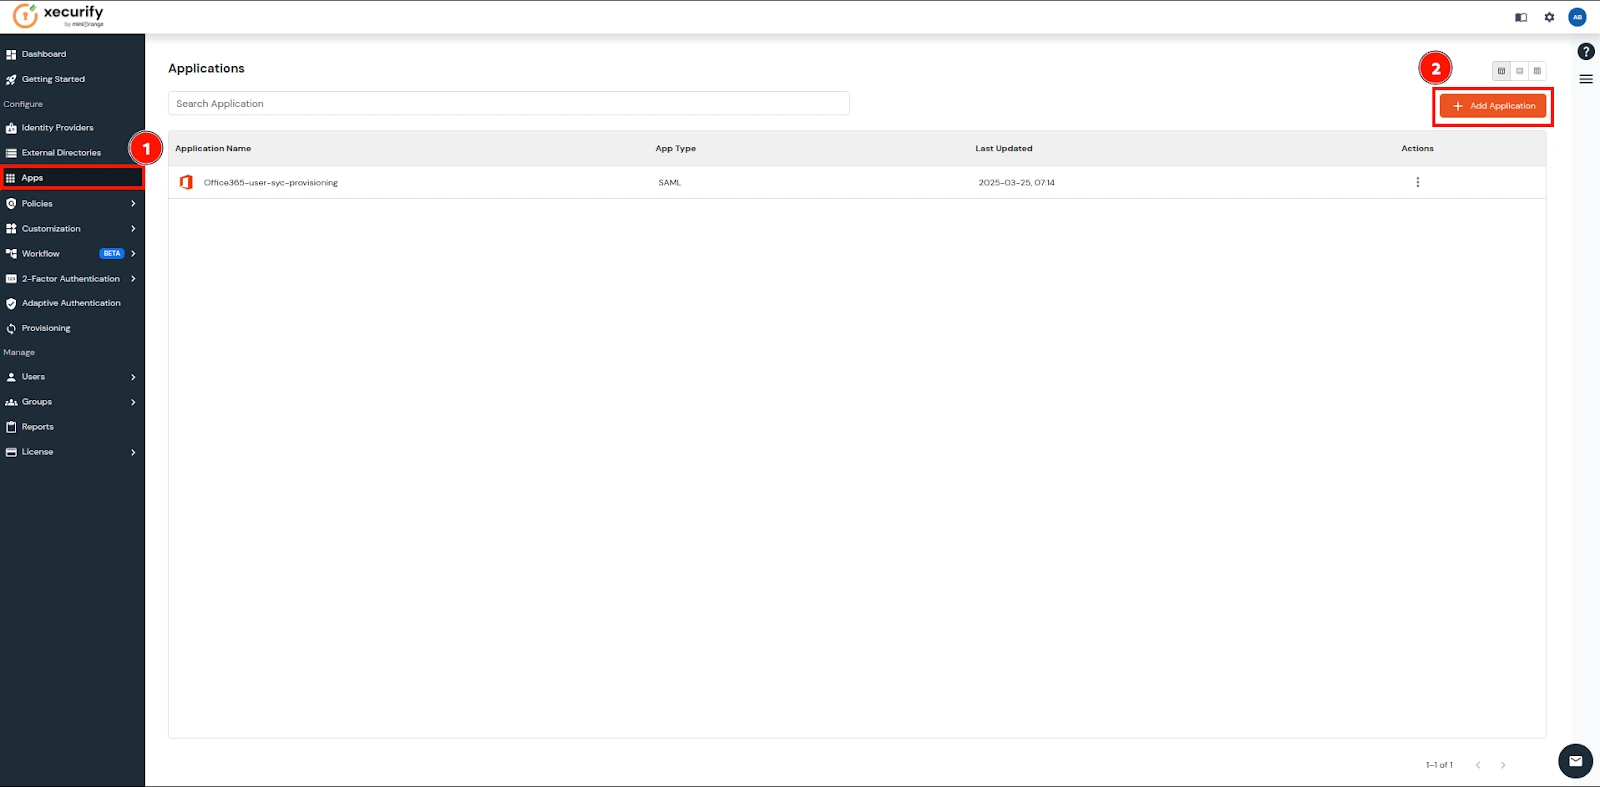
- Now navigate to the Apps and click on the Add Application button
.
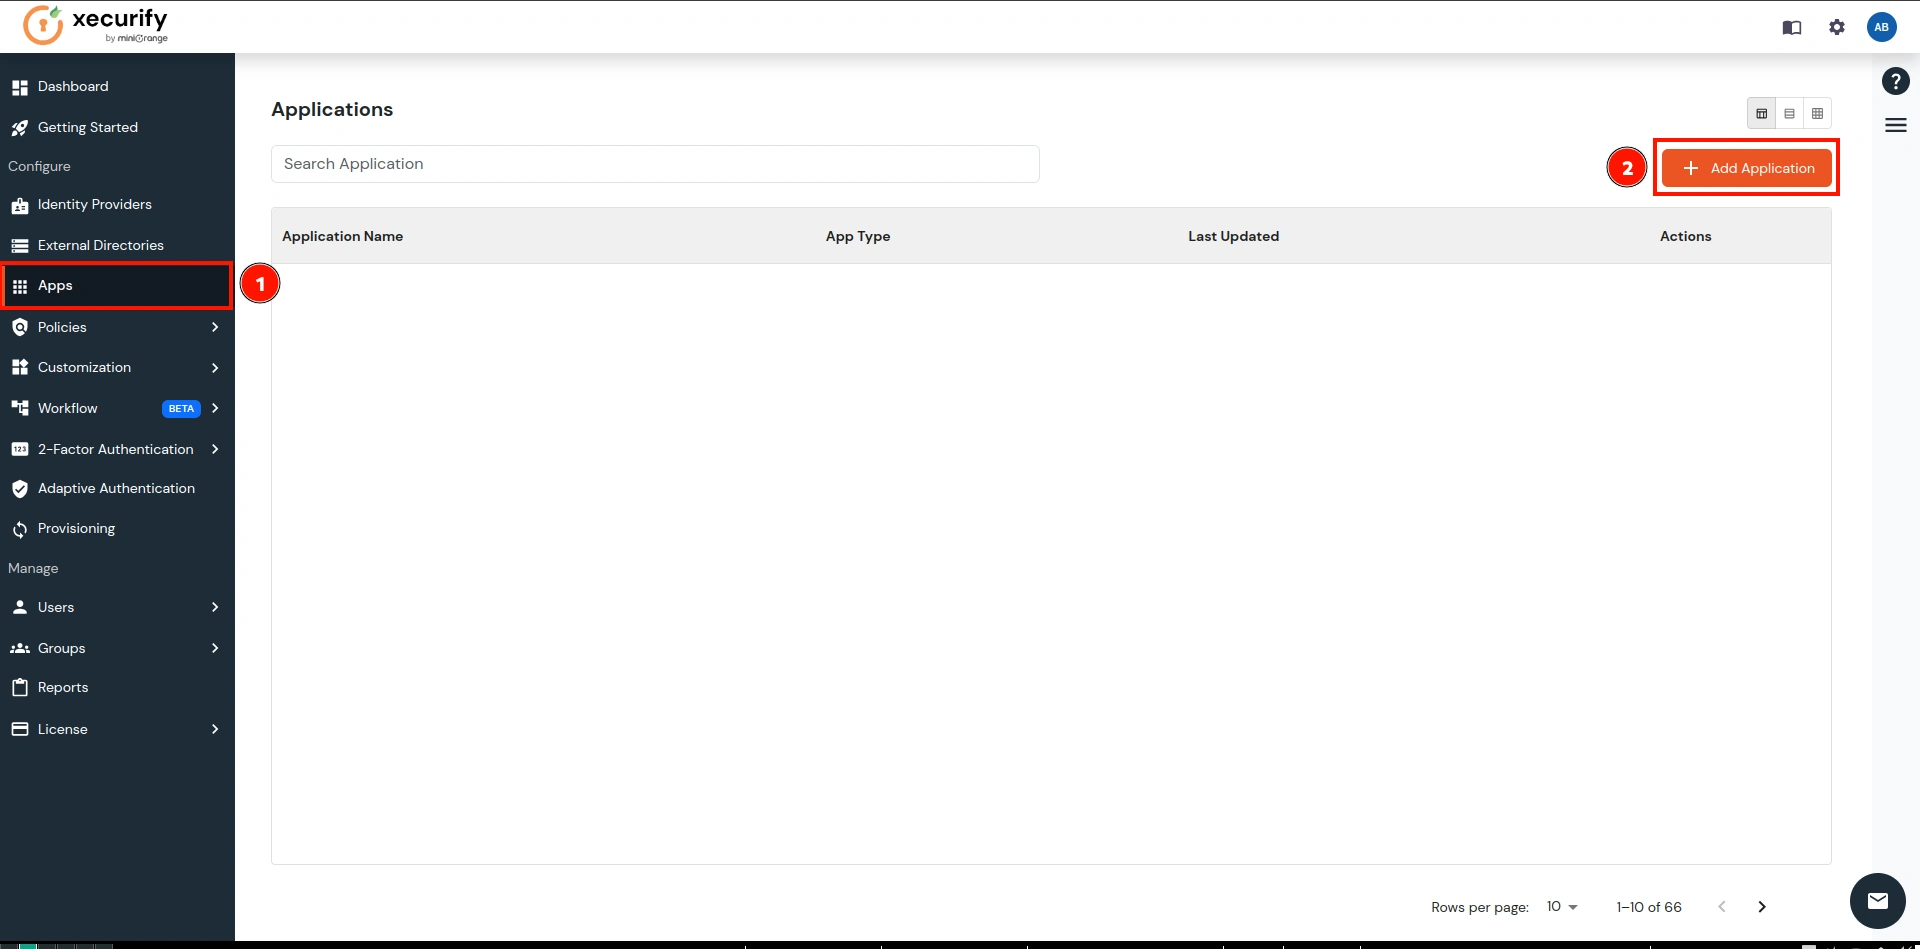
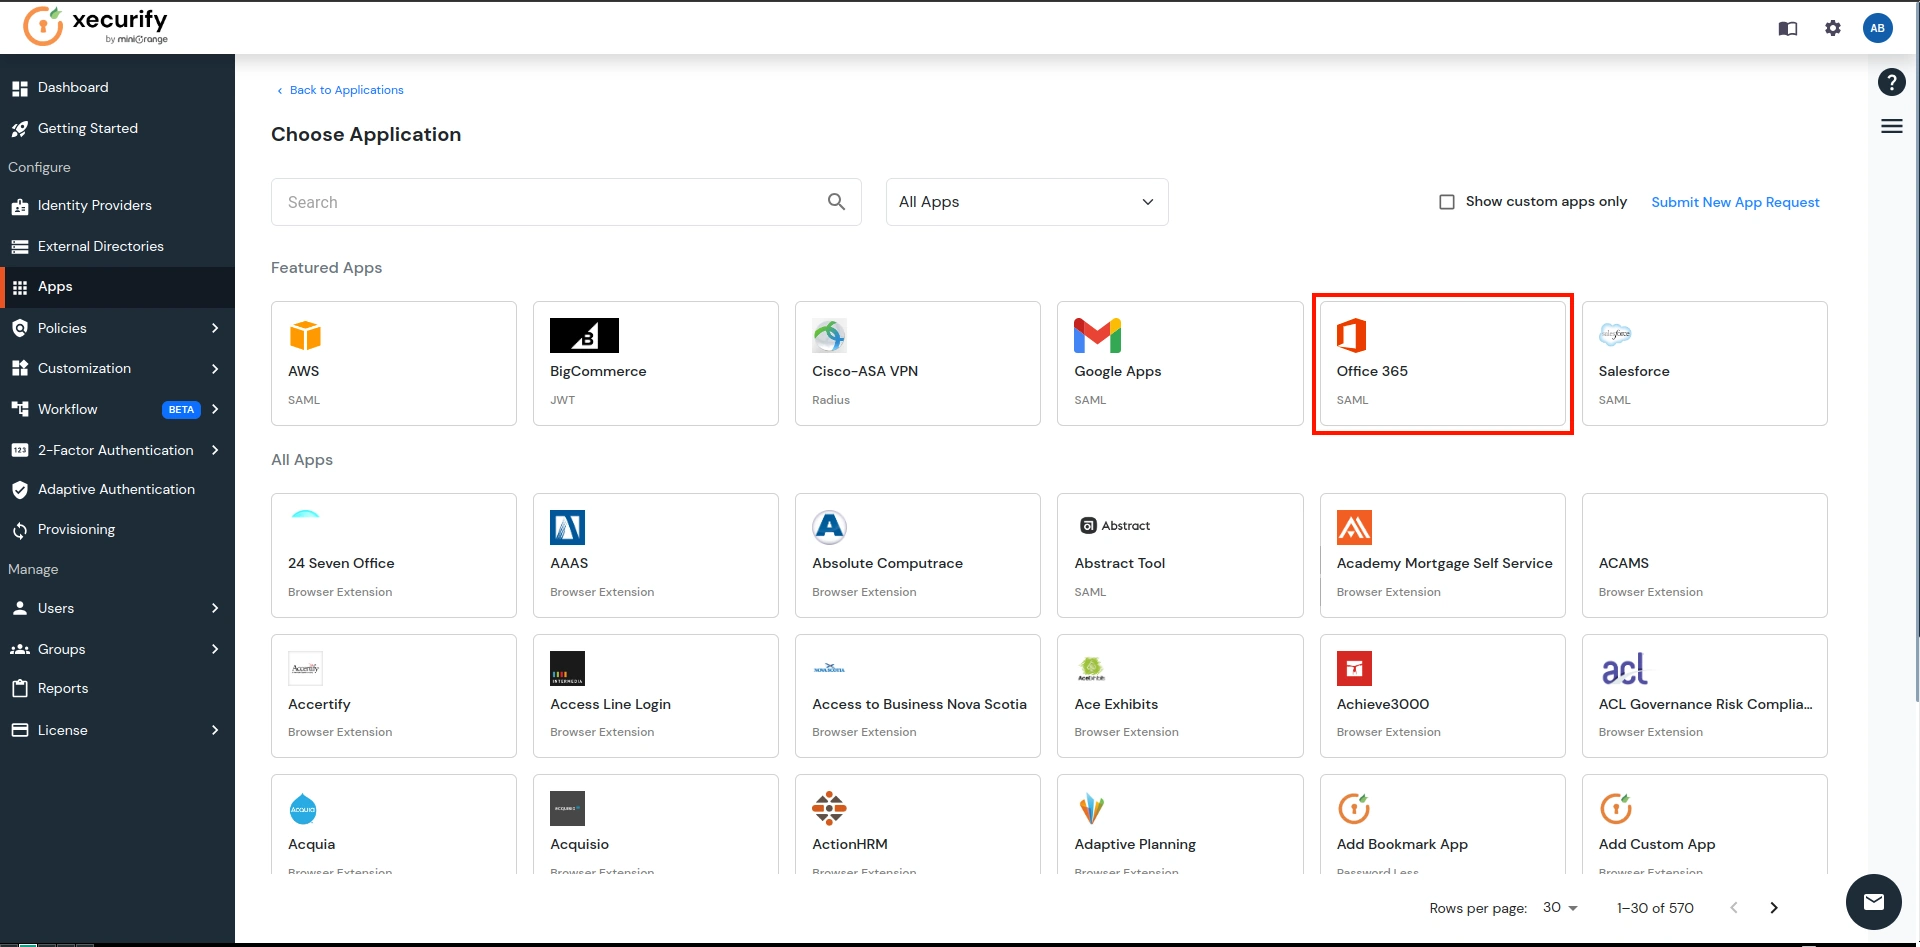
- Search for the Office 365 in the search box and click on it.
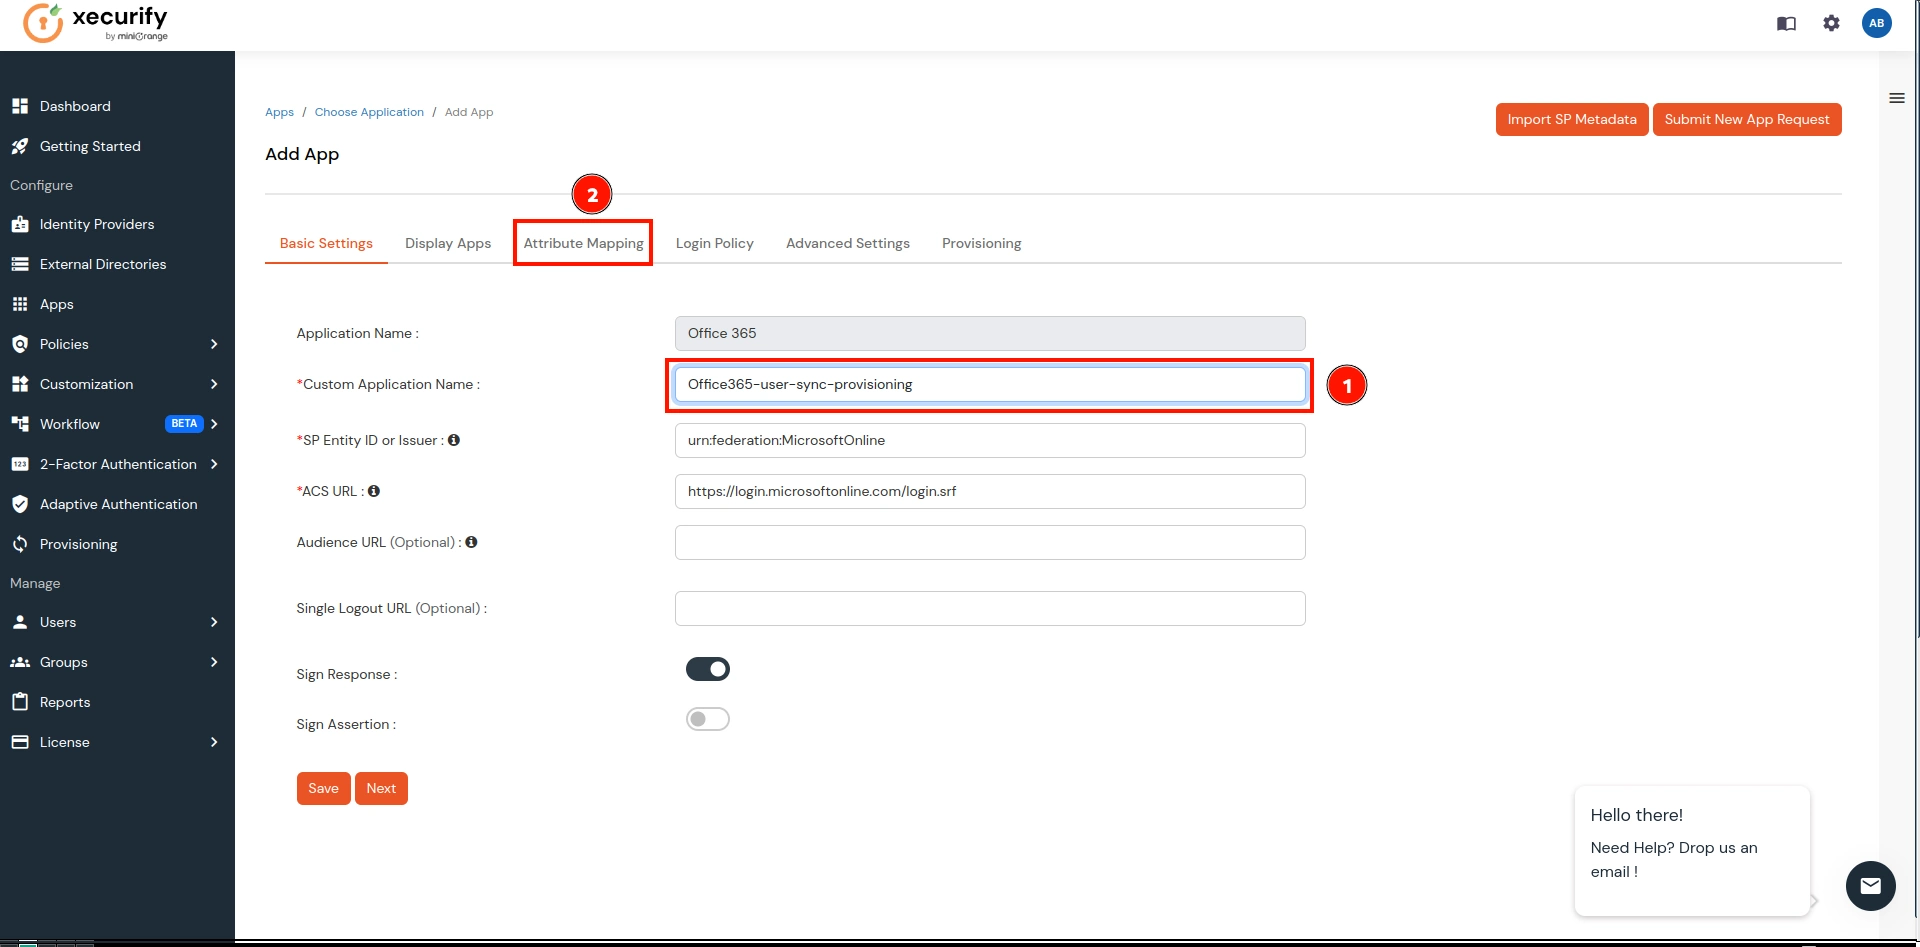
- Here, give the name of your application and go to Attribute Mapping. This application will be used to sync users from miniOrange IAM to Office 365.
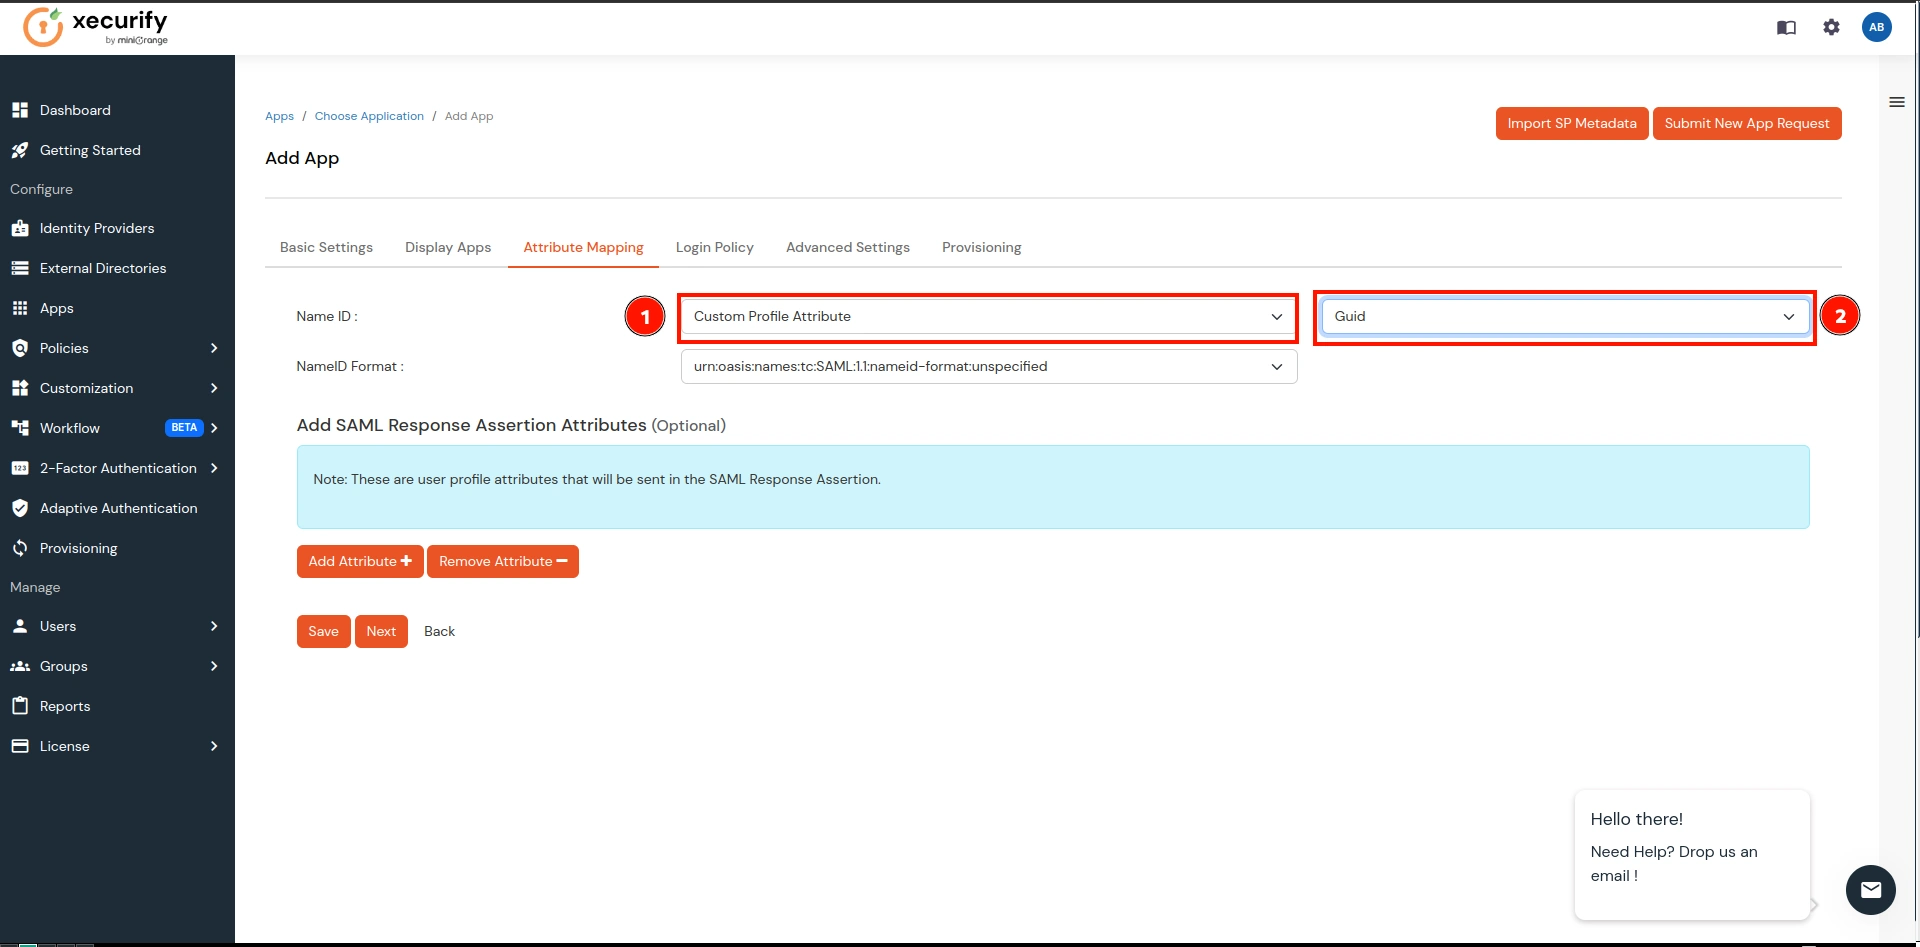
- On the Attribute Mappings:
- In NameID, select the Custom Attribute from the 1st dropdown.
- Now select Guid over the 2nd dropdown (which we created in the previous step).
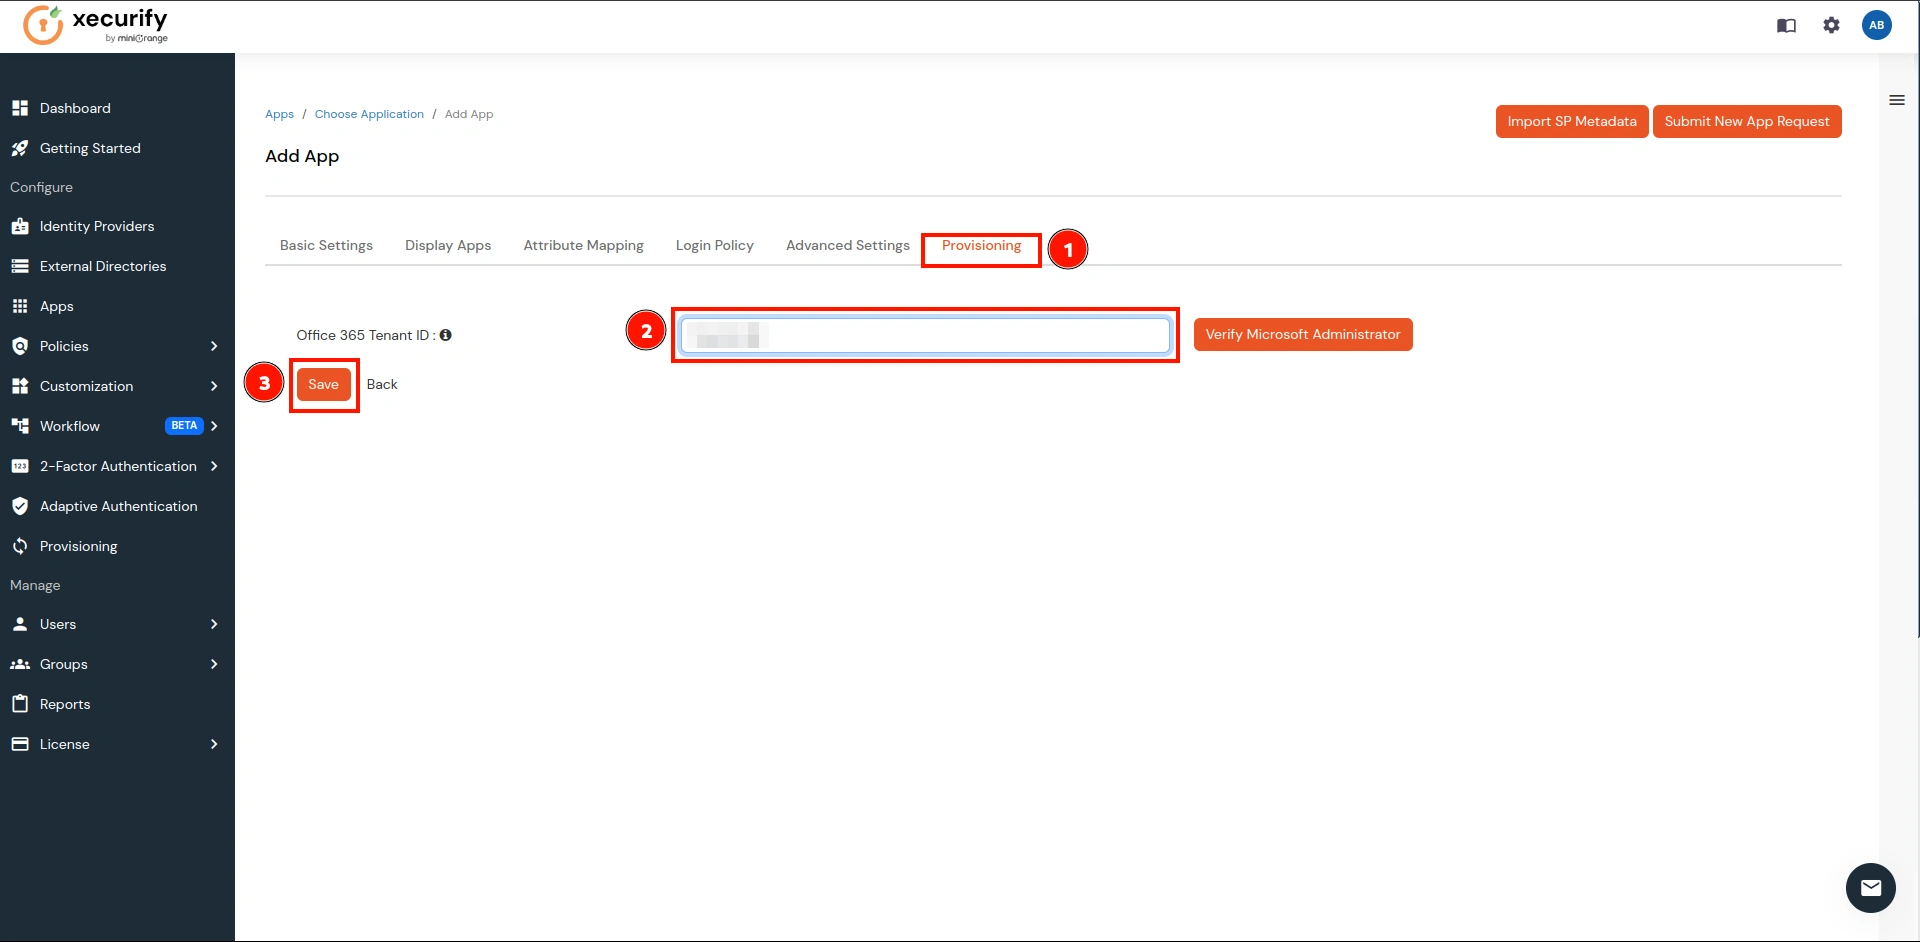
- Now navigate to the last tab Provisioning, enter your domain, and click on the Save button.
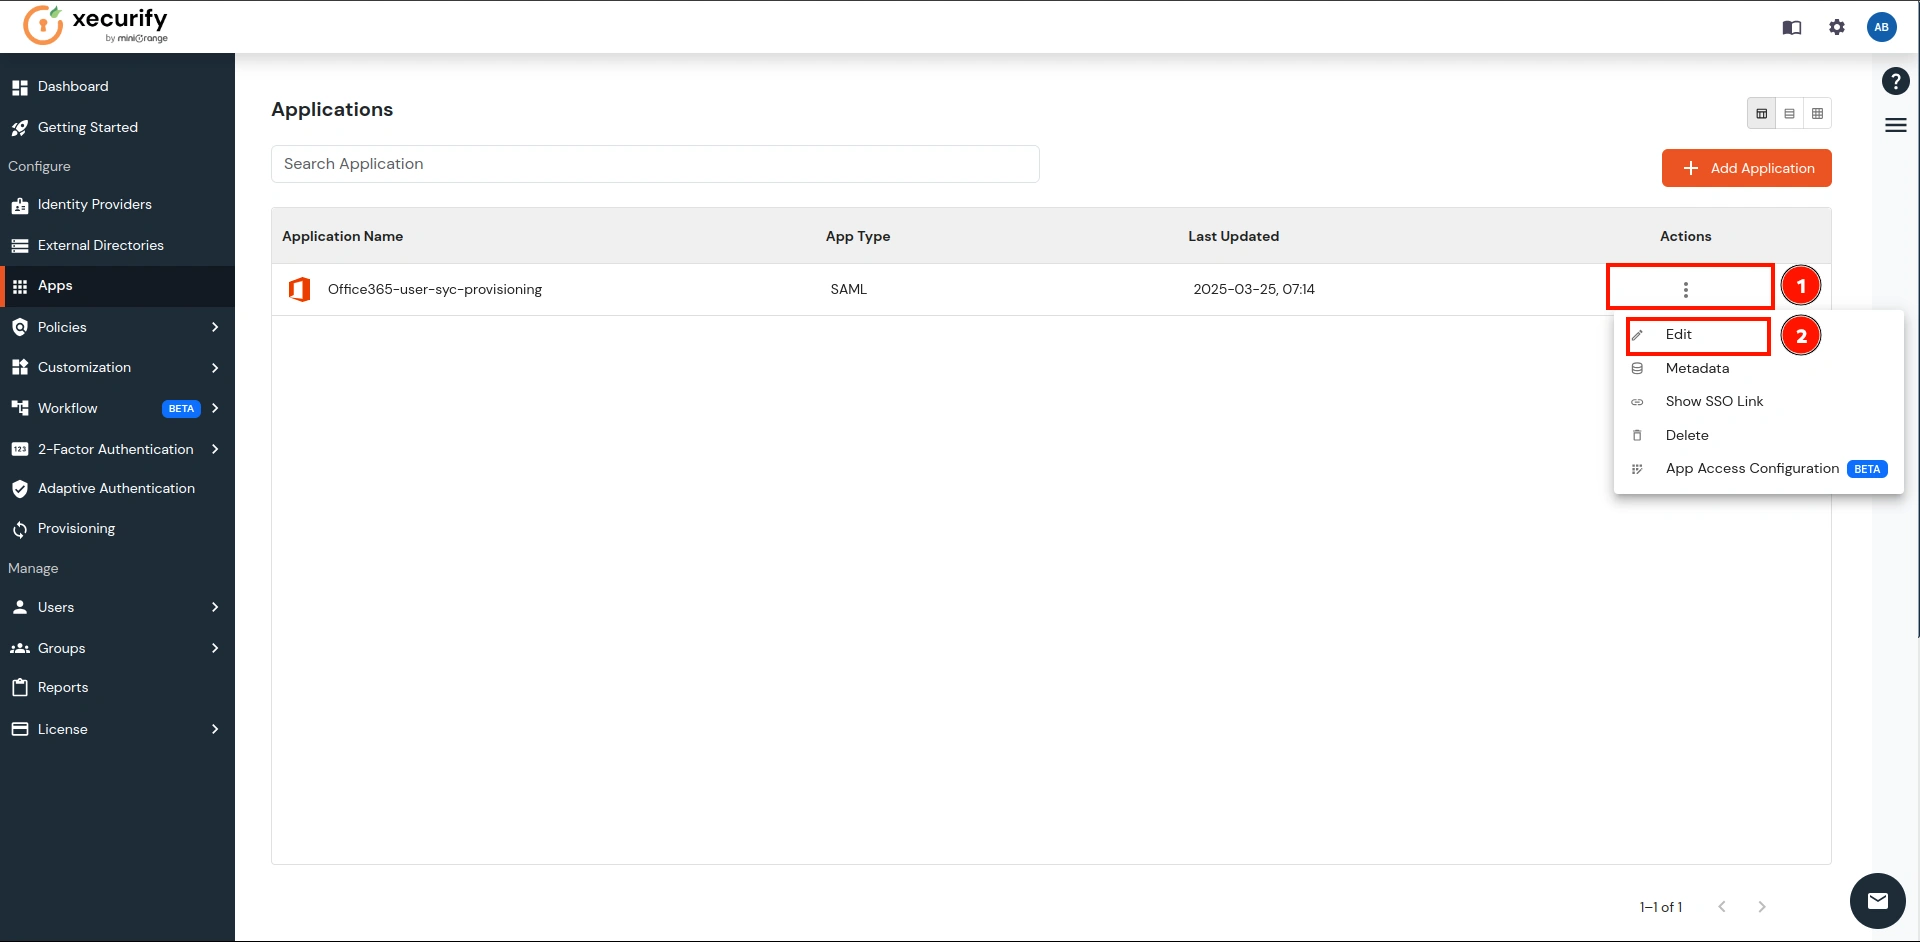
- Navigate to the newly created application and under the Actions column, click on the Edit button as shown below.
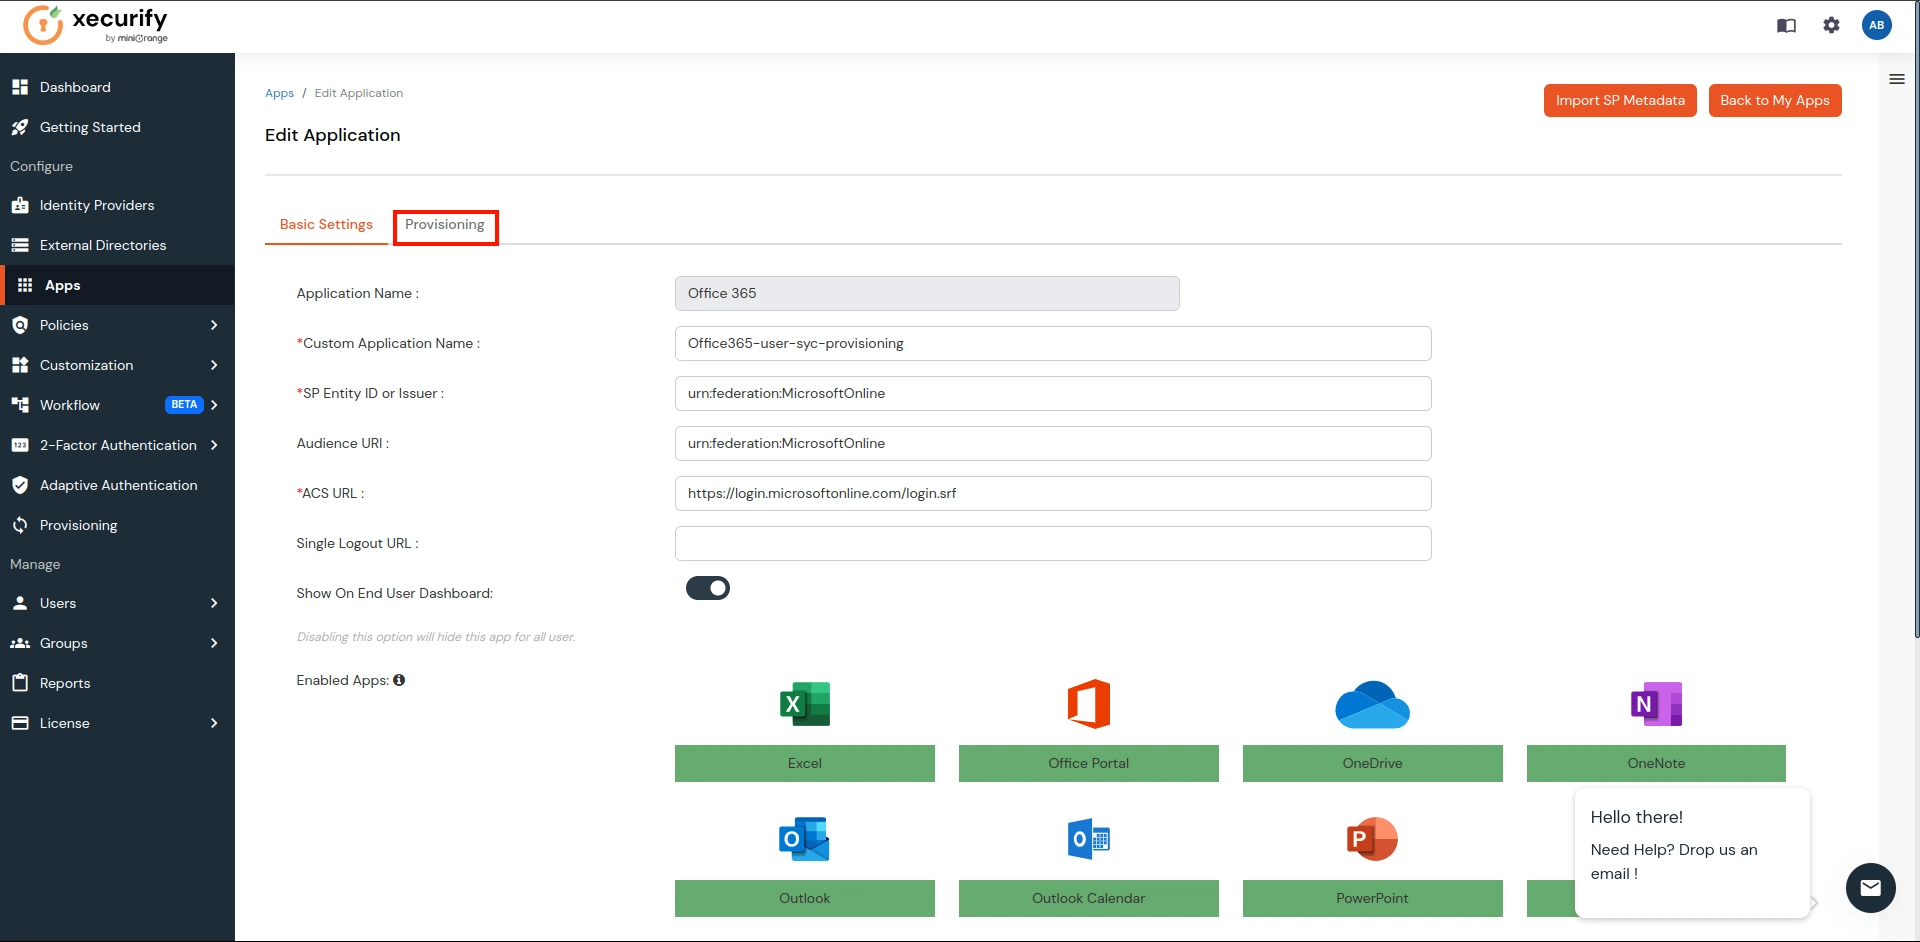
- It will open the Edit view of the application. Over there, go to Provisioning.
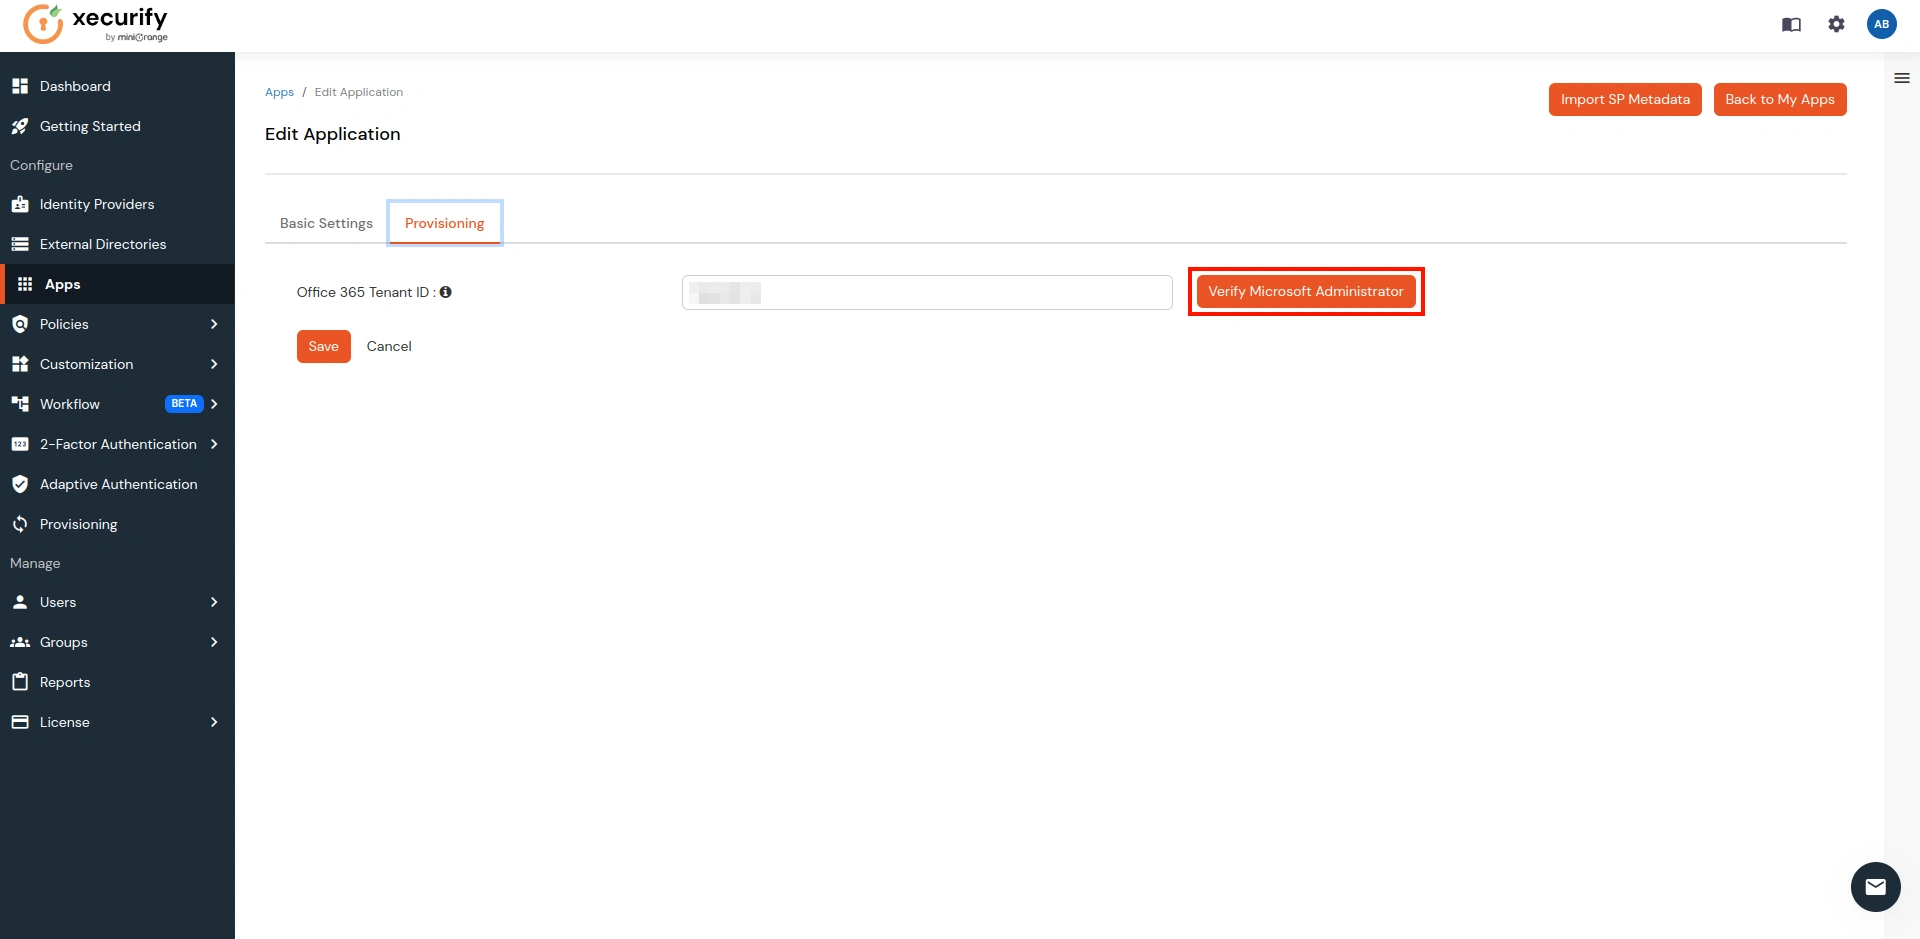
- Click on the Verify Microsoft Administrator button.
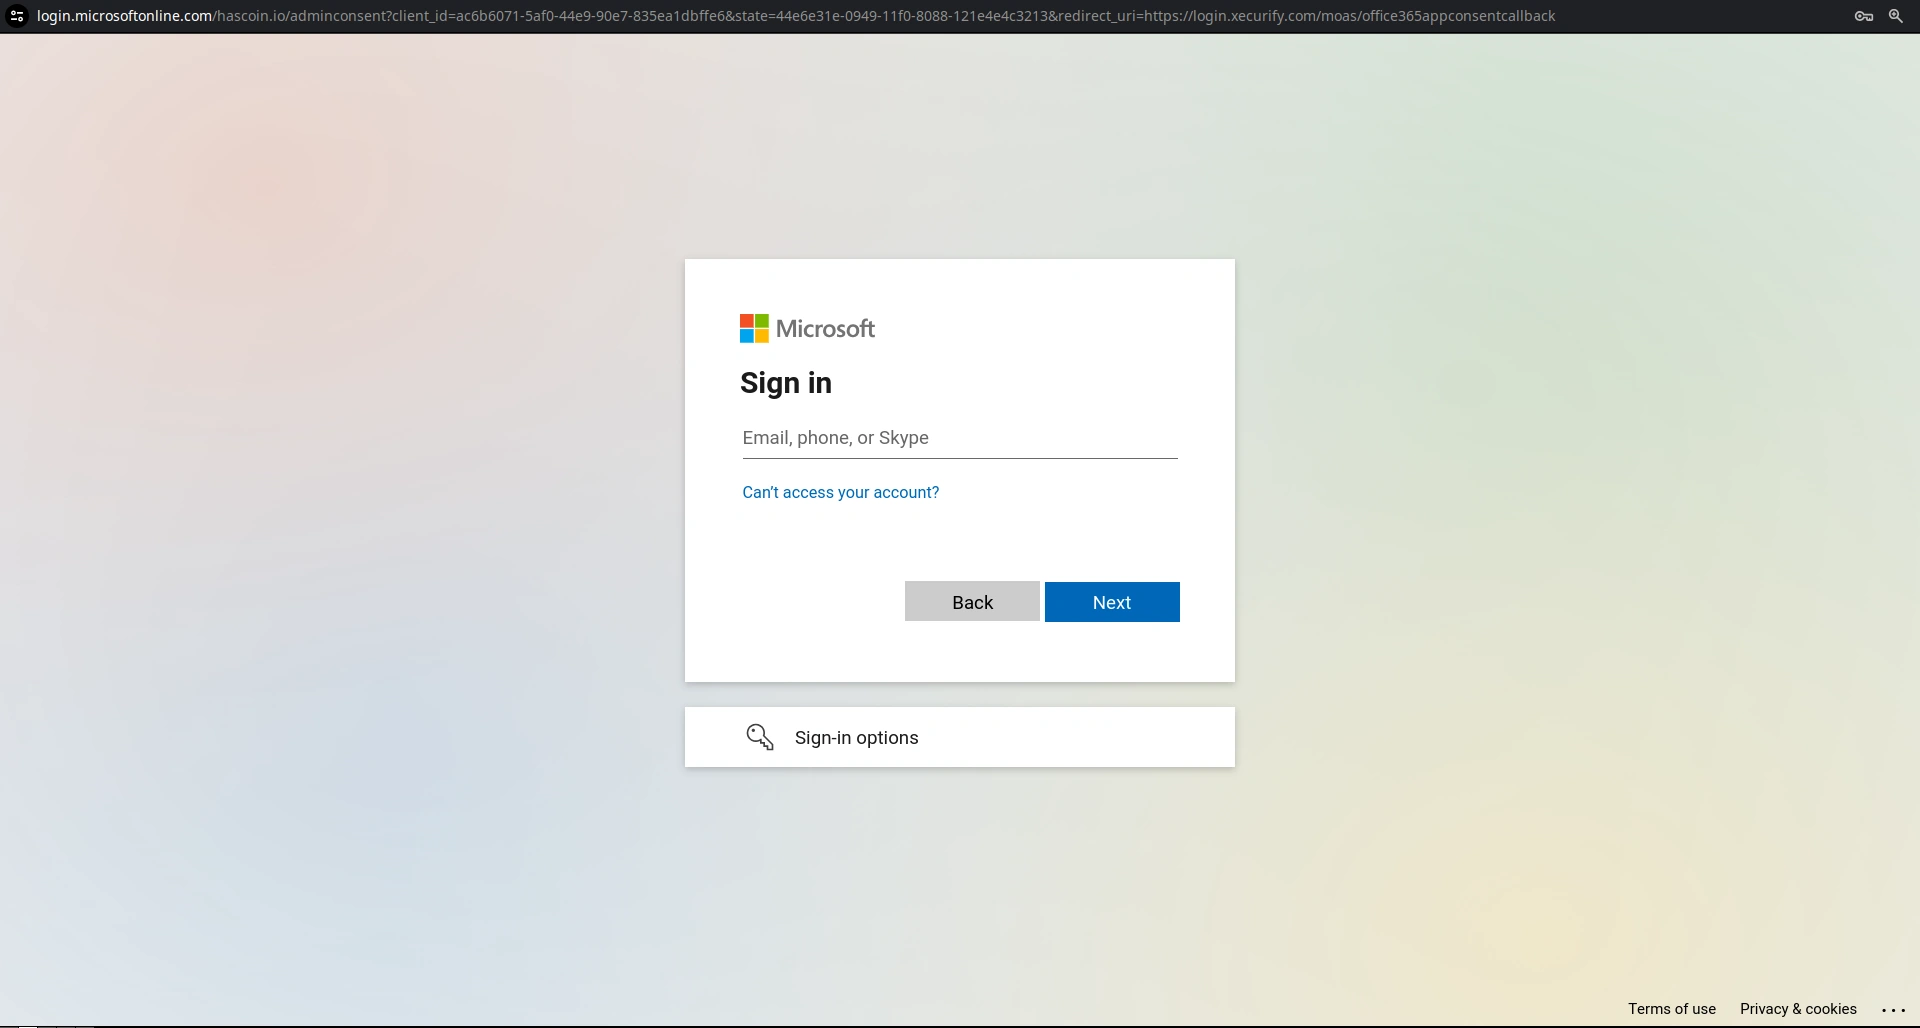
- It will take you to the Microsoft login page. Log in with your Admin Credentials for your Microsoft account.
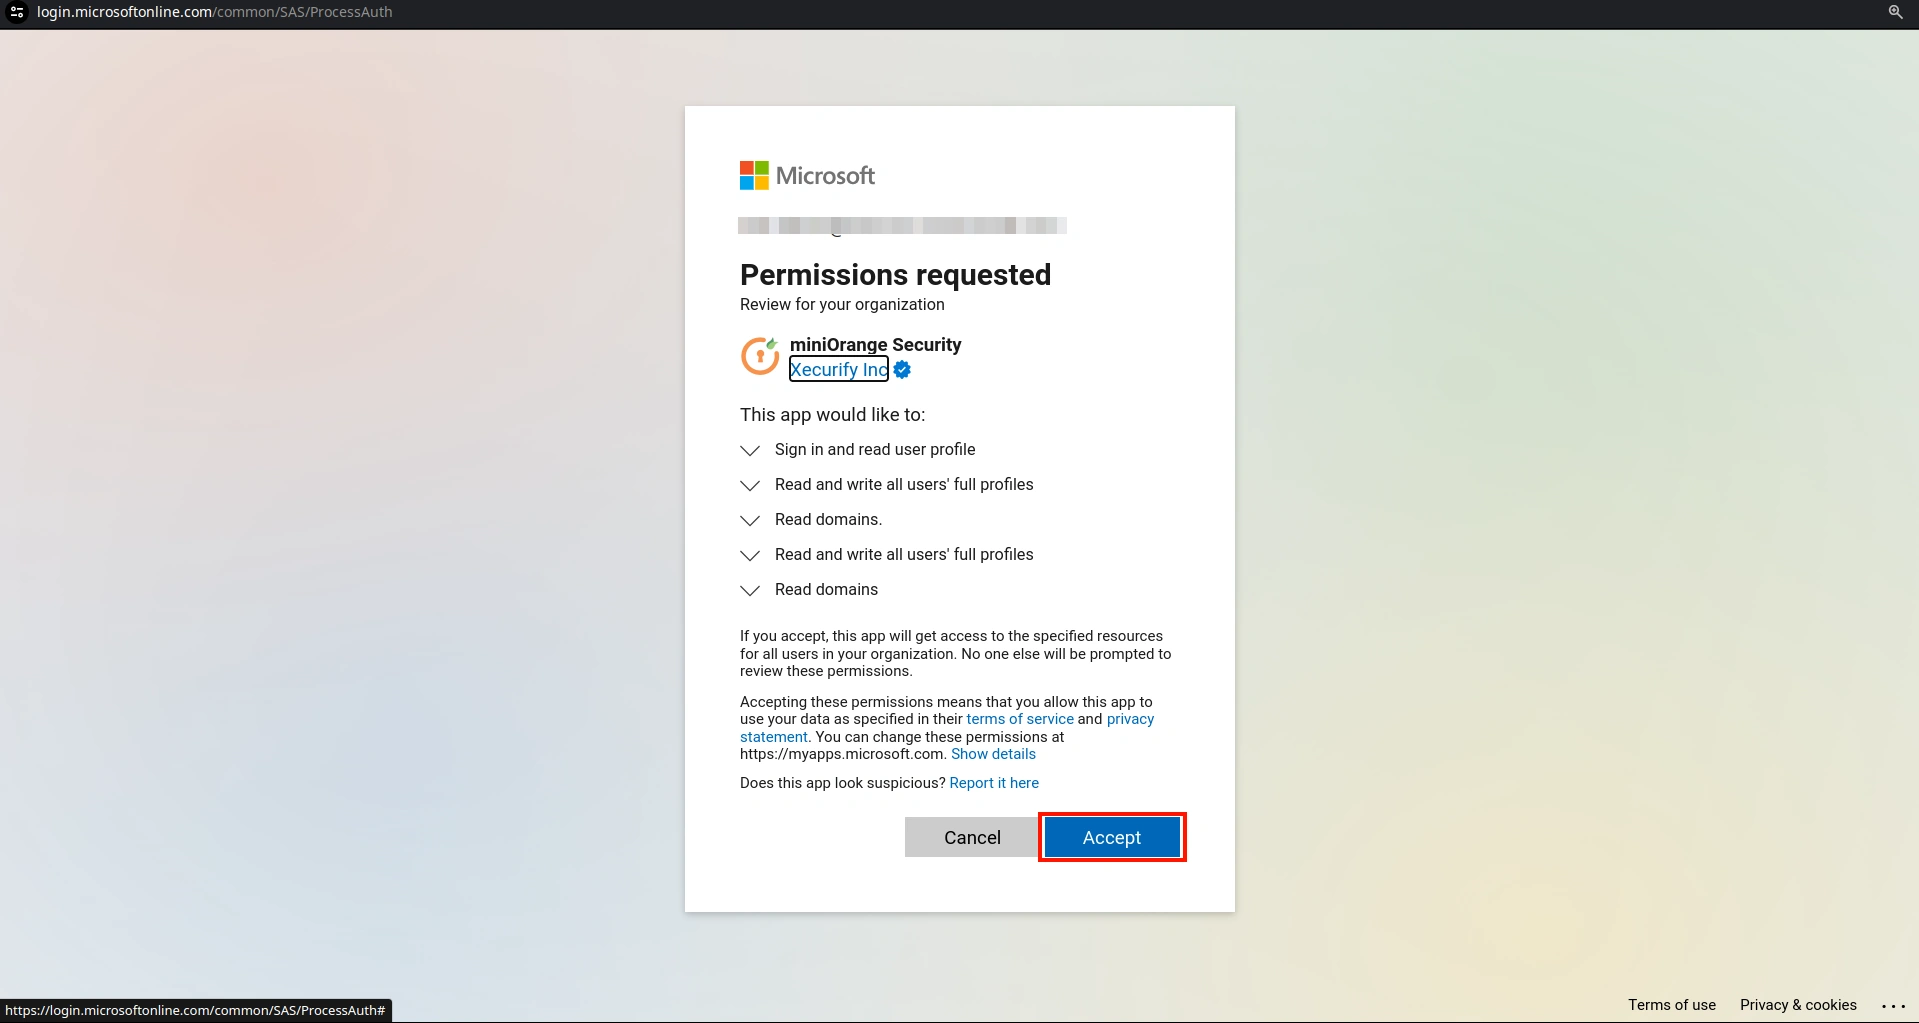
- Once you are logged in with the admin user, it will show you the page below. Click on the Accept button.
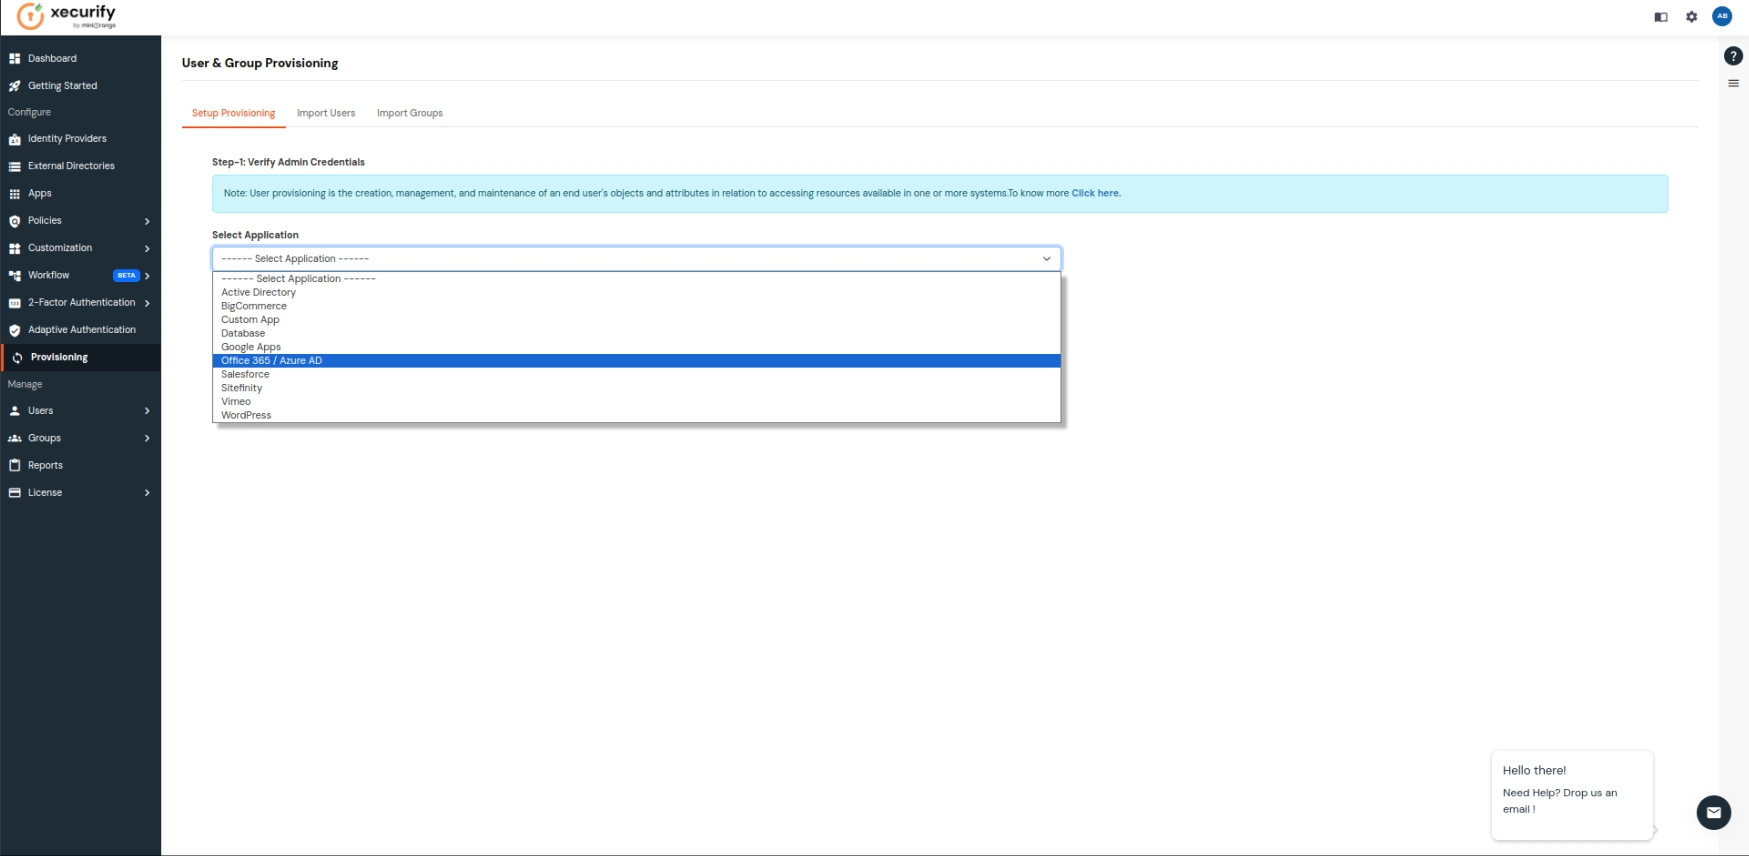
- Now go to Provisioning on the sidebar and in the Select Application dropdown, choose Office 365 / Azure AD.
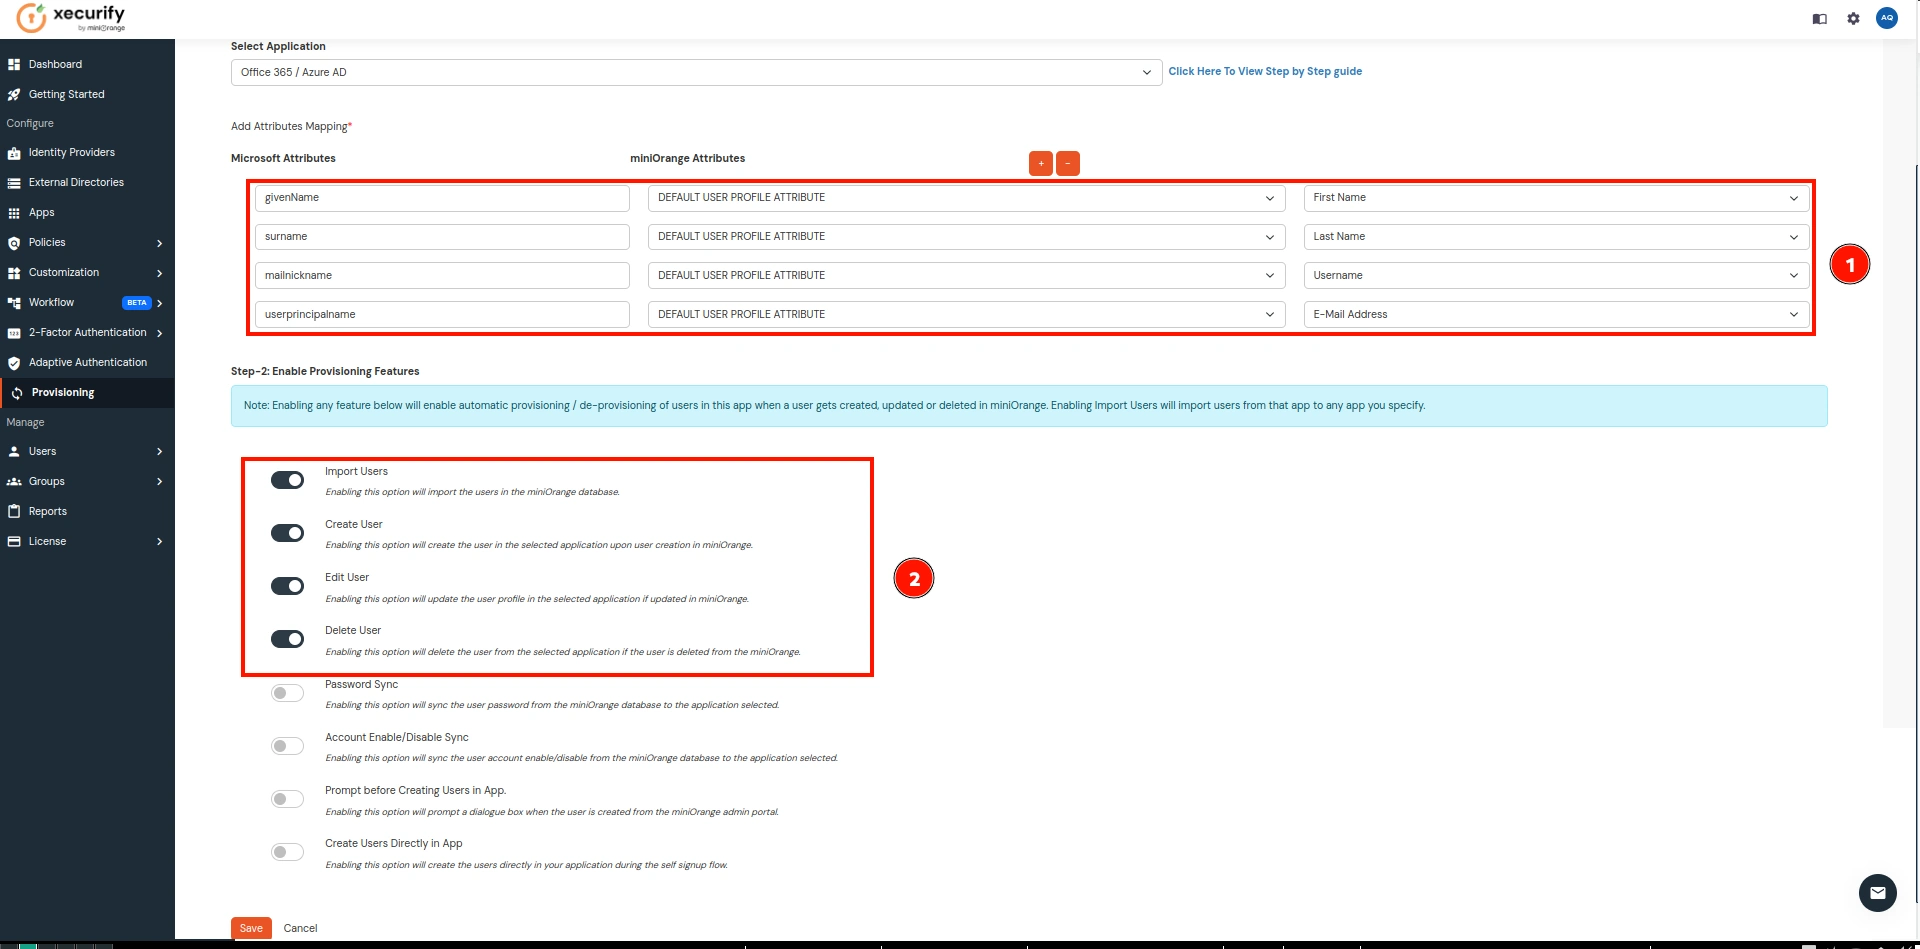
- Keep the Attribute section with the values shown in the image below, enable the required Provisioning Features, and click on Save once you are done.
| Microsft Attributes |
miniOrange Attributes |
| givenName |
First Name |
| surname |
Last Name
|
| mailnickname |
Username
|
| userprincipalname |
Email Address
|
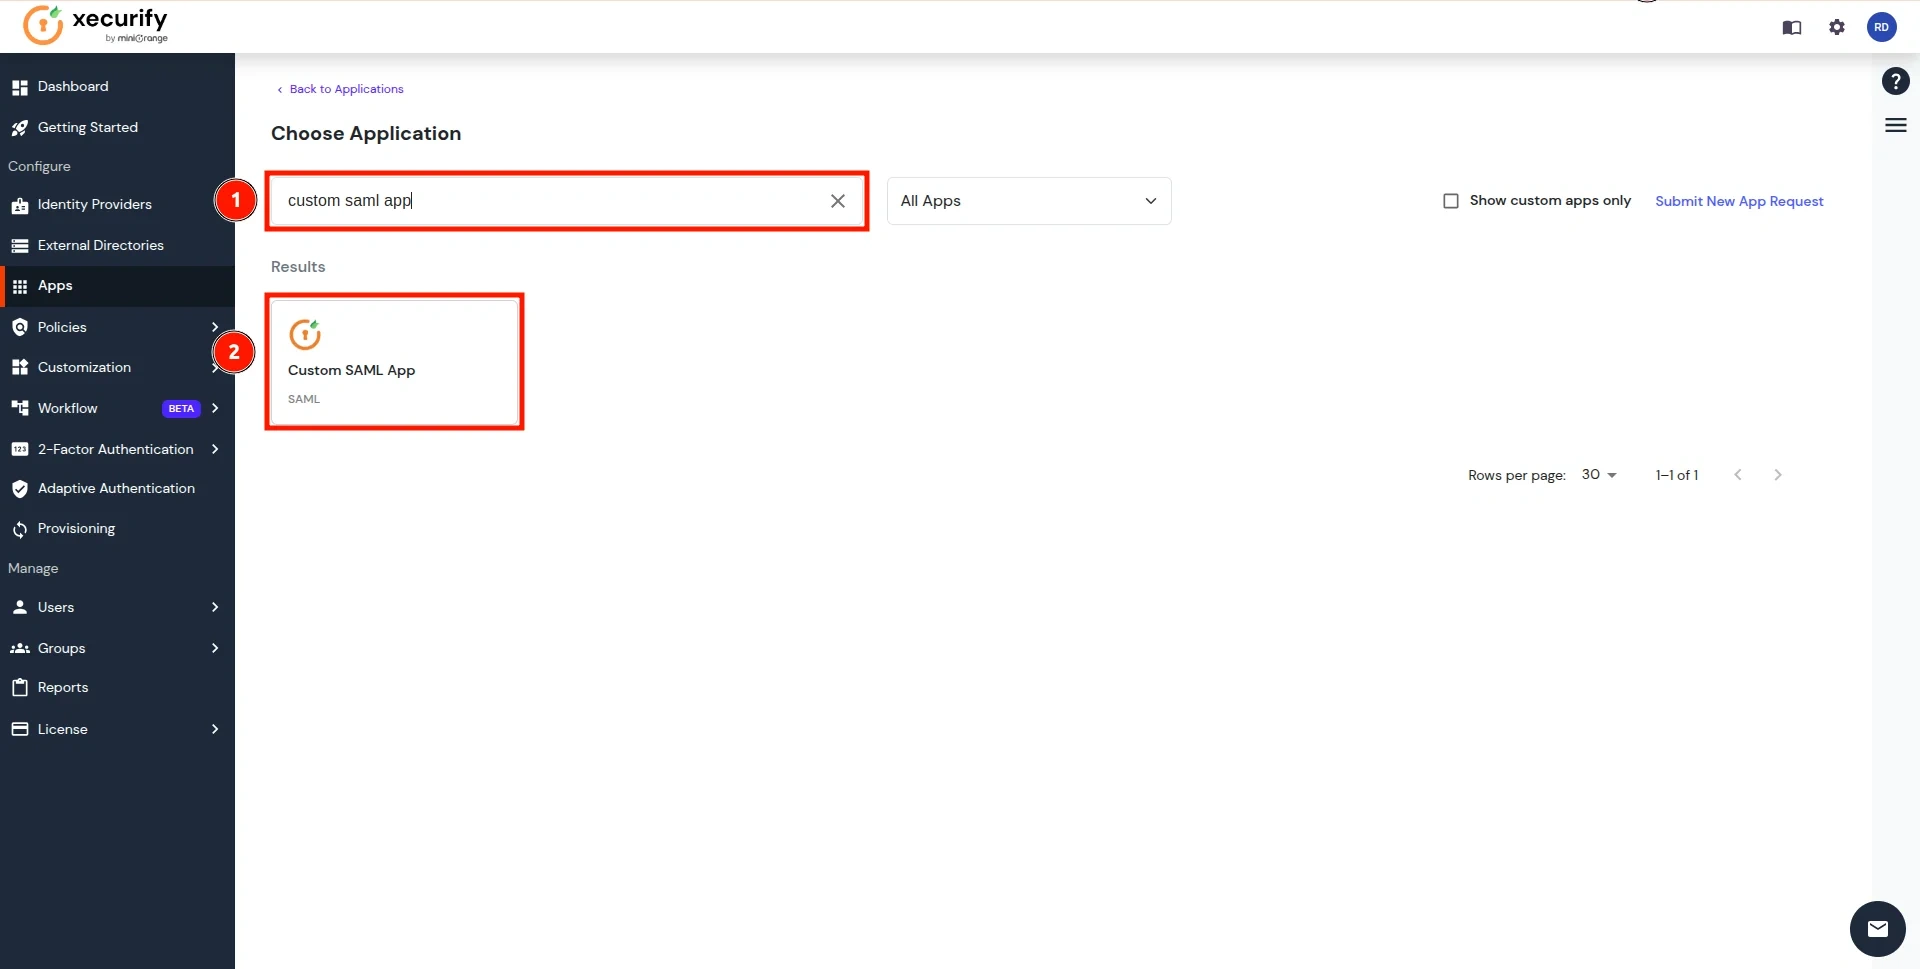
- Now go to the Apps on the sidebar and click on Add Application.
- Search for Custom SAML App and click on it.
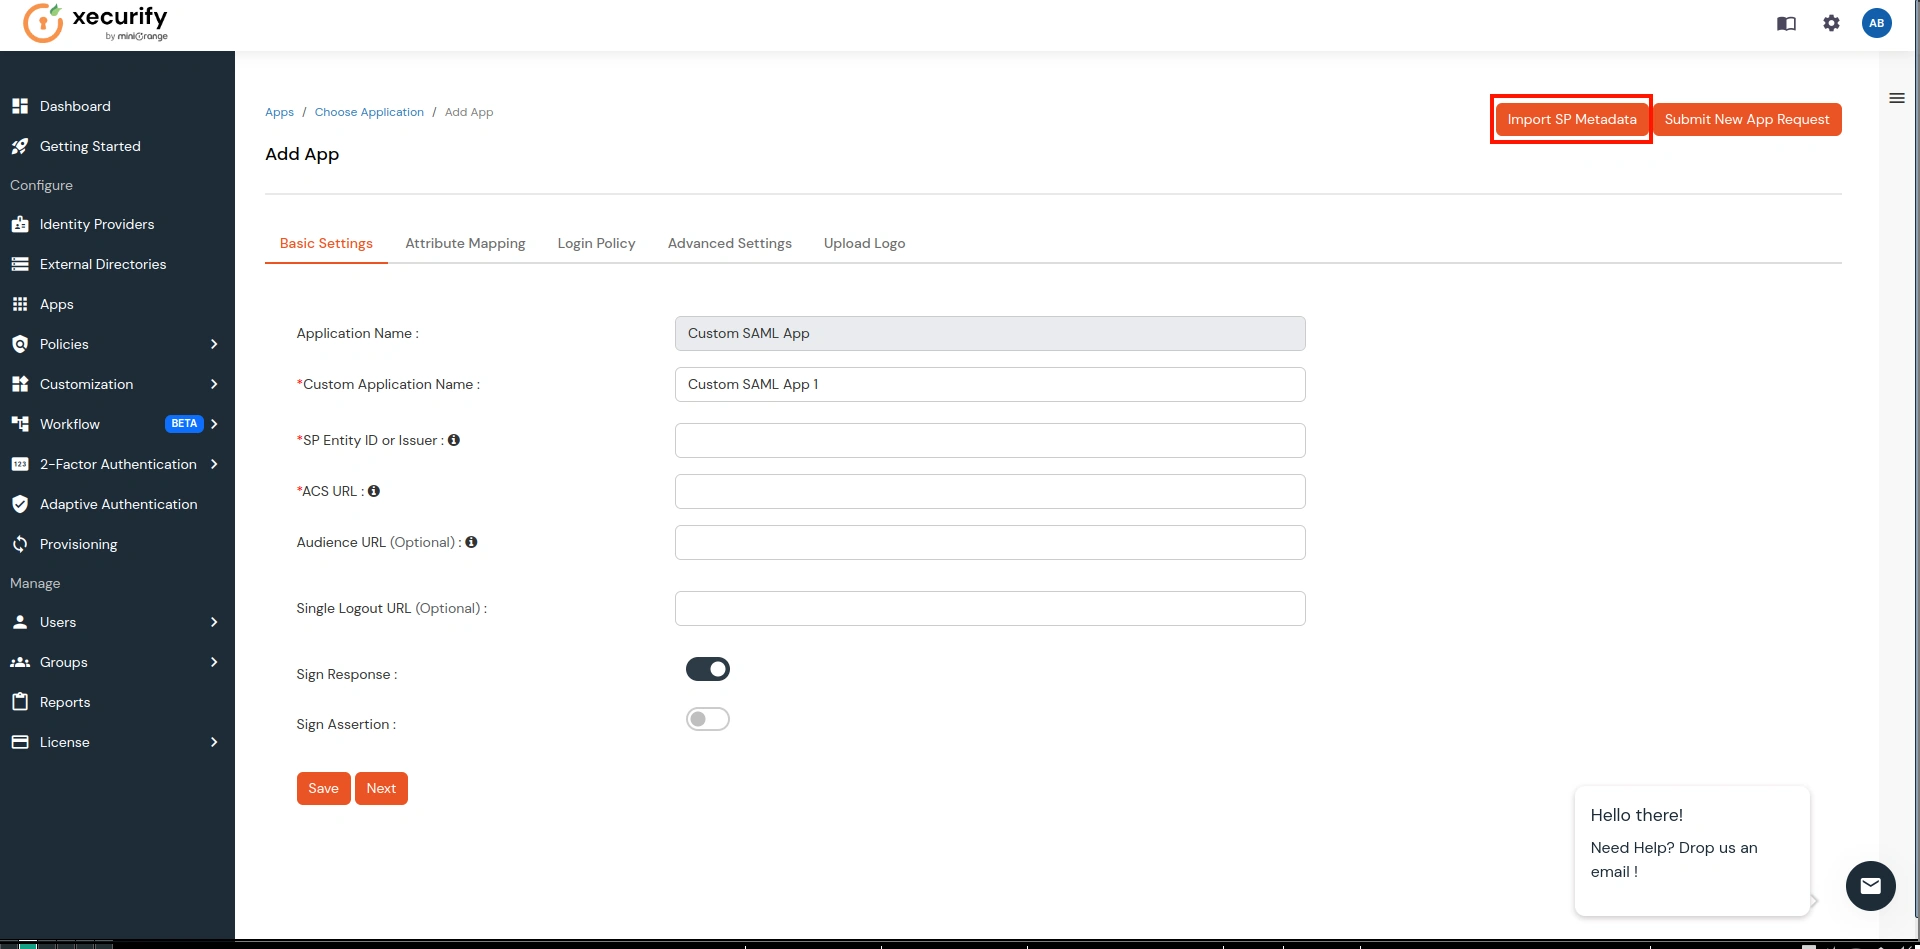
- Click on the Import SP Metadata button as shown below.
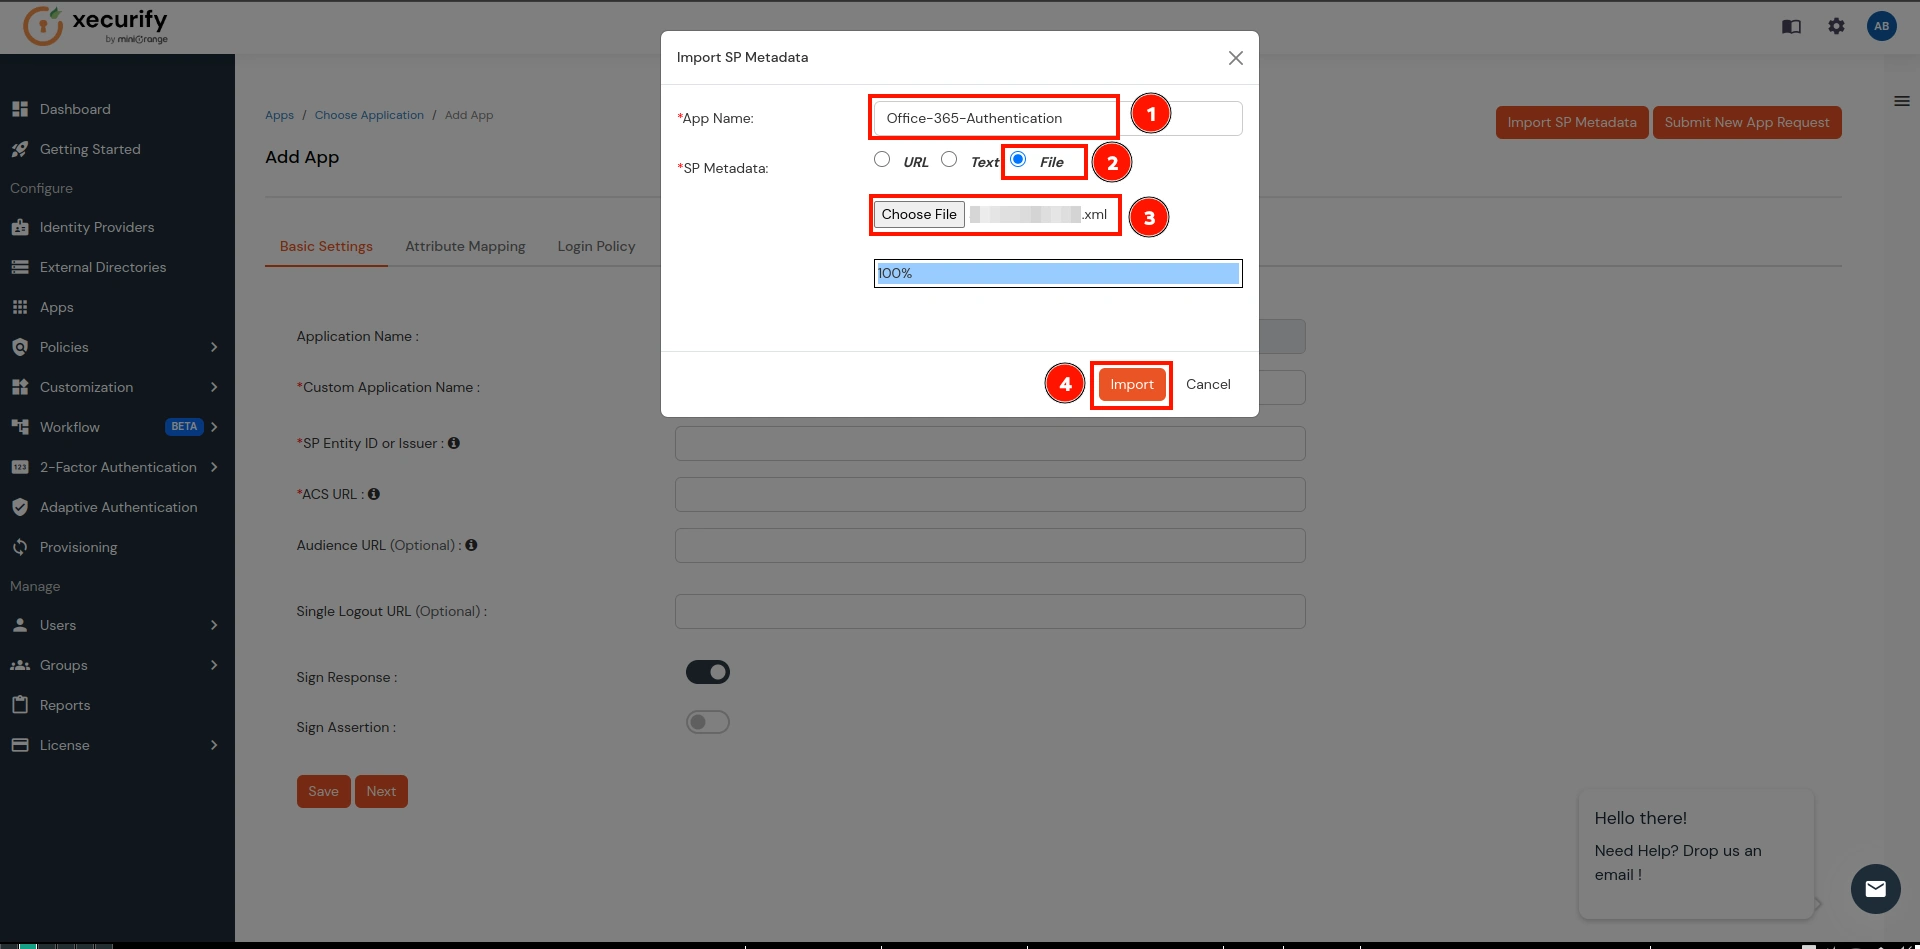
- Provide a name for your Office-365 Authentication application, choose the File option, upload the file downloaded in step 1, and click on Import.
- This step will import the metadata for SAML Authentication. Now go to the Attribute Mapping section.
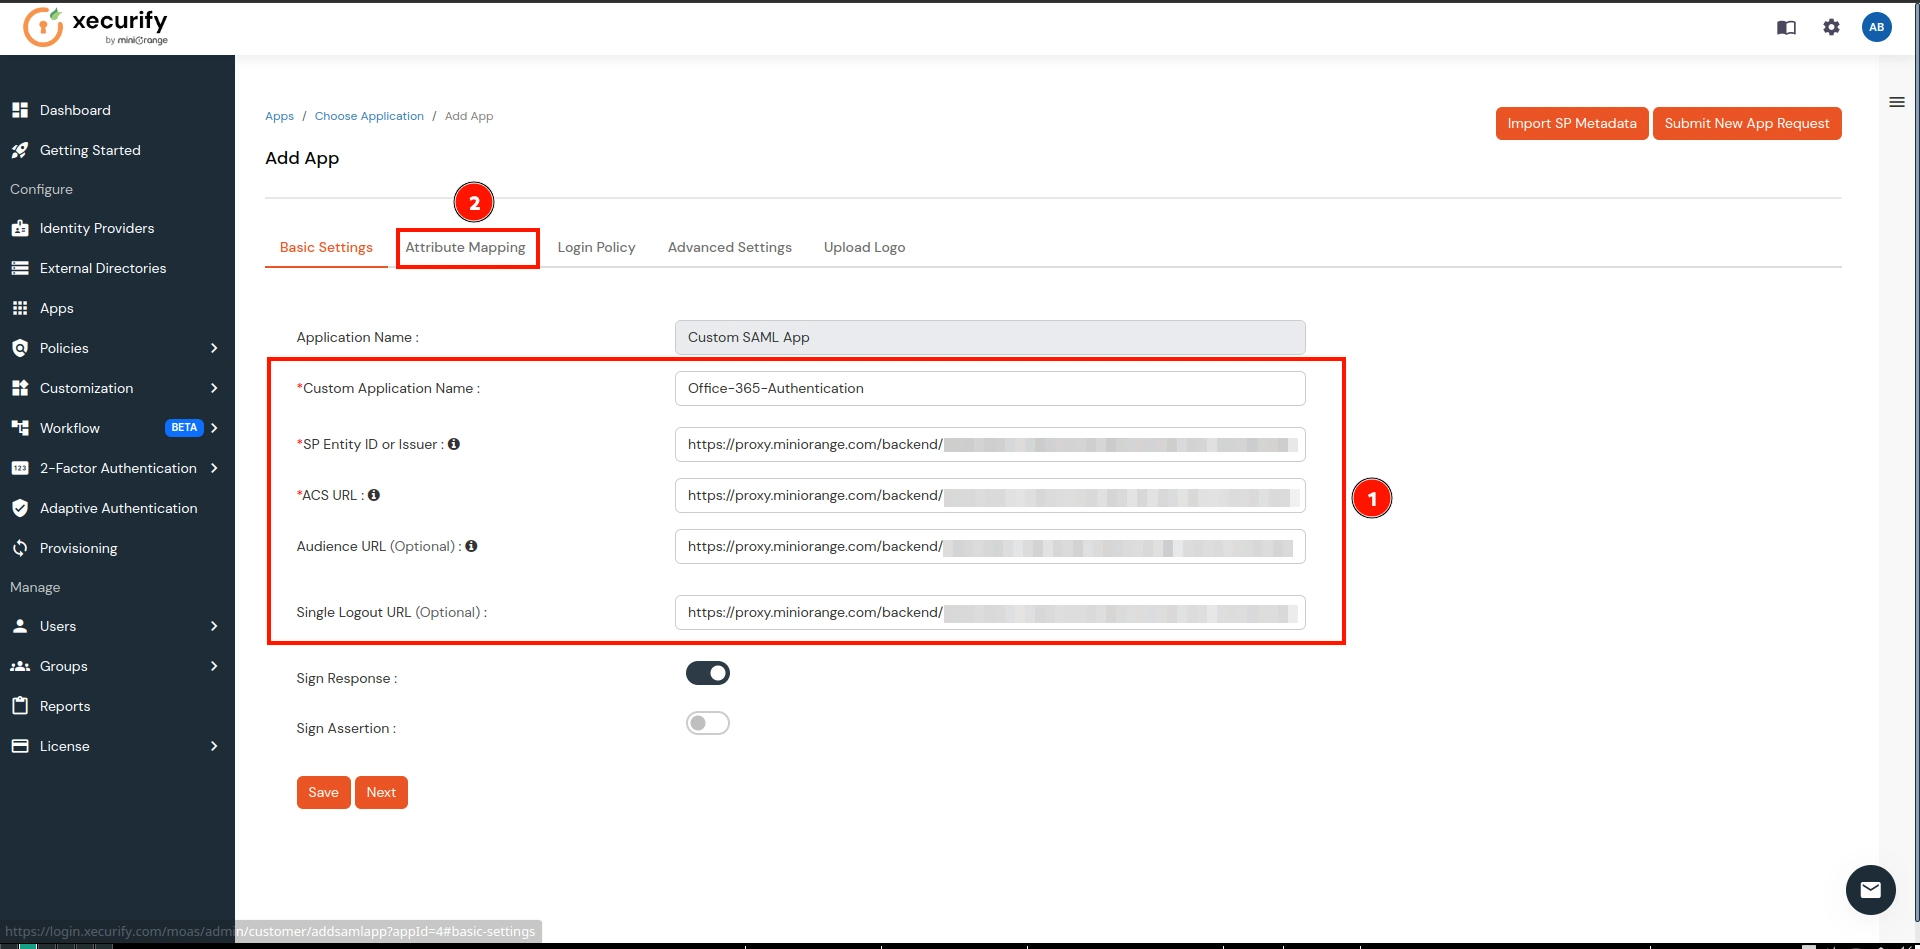
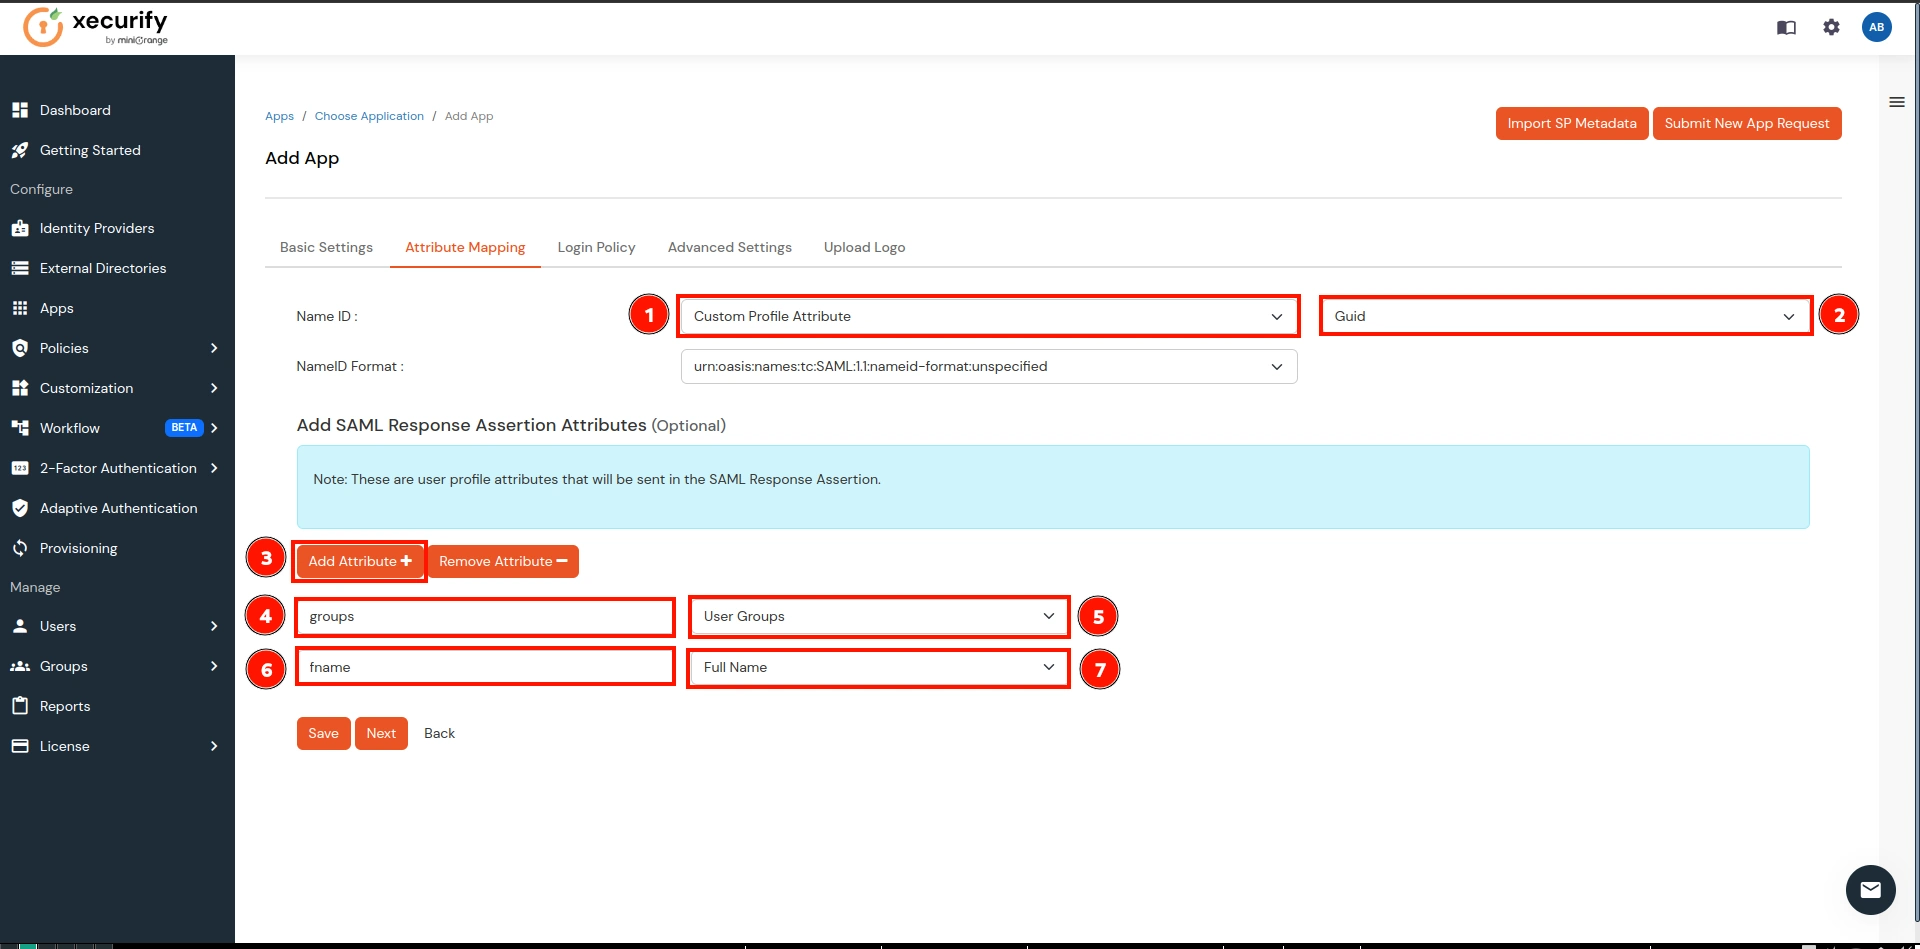
- In the Attribute Mapping, make the following configurations and click on the Save button:
- NameID → Select the Custom Profile Attribute from the 1st dropdown and select Guid from the 2nd dropdown.
- Click on Add Attribute button as shown below in the 3rd.
- Group Attribute Mapping:
- Attribute Name → groups
- Attribute Value → User Groups (select from dropdown)
- Name Attribute Mapping:
- Attribute Name → fname
- Attribute Value → Full Name (select from dropdown)
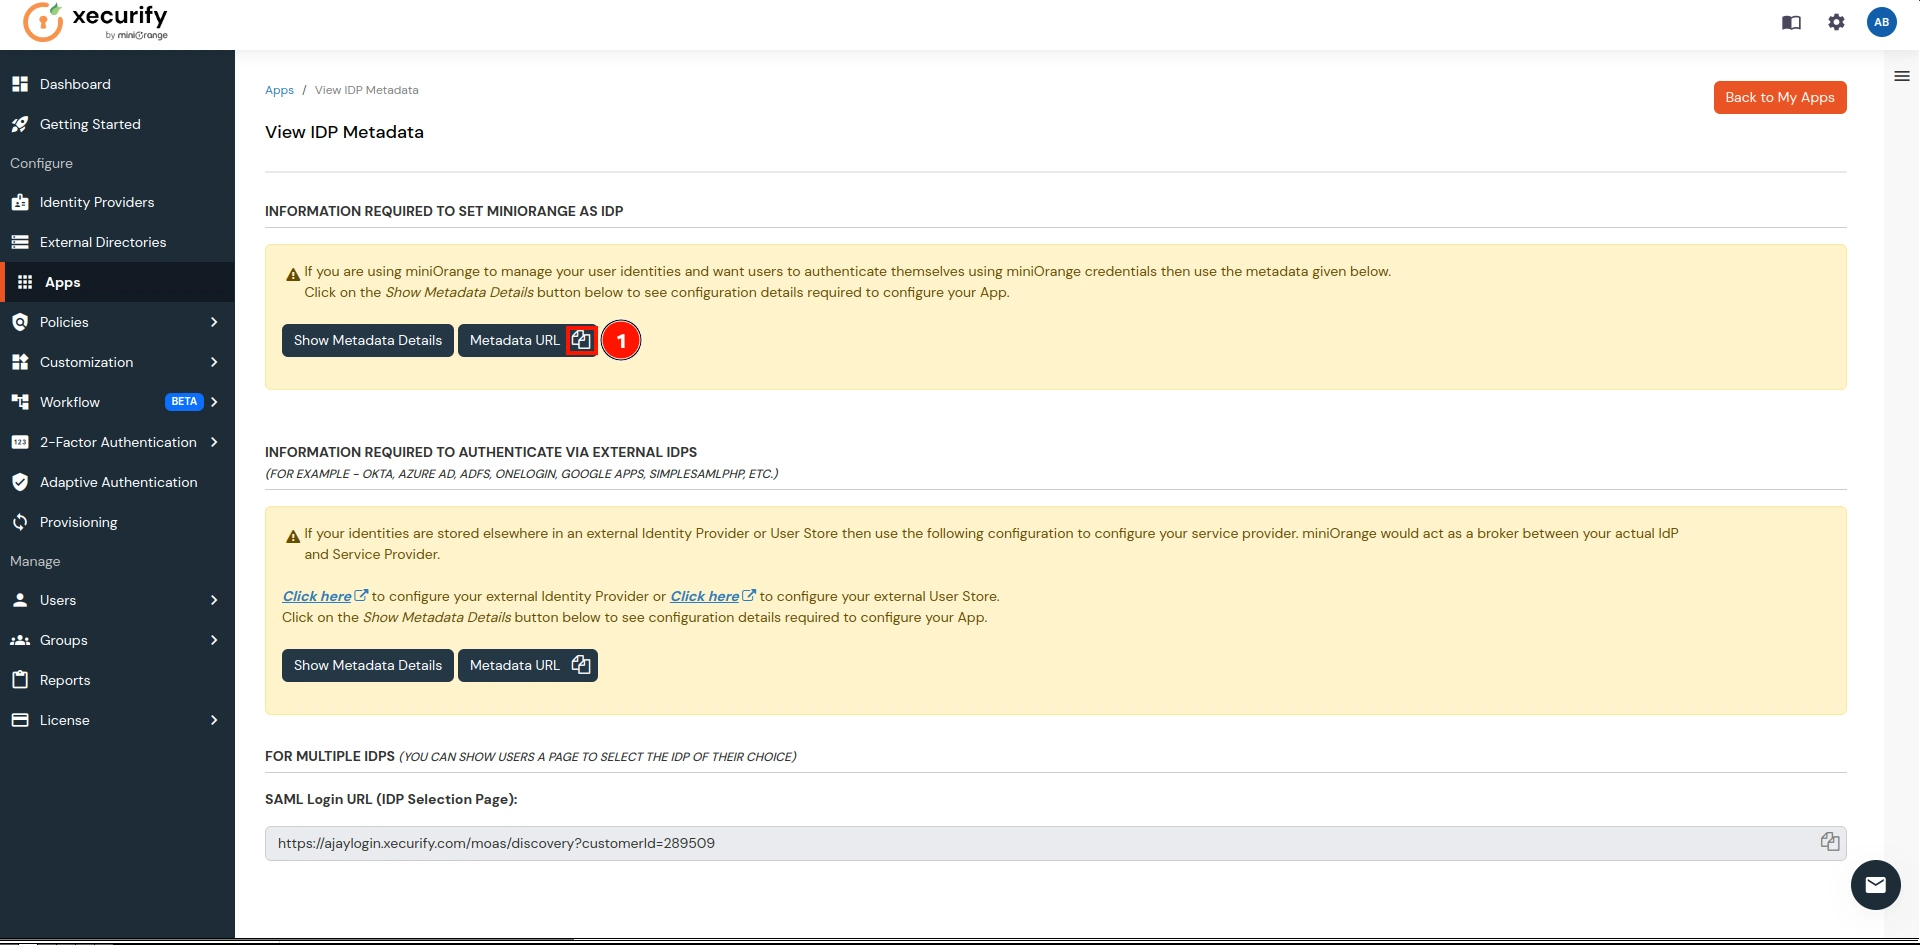
- Navigate to the newly created application, click on the three dots under the Action column, and select the Metadata option.
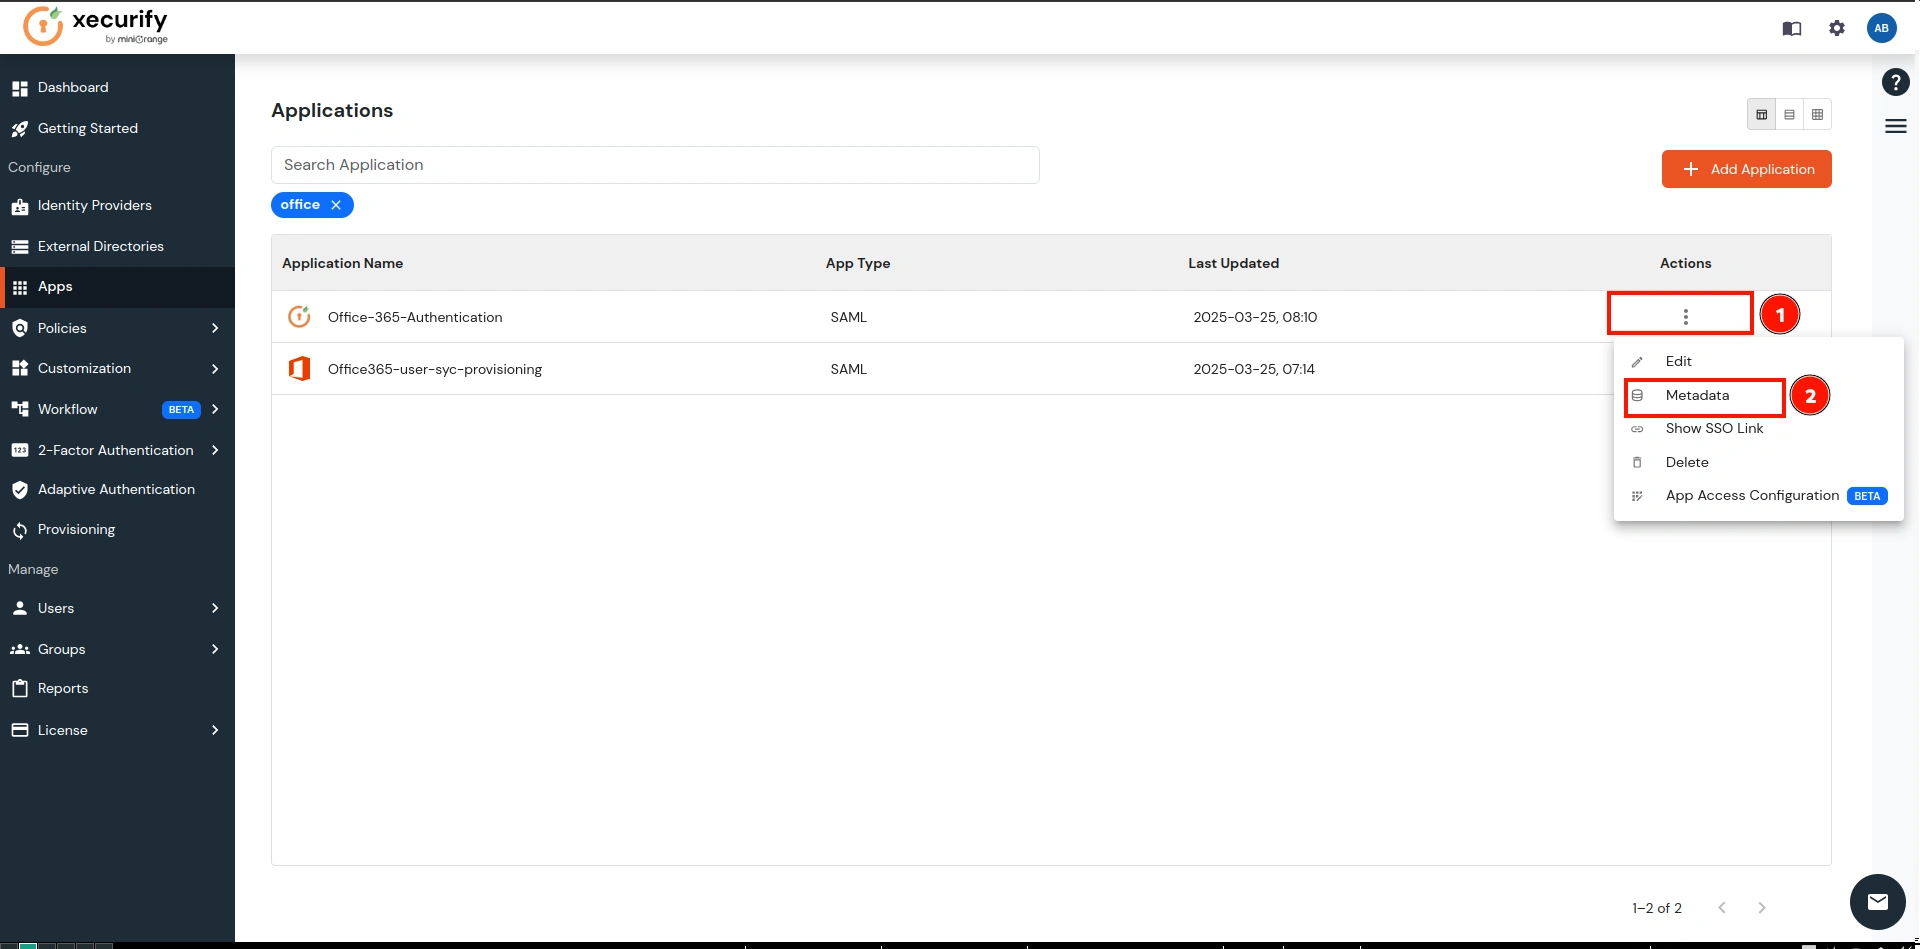
- Copy the Metadata URL and return to the CASB Dashboard.
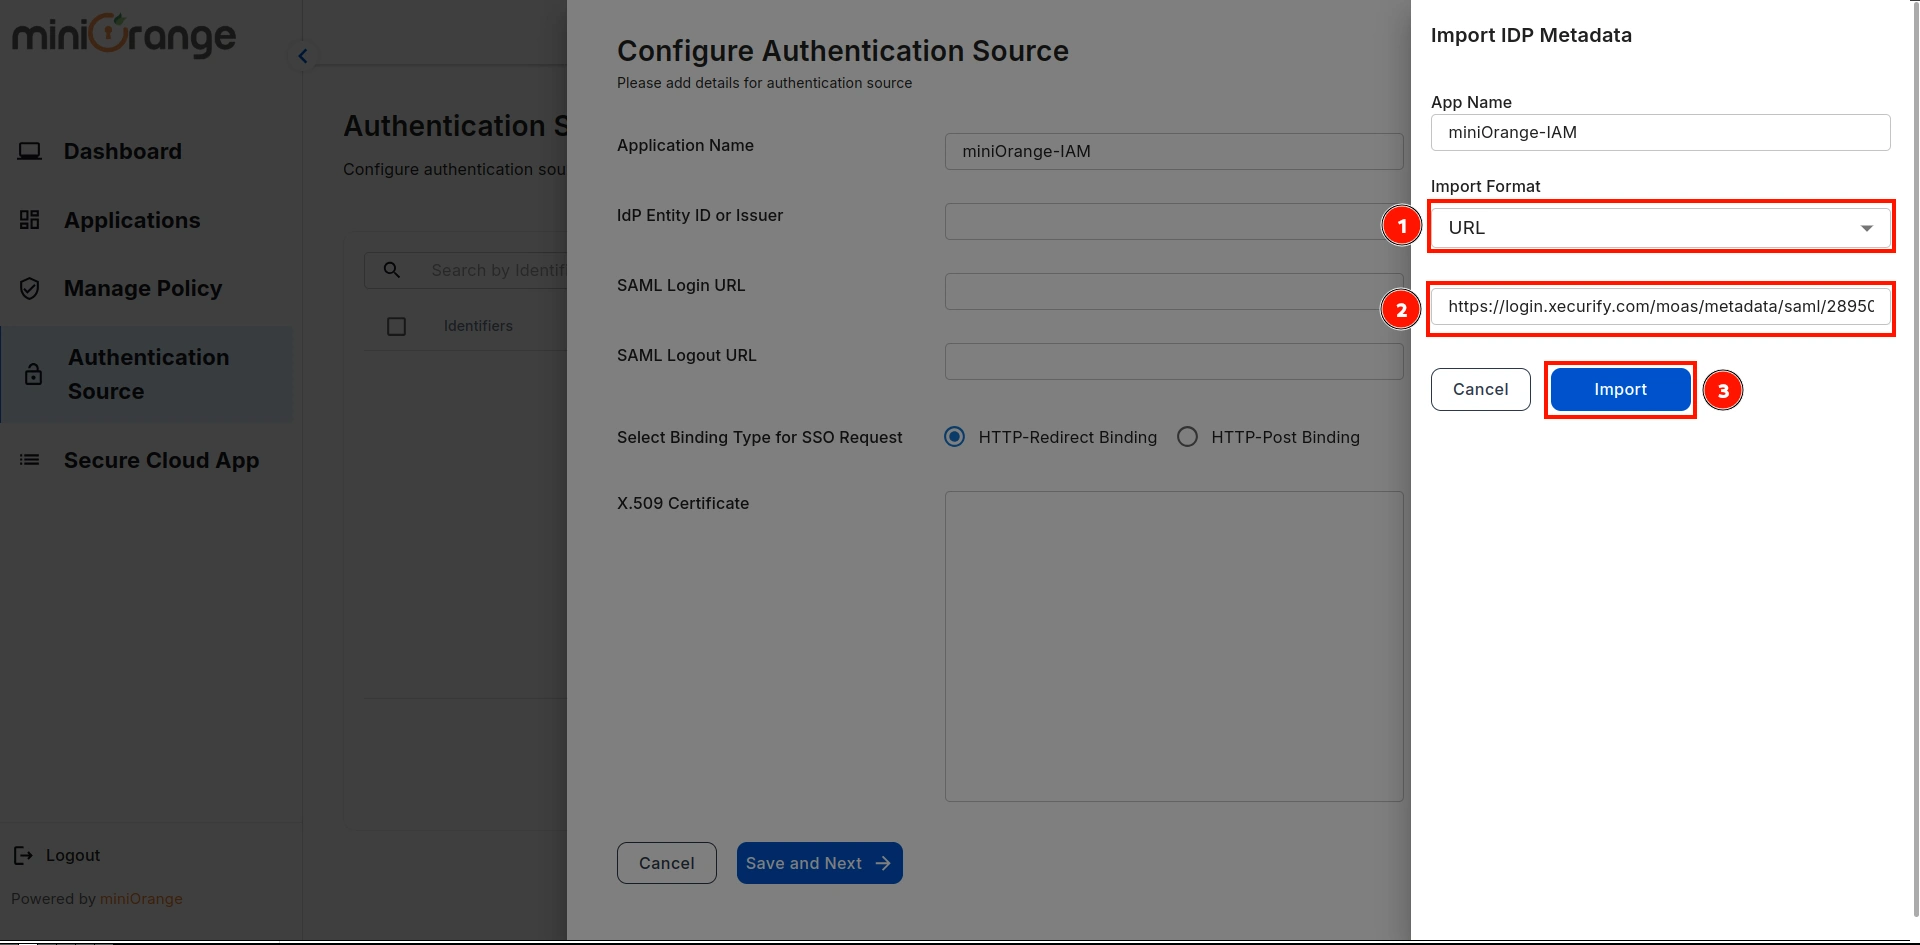
- On the CASB Dashboard, go to Authentications Source and click on the Upload Metadata option.
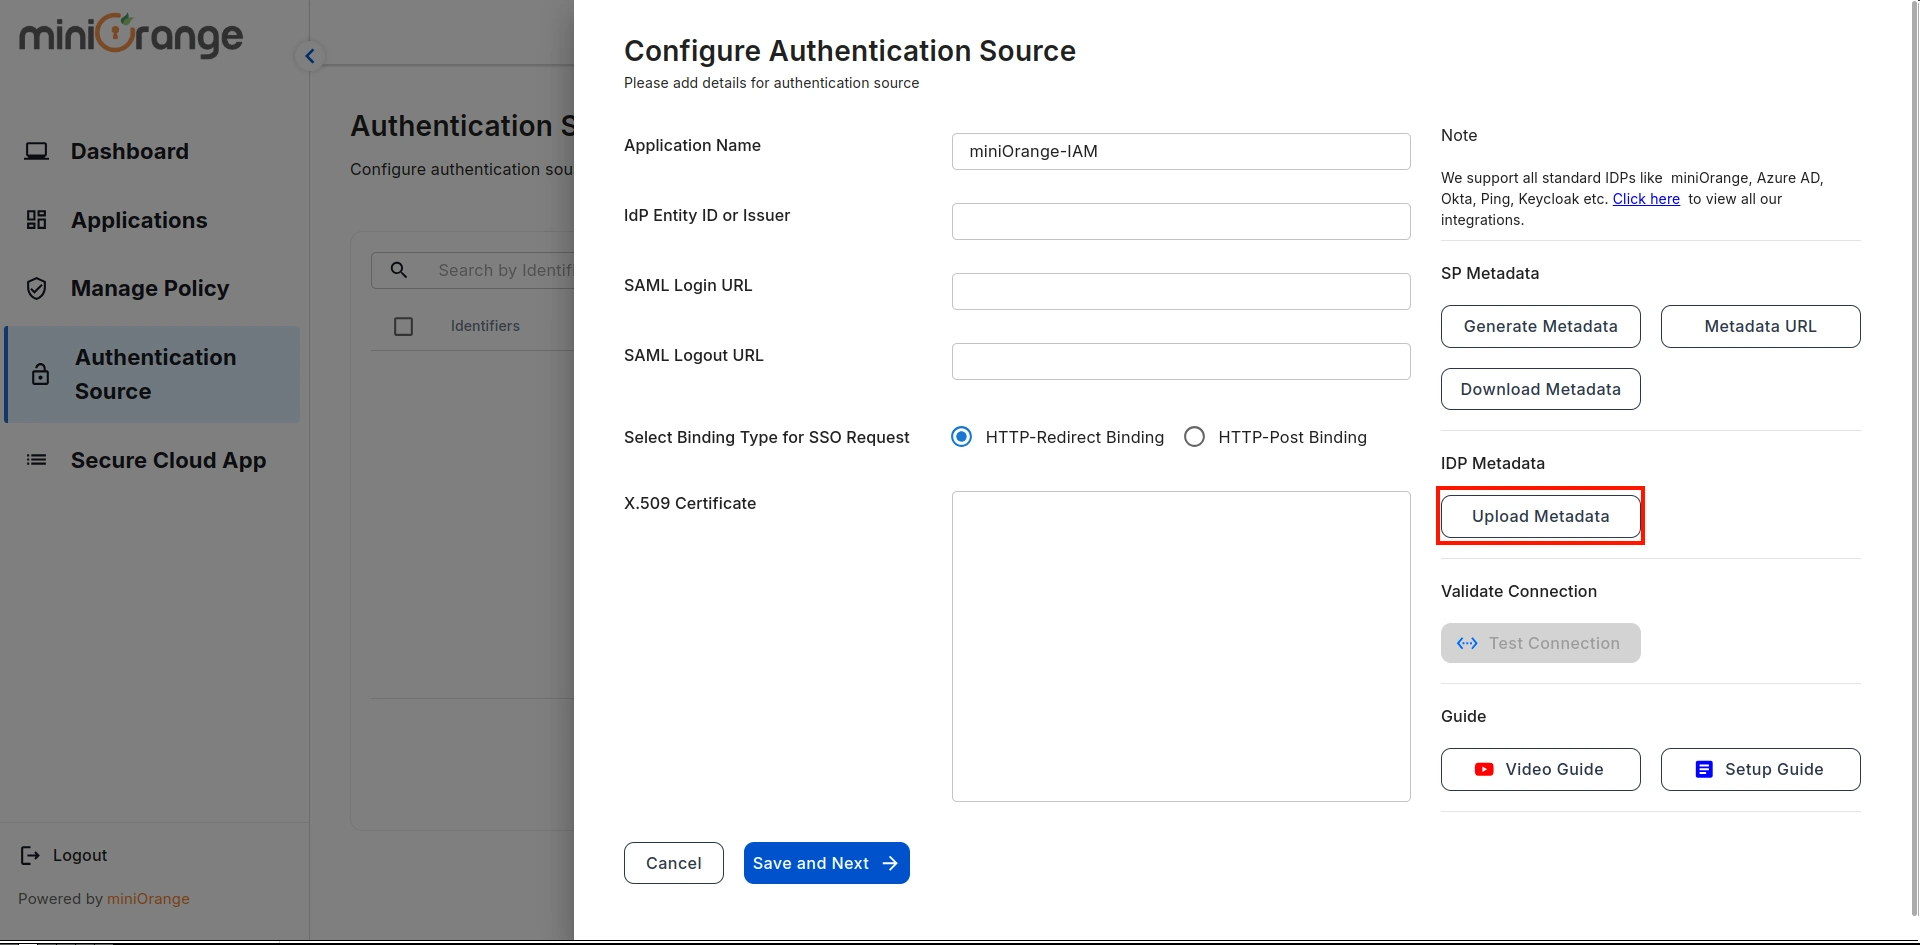
- Select Input Format as URL, paste the copied URL, and click on Import.
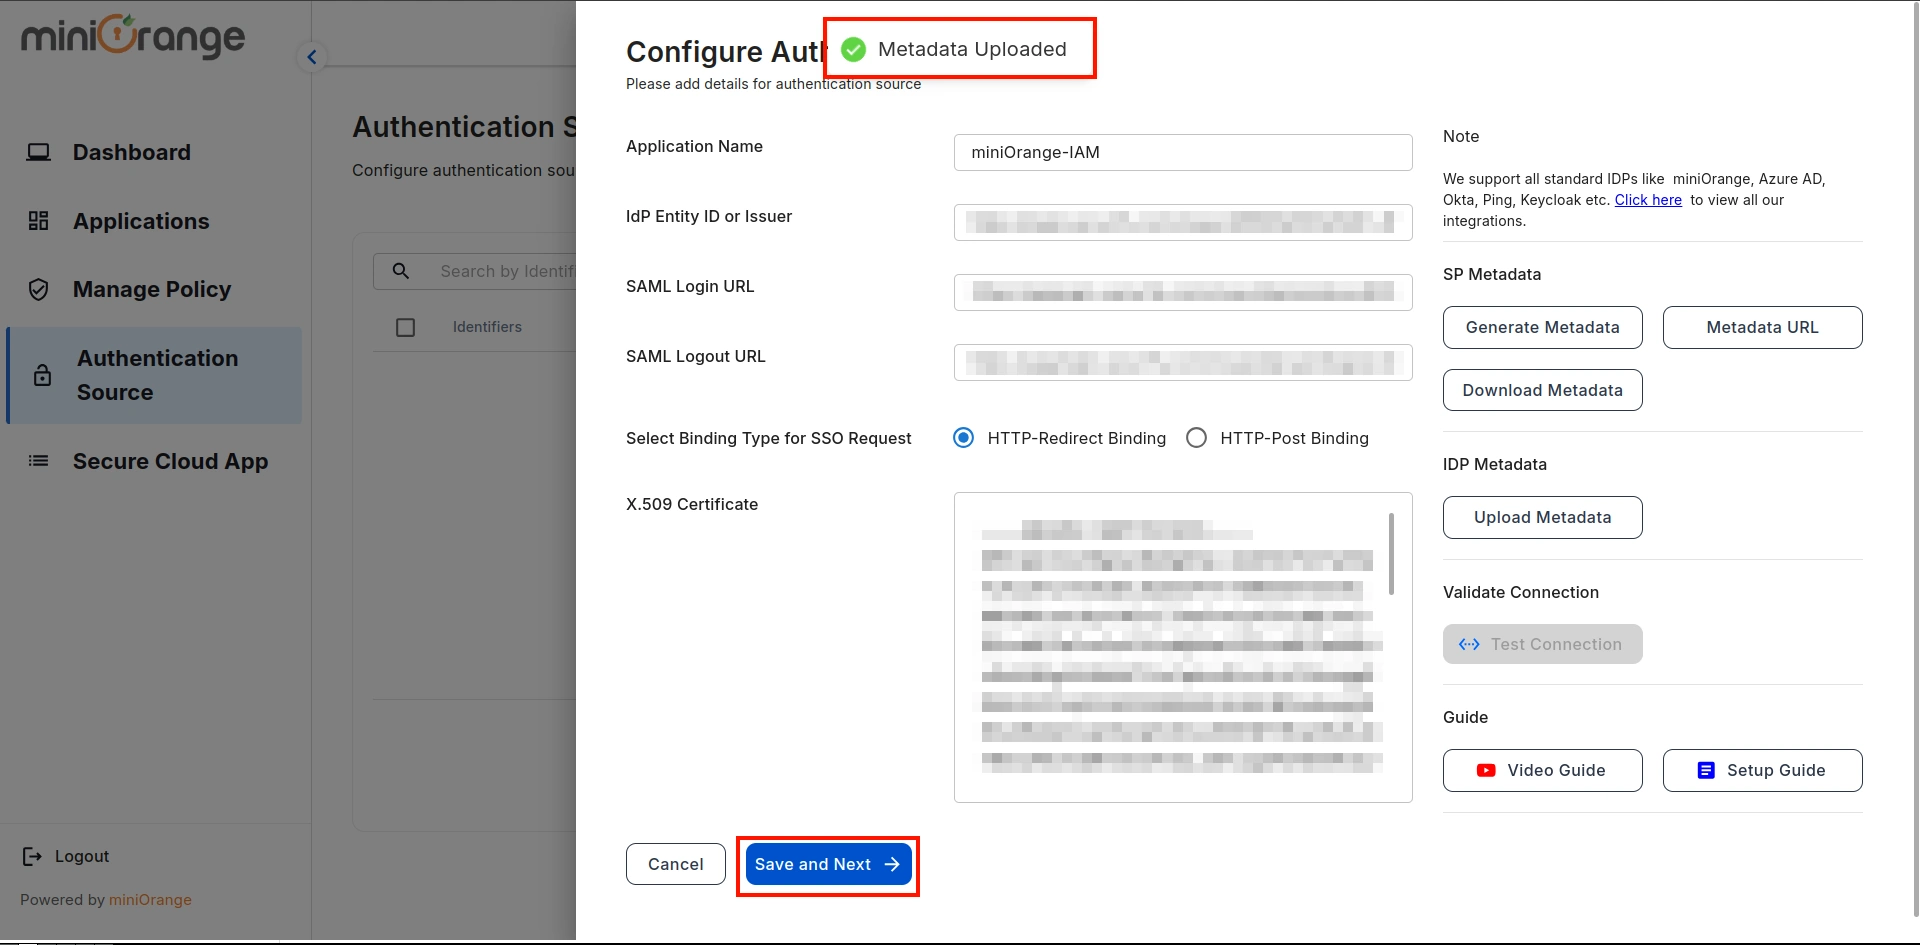
- A prompt will confirm that the metadata has been uploaded successfully. Click on the Save button to save the Authentication Source.
Step 3: Configure Microsoft Office 365 in CASB
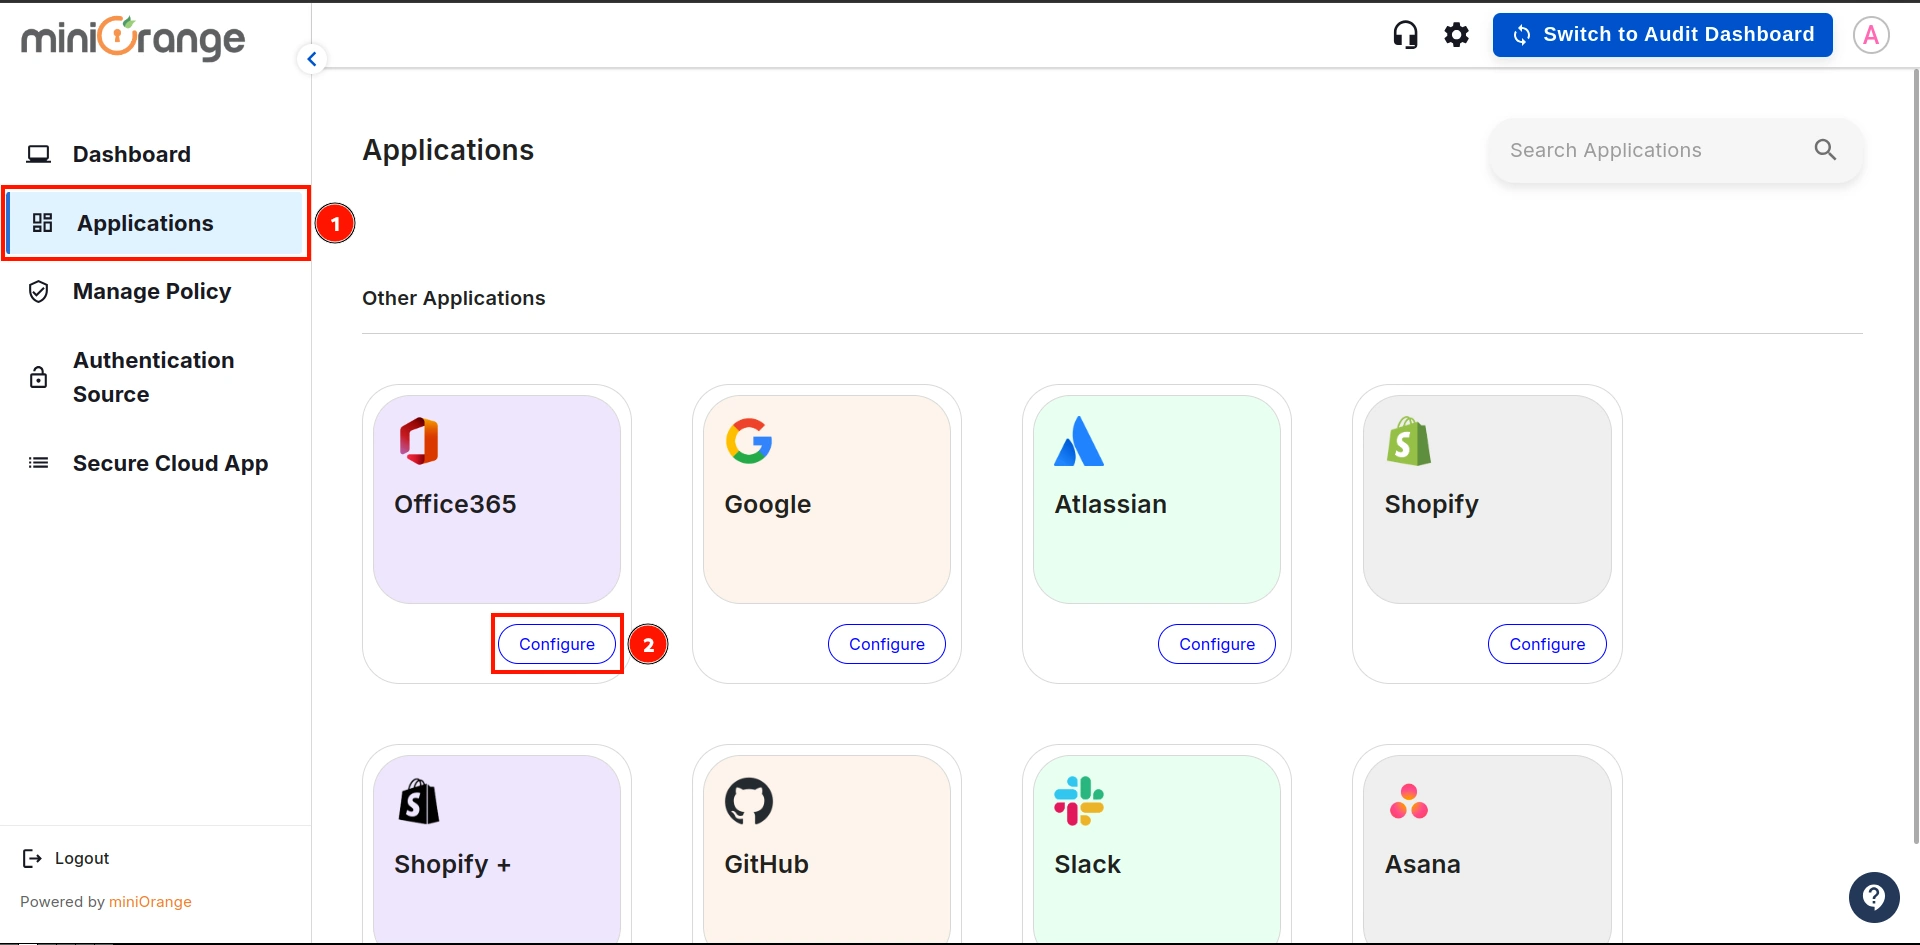
- Navigate to Applications on the sidebar, go to Office 365, and click on the Configure button.
- Select the Authentication Source from the dropdown that we created in the previous step, then click on Save and Next.
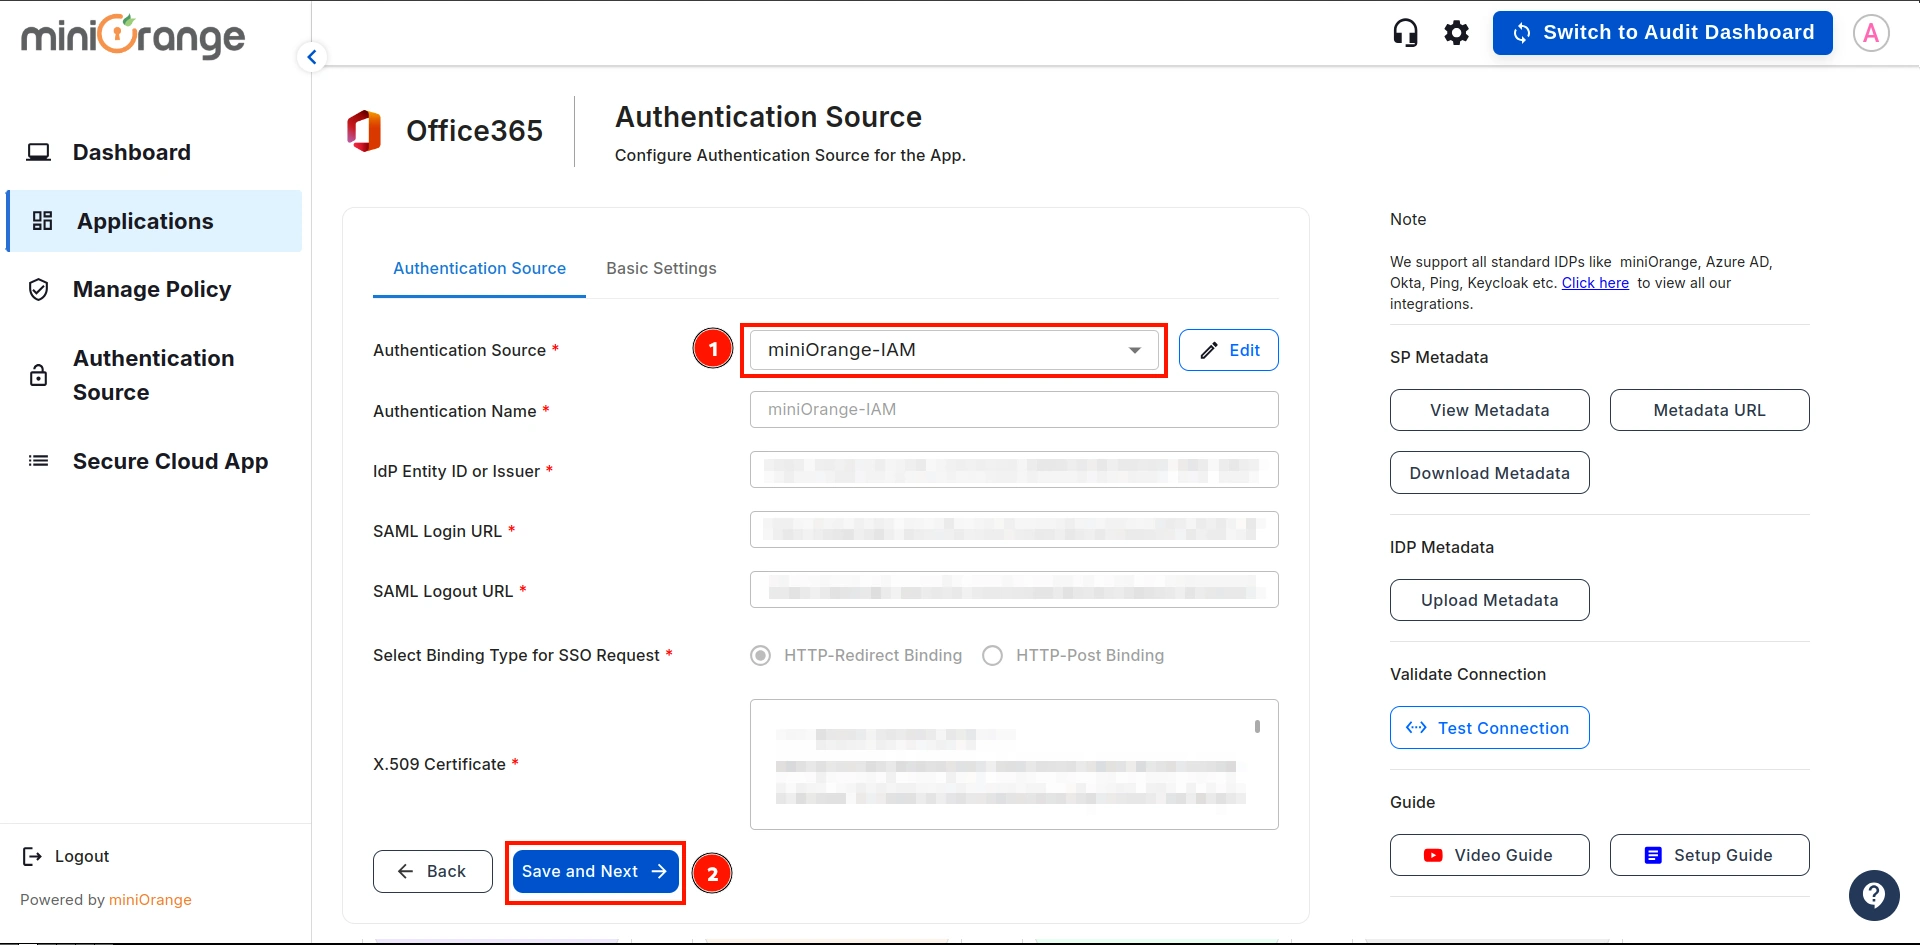
- Configure the following details and click on the Save button:
| Application Name: |
Enter the name of your application |
| Organization Domain: |
Enter the domain of your organization. (Ex: example.com)
|
| Attribute Key: |
Enter the Group Attribute Key for the SSO app, which you have configured in the IDP under
the SAML attributes section.
|
| Name Attribute Key: |
Enter the attribute name like fname,Lname etc.
|
| Enter ACS URL: |
Enter the office365 ACS URL as : https://login.microsoftonline.com/login.srf |
| Enter Entity URL: |
Enter the office365 Entity URL as : urn:federation:MicrosoftOnline |
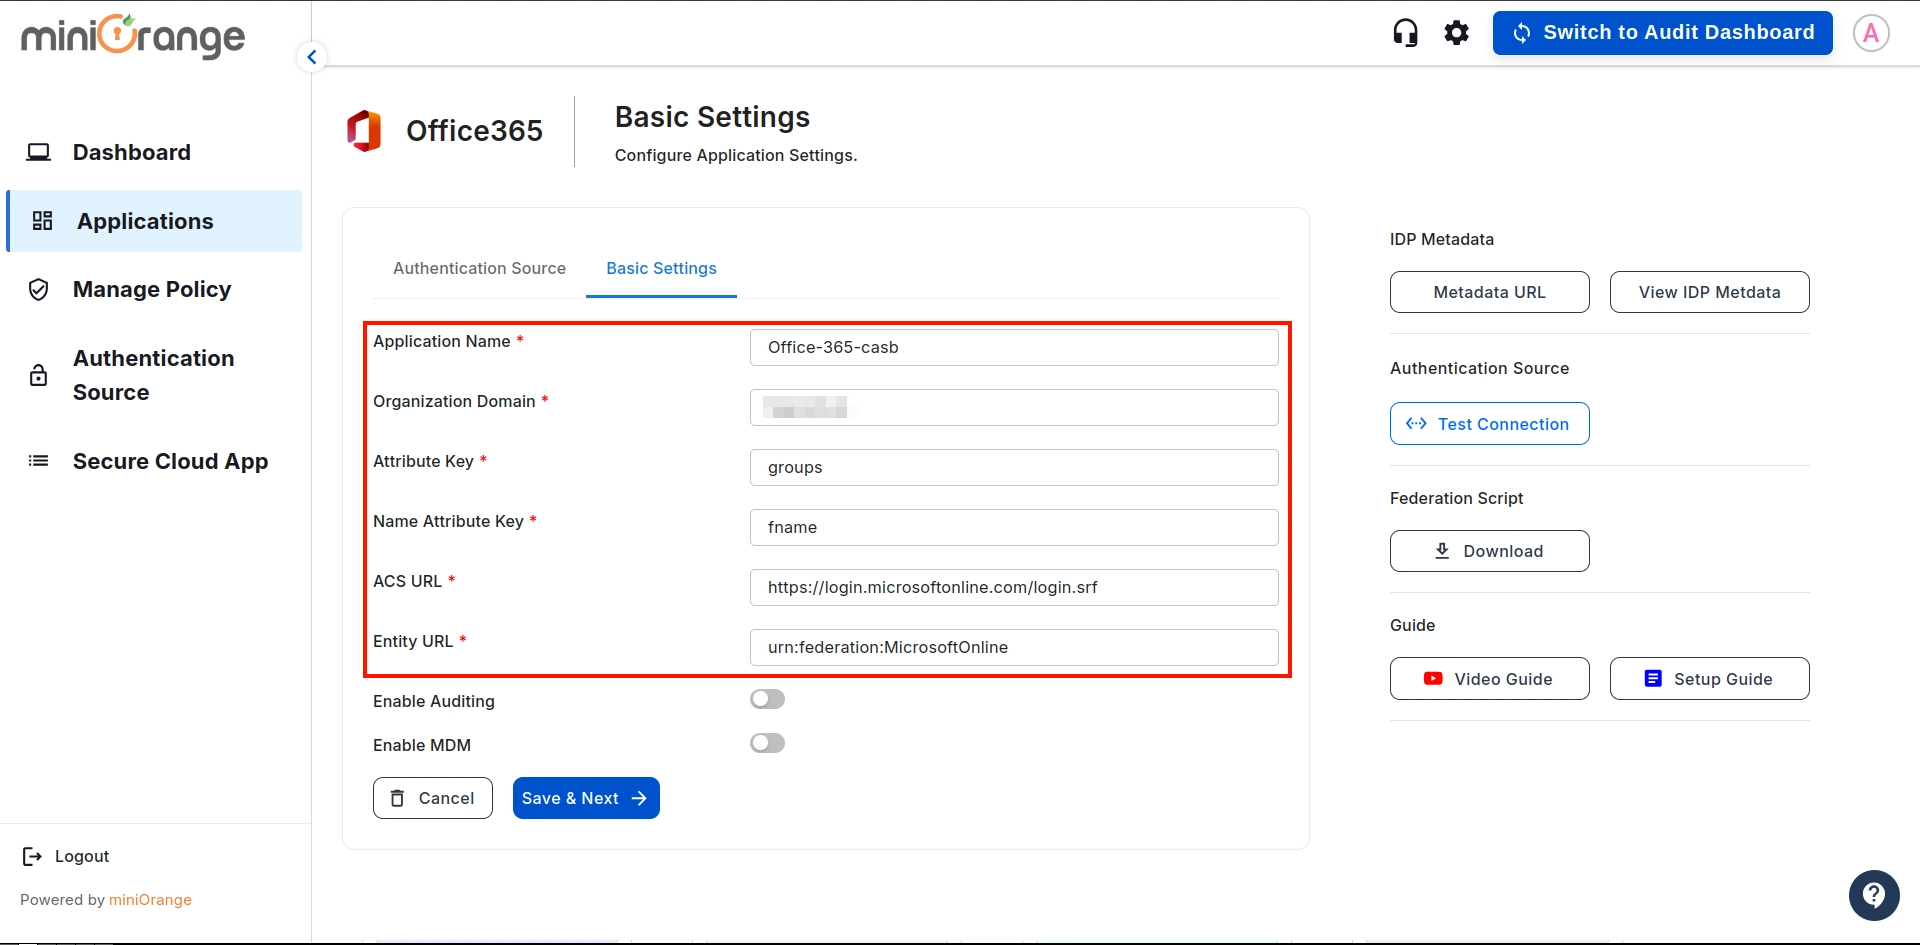
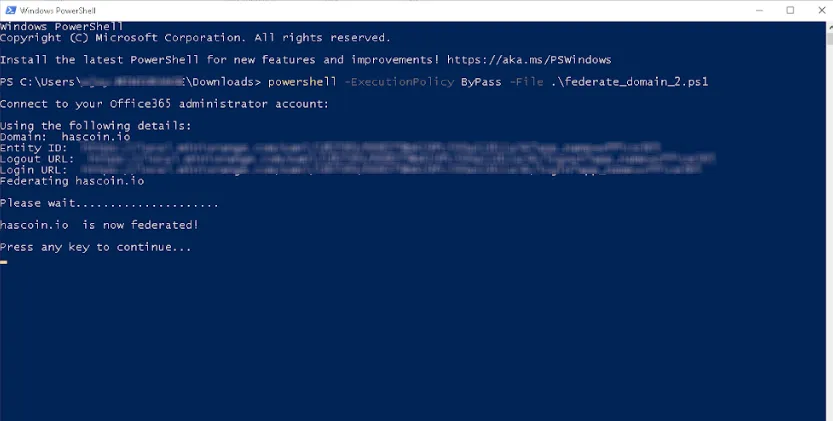
- Once everything is configured, download the federation script.
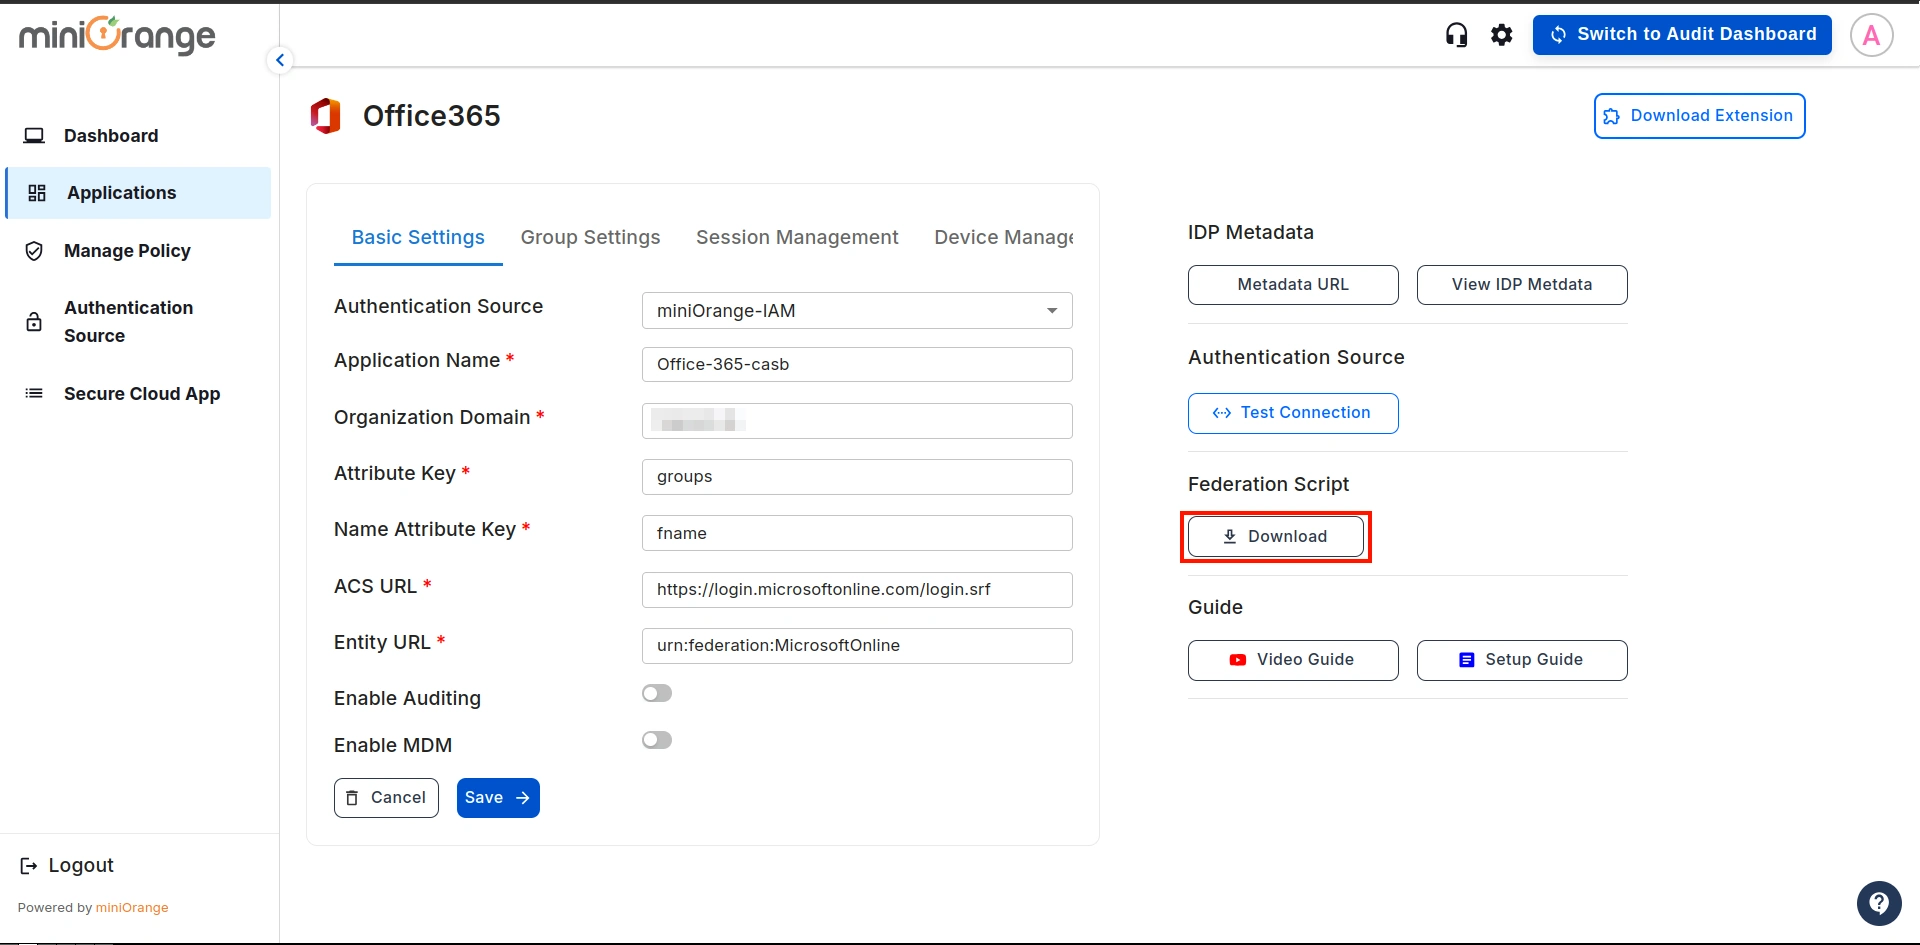
- Note: Run the downloaded federation script using the following command:
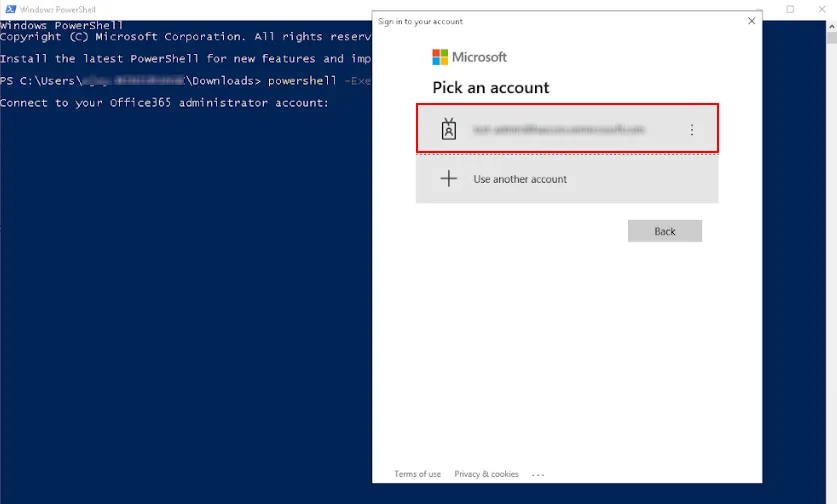
powershell -ExecutionPolicy ByPass -File [Your File Name].ps1
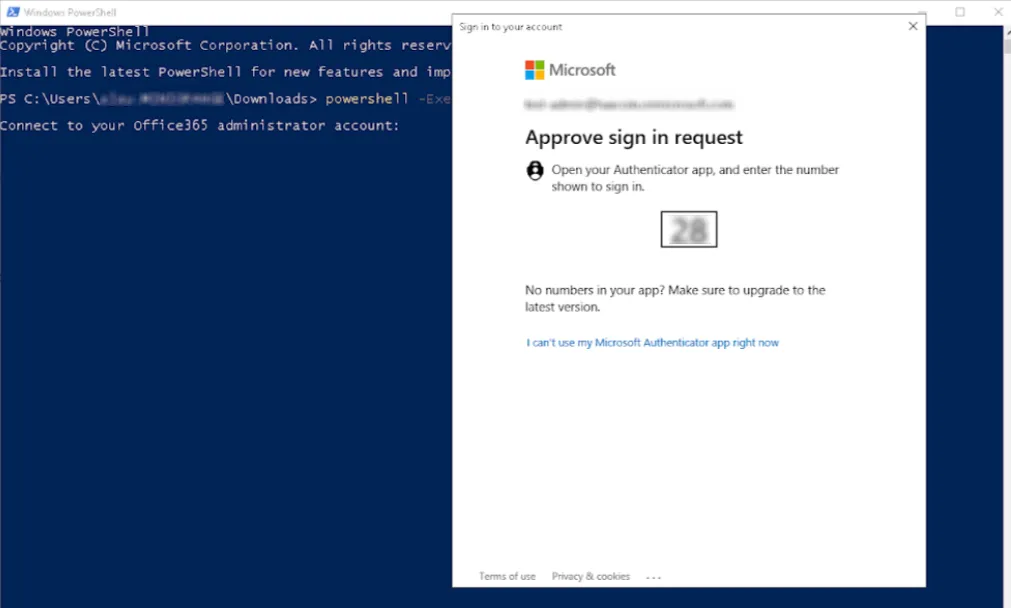
After running the command in Windows PowerShell, a pop-up will appear and Enter your Office365 Admin
account credentials.
 Open your authenticator app and enter the displayed number to approve the sign-in request.
 The federation script successfully completed, as shown in the image below.
Note:
To access your applications, you need to set up the miniOrange CASB extension. Click here to follow the steps.
External References
miniOrange CASB offers a wide variety of security features
with flexible scalability, all available at the most affordable price to all types of businesses.
Start by signing
up now!
Not able to configure or test Microsoft Office365 CASB
Soltuion?
No worry, you need to Contact us or email us at uemsupport@xecurify.com and we'll help you
setting it up in no time.
