Hello there!
Need Help? We are right here!
Need Help? We are right here!
Search Results:
×Any application by default redirects to the default IDP that has been selected in your tenant.
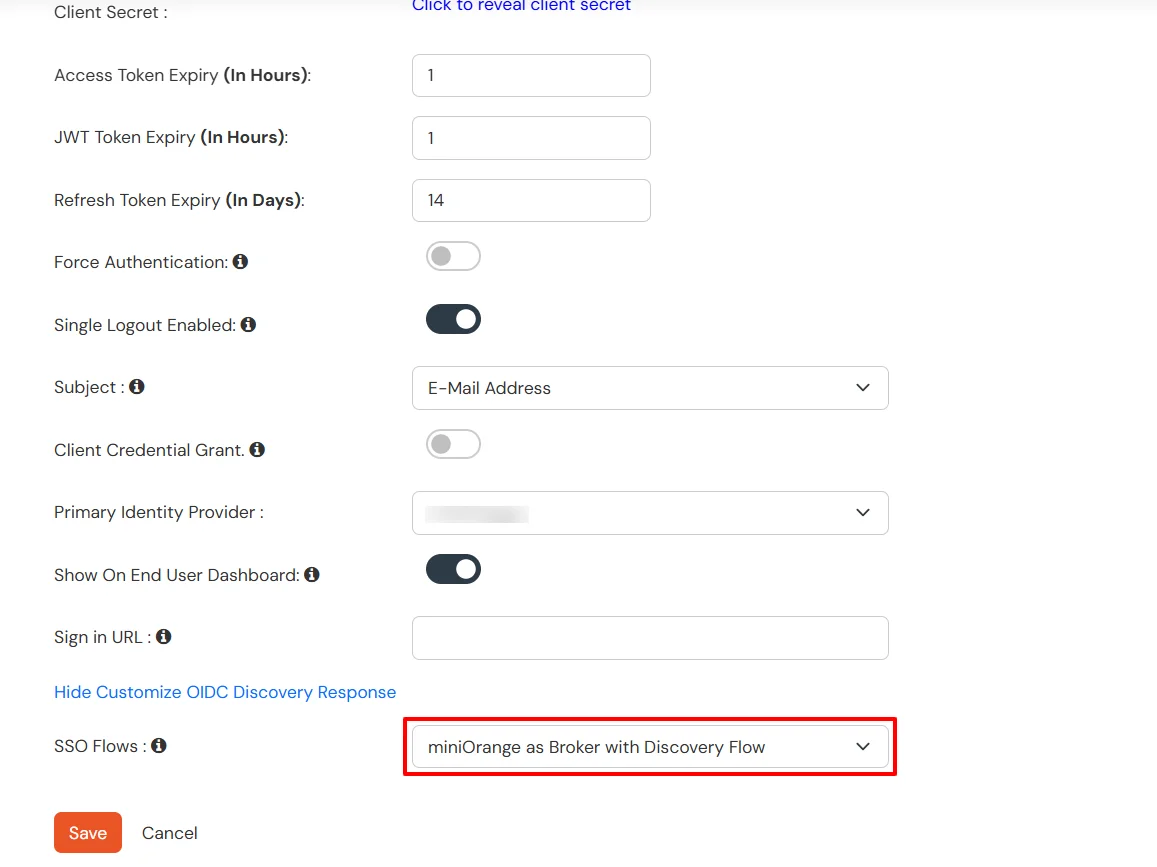
This is set to miniOrange Internal Directory when you create an account. If you want users to login with a specific external IDP for your application that is separate from the default IDP, you can select the Primary Identity Provider option that can be found in different app configuration screens.
If you want to use multiple Identity sources to login into your application. There are a few ways miniOrange provides to achieve this.
https://<organisation-name>.xecurify.com/moas/idp/openidsso?sourceId=ADFS
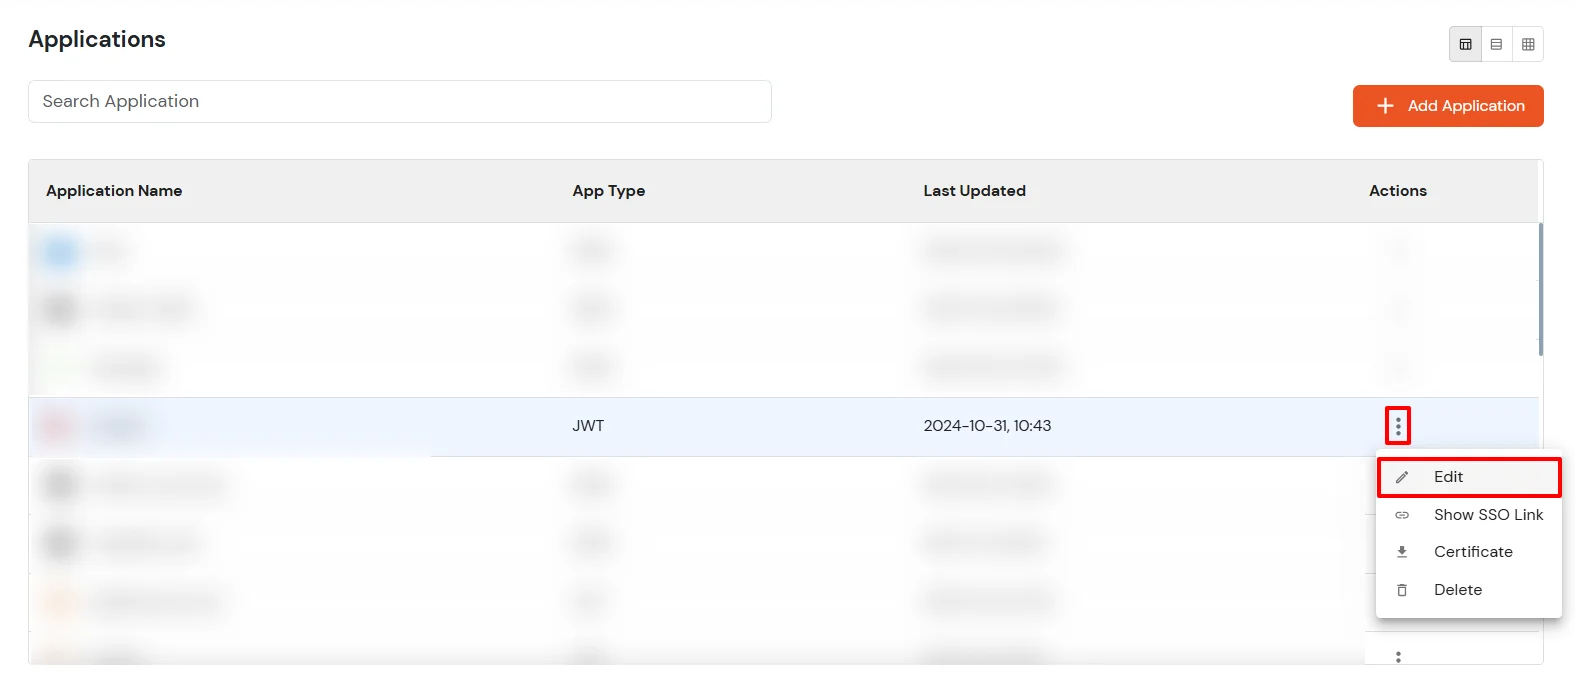
The steps across different app types are the same. You can edit your Identity Provider or External Directory settings and add domain in the Domain Mapping field as shown in the screenshot below:


Please note the following rules for Domain Mapping Flow:
| Default IDP | Domain Found in Any IDP? | Is Domain mapping present in default IDP? | Resulting Behaviour |
|---|---|---|---|
| miniOrange | NO | NA | Credentials will be authenticated against miniOrange |
| miniOrange | Yes | NA | Credentials will be authenticated against the specific IDP where domain is mapped |
| Identity Provider or External Directory | Yes | Yes | Credentials will be validated against the specific IDP |
| Identity Provider or External DiIrectory | NO | NO | Credentials will be validated against the Default IDP |
| Identity Provider or External Directory | NO | Yes | Users will see an error of invalid domain entered |
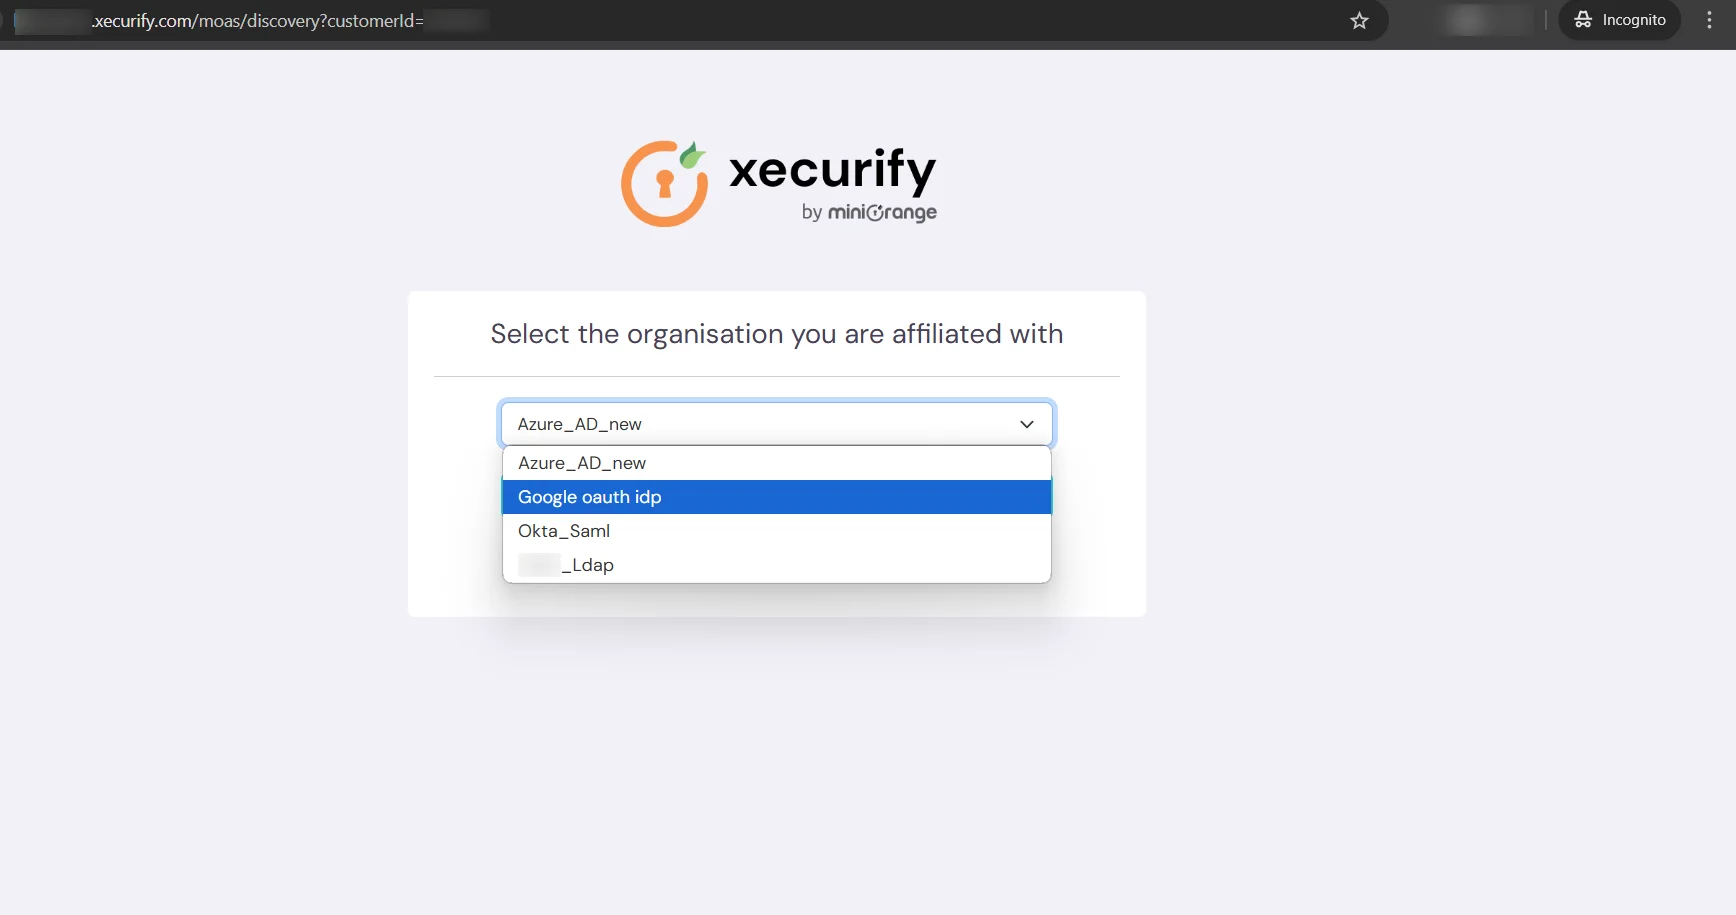
miniOrange provides you a granular control of showing configured Identity Providers in the selection page. For each IDP configuration, you will have to enable the Show IDP to Users option in identity providers. The steps are different for different IDP types:
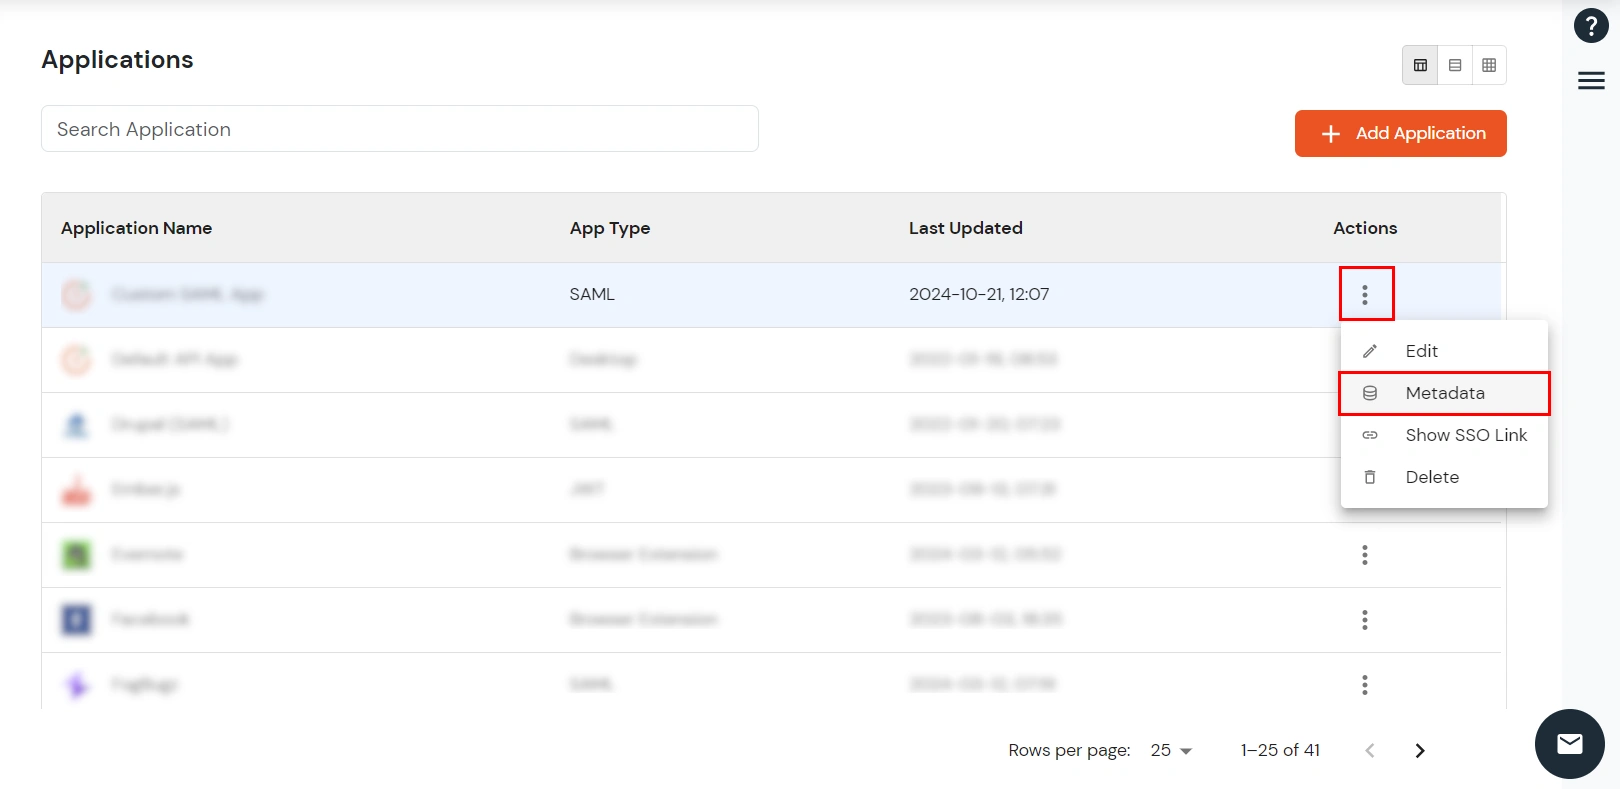
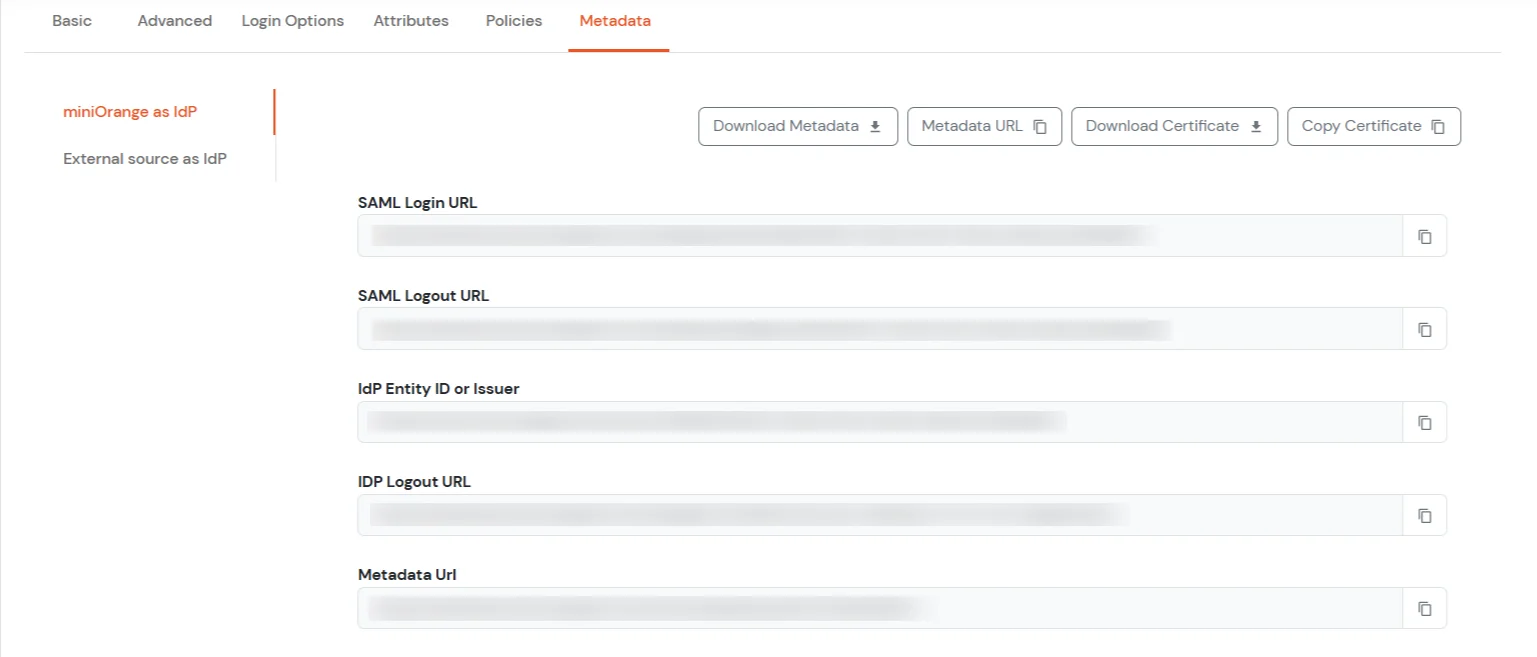
While configuring the SAML application, we will need to change the SAML Login URL in your application. Please note that if your application expects a Metadata File/URL to be imported, we will have to manually change the SAML Login URL.
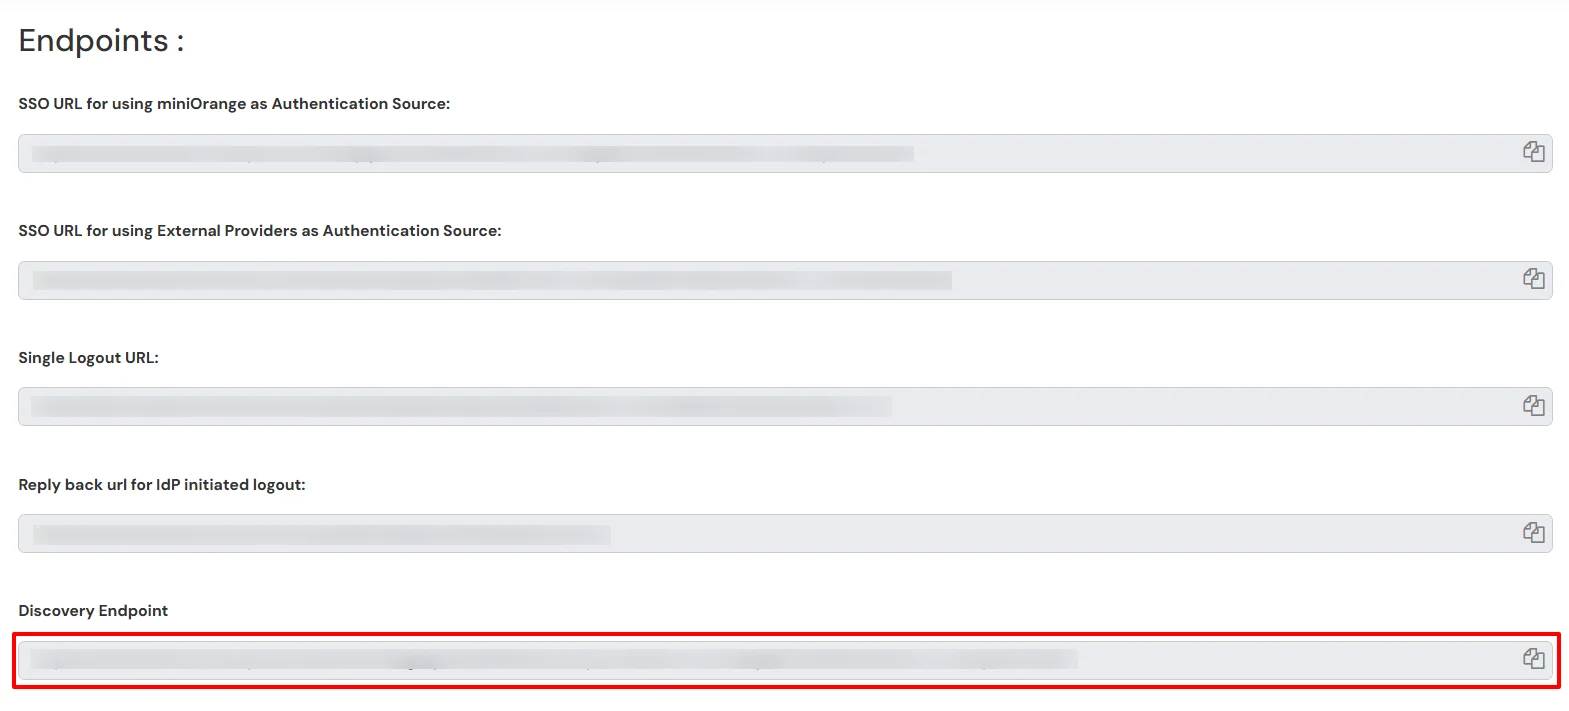
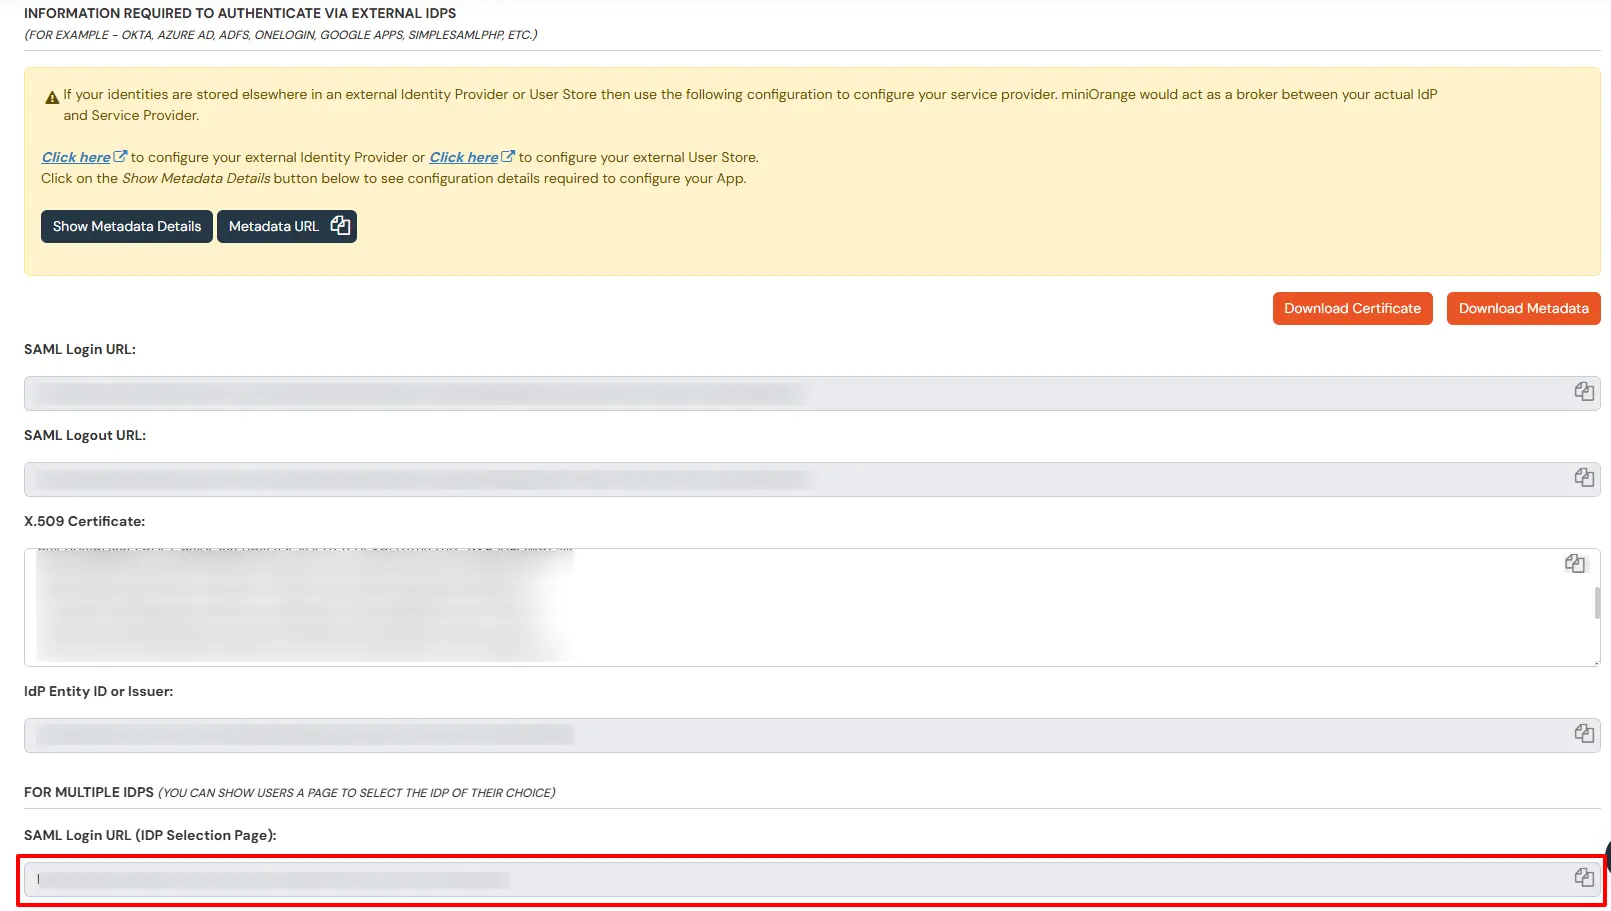
Below are the steps to find the new SAML Login URL for IDP Selection Page:
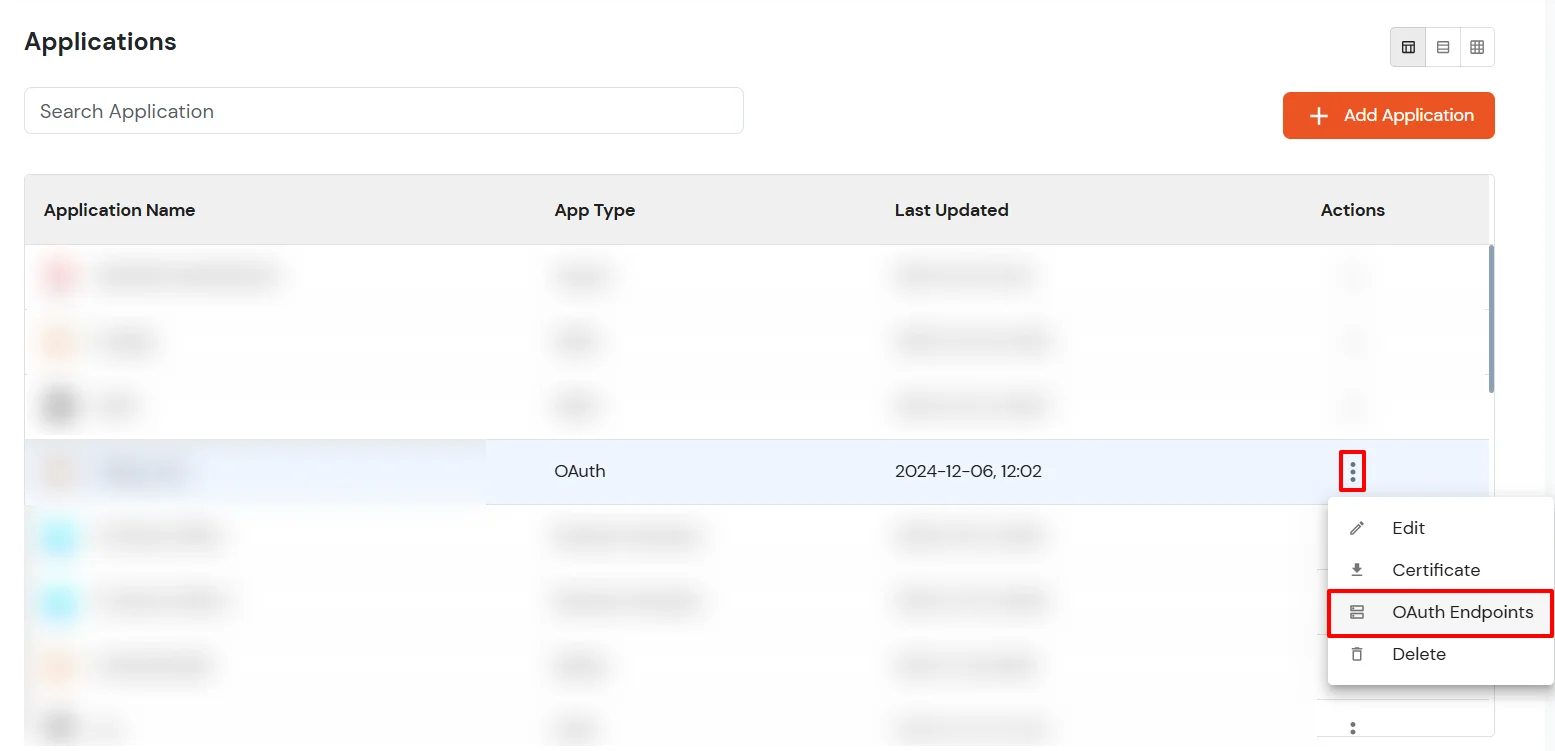
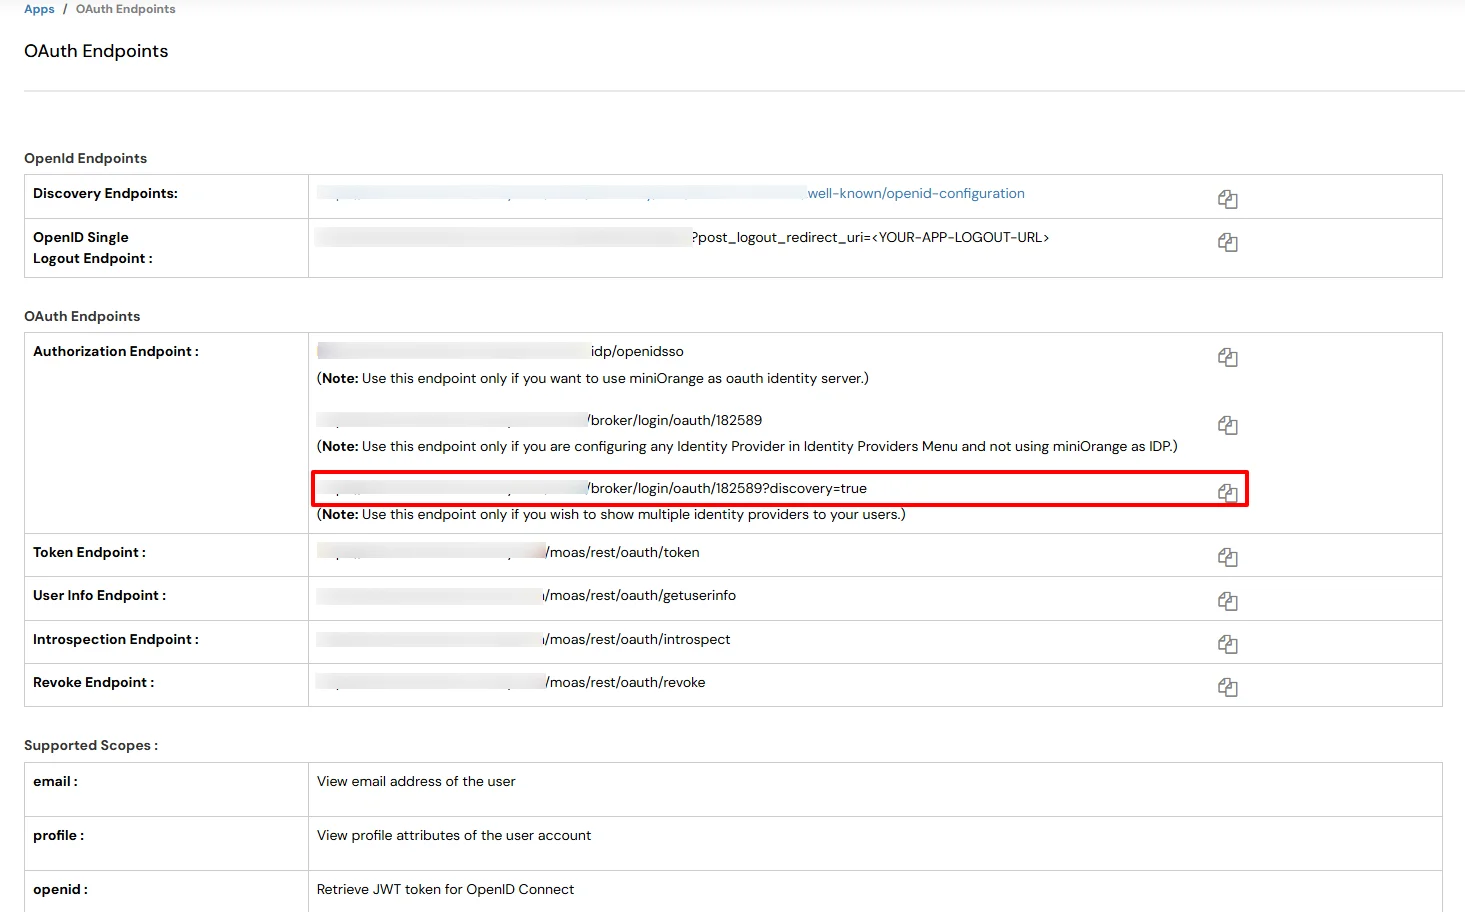
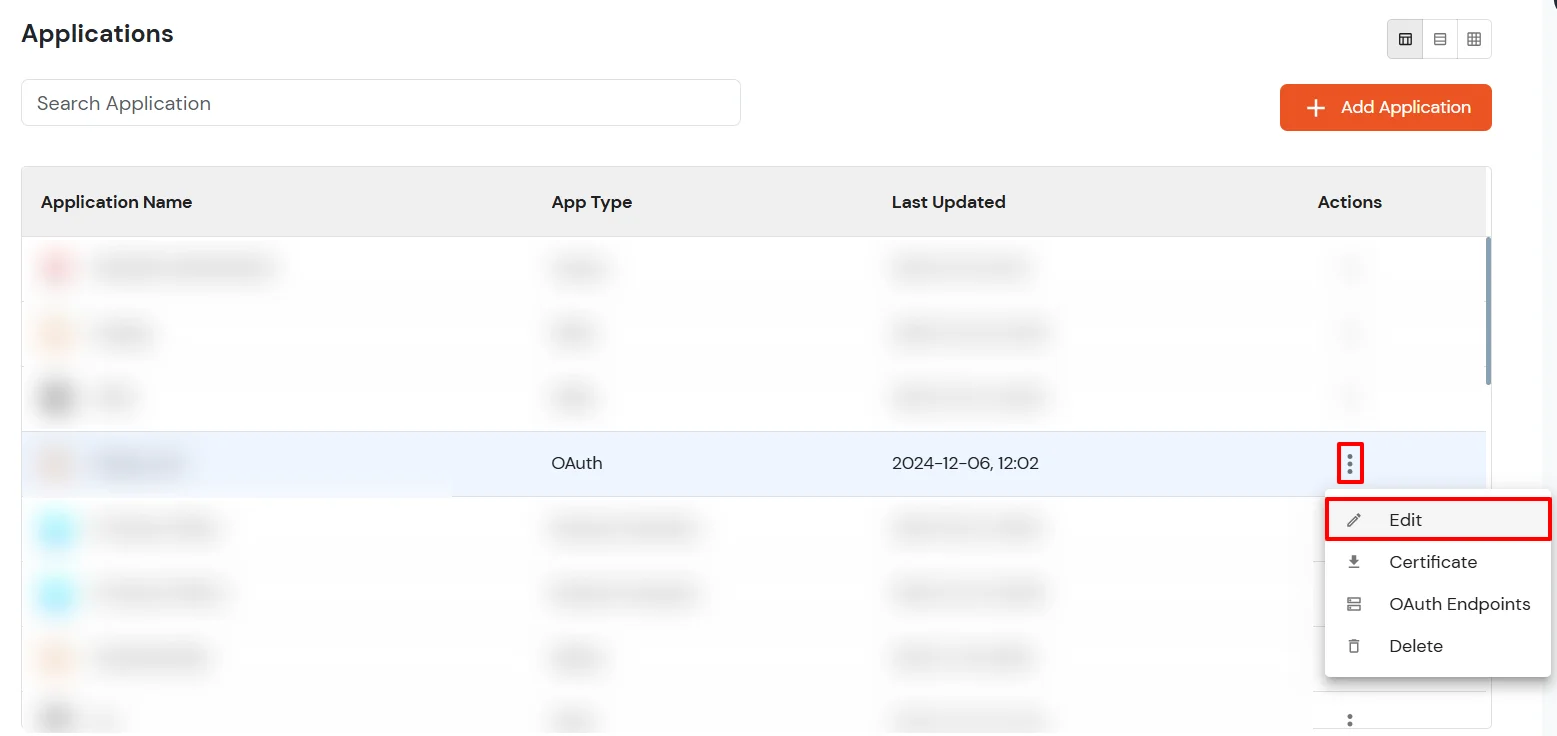
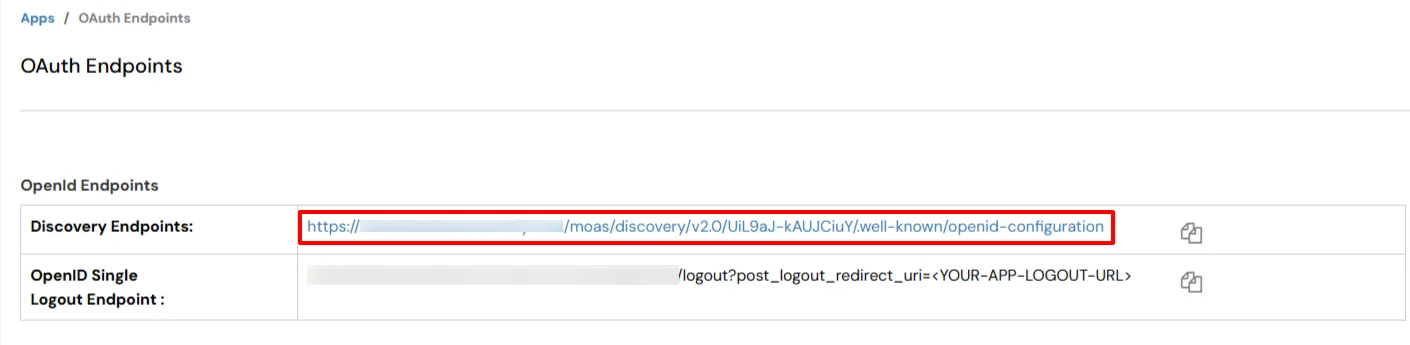
While configuring any OAuth/OpenID Client application, there are two options.