Hello there!

Need Help? We are right here!

Support Icon
miniOrange Email Support
success

Thanks for your Enquiry. Our team will soon reach out to you.

If you don't hear from us within 24 hours, please feel free to send a follow-up email to info@xecurify.com

Search Results:

×

Setup miniOrange Access Gateway


A step-by-step guide to installing and configuring miniOrange Access Gateway (MAG) for secure access and authentication.

System Requirements

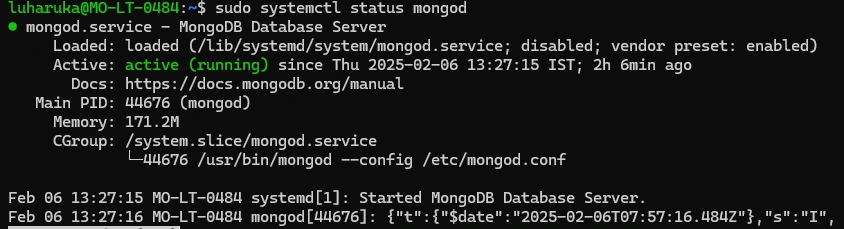
miniOrange access Gateway server has the following system requirements.

  • Operating System: Linux or Windows operating system that runs minimum Java 11
  • CPU Core: 4 Core
  • RAM: 16GB and above
  • HDD: 20GB or above
  • JAVA Environment: jdk11
  • Server Access Policies: Port 80 (HTTP Port), Port 443 (HTTPS PORT), Port 8181 for MAG dashboard
  • Database: MongoDB

Install miniOrange Access Gateway

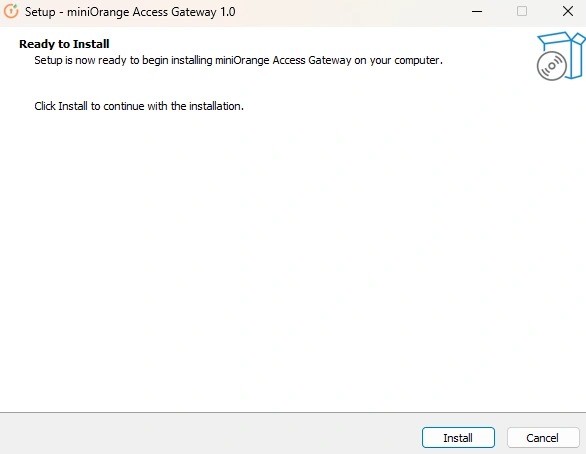
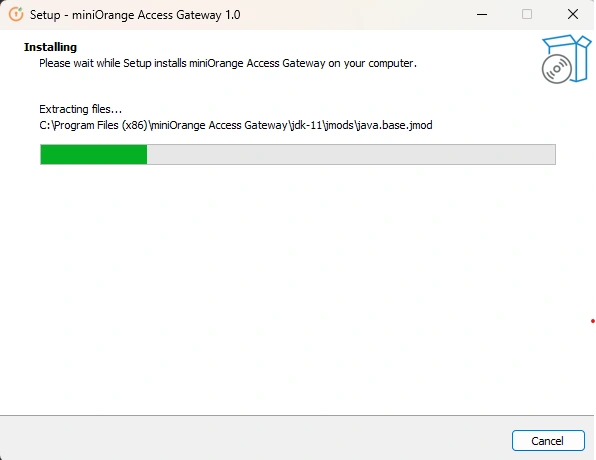
Follow the steps to deploy the miniOrange Access gateway server on your operating system:


Pre-Requisites

Download Required Files:

  • Set Environment variable for mongodb.
  • MONGOSH : C:\Program Files\MongoDB\mongosh-2.0.1-win32-x64\bin
  • Double-click to run the downloaded installer (exe) file.
  • If your MongoDB path is correctly set, Click Ok.
  • Setup Miniorange access gateway

  • Click Install
  • Setup Miniorange access gateway

  • After successful Installation, Click ok.
  • Setup Miniorange access gateway

  • After installation, you will be directly redirected to below.
  • Setup Miniorange access gateway

Pre-Requisites

Download Required Files:

  • Check MongoDB is installed and in active status.
  • Setup Miniorange access gateway

  • Run the downloaded installer (sh) file using the command below.
  • Setup Miniorange access gateway


Follow the Step-by-Step Guide given below for Miniorange Access Gateway Setup

1. Sign up with miniOrange Access Gateway

  • Click here to log into your miniOrange account.
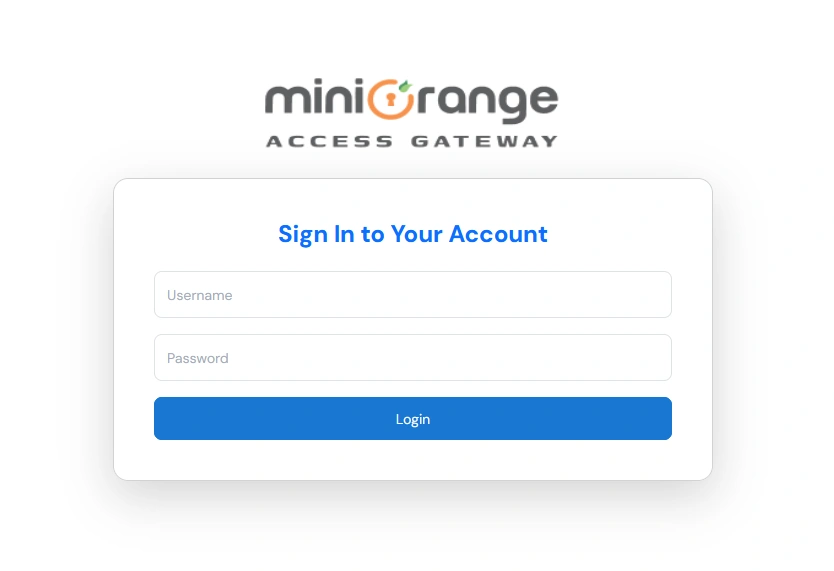
  • (Don’t have an account? No worries! Click here to create one.)

  • Open your browser and go to: http://localhost:8181/login
  • This will take you to the MAG login page.
  • Setup Miniorange access gateway

  • Enter your credentials just as you would with your miniOrange cloud account.
  • Click on the Login button.
  • After successful authentication, you will see the dashboard.
  • Setup Miniorange access gateway

2. Configure Upstream Servers

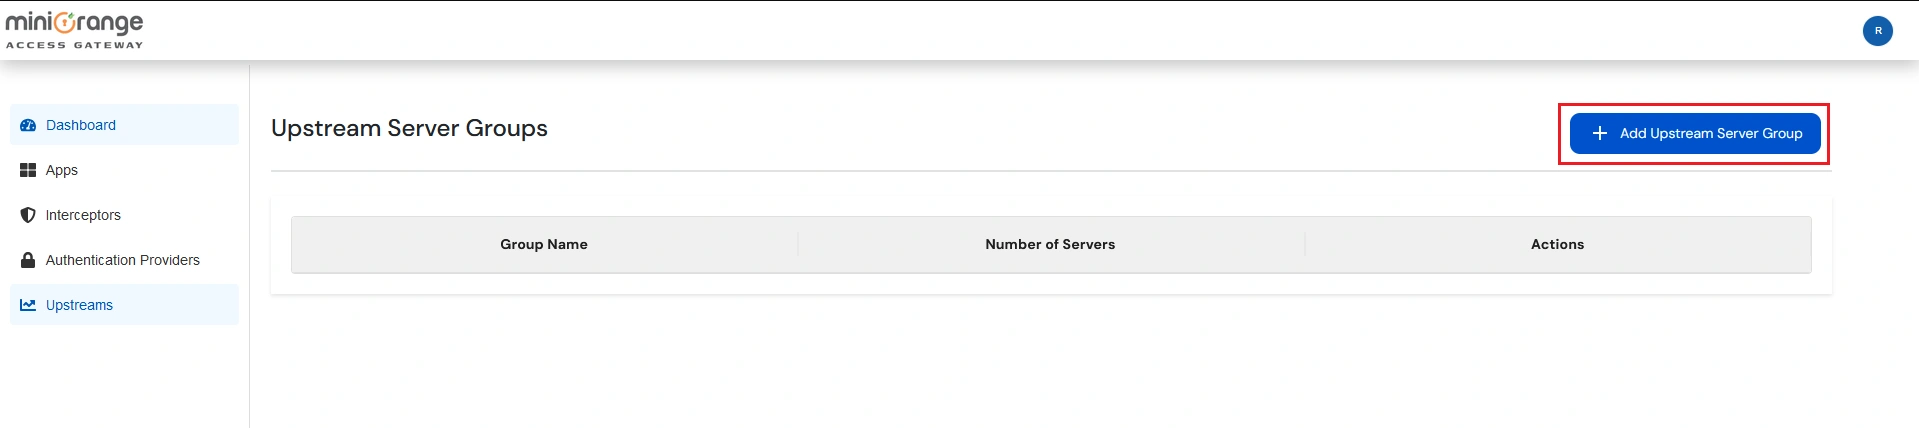
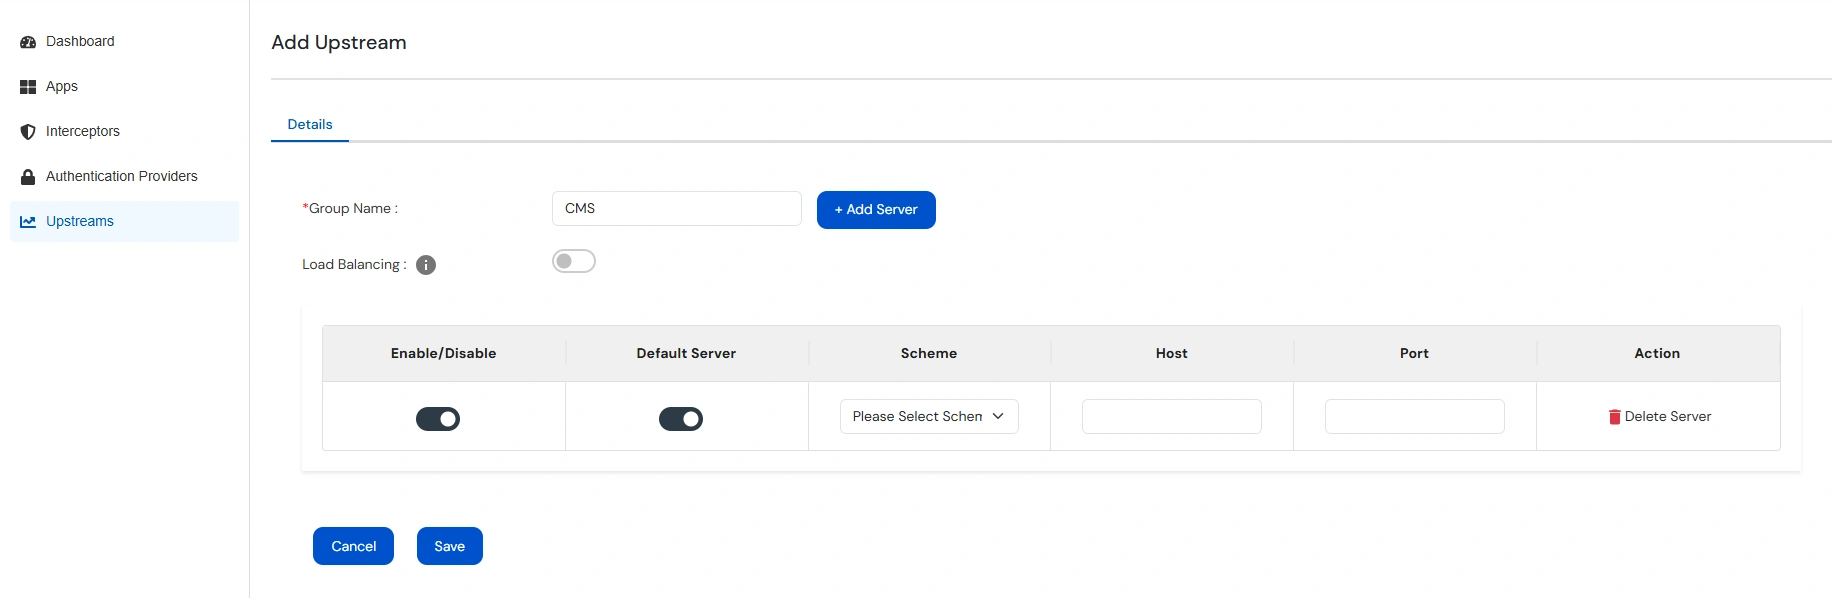
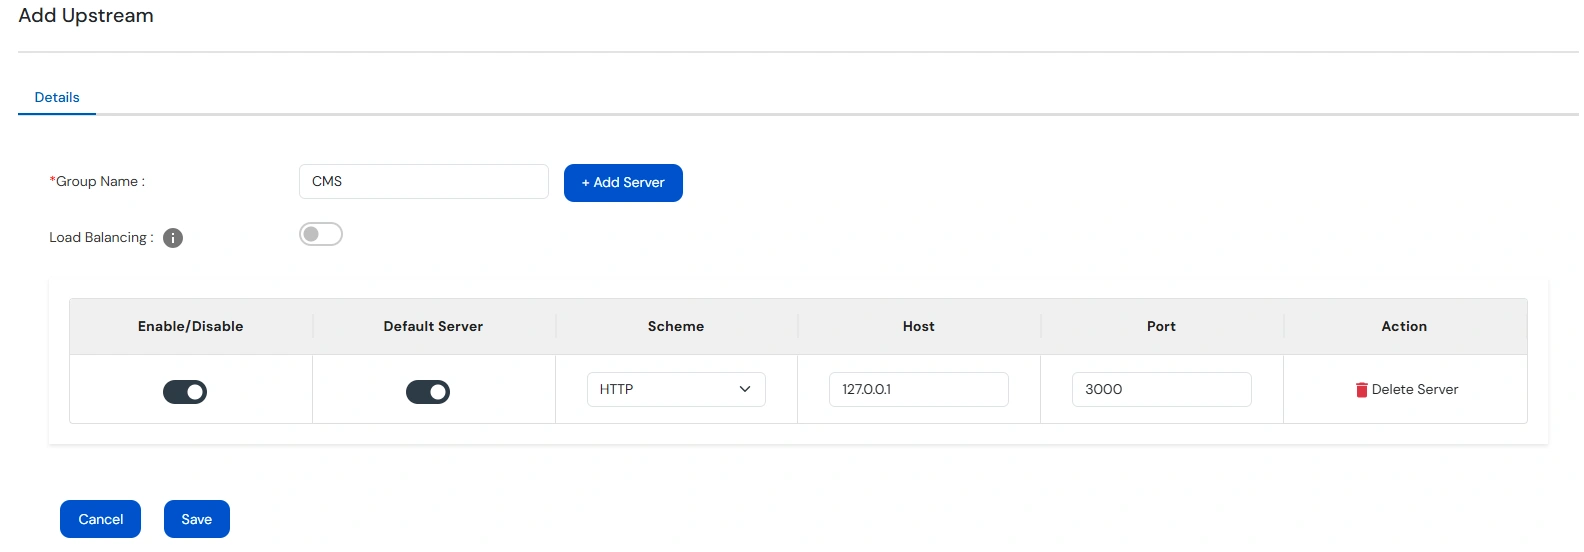
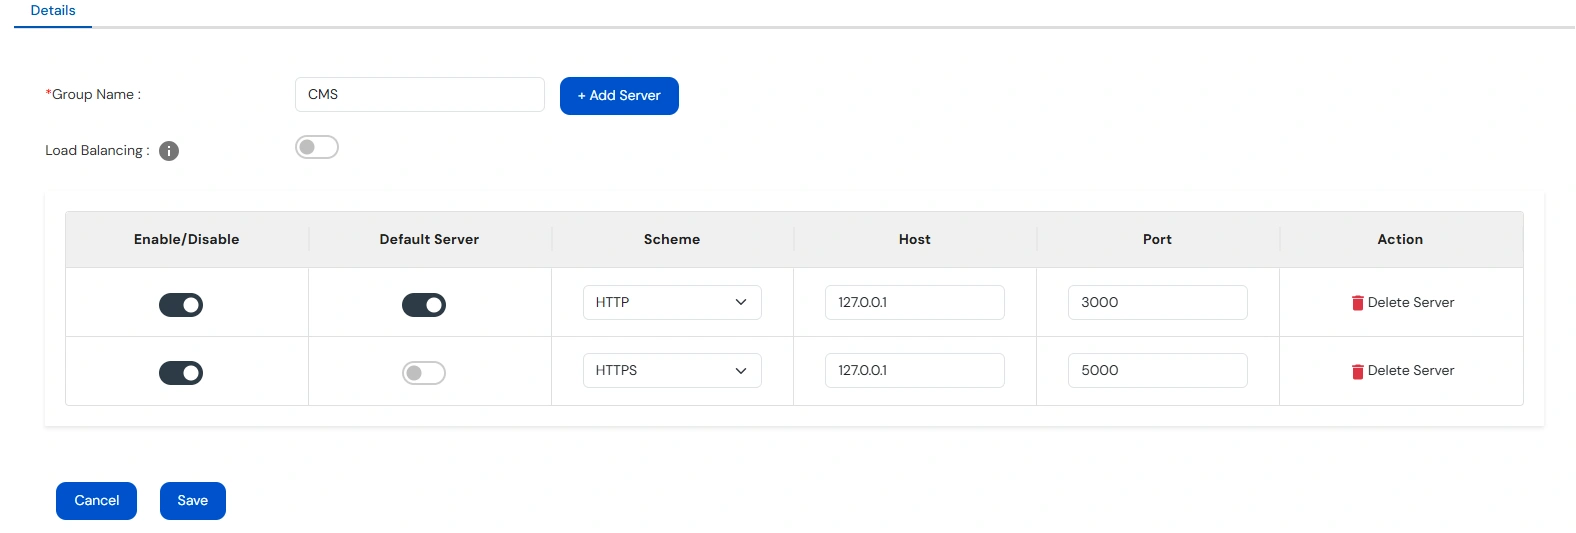
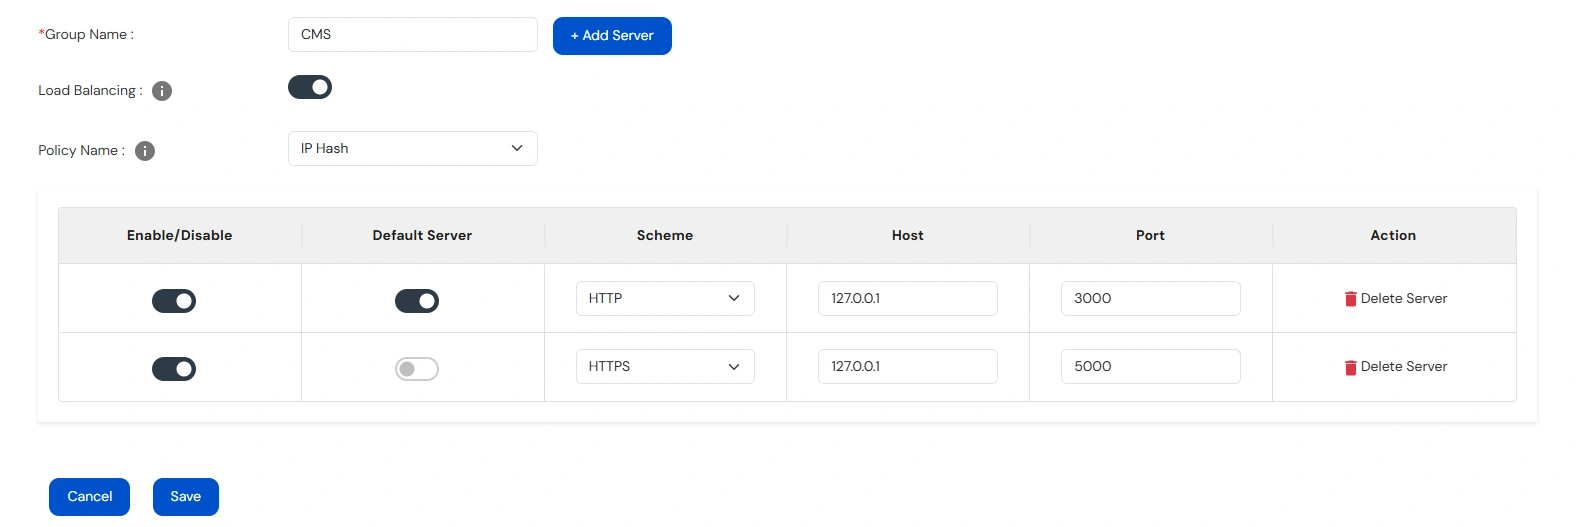
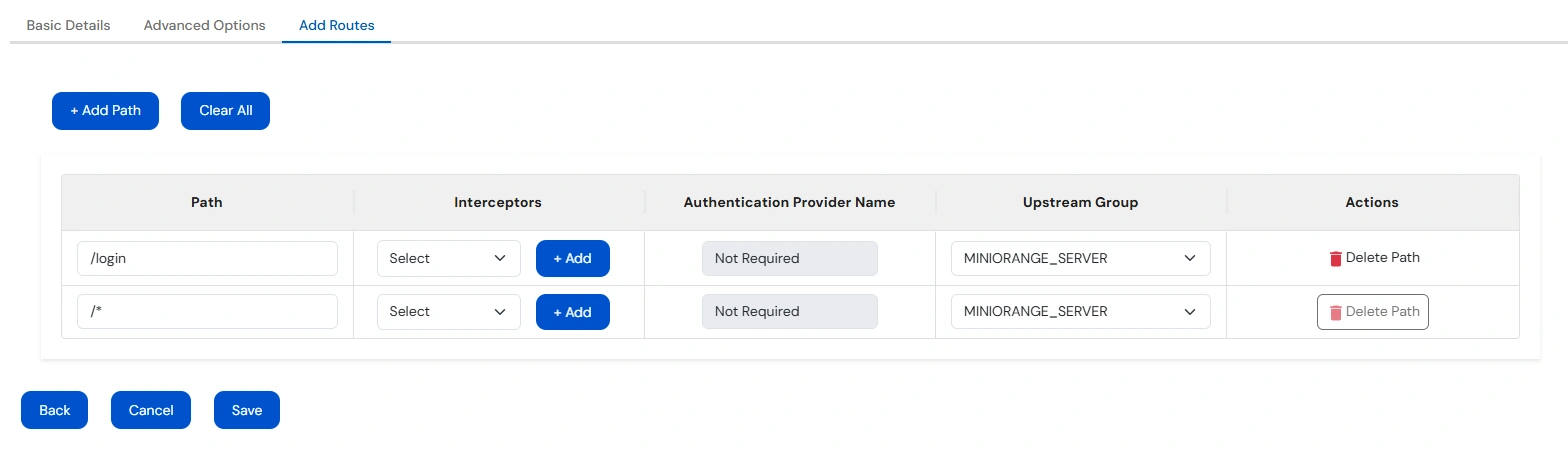
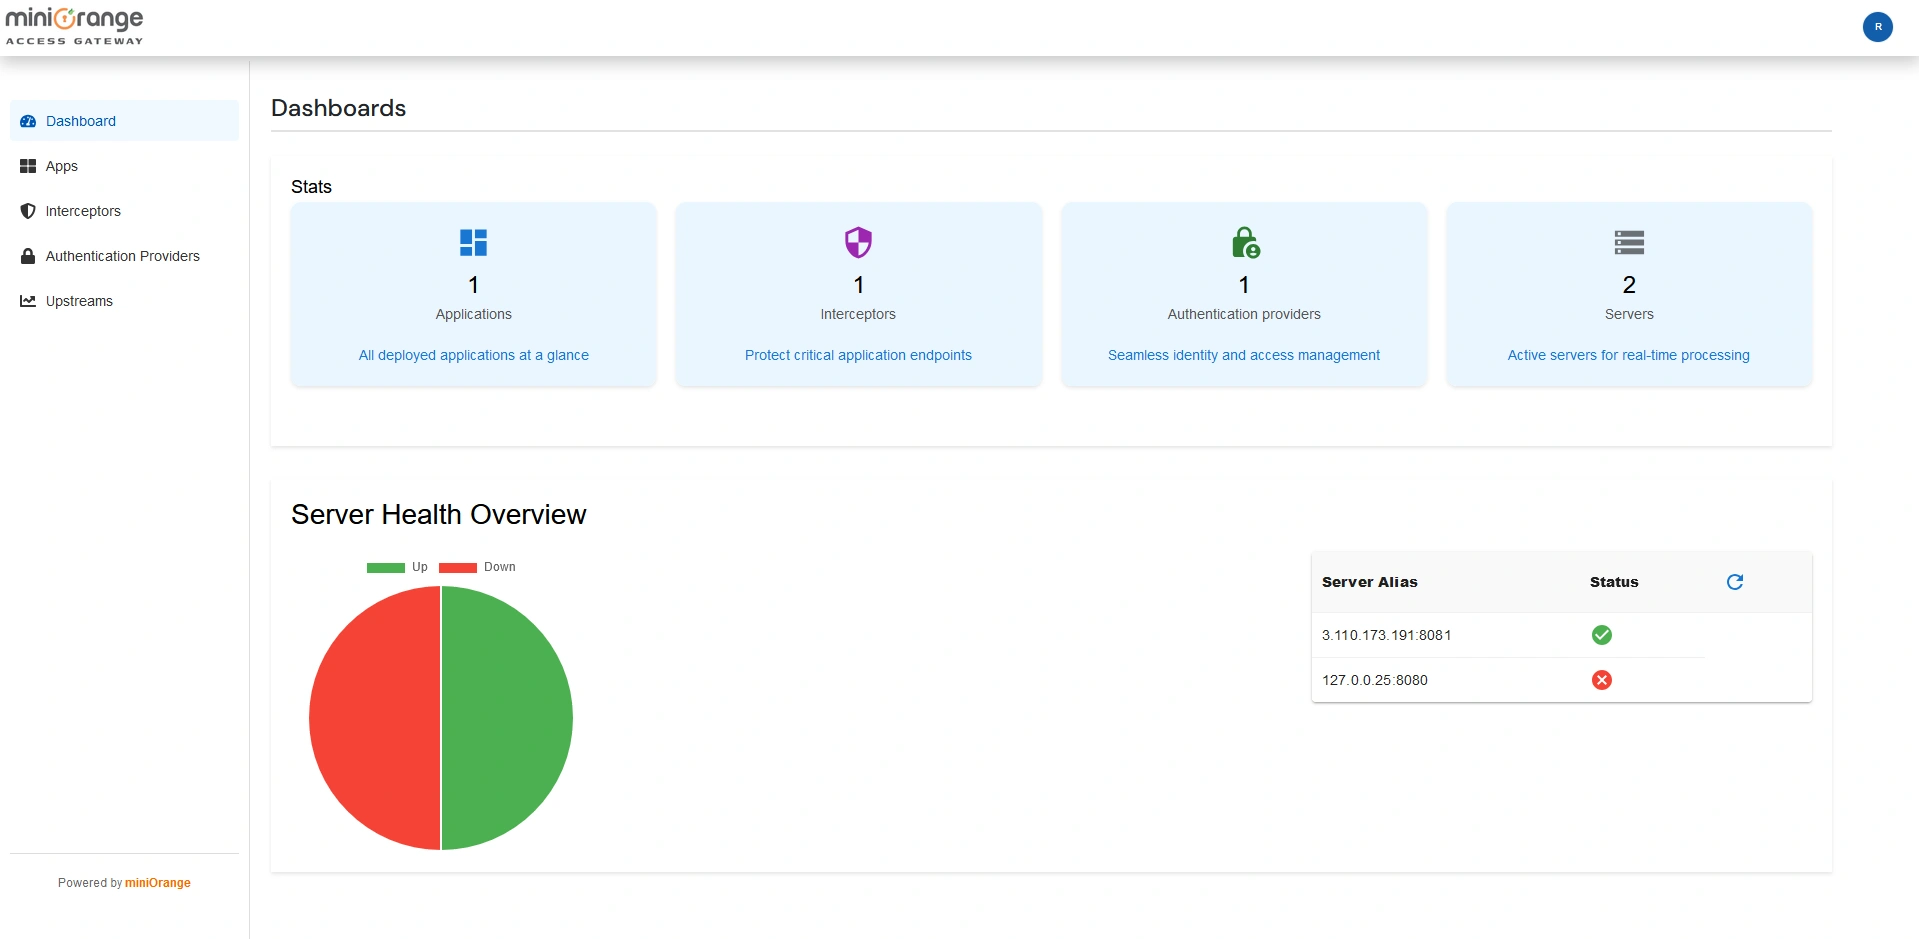
Upstream servers are your applications where you would like miniOrange Access Gateway to connect and perform Load Balancing, SSO, or MFA.

  • Click the ADD UPSTREAM button.
  • Setup Miniorange access gateway

  • Now, Click on Add Upstream Server Group.
  • Setup Miniorange access gateway

  • Enter the Group Name.
  • Click on Add Server to add the application's IP address to your upstream group.
  • Setup Miniorange access gateway

  • Under the Scheme field, select the appropriate scheme from the dropdown.
  • Provide the Host and IP of the custom application.
  • Setup Miniorange access gateway

  • To configure multiple Upstream servers, click Add Server again and enter details such as the scheme, IP, and port.
  • Setup Miniorange access gateway

  • Enable the Load Balancing toggle and select the desired algorithm from the Policy Name dropdown.
  • Setup Miniorange access gateway

  • Click Save.

3. Add Authentication

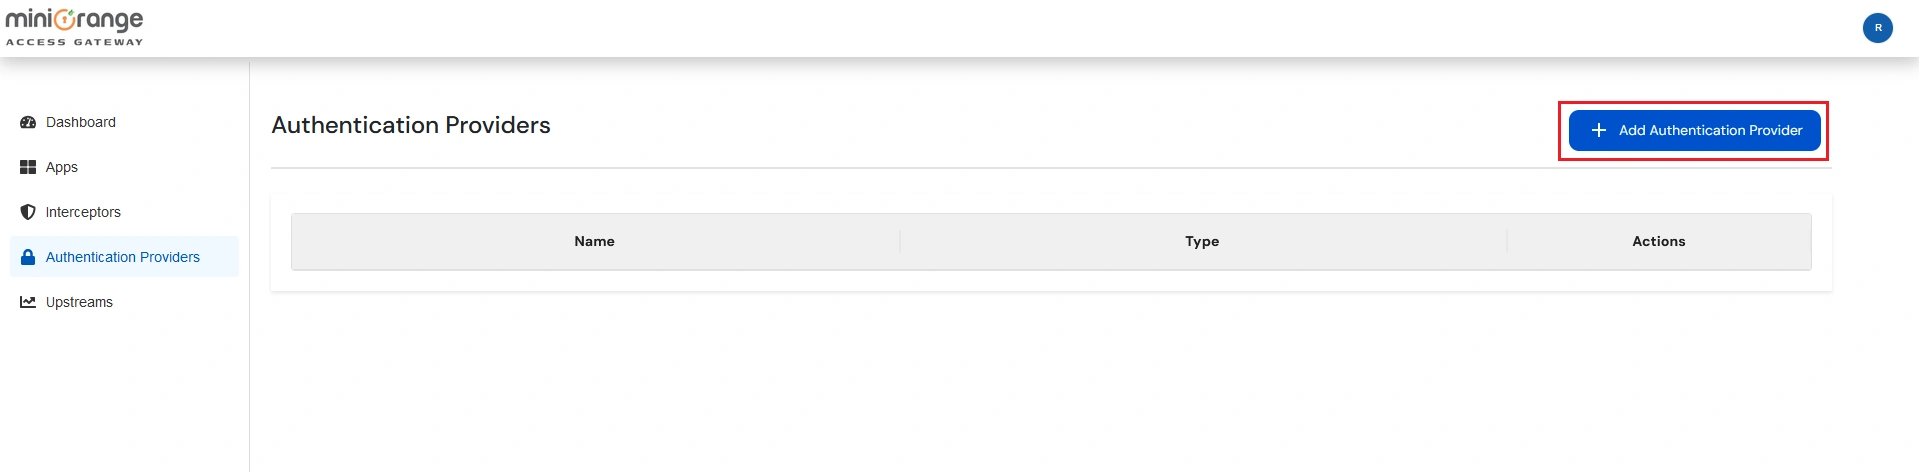
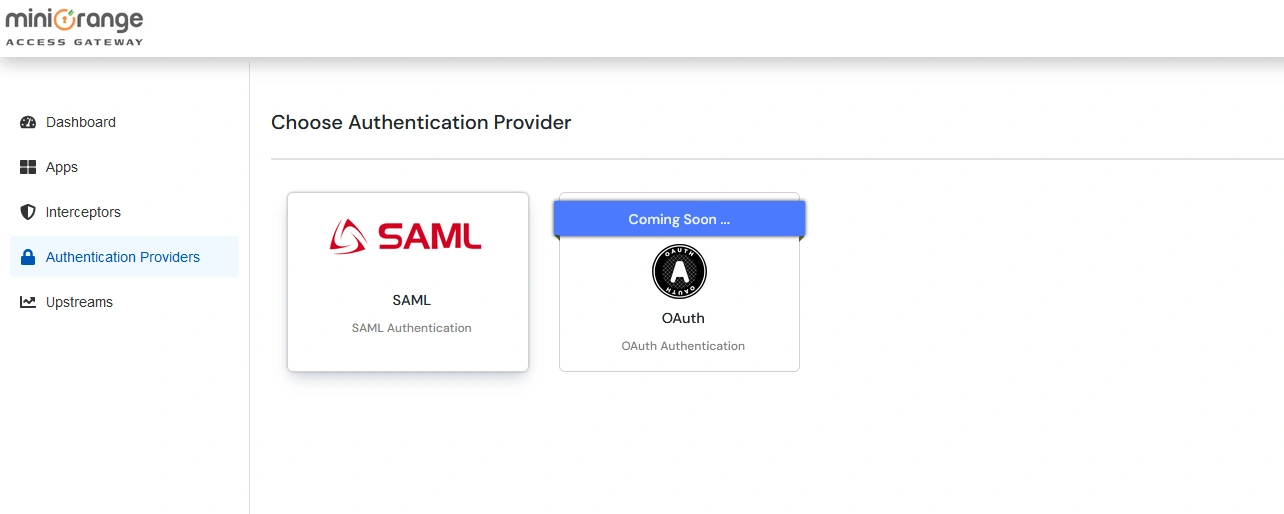
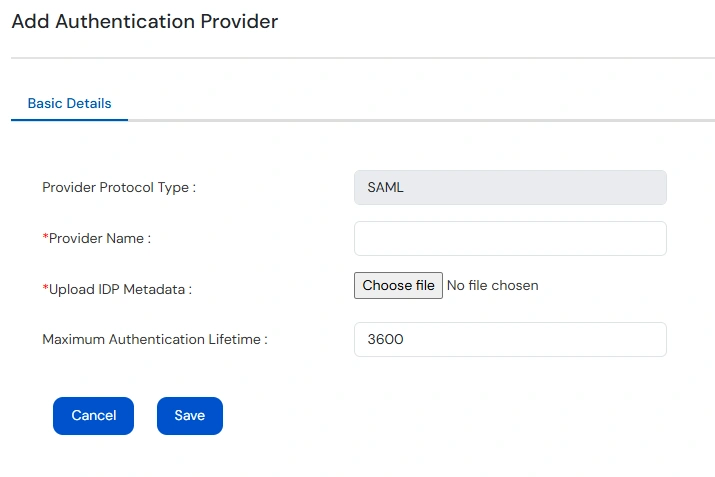
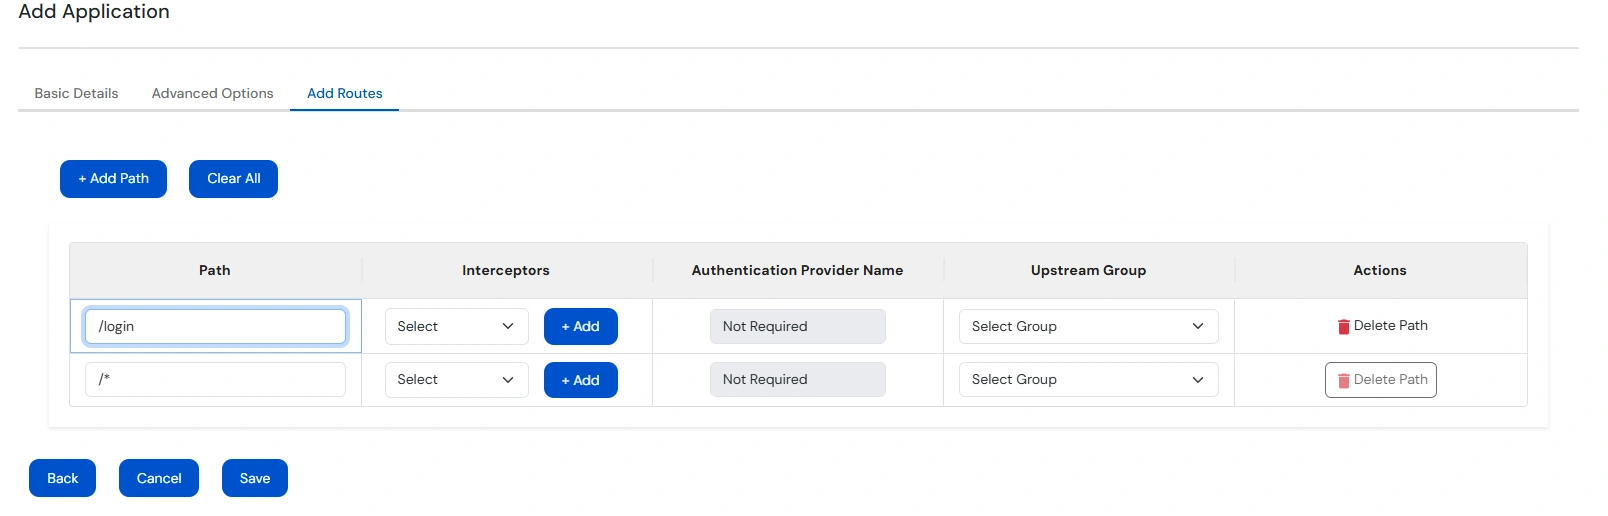
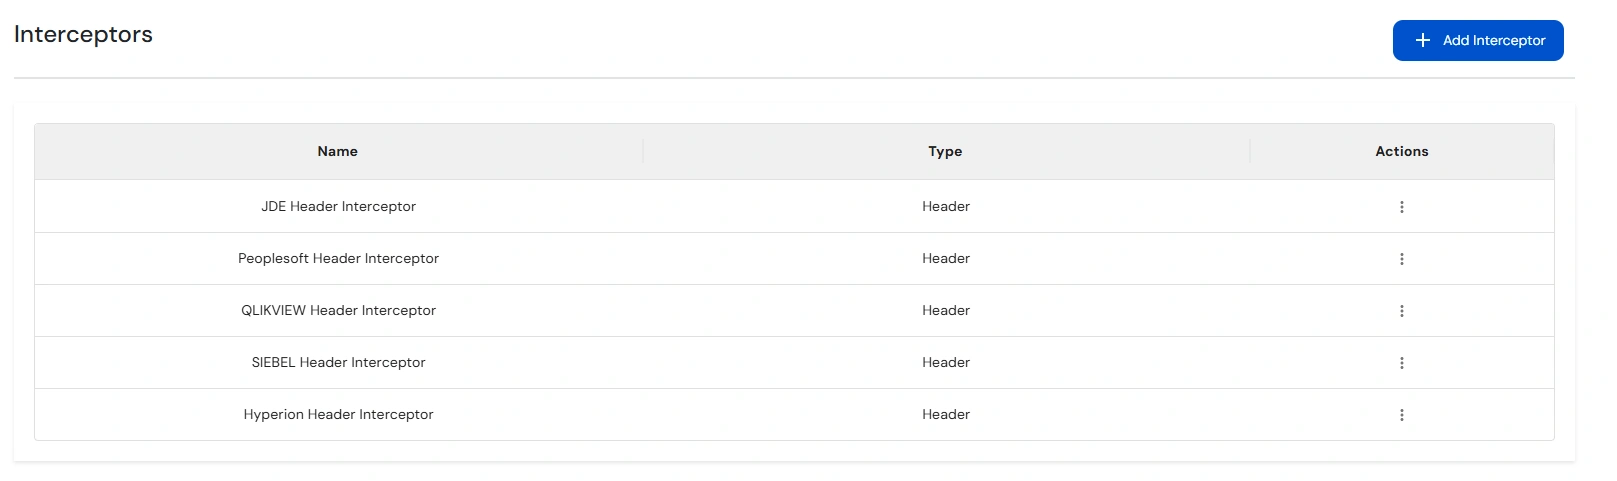
miniOrange Access Gateway provides SAML Authentication to configure SSO for your application through miniOrange Identity Provider.
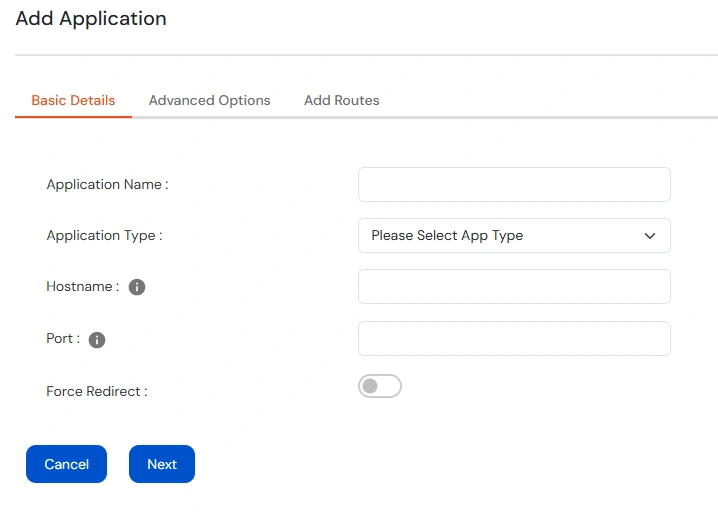
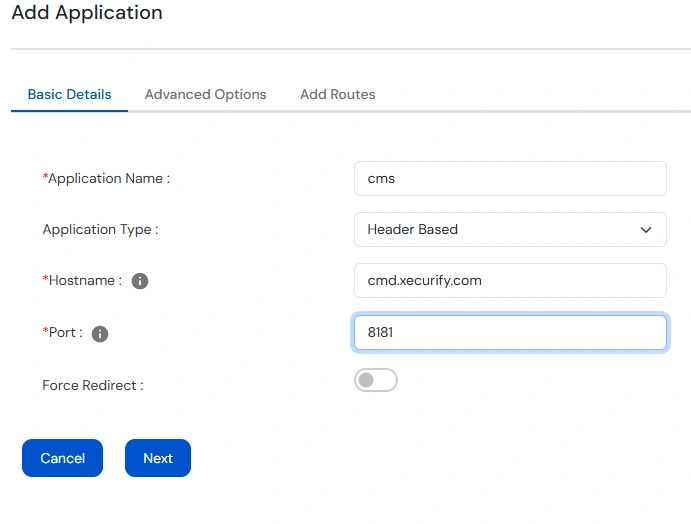
  • On the left sidebar, select Authentication Providers and then click the Add Authentication Provider button.
  • Click on Add authentication provider button.
  • Setup Miniorange access gateway

  • Now click on SAML Authentication.
  • Setup Miniorange access gateway

  • Enter the Identity provider name and click Save.
  • Setup Miniorange access gateway

4. Add Application

  • Navigate to Apps on the left sidebar and click on the Add Application button.
  • Setup Miniorange access gateway

  • Select the Custom App Application.
  • Setup Miniorange access gateway

  • Enter the details according to the table below:
  • Application Name Any identifier for your Application
    Application Type Select the purpose for the app creation (Proxy, Header based, etc)
    Hostname The URL through which your users will access the application.
    Port 80
    Force Redirect Enable this if you want to auto-redirect.
    Redirect To Enter the path you want to redirect when accessing only the specified host.
    Setup Miniorange access gateway

    Setup Miniorange access gateway

  • Click on next.
  • Under Advanced Options, enable SSL if required for secure access.
  • Setup Miniorange access gateway

  • Now enter the SSL Port.
  • Setup Miniorange access gateway

  • Select and upload the SSL certificate. We support three types of certificates.
    • JKS
    • PFX
    • PEM
    Setup Miniorange access gateway

  • Click on next.
  • Review the default routes.
  • Setup Miniorange access gateway

  • Select the upstream group from the dropdown.
  • Setup Miniorange access gateway

  • Choose the Interceptors and Authentication ID from the dropdown.
  • Setup Miniorange access gateway

  • Click on Save.
  • Setup Miniorange access gateway

  • Download the SP Metadata from the configured application and upload it to miniOrange .Please refer to this guide on setting up SAML Apps on miniOrange.
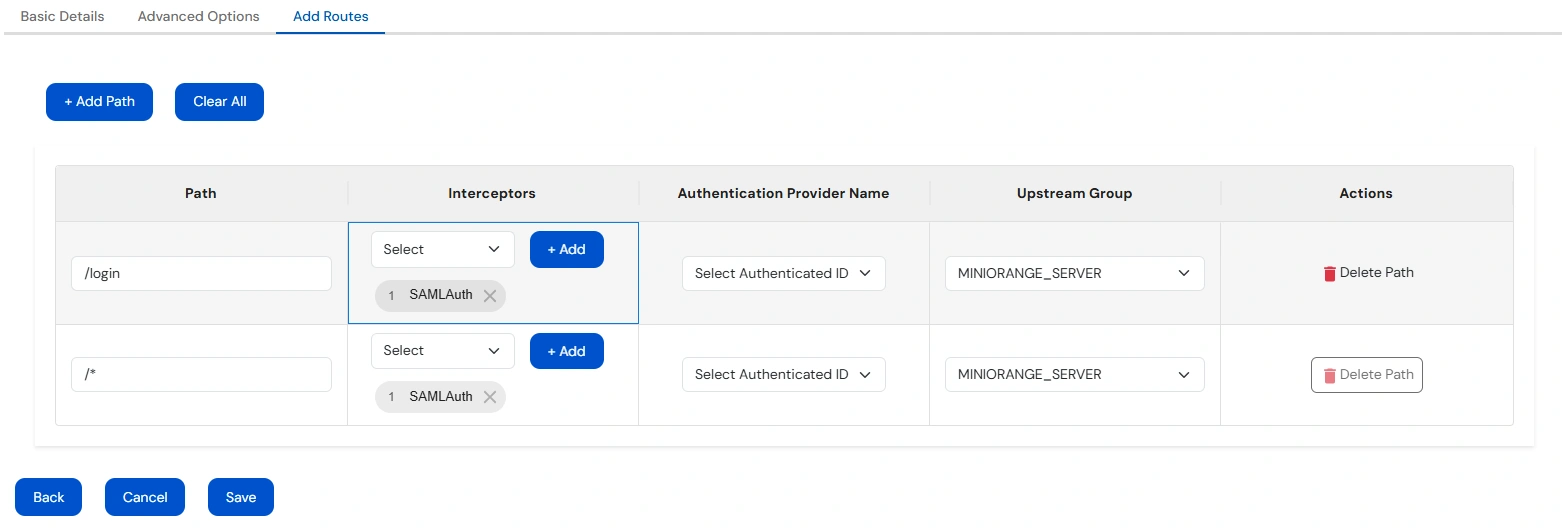
  • Navigate back to Authentication Providers

  • Upload the IDP Metadata file obtained from the configured App on miniOrange IDP.
  • Setup Miniorange access gateway

  • Click on Save.

5. Add Interceptor

  • Click on the Add Interceptor button & you will see some default Interceptor.
  • Setup Miniorange access gateway

  • Select the Interceptor to configure.
  • Setup Miniorange access gateway

  • Click on Save.
  • In Dashboard, you can check all the configuration summary and and server health status.
  • Setup Miniorange access gateway

6. Accessing the Gateway

Want To Schedule A Demo?

Request a Demo


Our Other Identity & Access Management Products