Hello there!

Need Help? We are right here!

Support Icon
miniOrange Email Support
success

Thanks for your Enquiry. Our team will soon reach out to you.

If you don't hear from us within 24 hours, please feel free to send a follow-up email to info@xecurify.com

Search Results:

×

Single Sign On (SSO) For Your Apps Using Oracle Database


Login with Oracle Database as User Store


miniOrange provides ready to use Single Sign-On solution using Oracle Database.This solution ensures that you are ready to roll out secure access to any of your application using Oracle Credentials within minutes.

Where is SSO (Single Sign-On) with Oracle Database applicable?

Various User Stores i.e. CRM/HRM/CMS/LMS where users are stored, do not support Single Sign-On or any other authentication protocol inherently.Here miniOrange Oracle SSO solution comes into the picture and provides different SSO services to these type of applications.

Get Free Installation Help


miniOrange offers free help through a consultation call with our System Engineers to configure SSO for different apps using Azure AD as IDP in your environment with 30-day free trial.

For this, you need to just send us an email at idpsupport@xecurify.com to book a slot and we'll help you in no time.


Follow the Step-by-Step Guide given below for SSO for your apps using Oracle database

1. Setup Oracle as Authentication Source

  • Login into your miniOrange Admin console and navigate to External Directories >> Add Directory.
  • Add User store for Oracle Database Authentication

  • Select the Database Tab as shown below.


  • Setup Oracle database as user store

  • Enter the Database Identifier which is basically the Database name you are adding up, it can be any name relevant to the User-store.
  • Select the Database type as Oracle.Following table shows the default values and syntax of the fields in the configuration page.
  • Note :-The default port number for Oracle is 3306.

    Database Type Connection URL Default Port Number Password Hash Algorithm
    Oracle
    jdbc:mysql://hostname:port/database-name
    3306 PHPASS
  • Database Host URL is basically the Connection URL.
    1. The hostname in the Connection URL can be either localhost or any other remote host.
    2. The port is by default 3306 for Oracle Database type.
    3. The database-name is basically the Database which stores the users for authentication purpose.
  • Enter the Admin Username and Admin Password.
    1. In case of localhost, the Admin Username is basically 'root', and in case of any other remote host please contact your administrator.
    2. Enter the Admin Password for the corresponding Admin Username.
  • The User Table is basically the table name of the Database where users are stored for authentication.For Example, in case of Wordpress the User Table is wp_users.
  • Enter the name of the corresponding Username column and Password column.
    1. Username column is the column which stores the username of the users to be authenticated.For Example, in case of Wordpress the Username column is user_login.
    2. Password column is the column which stores the corresponding passwords of the users.For Example, in case of Wordpress the Password column is user_pass.
  • The Hashing type which is used for Oracle is ,PHPASS.
  • Advanced Settings:-
    1. User-activated query,in which you can enter the query for checking if the User is Active or not.
      Example:-
    2. Enable for EndUsers,enable this option if you want your endusers to log in to their corresponding End-User Dashboard using IDP Credentials.
    3. Authenticate via miniOrange,if you enable this option, then the users present in an external database will be authenticated directly through the miniOrange IdP, without being created in the miniOrange IdP. It is helpful in case when the database from where the authentication is being performed contains some private or sensitive information about users.
    4. Send Configured Attributes,if you enable this option, then only the attributes configured below will be sent in attributes at the time of login.
    5. Click on Save.
    6. Now, click on Edit and go to Attributes Mapping section.
    7. Edit configuration for Oracle

    8. Click on Save to save your configuration.

2. Test Connnection

  • In order to check if connection is established with the Database or not, Test Connection is required to be done.Kindly navigate to Select >> Test Connection.
  • Test connection for Oracle Database

  • Enter the credentials of the user, stored in the User Table of the corresponding Database for testing if the connection is correctly established.Click on Test to check if connection was successful or not.

    Test Connection for Oracle Database as User Store

  • If Test Connection is successful, you are good to go!.
  • If Test Connection is not successful,kindly check your configuration once again or contact your administrator.Another probable reason can be that, you are entering wrong credentials for Test Connection

3. User Provisioning

  • Navigate to Provisioning settings.
  • User provisioning

  • Select the Database from the drop-down menu.
  • Check the provisioning features.
  • Provisioning users from Oracle database

  • To import the users from Database, go to the User Provisioning, Click on the Import Users button.
  • Select the Database from the drop-down menu and save the configuration.
  • Importing users from Oracle database

  • Now go to the Users >> User List and you will find the all the users imported from Database.
  • Database Authentication user provisioning user list

4. Configure your Application in miniOrange


Note:

If you have already configured your application in miniOrange you can skip the following steps.


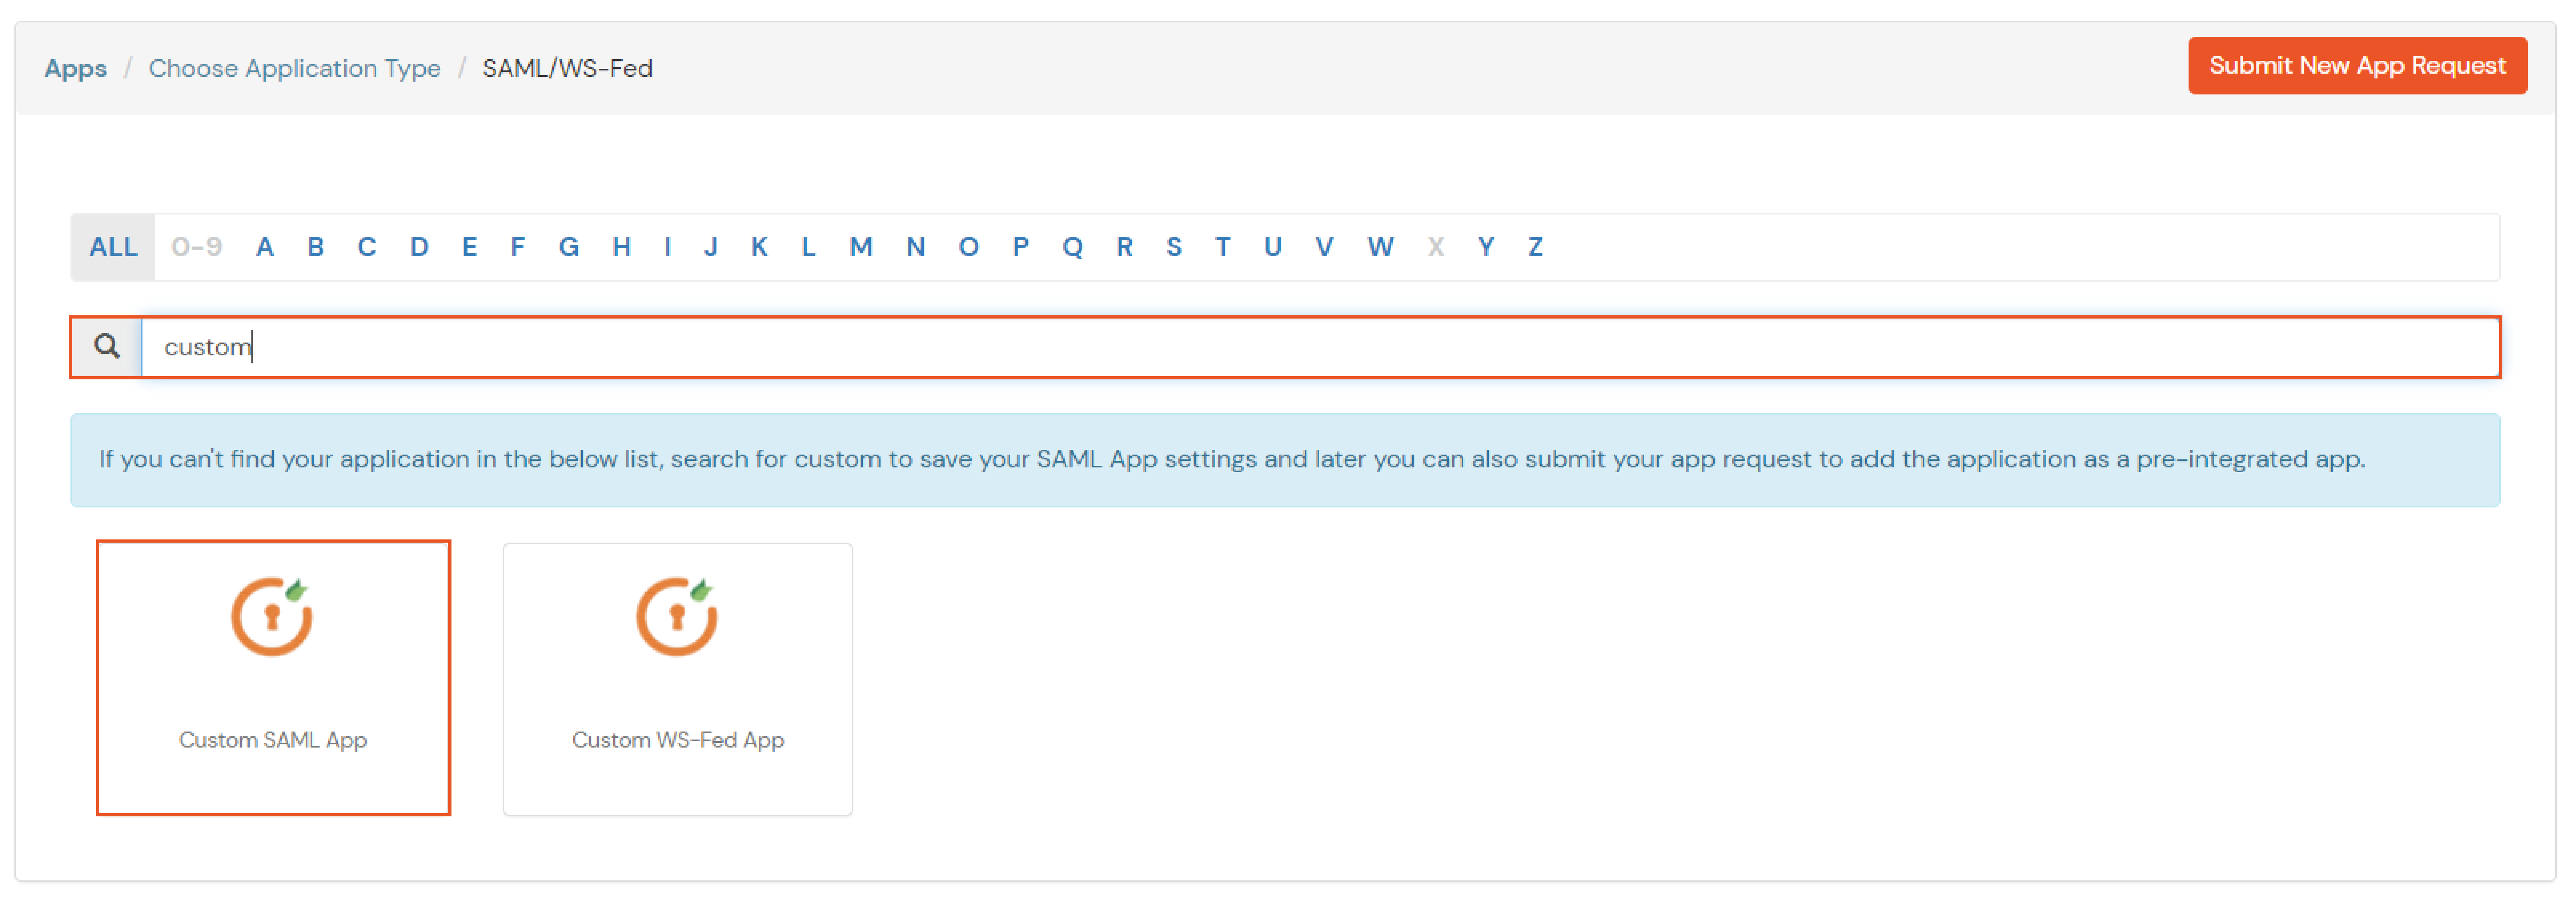

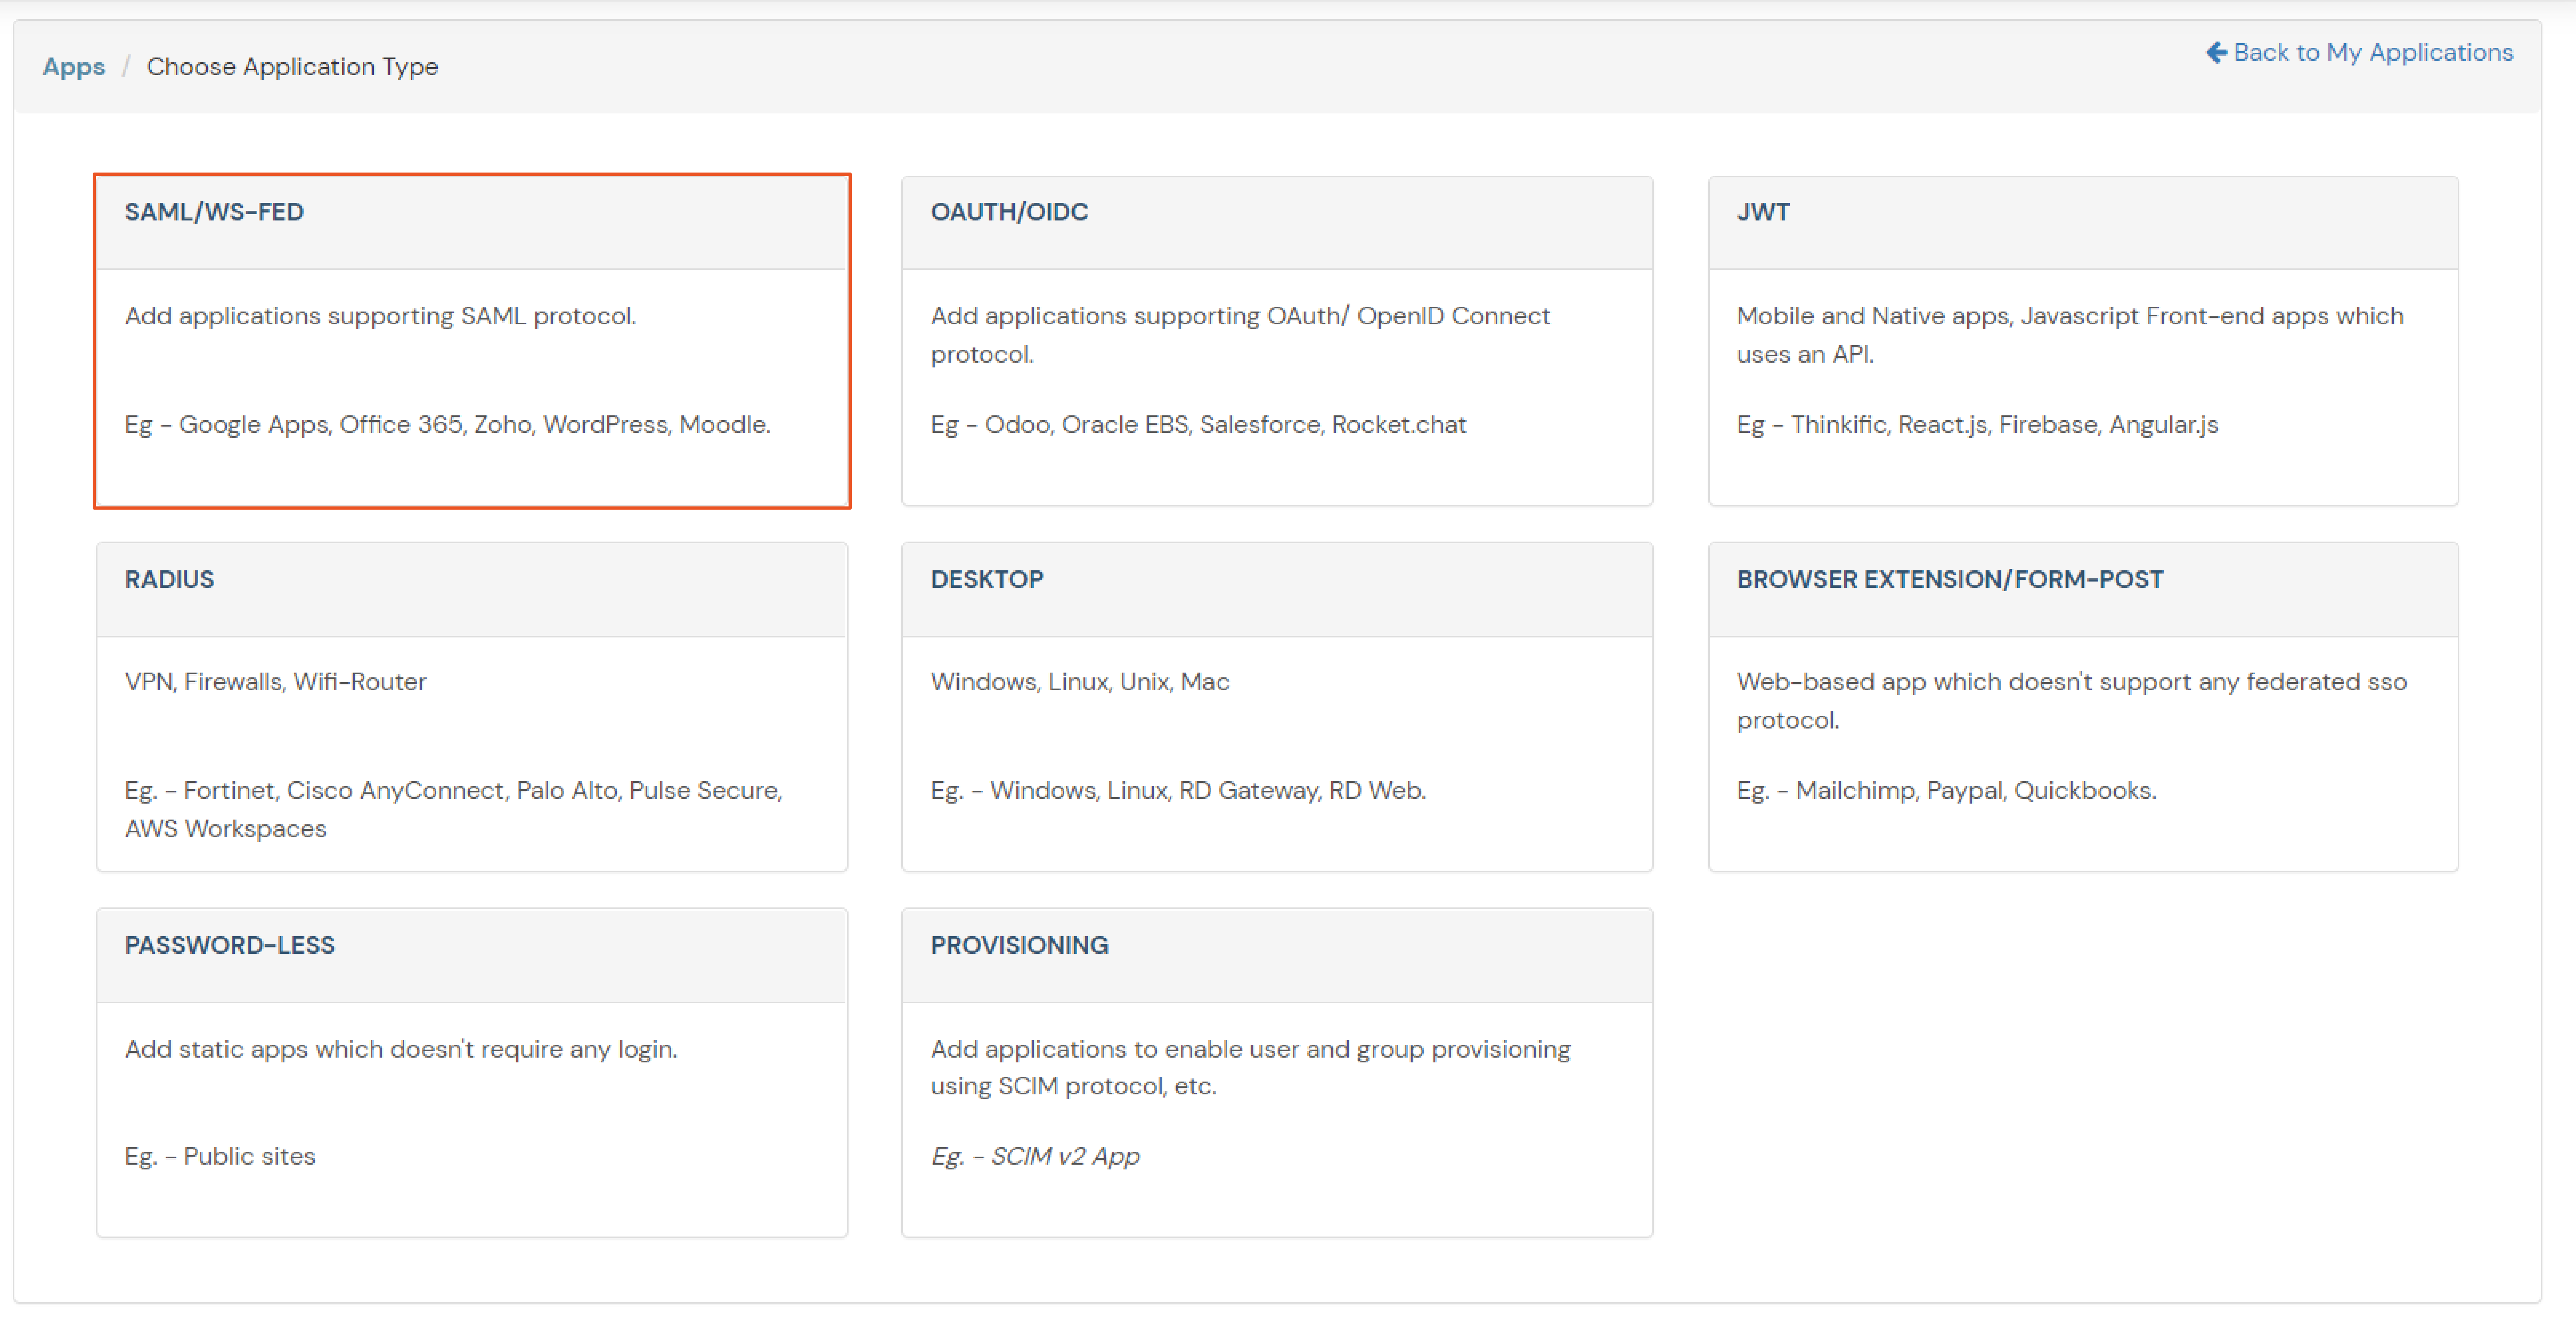
  • Click on Create App under SAML.
  • Click on Create SAML App

  • Search for your Application. In case you do not find your app, search for Custom SAML App.
  • Search for your SAML App

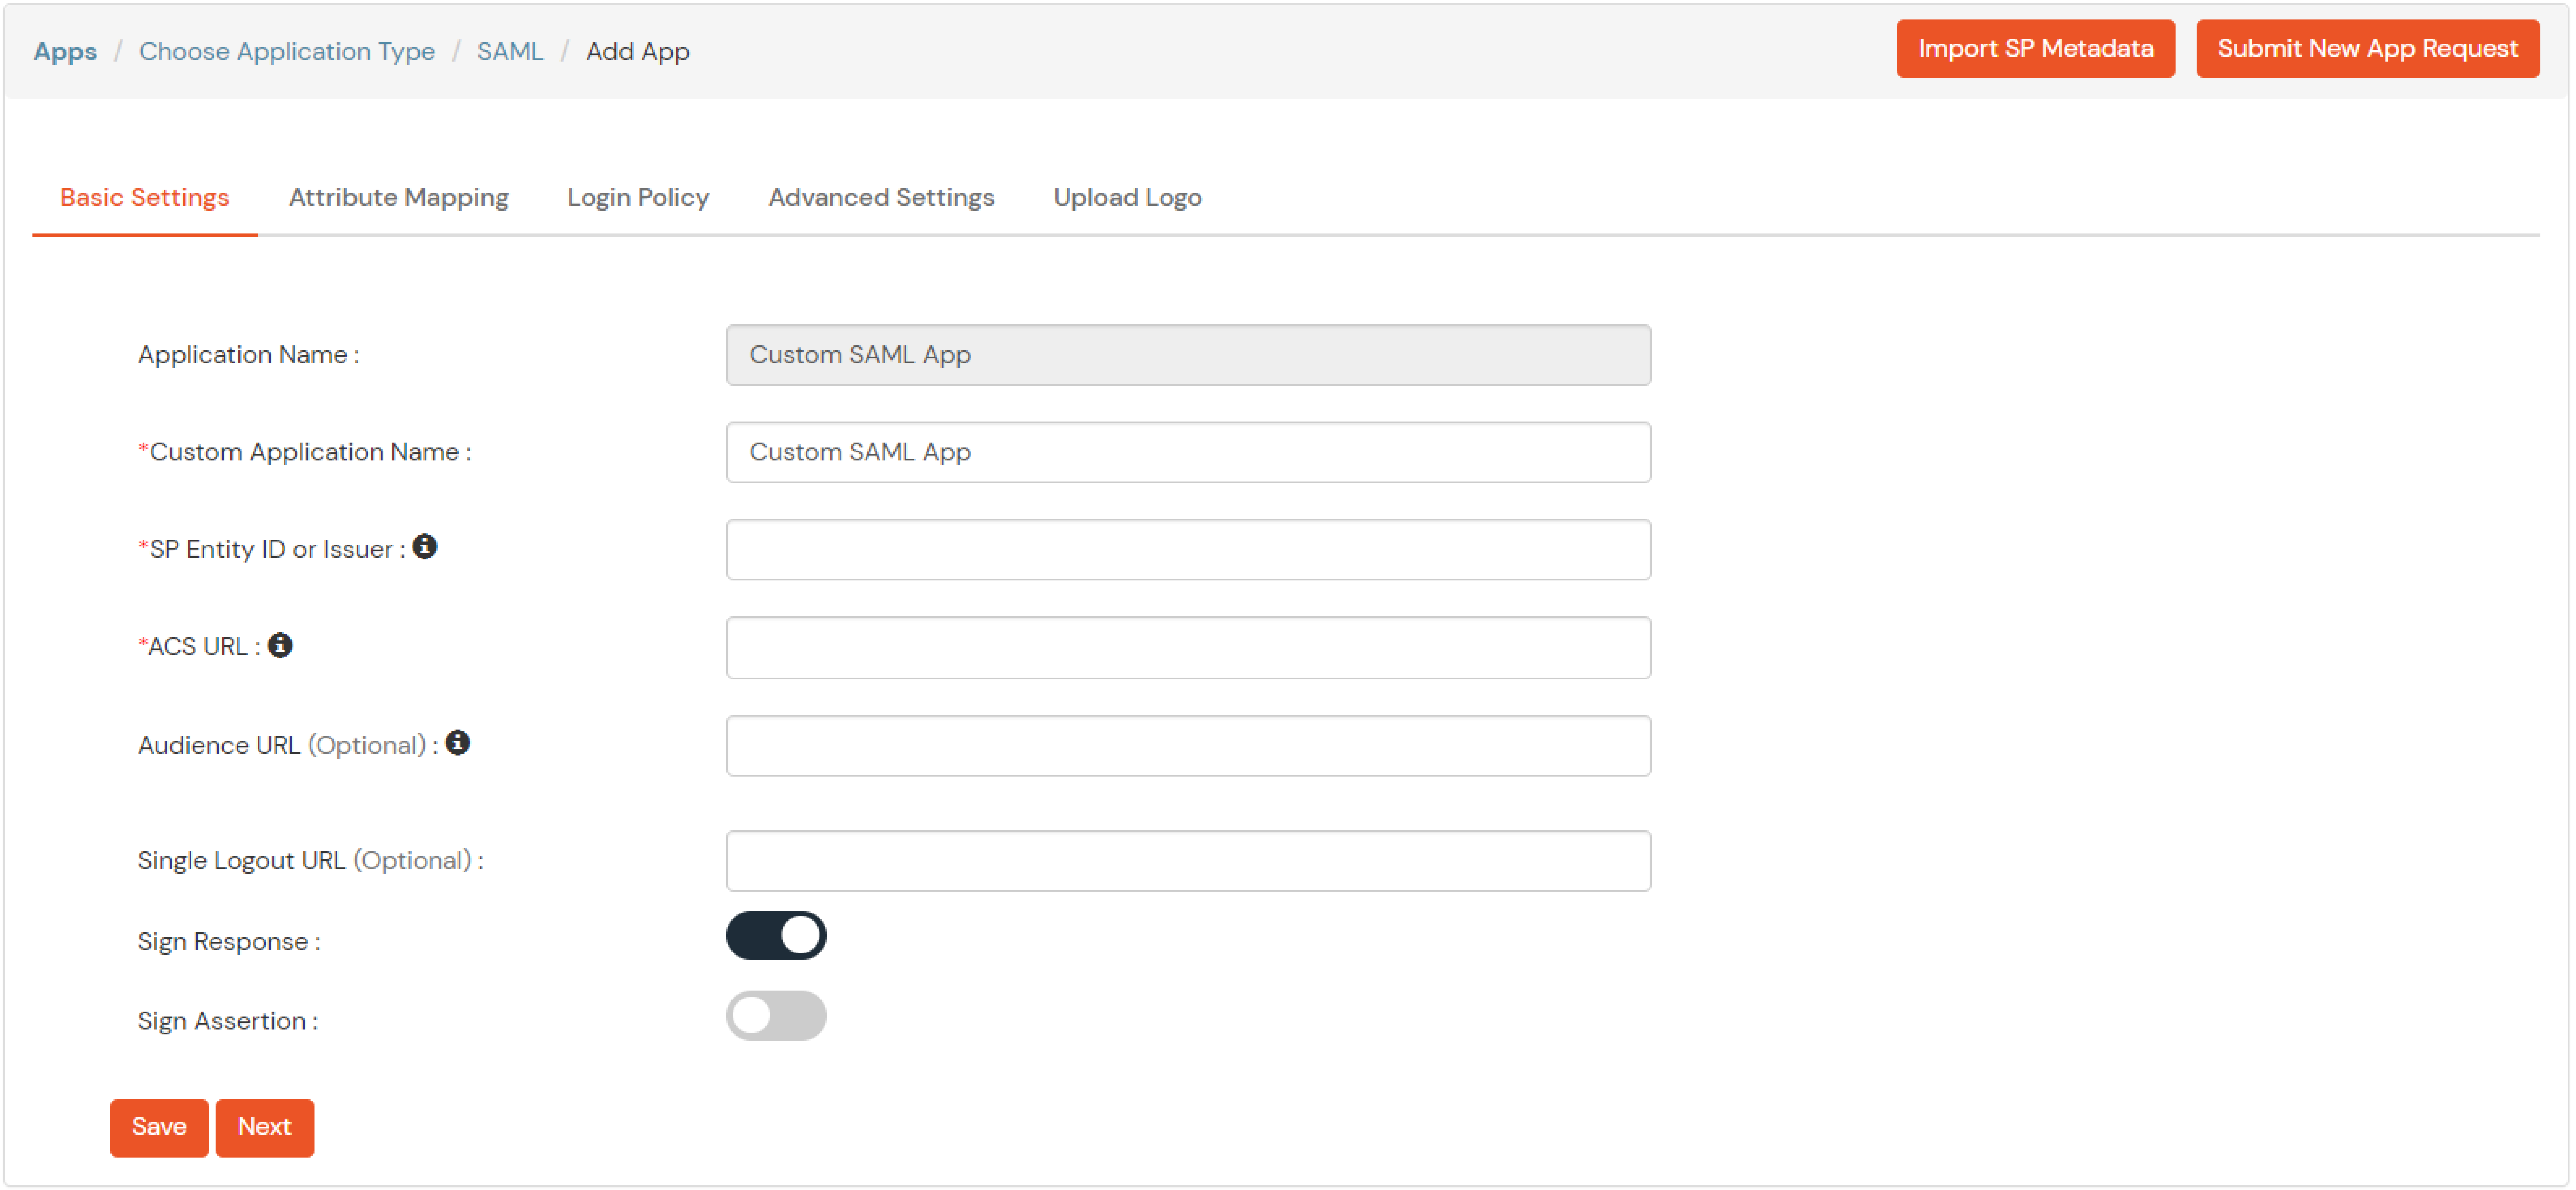
    Configure SAML Application

  • Get the ACS URL and SP Entity ID from your application.
  • Enter the following values OR click on Import SP Metadata:
  • Service Provider Name Choose appropriate name according to your choice
    SP Entity ID or Issuer Your Application Entity ID
    ACS URL X.509 Certificate (optional) Your Application Assertion Consumer Service URL
    NameID format  Select urn:oasis:names:tc:SAML:1.1:nameid-format:emailAddress
    Response Signed Unchecked
    Assertion Signed Checked
    Encrypted Assertion Unchecked
    Group policy Default
    Login Method
  • Click on Save to configure your application.
  • Now to get the IDP metadata of the app configured, Go to apps >> your_app >> select >> metadata tab.
  • Go to the metadata section

  • Click on the Show Metadata details in the Information required to Authenticate via External IDPs section. Download the metadata XML file by clicking on Download Metadata button or copy the Metadata URL link.
  • Downlaod metadata - URL

  • You need to Upload this metadata in your application.
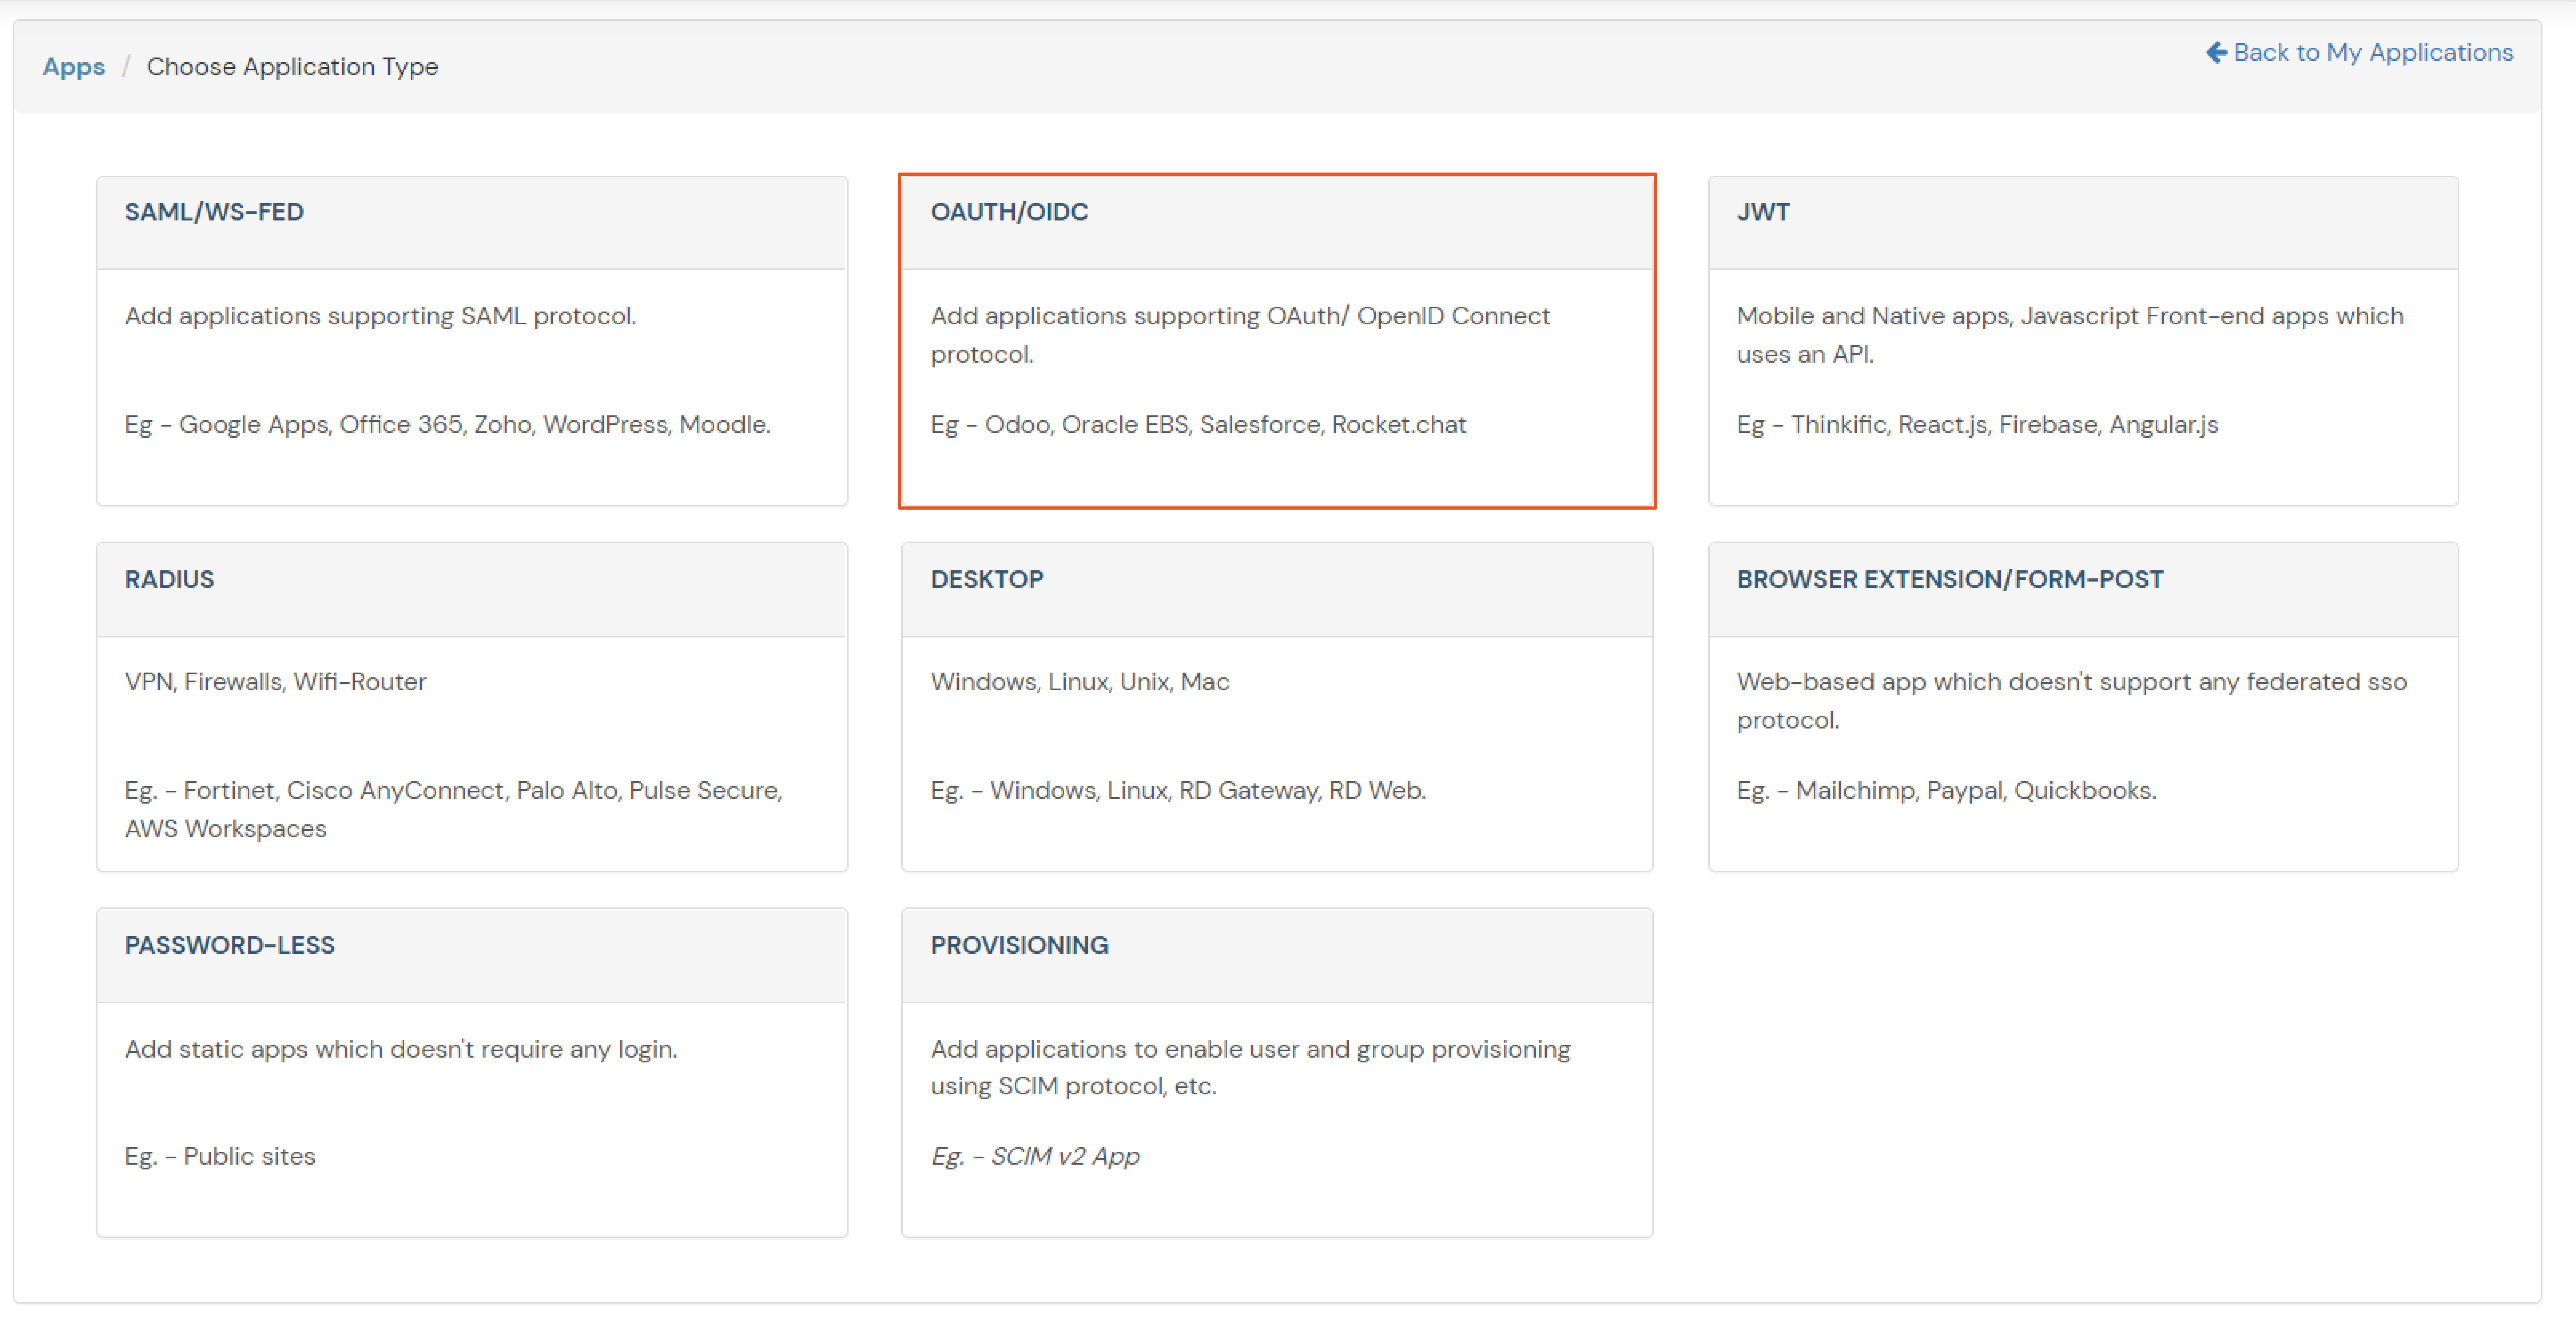
  • Click on Create App under OAuth/OIDC. Click on Open ID Connect App .
  •  Add OAuth openIDConnect app

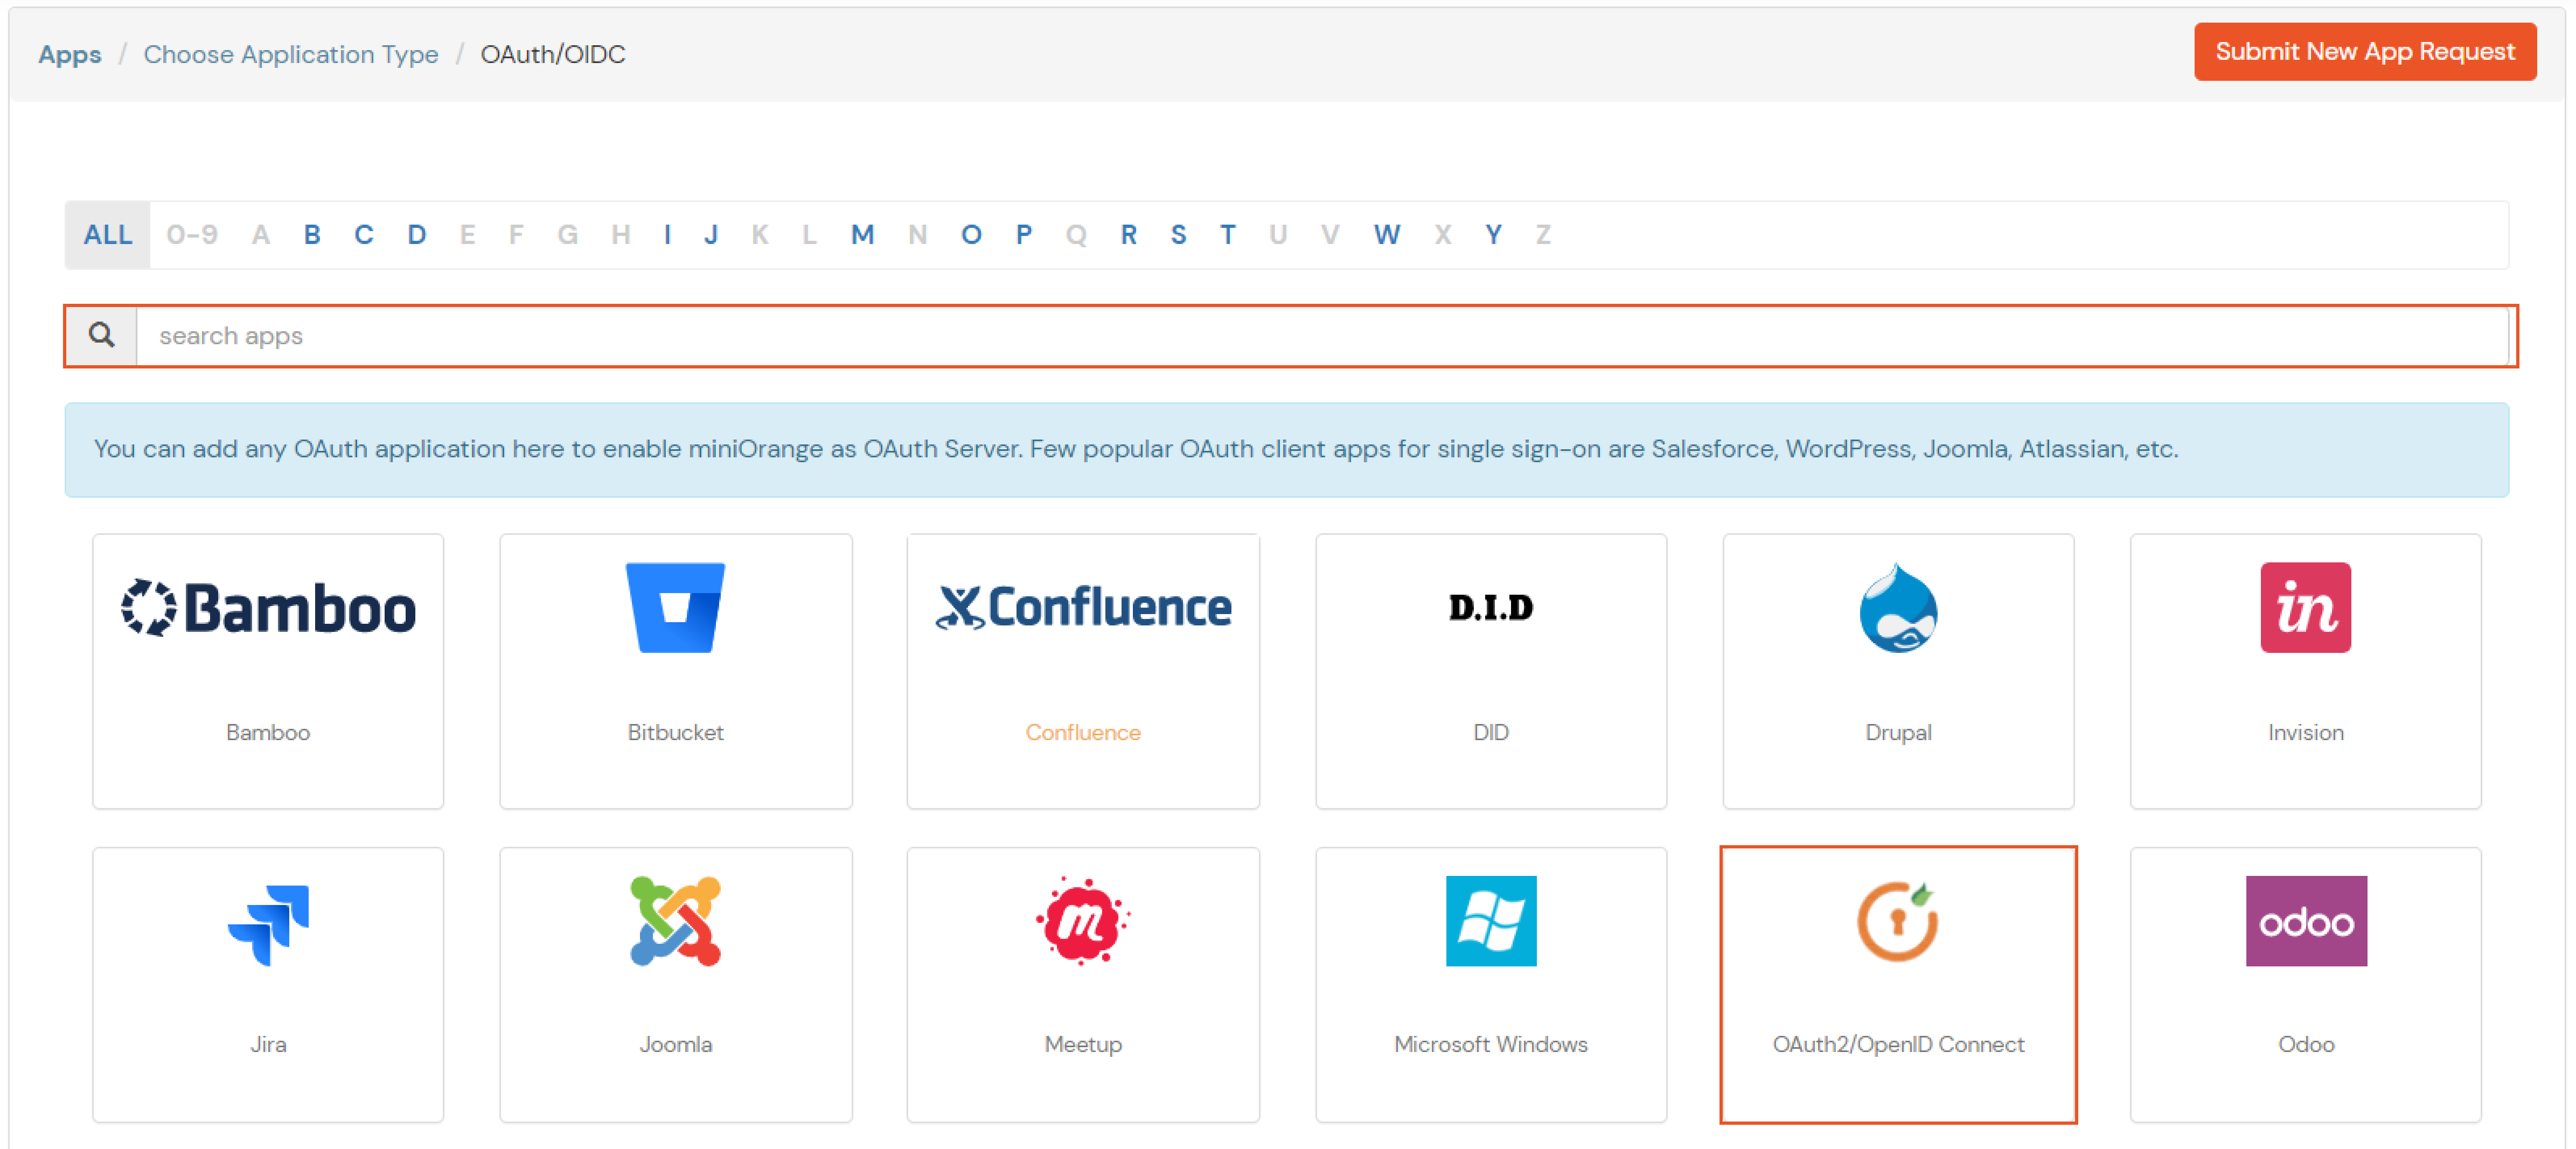
  • You can add any OAuth Client app here to enable miniOrange as OAuth Server. Few popular OAuth client apps for single sign-on are Salesforce, WordPress, Joomla, Atlassian, etc.
  • Select your OAuth openIDConnect app

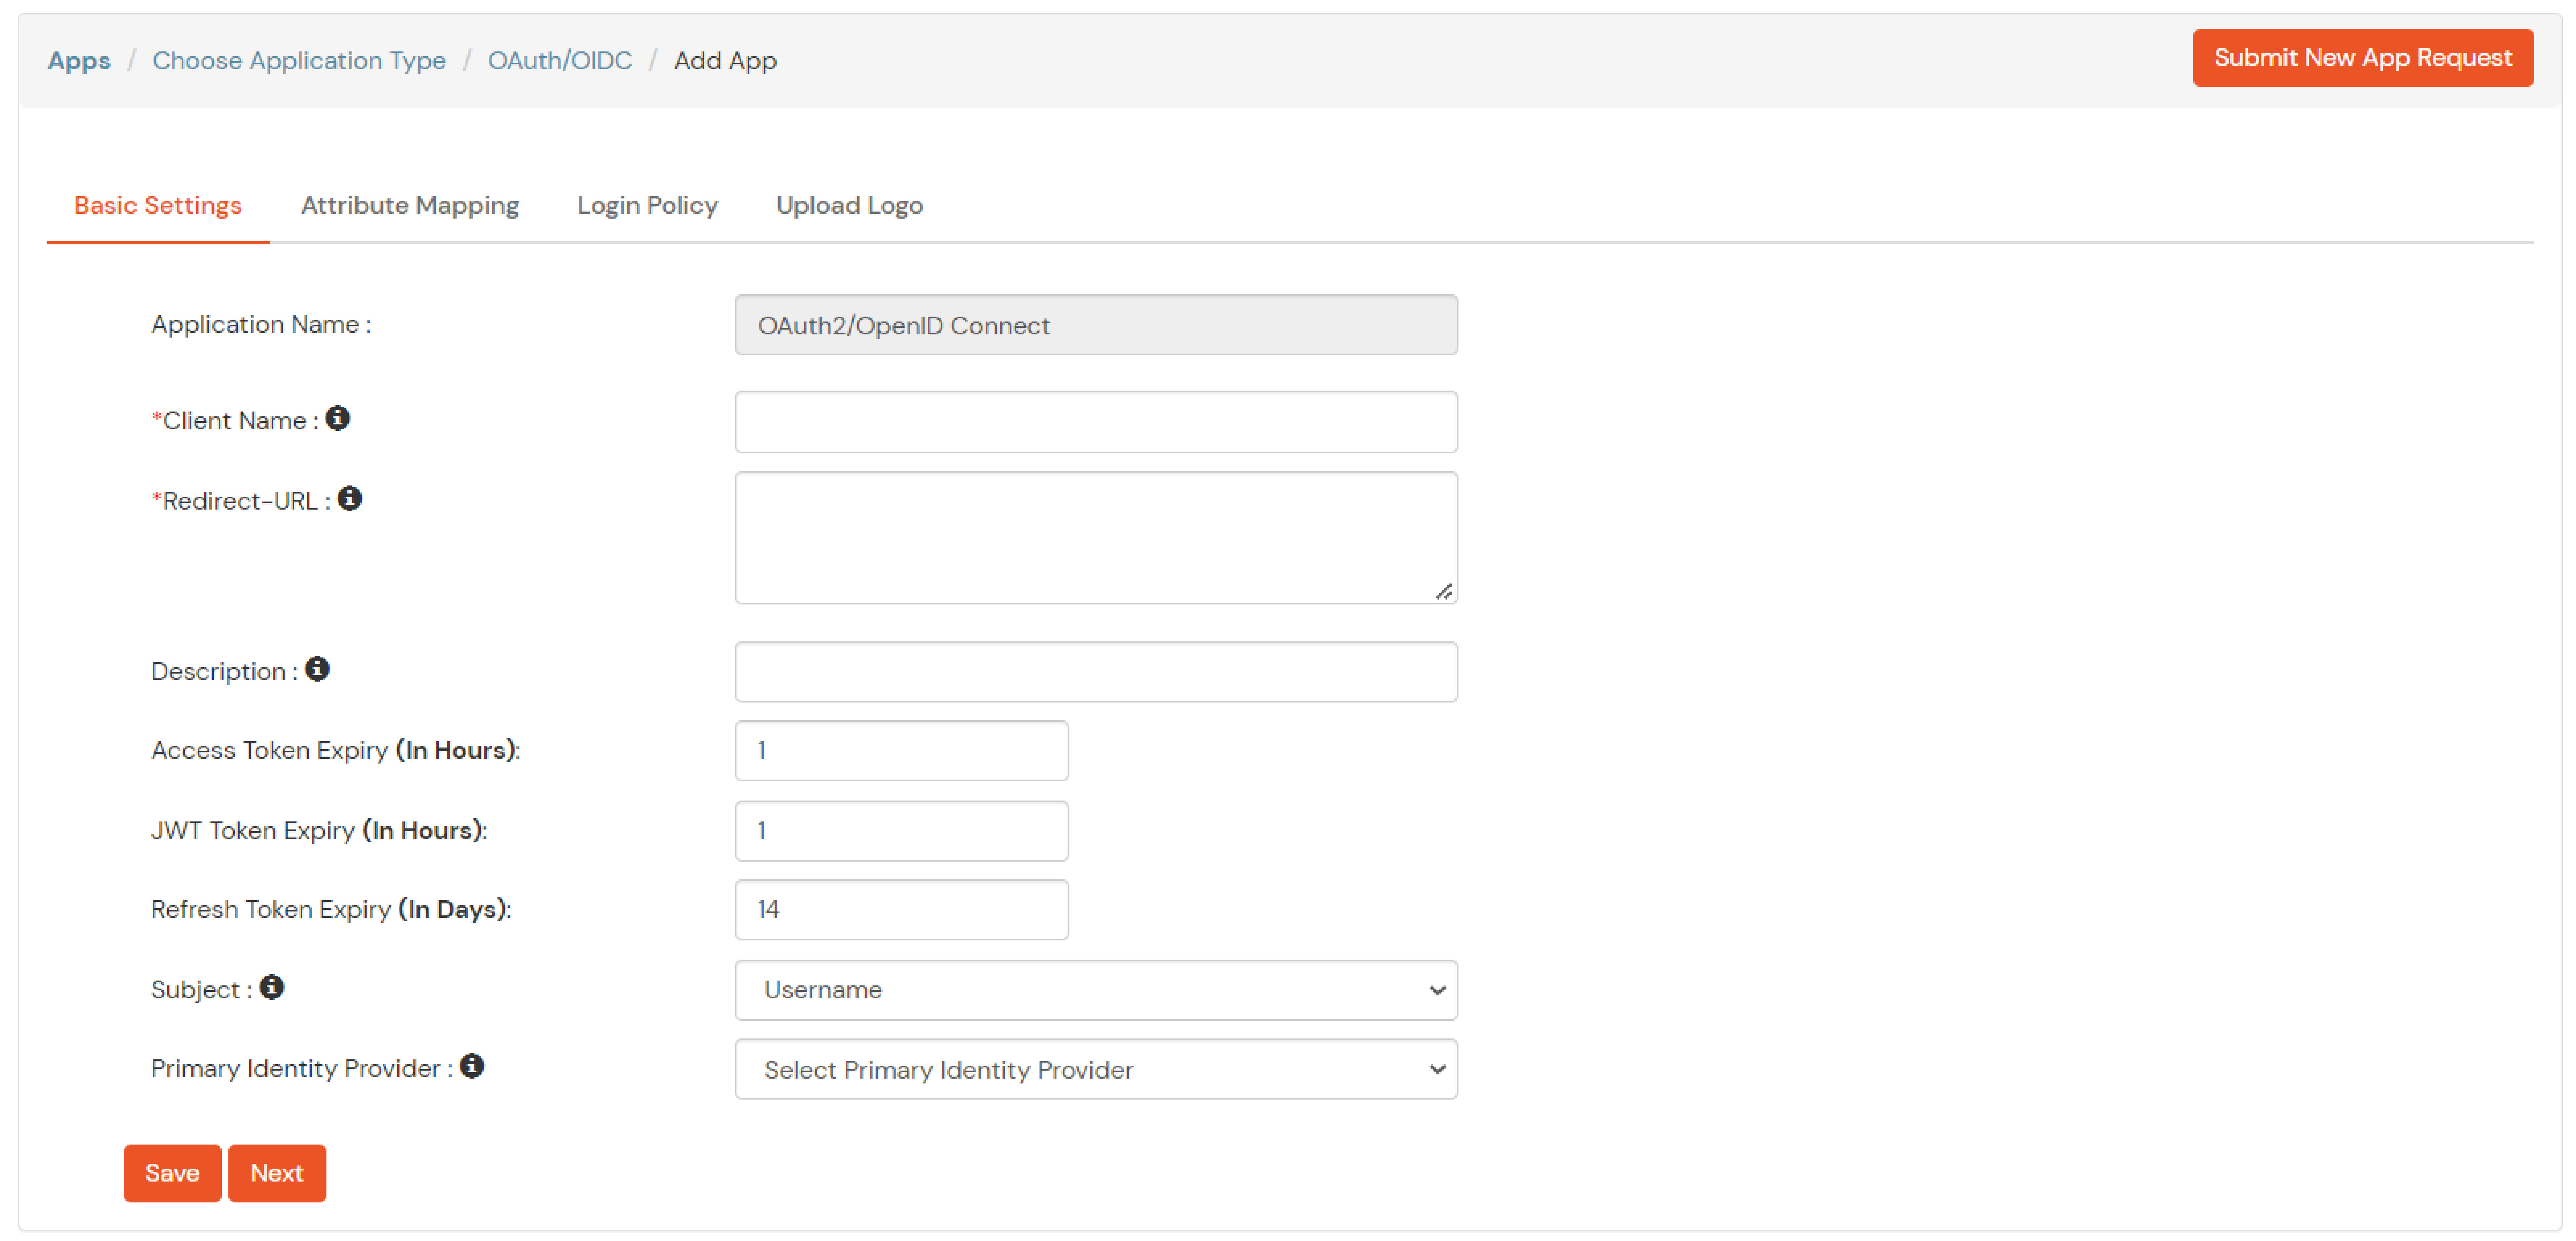
    Configure OAth AddopenIDConnect app

  • Enter following Values:
  • Client Name Add appropriate Name
    Redirect URL Get the Redirect-URL from your OAuth Client
    Description Add if required
    Group Name Default
    Policy Name
    Login Method
  • Click on Save
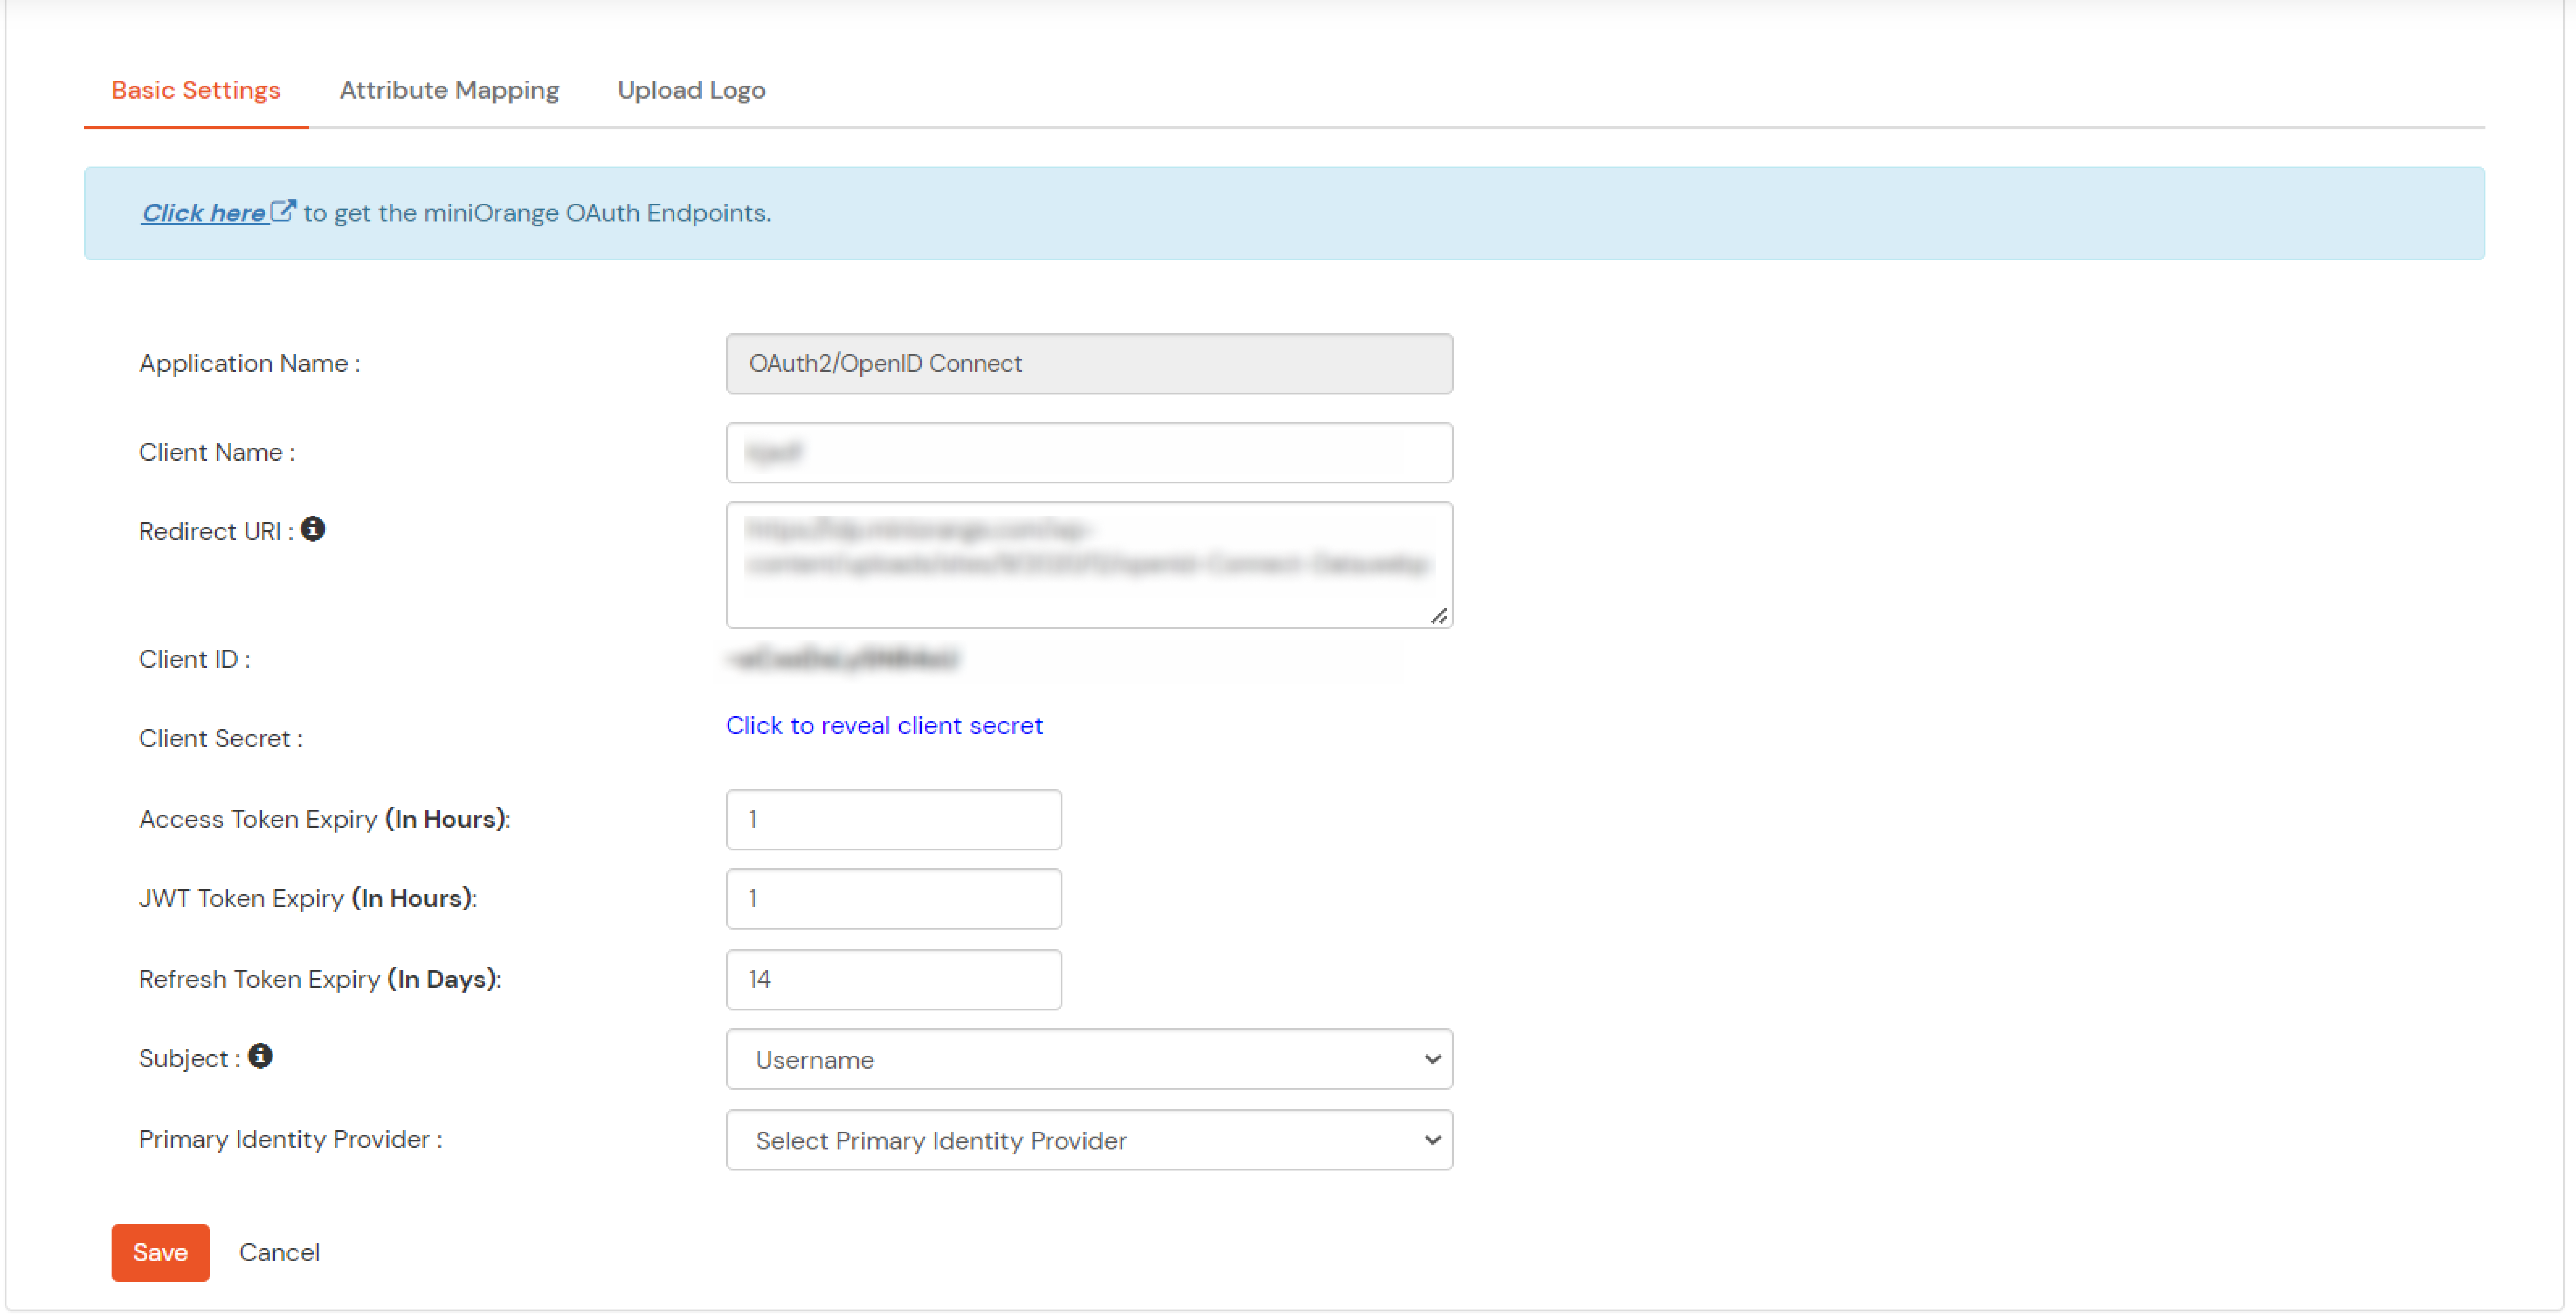
  • Now to provide the required data to OAuth client go to the app configured i.e apps >> your_app >> select >> edit.
  • Edit OAuth editOpenidConnect app

    OAuth openidConnect app endpoints

    Note: Choose the Authorization Endpoint according to the identity source you configure.

  • When you want to use you want to use miniOrange as OAuth identity server use this endpoint: https://{mycompany.domainname.com}/moas/idp/openidsso
  • If you are configuring any Identity Provider in Identity Providers Menu and not using miniOrange as IDP use this endpoint: https://{mycompany.domainname.com}/broker/login/oauth{customerid}
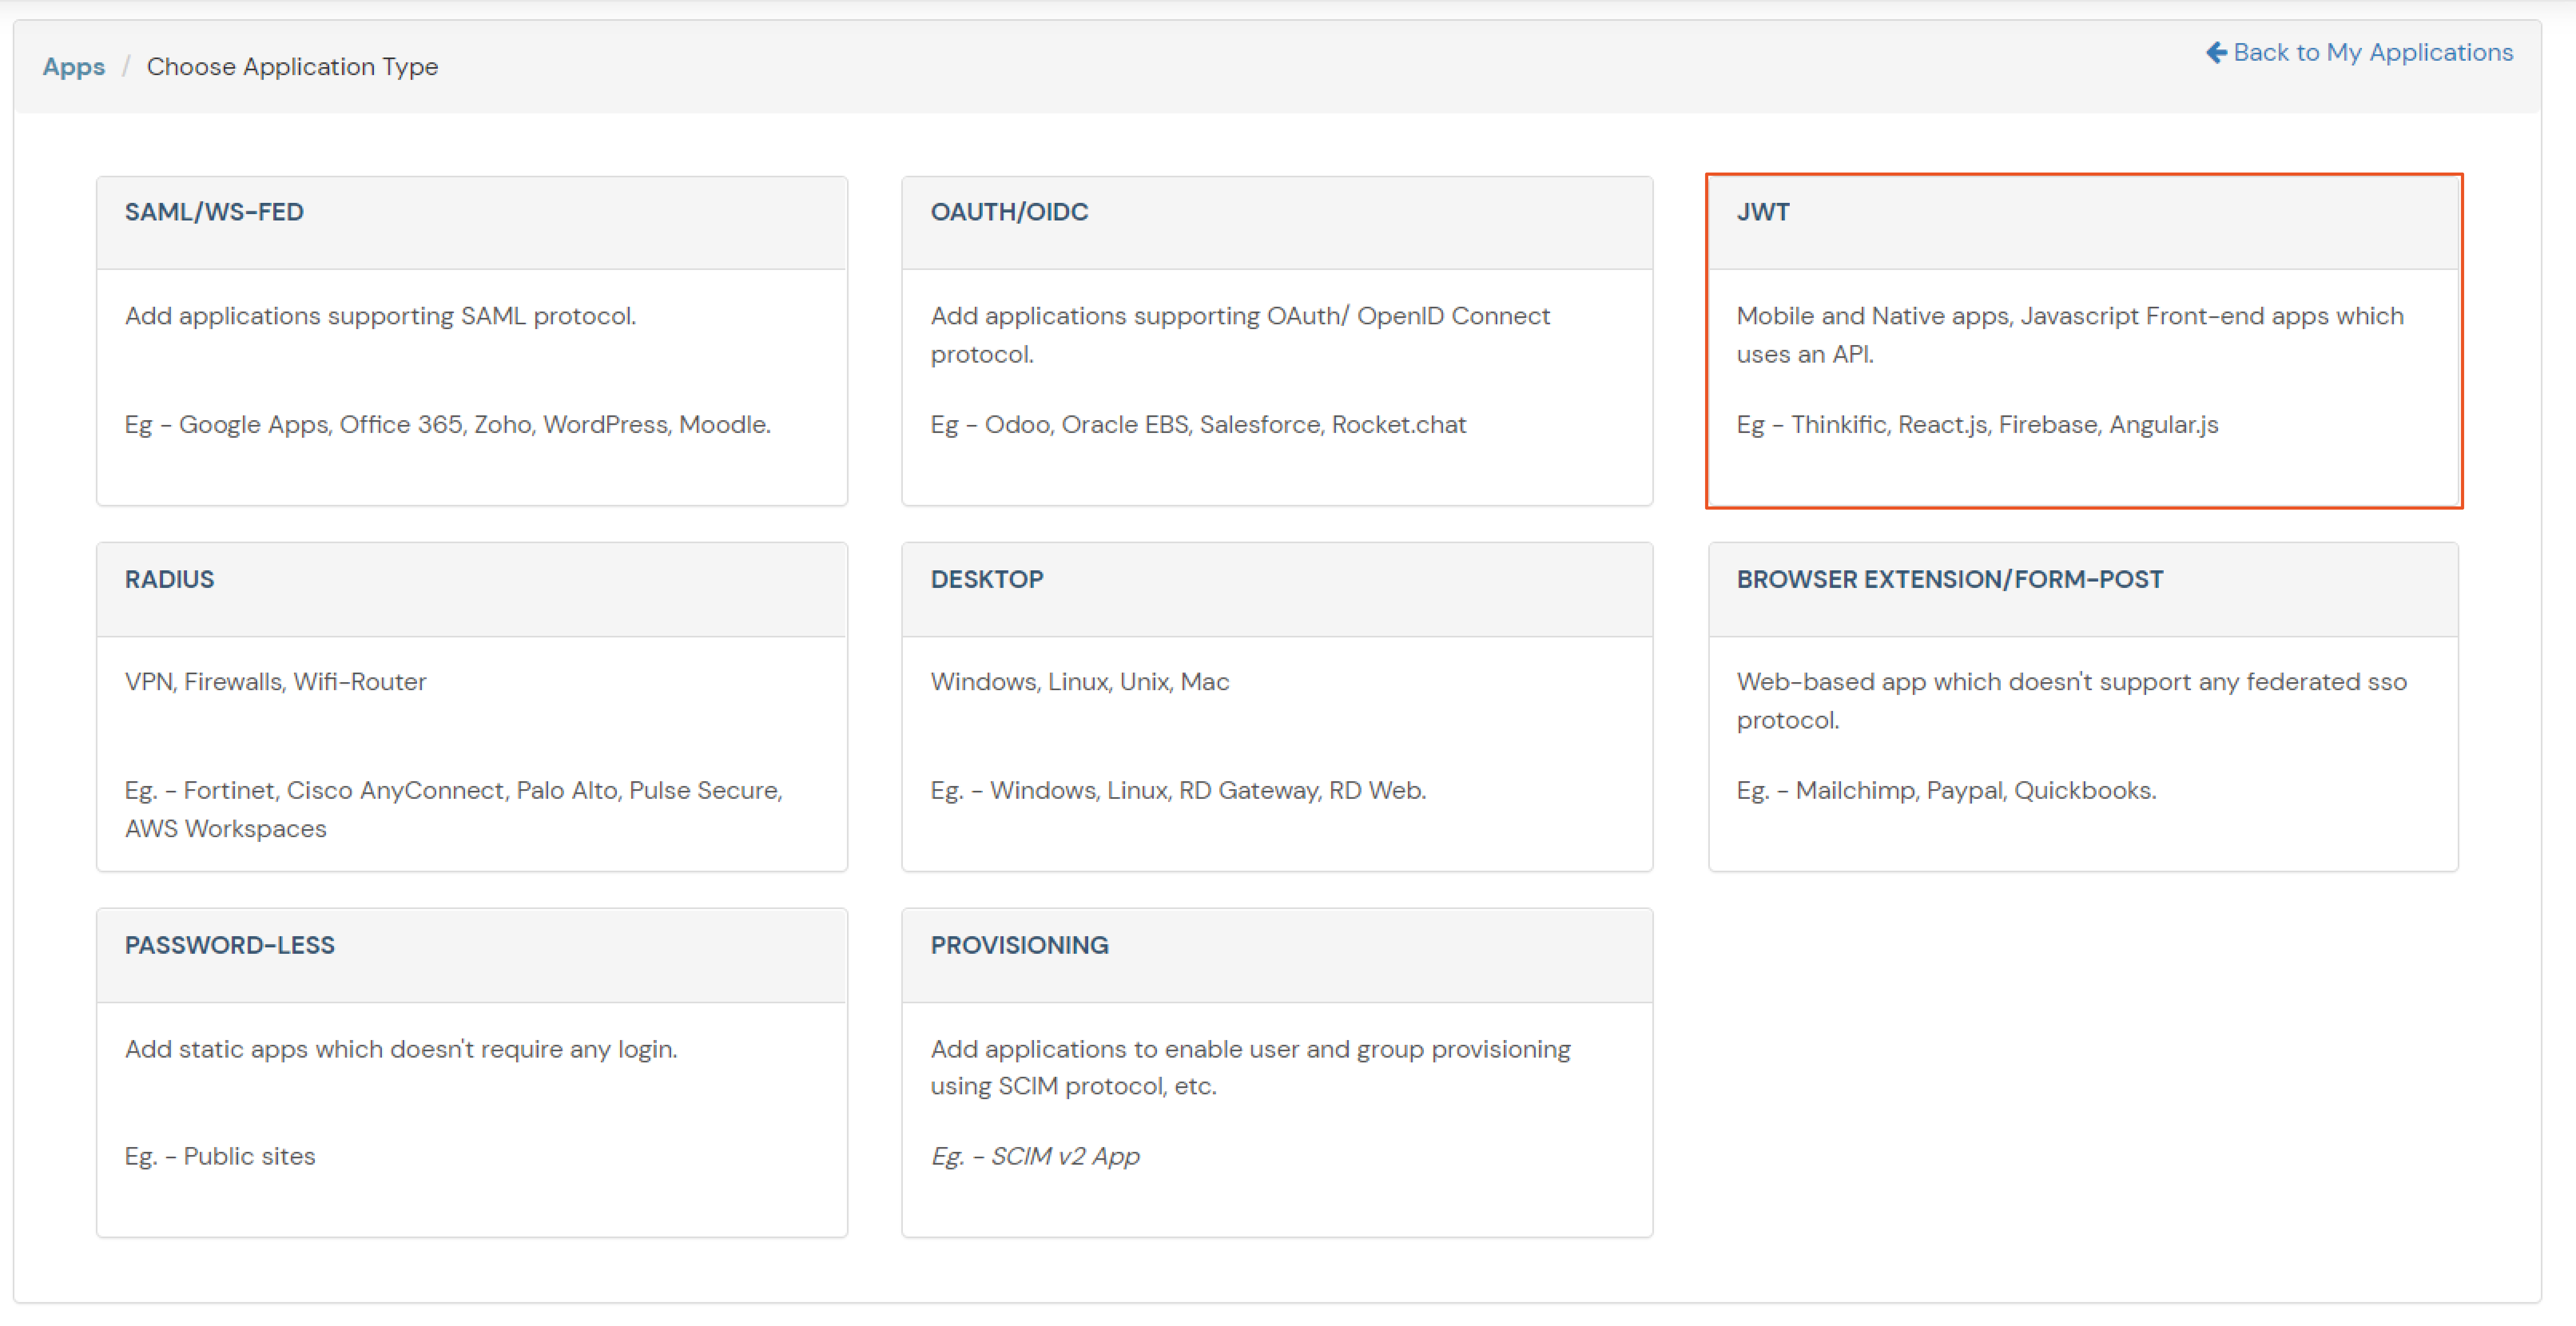
  • Click on Create App under JWT.
  • Click n External JWT app

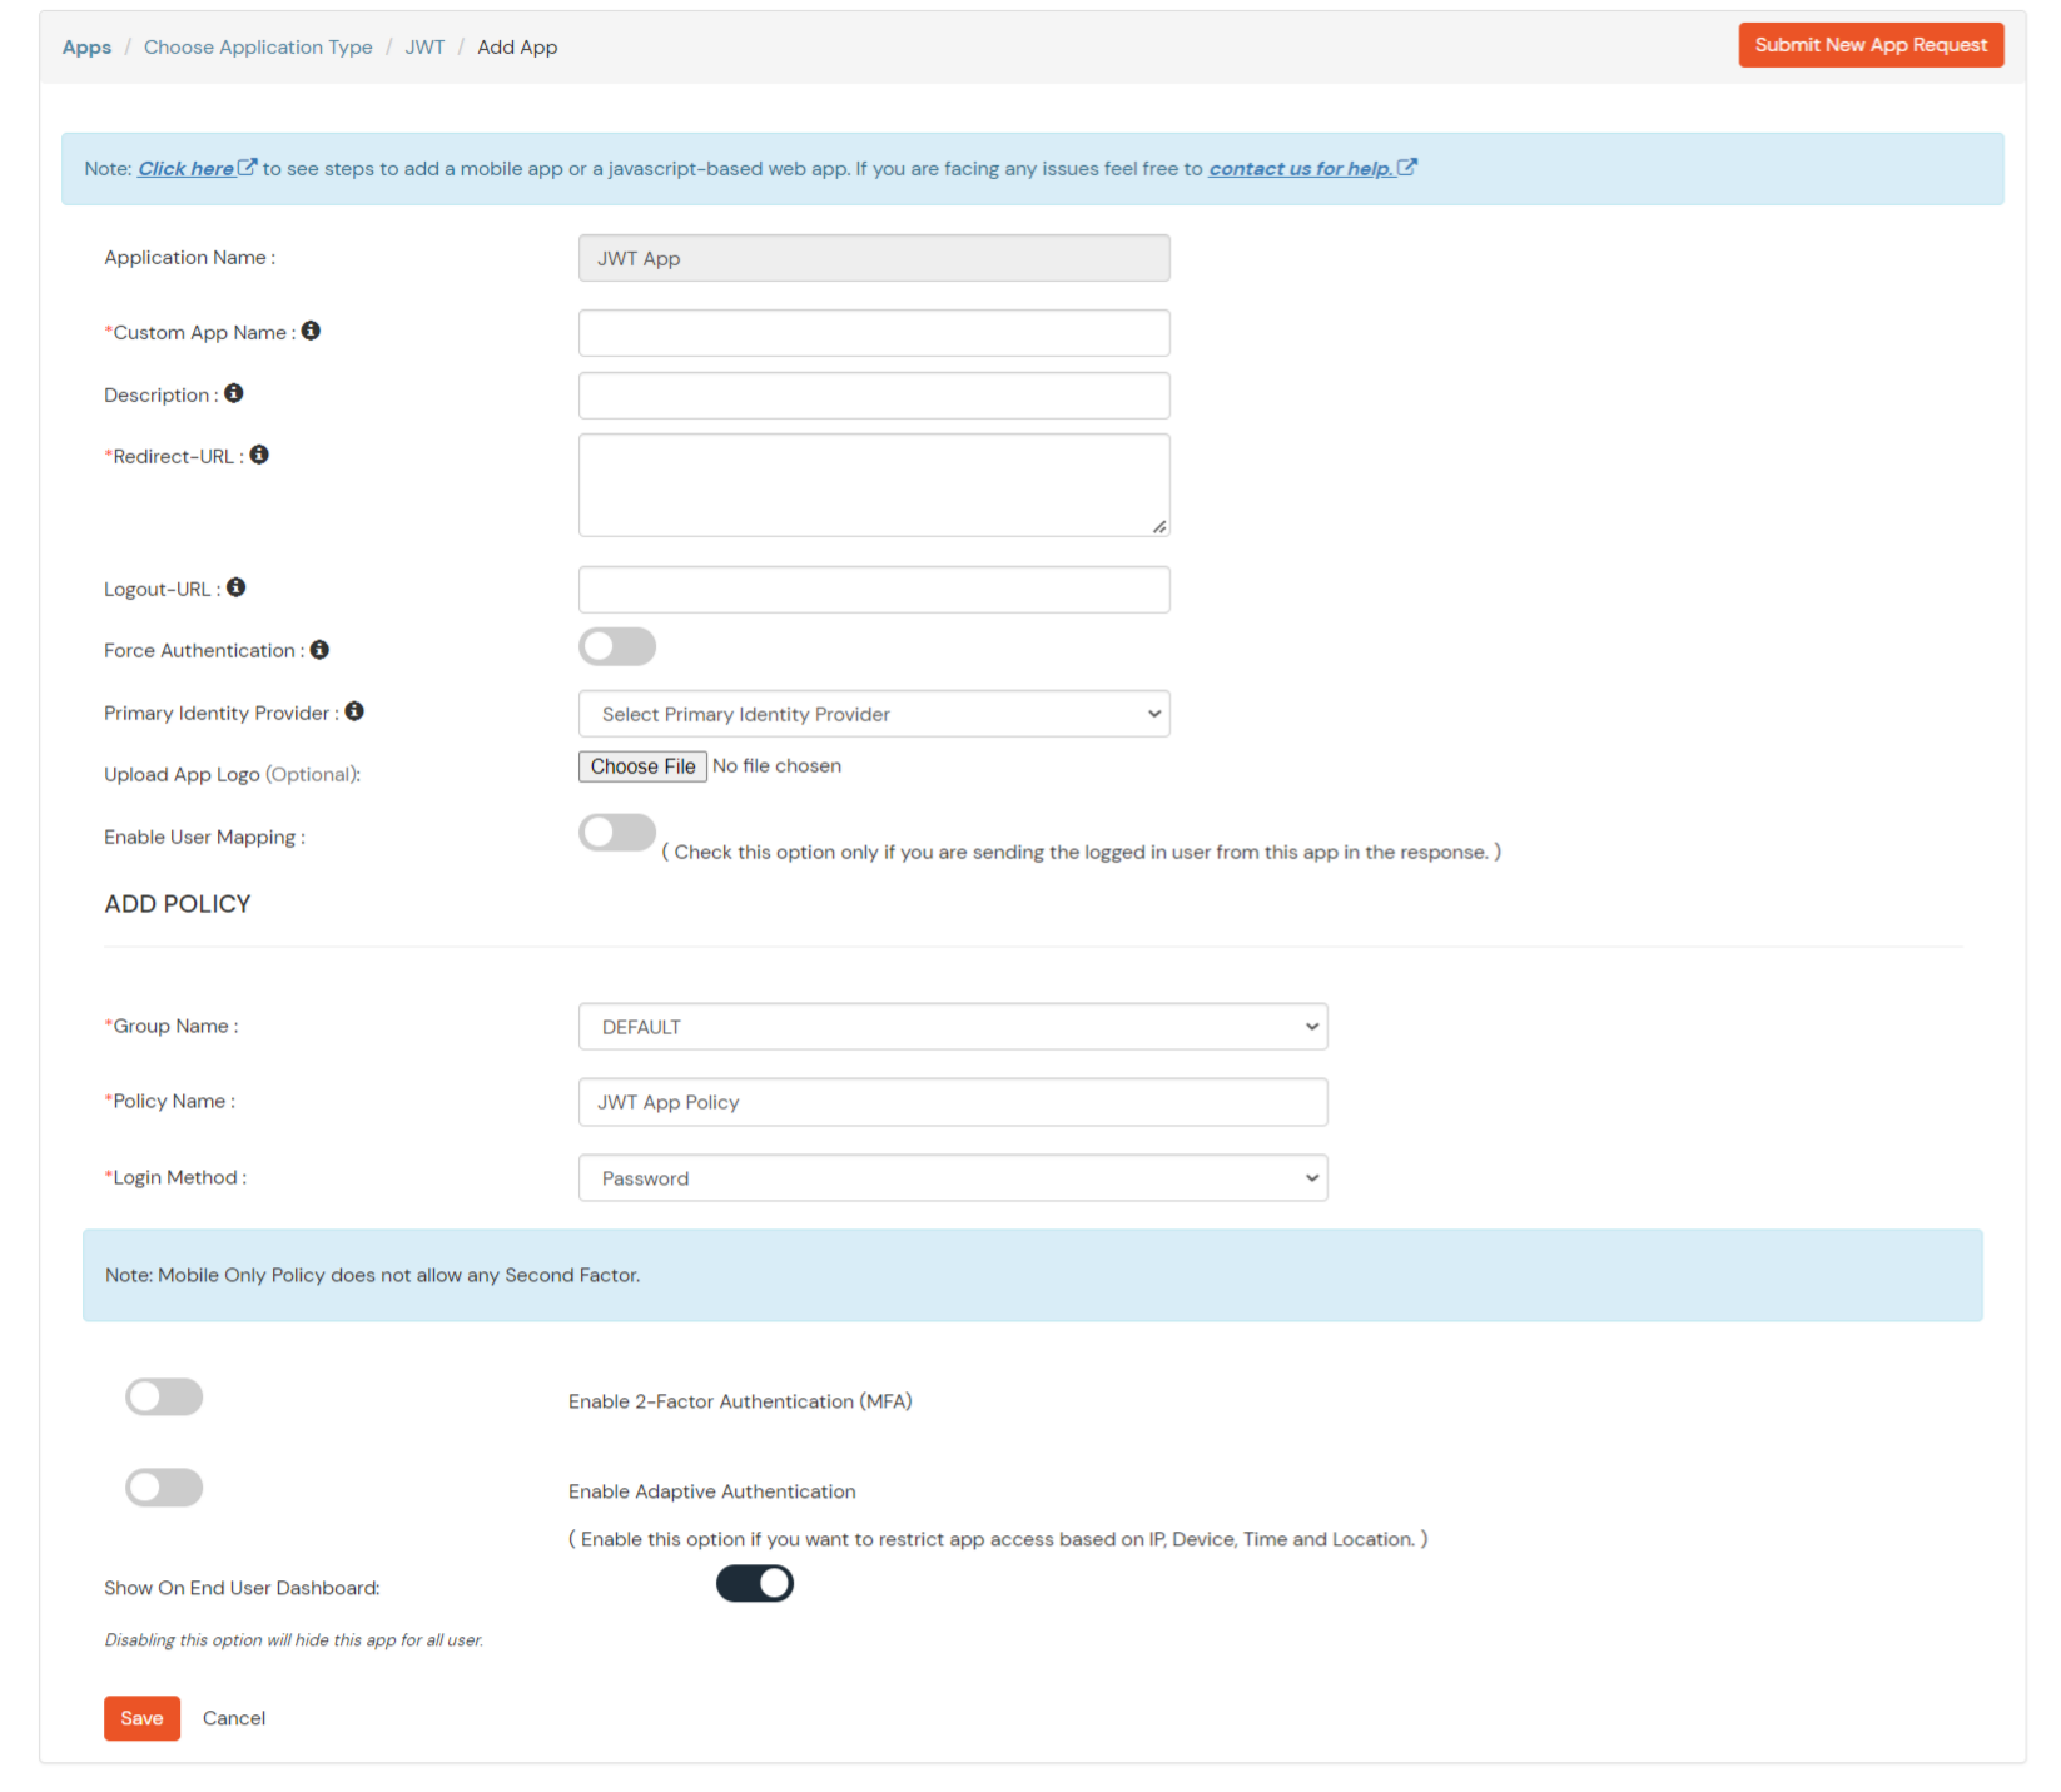
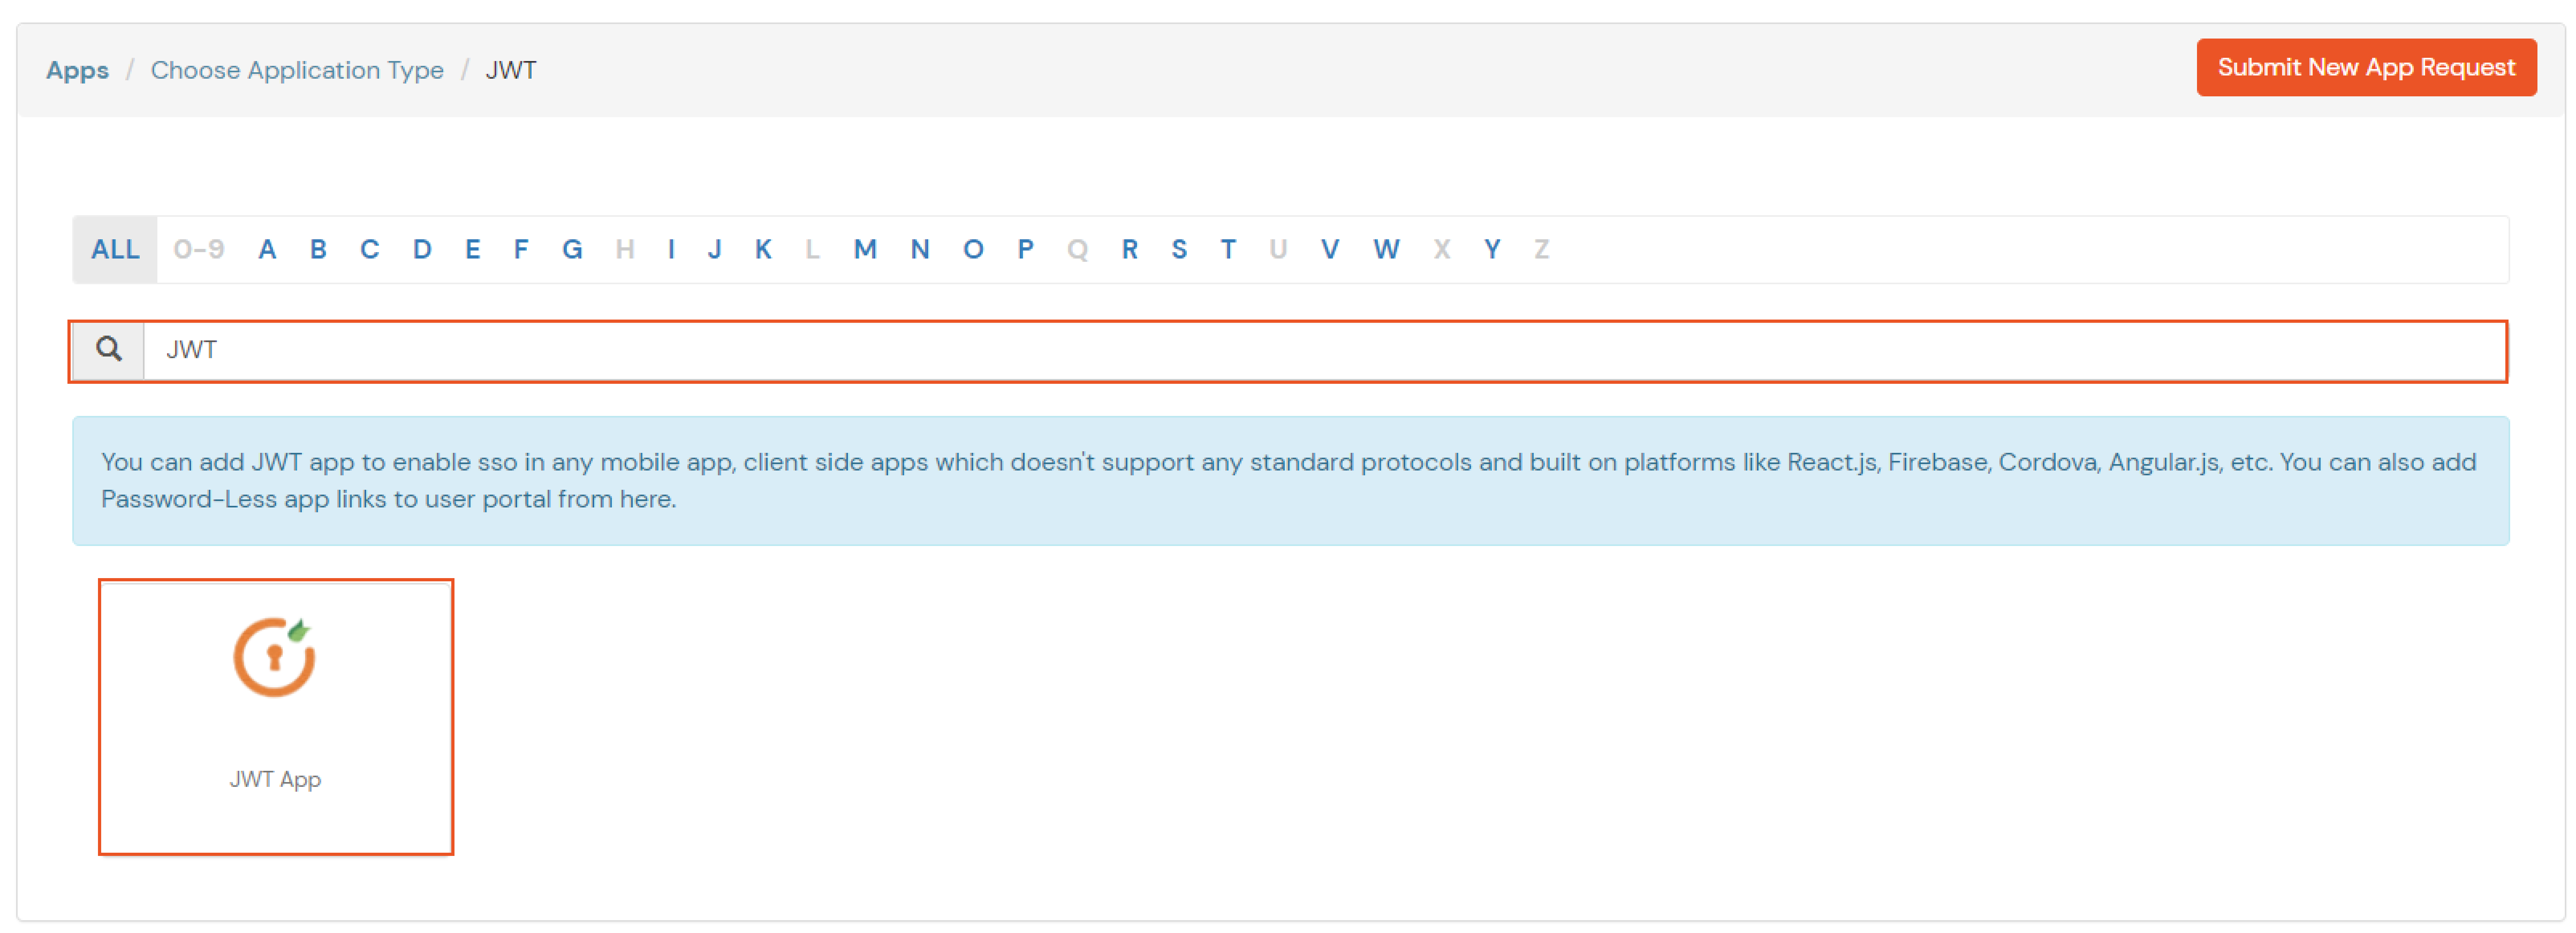
  • Select JWT App.
  • SelectJWT app

  • Configure the name for your application and configure Redirect-URL which tells where to send JWT response. Redirect-URL should be an endpoint on your application where you want to achieve SSO.
  • Configure JWT App

    In case you are setting up SSO with Mobile Applications where you can't create an endpoint for Redirect or Callback URL, use below URL.

    https://login.xecurify.com/moas/jwt/mobile

  • Click Save
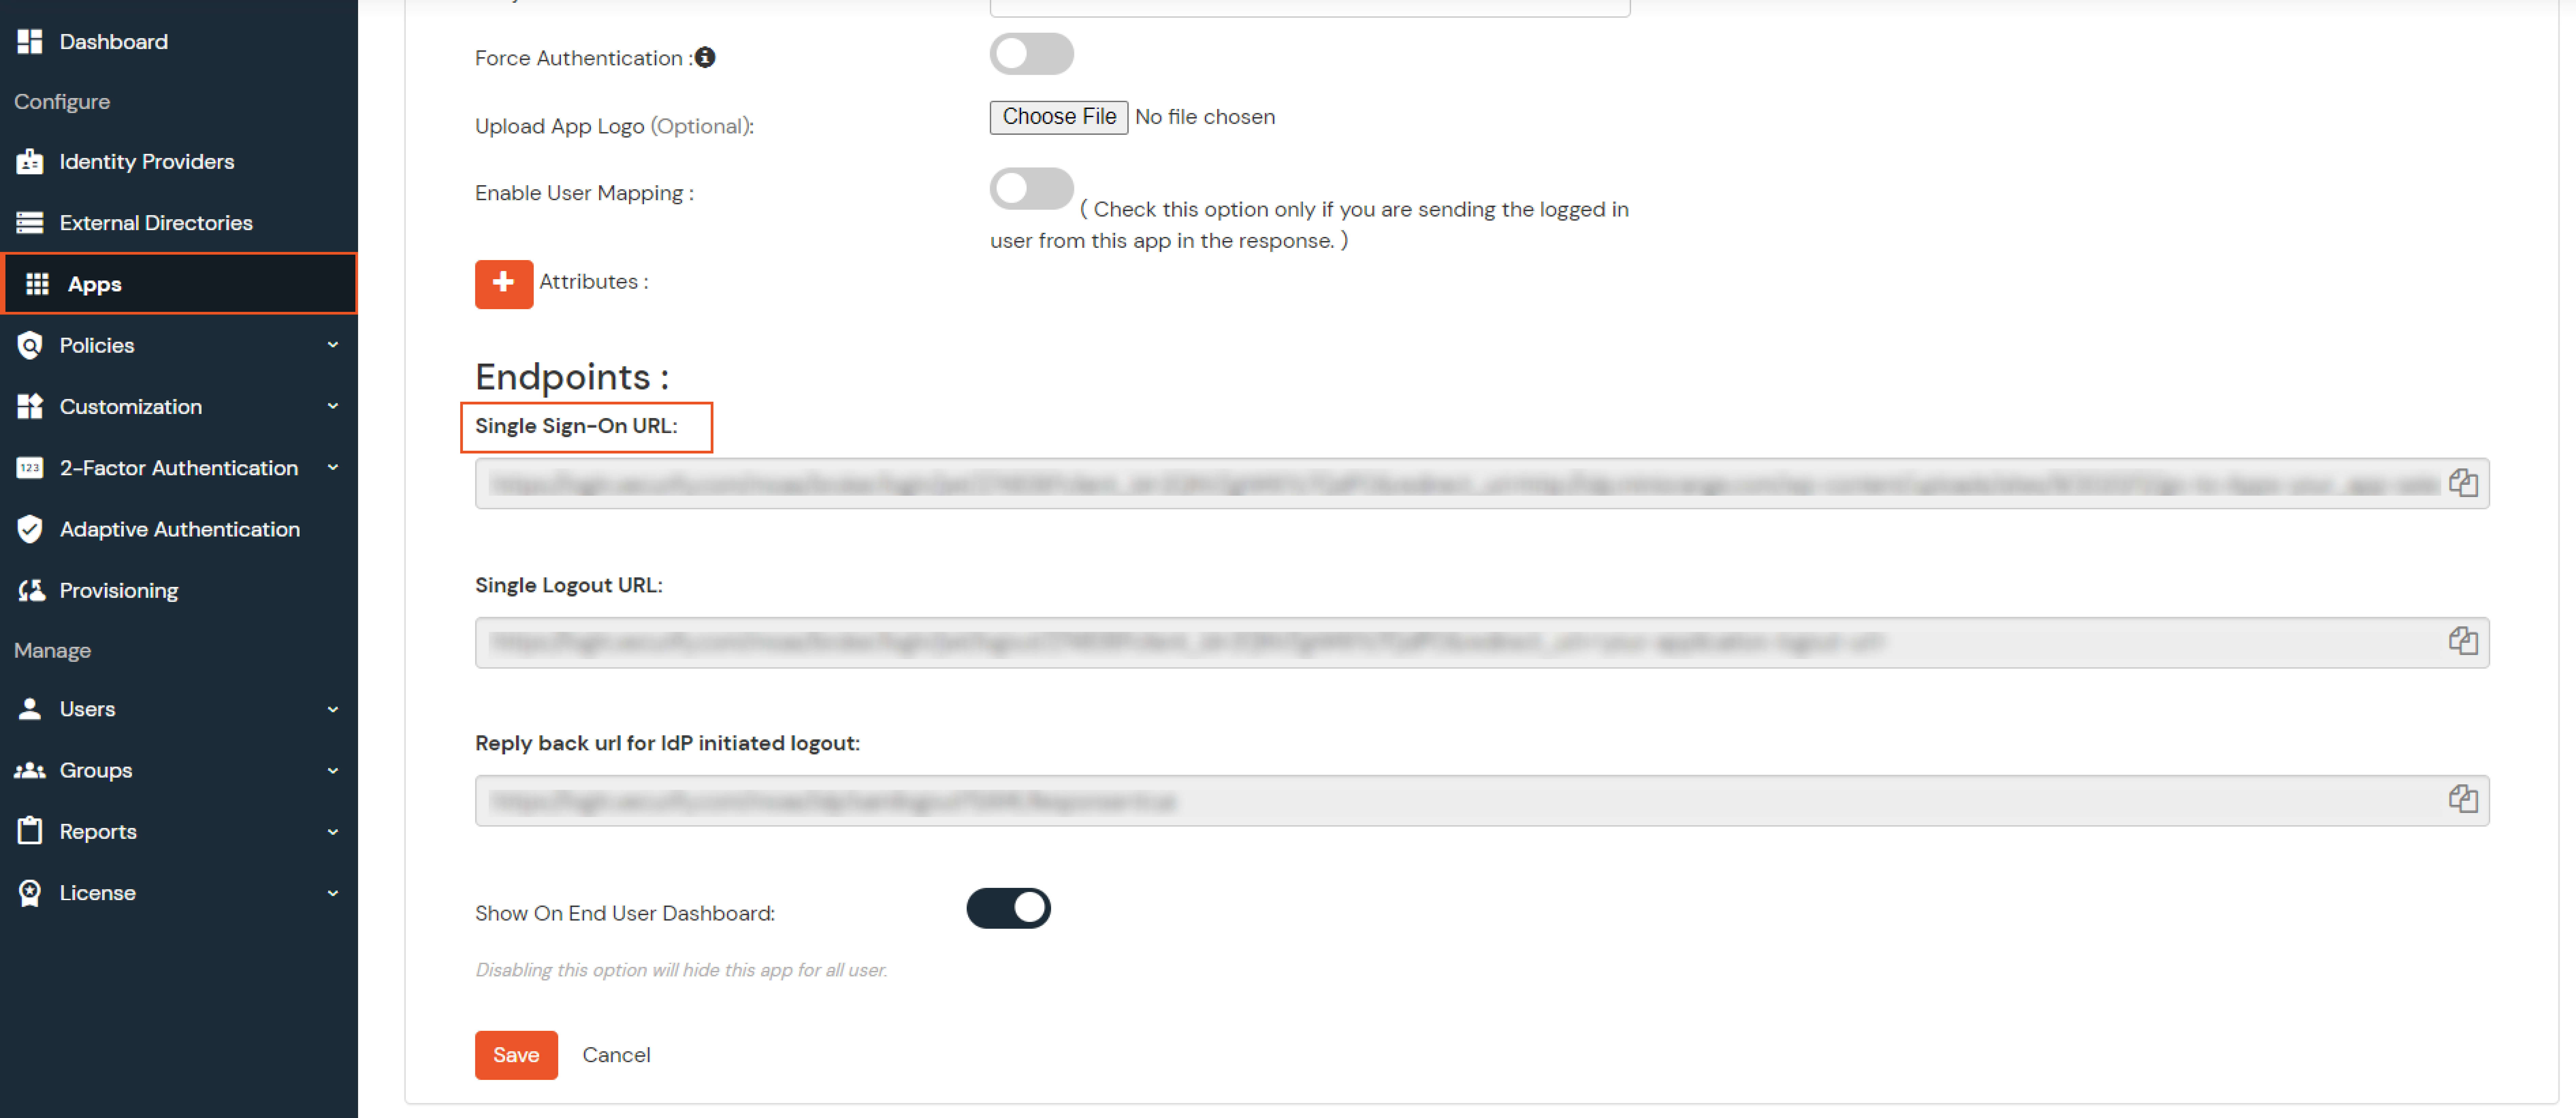
  • To get the SSO link for your application, Go to Apps >> your_app >> select >> Edit.
  • Get SSO Link

  • Then, copy the Single Sign On Url and verify SSO setup by browsing that url.
  •  SSO URL

  • On successful authentication, you will be redirected to configured Redirect or Callback URL with JWT token
  • You will need to download a certificate from App > Manage Apps, and click Certificate link against your configured application. This certificate will be used for signature validation of JWT response.
  • Download certificate to proceed with SSO

External References

Want To Schedule A Demo?

Request a Demo


Our Other Identity & Access Management Products