Hello there!
Need Help? We are right here!
Need Help? We are right here!
Search Results:
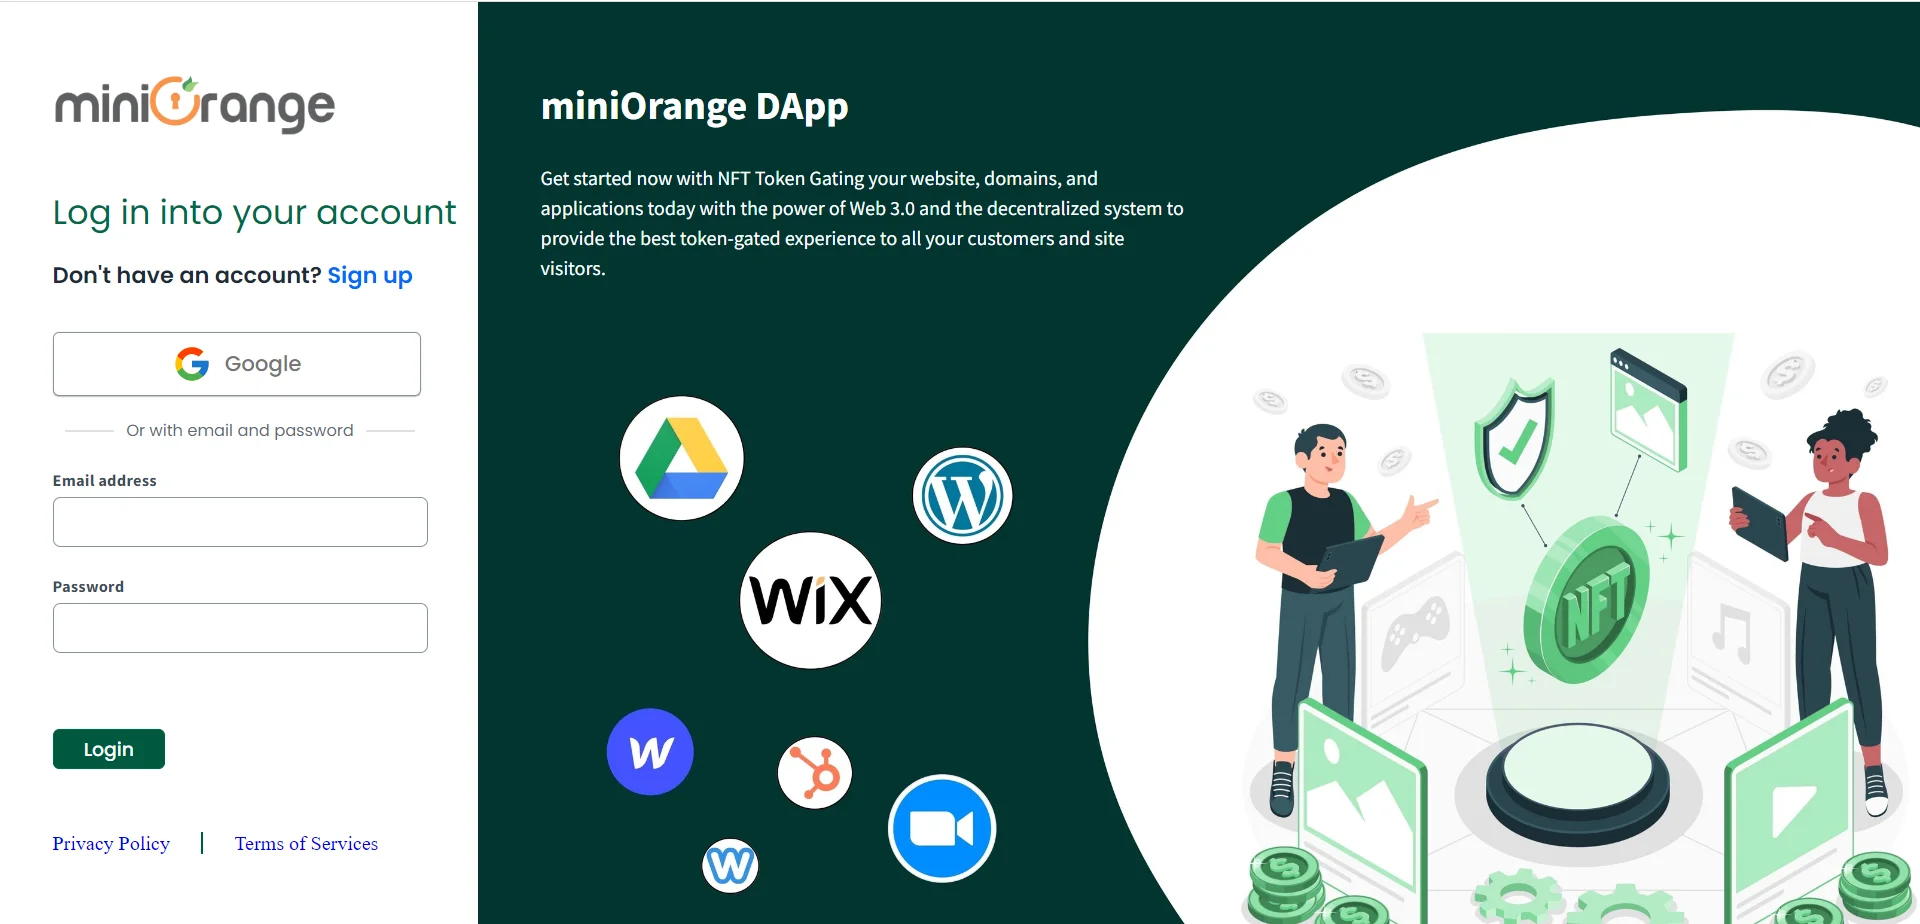
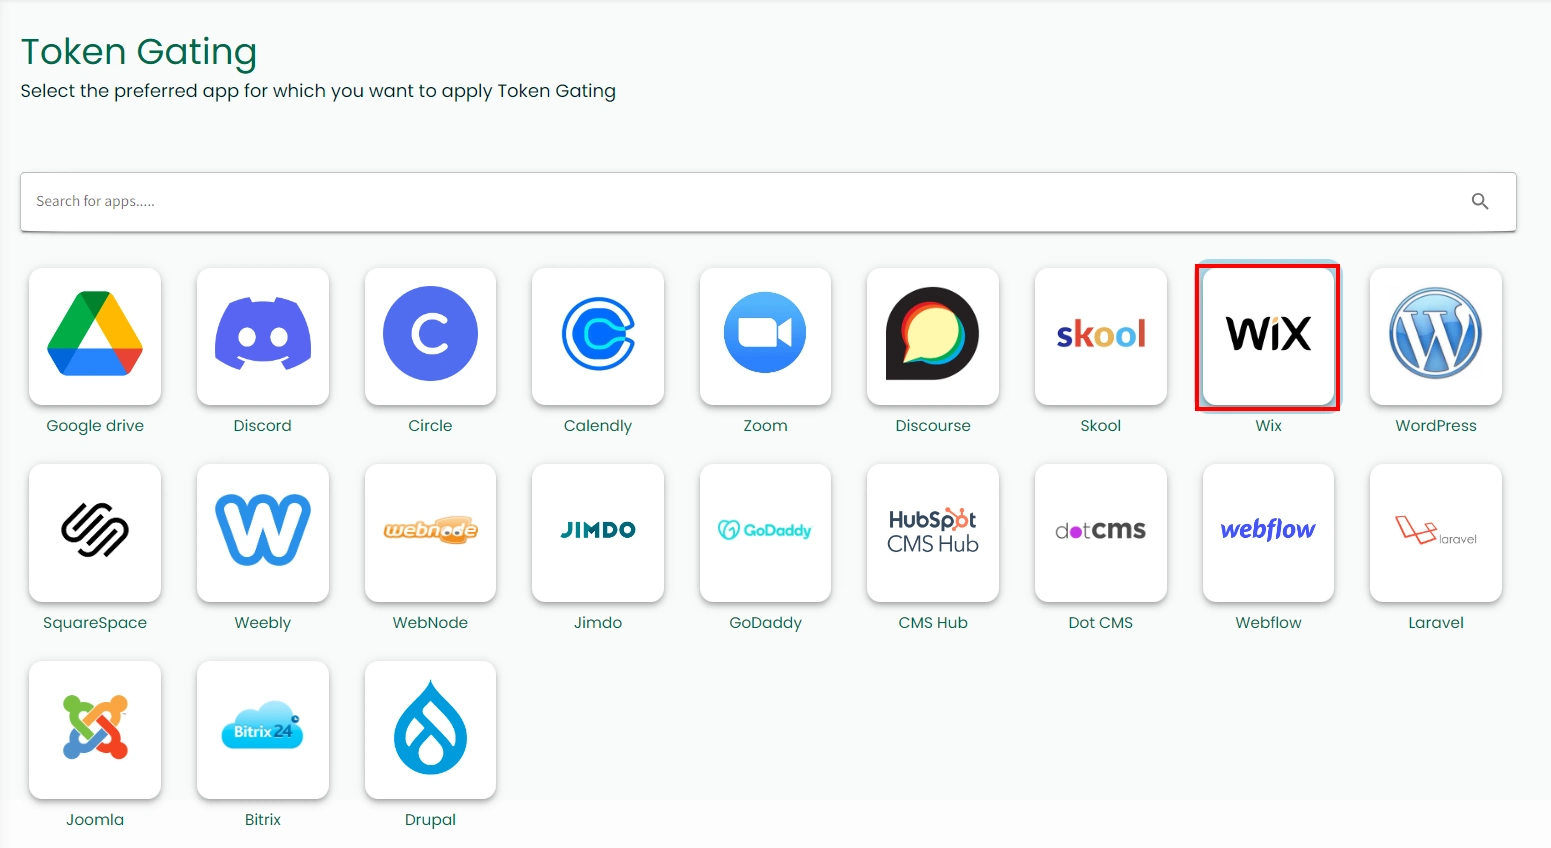
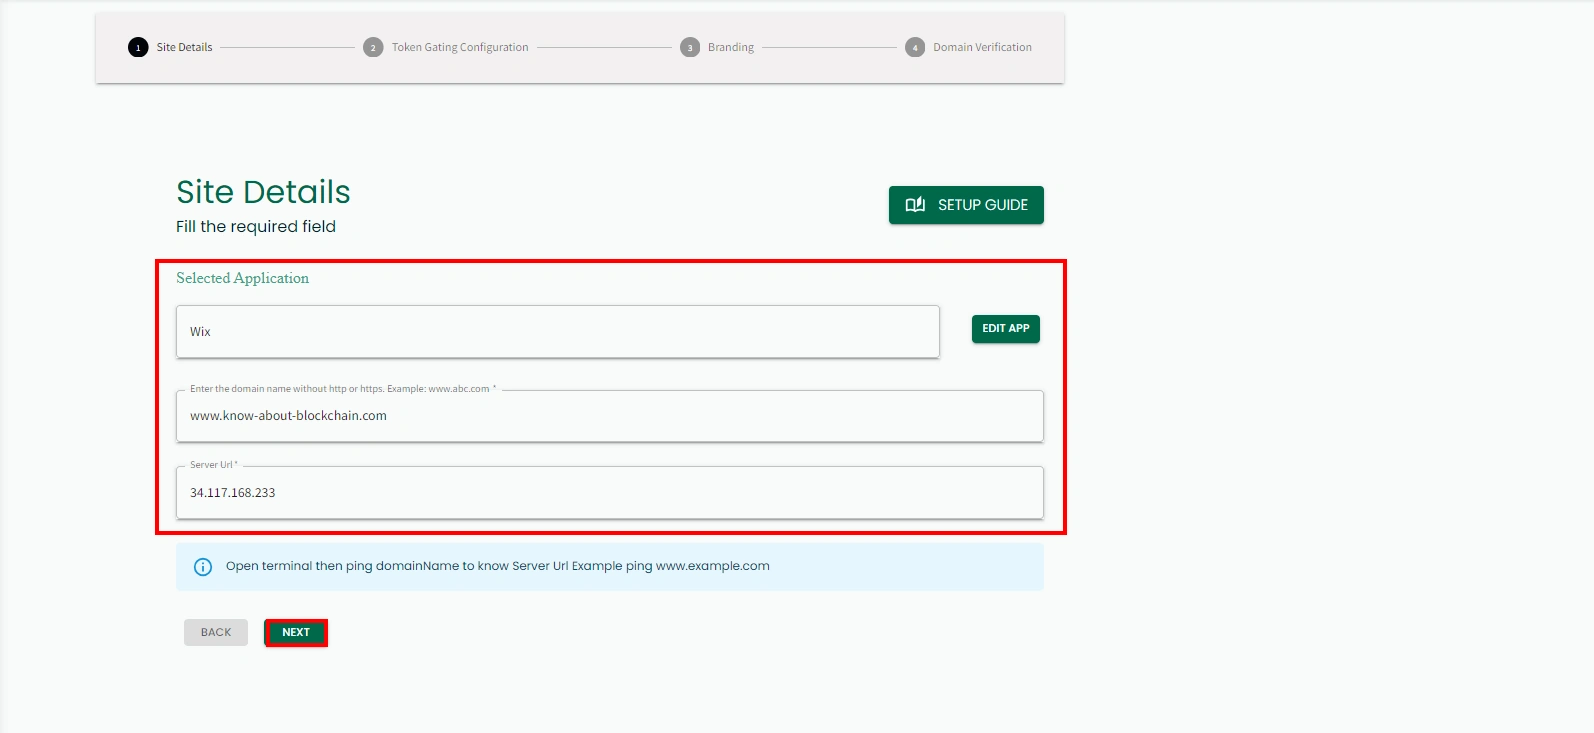
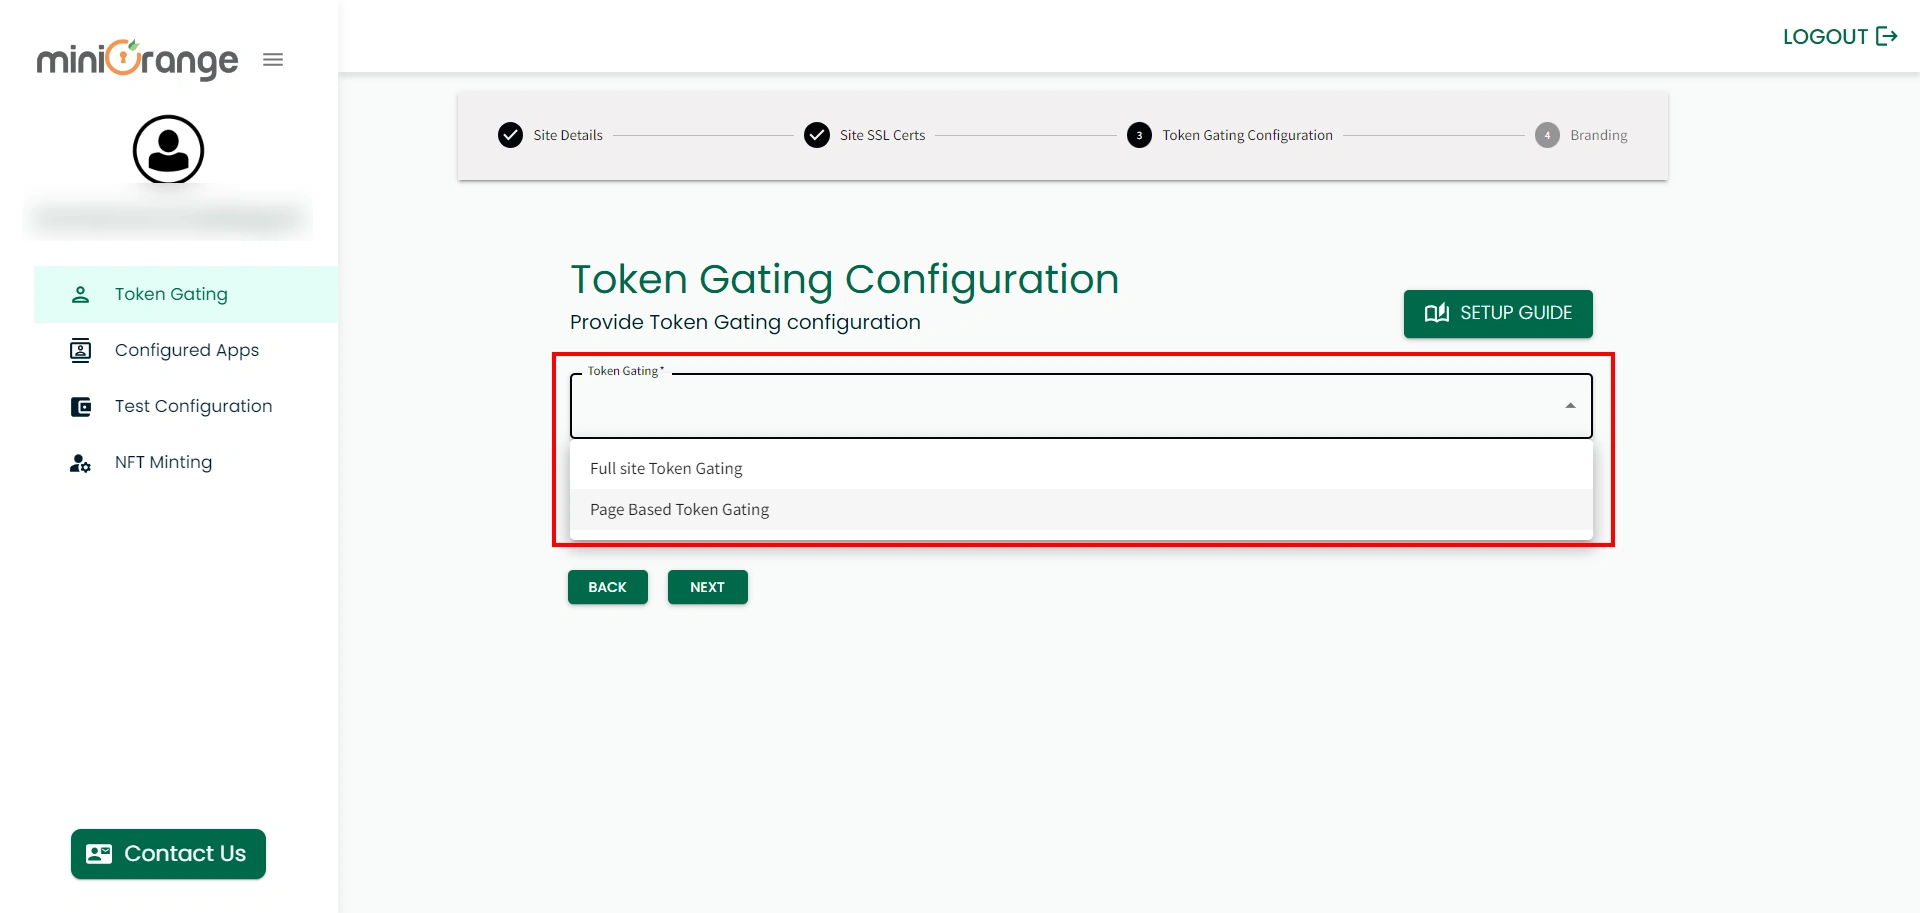
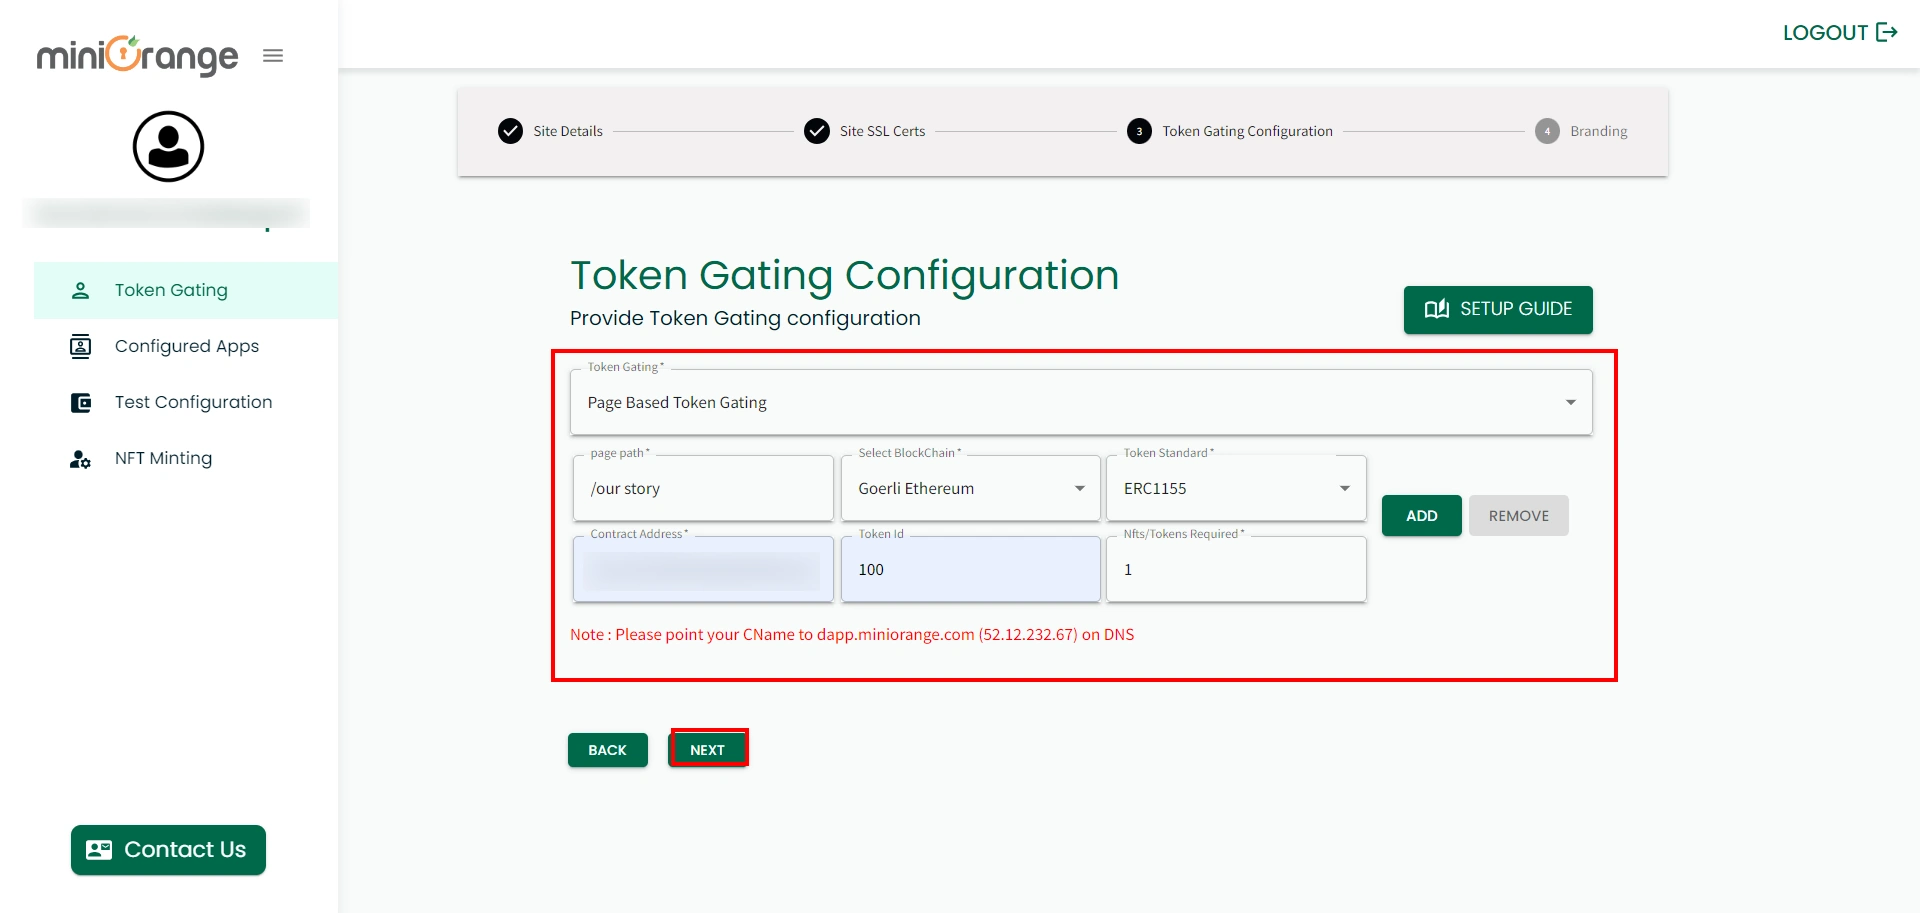
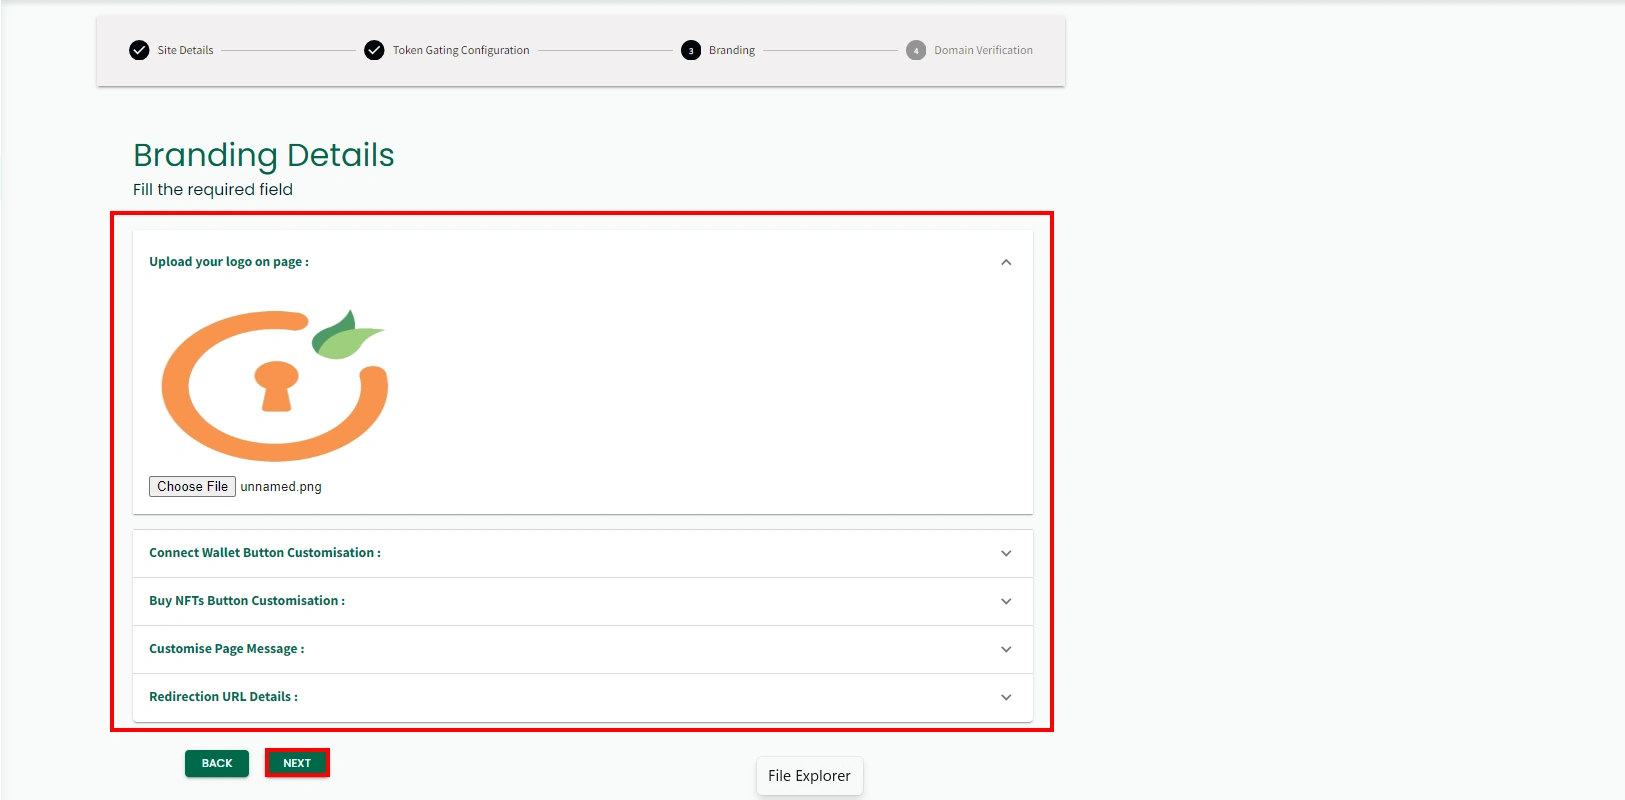
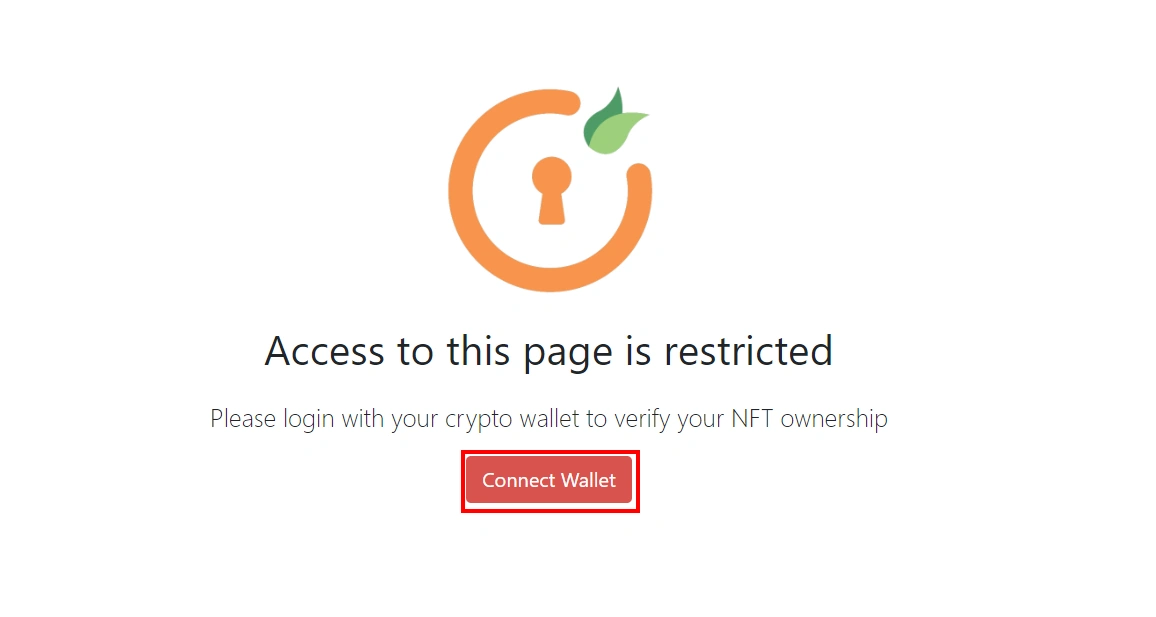
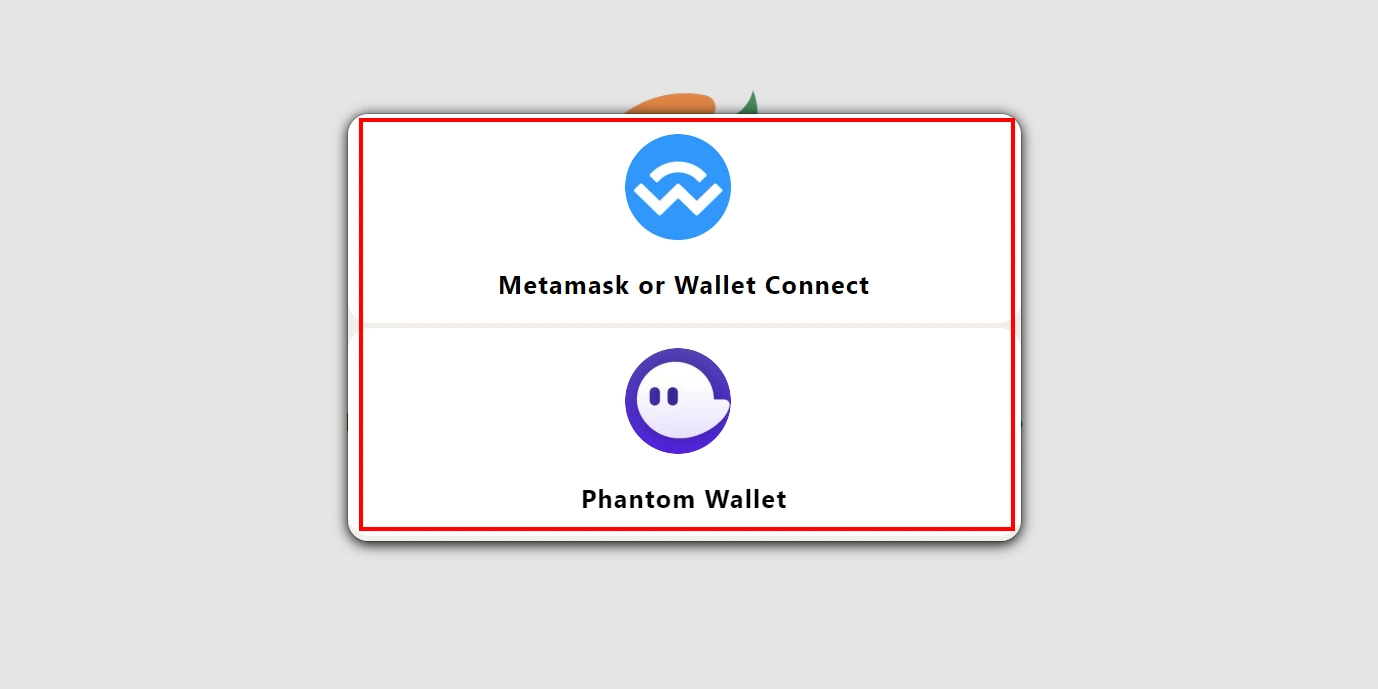
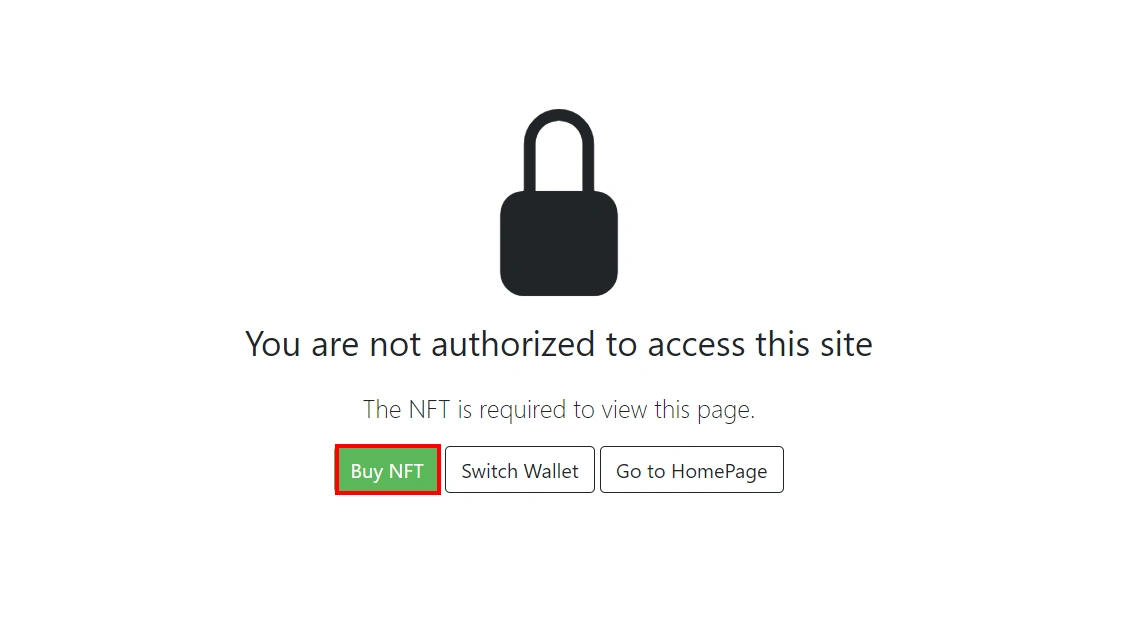
×In this guide, we will see how you can setup NFT Token gating for any website like Wix, WordPress, Squarespace, Joomla, Drupal, and a lot more to protect users from accessing specific pages and content. You can also secure applications like Google Drive, Google Meet, Zoom, Webx, Adobe Connect by enabling NFT Token Gating.
Let’s take a look at the steps to get started with NFT Token Gating today.
miniOrange offers free help through a consultation call with our System Engineers to Setup NFT Token Gating for all sites and meetings 30-day free trial.
For this, you need to just send us an email at web3@xecurify.com to book a slot and we'll help you in no time.


Our Other Identity & Access Management Products