Hello there!
Need Help? We are right here!
Need Help? We are right here!
Search Results:
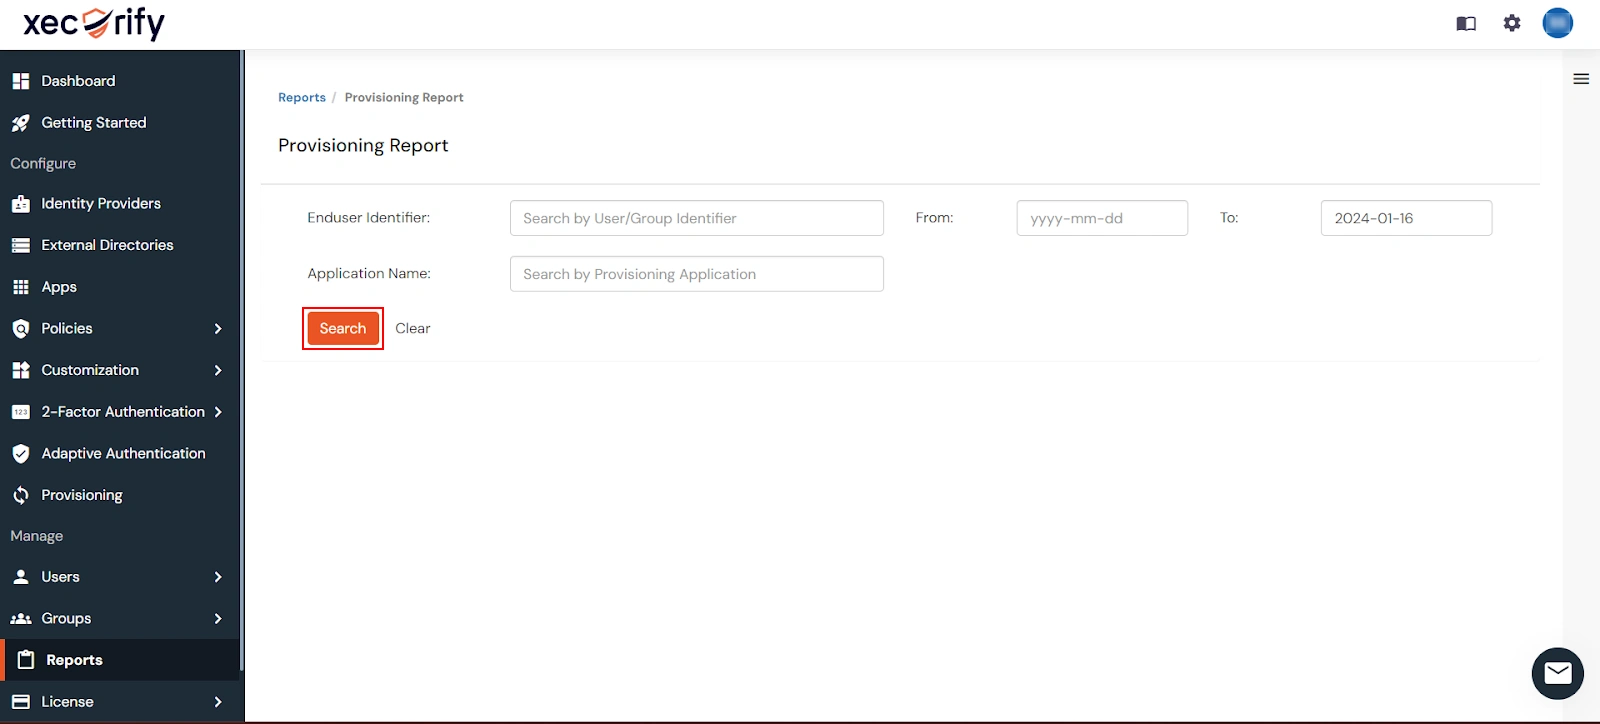
×Active Directory Provisioning automates the process of creating, updating, and removing user accounts in third-party applications using API endpoints. miniOrange's automated User Provisioning feature seamlessly integrates with Active Directory to provision all user identities automatically, saving time and managing access privileges throughout the user lifecycle.
Bi-directional and automatic user provisioning and de-provisioning actions enhance security by removing access to sensitive applications and content when an employee leaves or changes roles. This improves your organization's security profile.
Automatic Provisioning saves time when setting up new users and teams, and also manages access privileges through the user lifecycle. It is considered as a part of user lifecycle management . miniOrange can create, read, and update user accounts for new or existing users, remove accounts for deactivated users, and synchronize attributes across multiple directories and the applications that the user needs access to.
Active Directory Deprovisioning means deleting a user and removing their access from multiple applications and network systems at once. Automatic Deprovisioning action is triggered when an employee leaves a company or changes roles within the organization. The deprovisioning features increase your organization's security profile by removing access to sensitive applications and content from people who leave your organization.
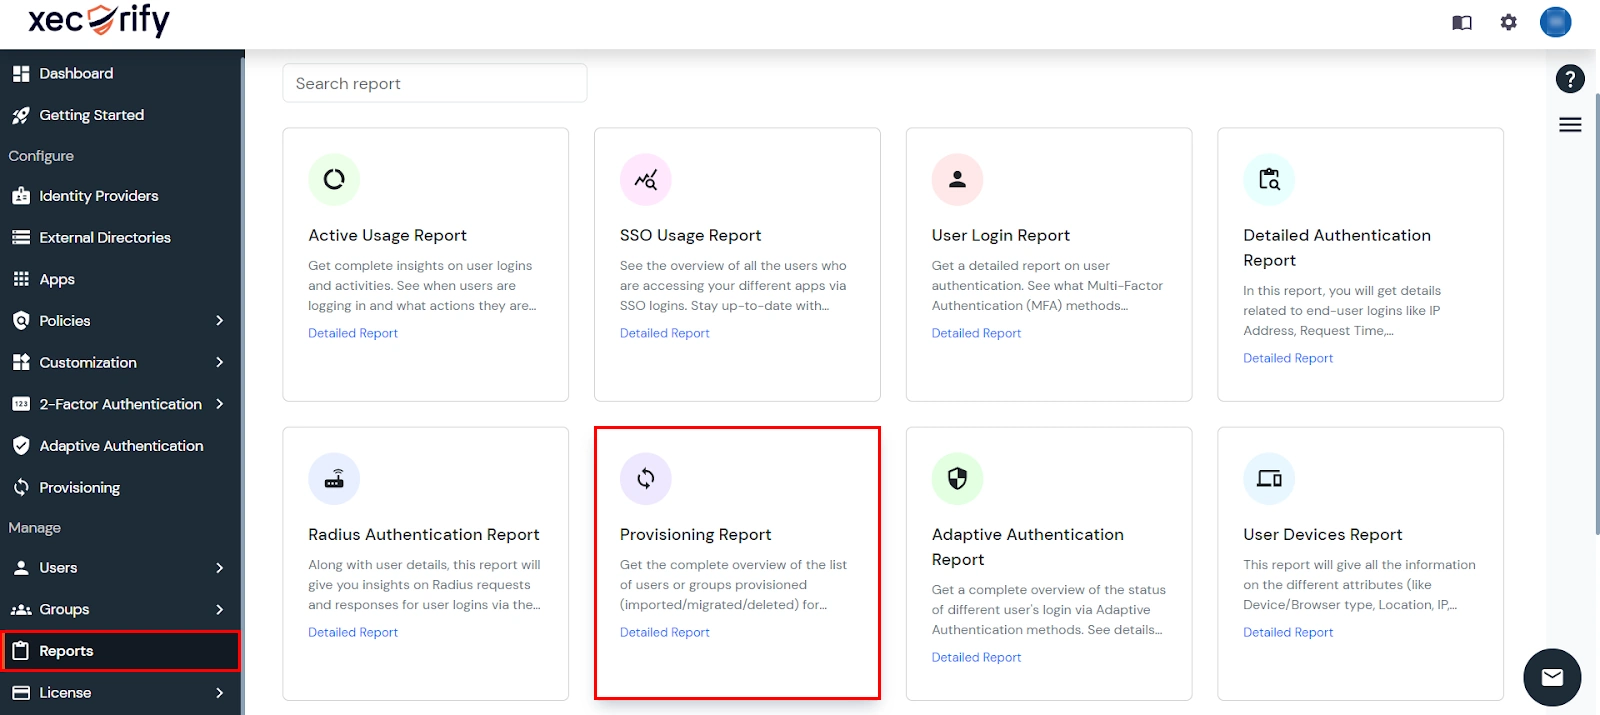
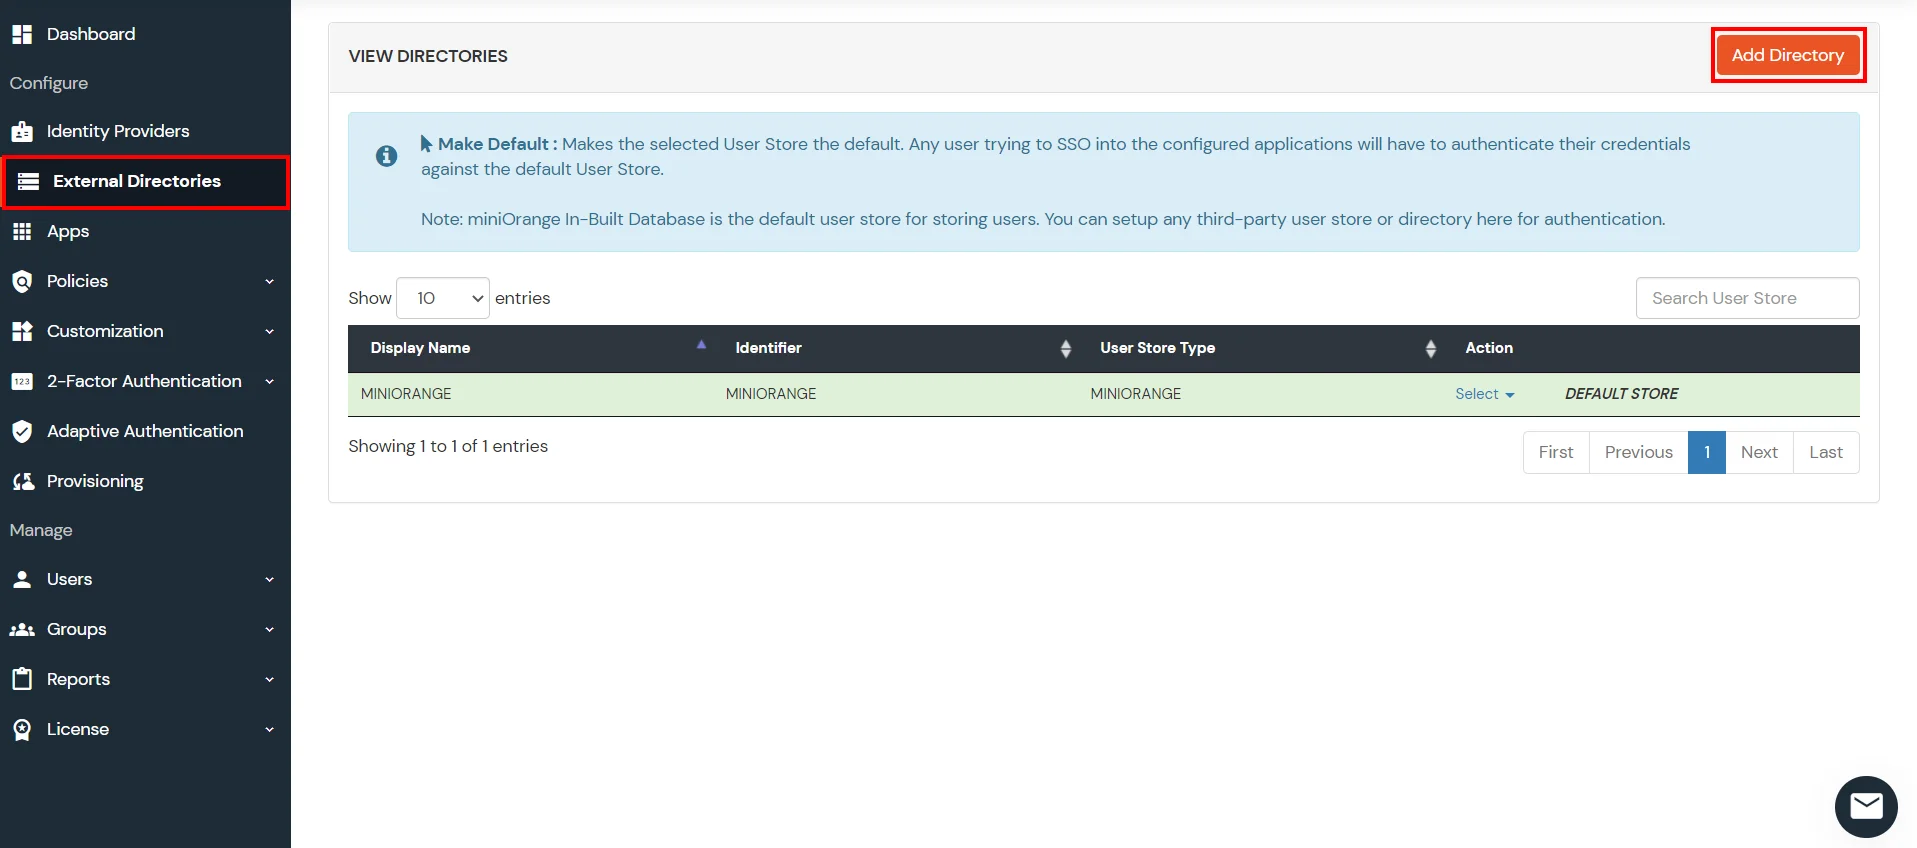
miniOrange provides solutions for all scenarios of provisioning, which includes AD Integration, LDAP Integration and automated provisioning for all External Applications such as Office 365, Google Workspace, Workday, etc


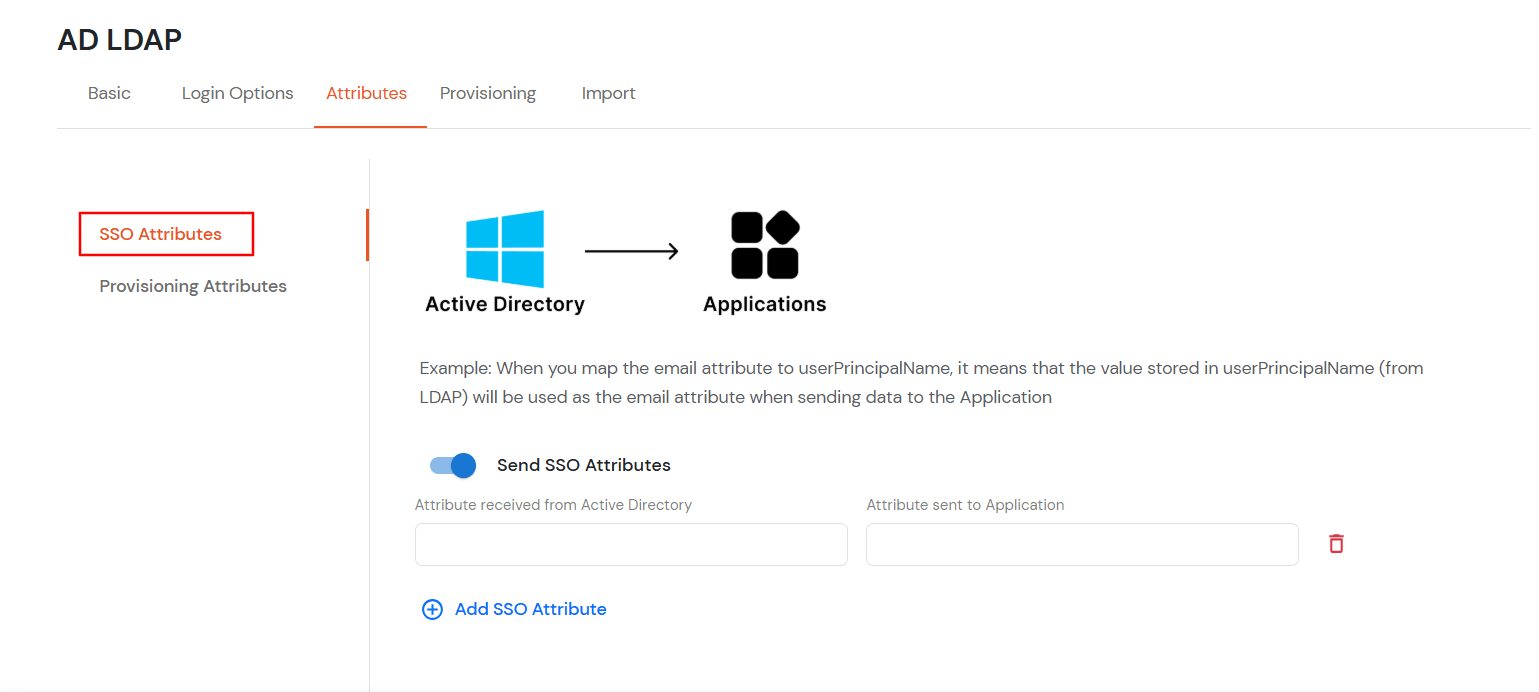
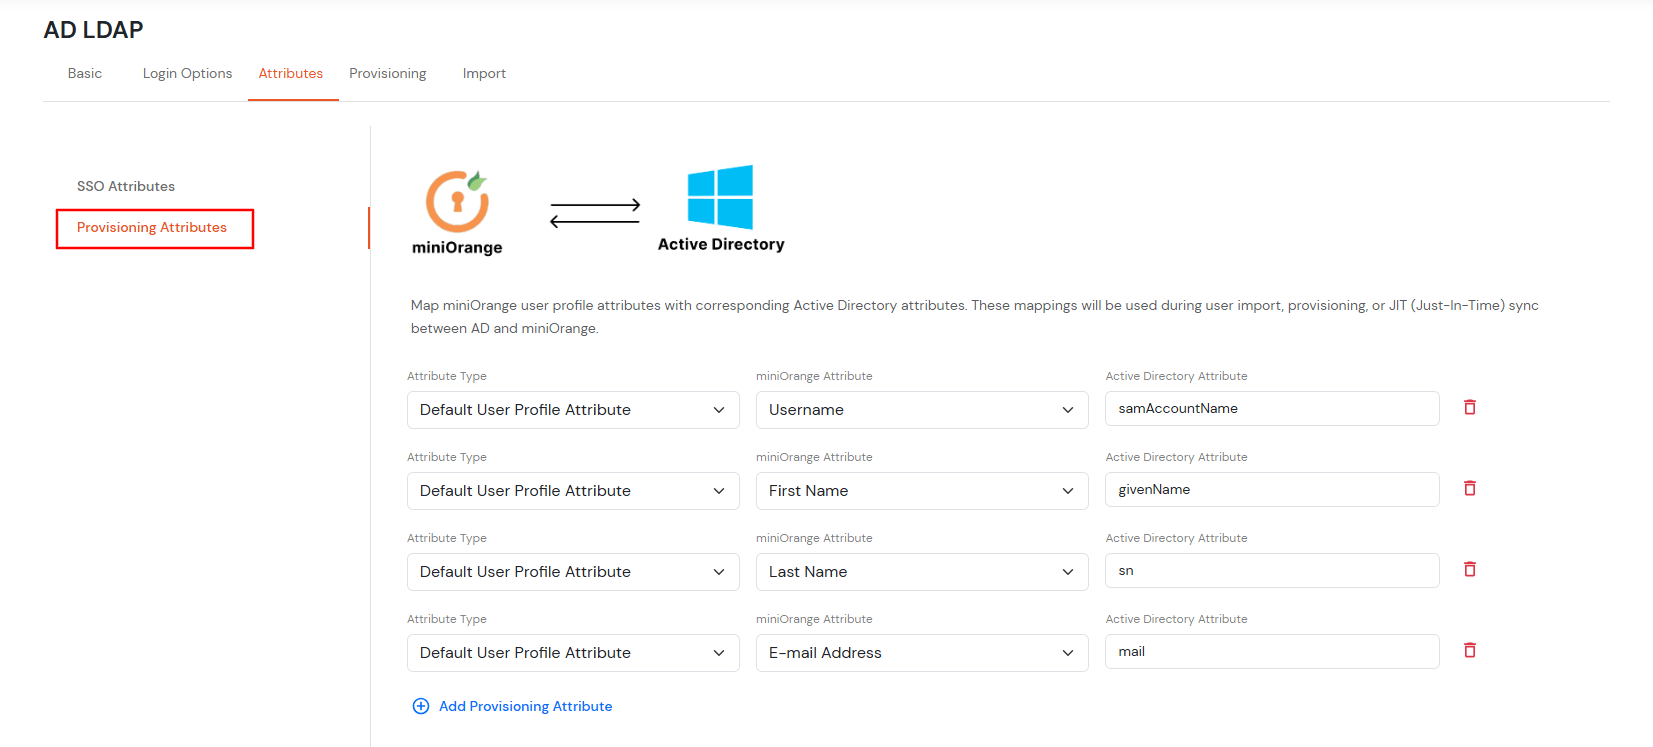
Attributes Mapping from AD
| Attribute | Description | |
|---|---|---|
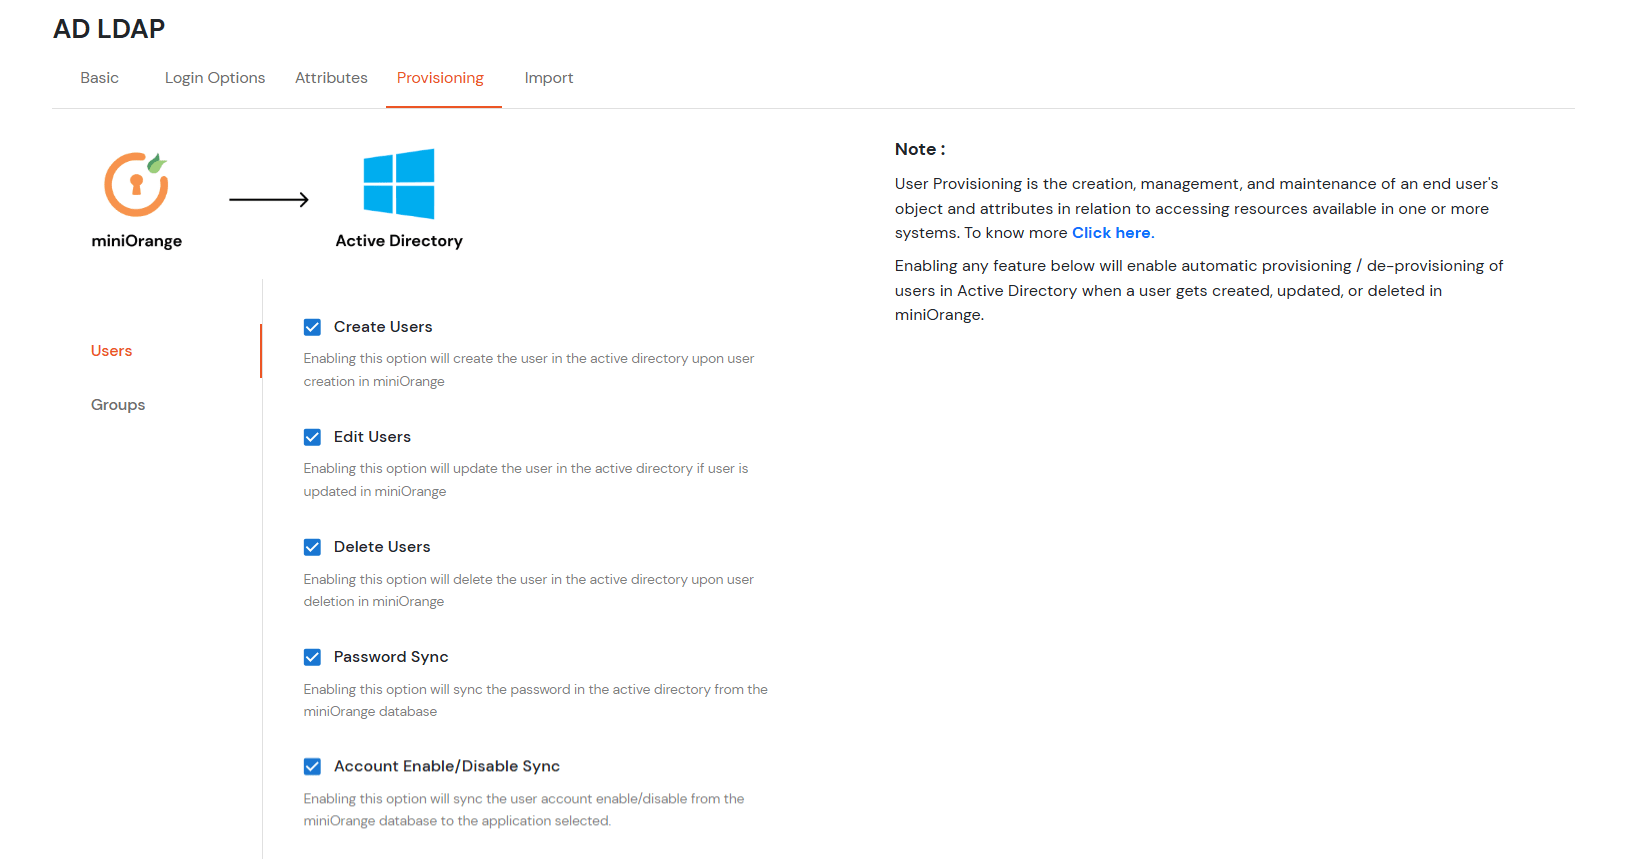
| Users | Create Users | Enabling this option will create the user in the selected application upon user creation in miniOrange. |
| Edit Users | Enabling this option will update the user profile in the selected application if updated in miniOrange. | |
| Delete Users | Enabling this option will delete the user from the selected application if the user is deleted from the miniOrange. | |
| Password Sync | Enabling this option will sync the user password from the miniOrange database to the application selected. | |
| Account Enable/Disable Sync | Enabling this option will sync the user account enable/disable from the miniOrange database to the application selected. |
| Attribute | Description | |
|---|---|---|
| Groups | Create Group | Enabling this option will create the Group in the selected application upon Group creation in miniOrange. |
| Delete Group | Enabling this option will delete the Group from the selected application if the Group is deleted from the miniOrange. | |
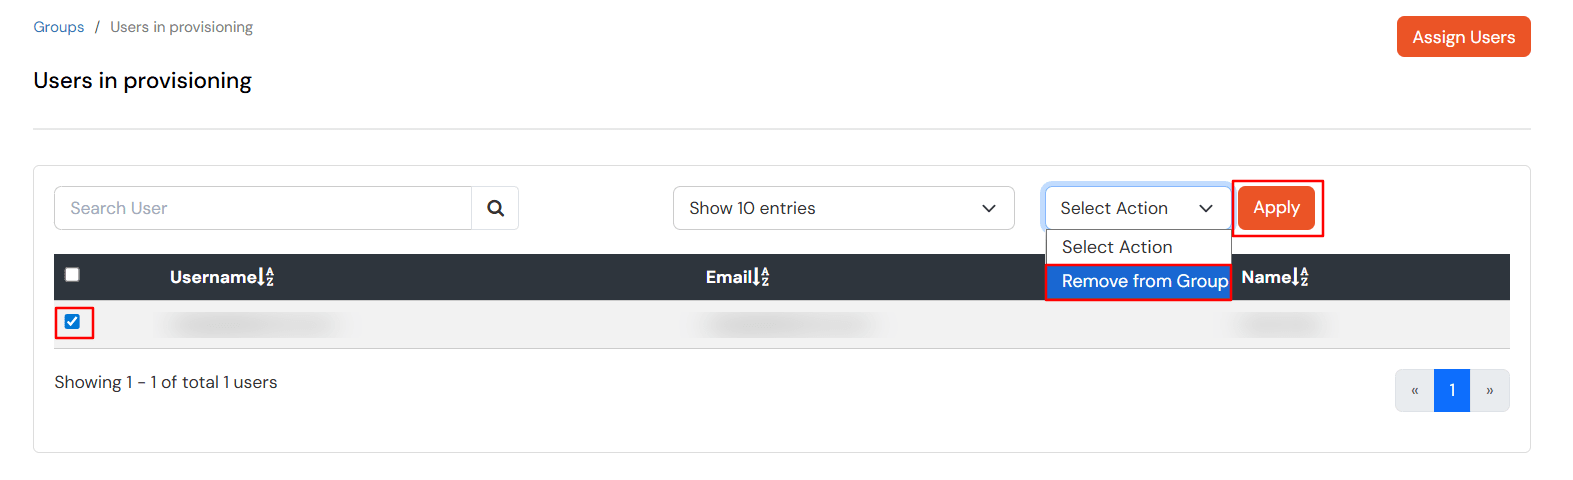
| Add/Remove Group membership of User | Enabling this option will add/remove the Group membership of a user from the selected application if the respective user group membership is updated from the miniOrange. | |
| Assign Users via Nested Groups | Enabling this option will import nested group memberships when syncing user group assignments. For example, if a user belongs to Group A, which is nested inside Group B, both group memberships will be synced. |


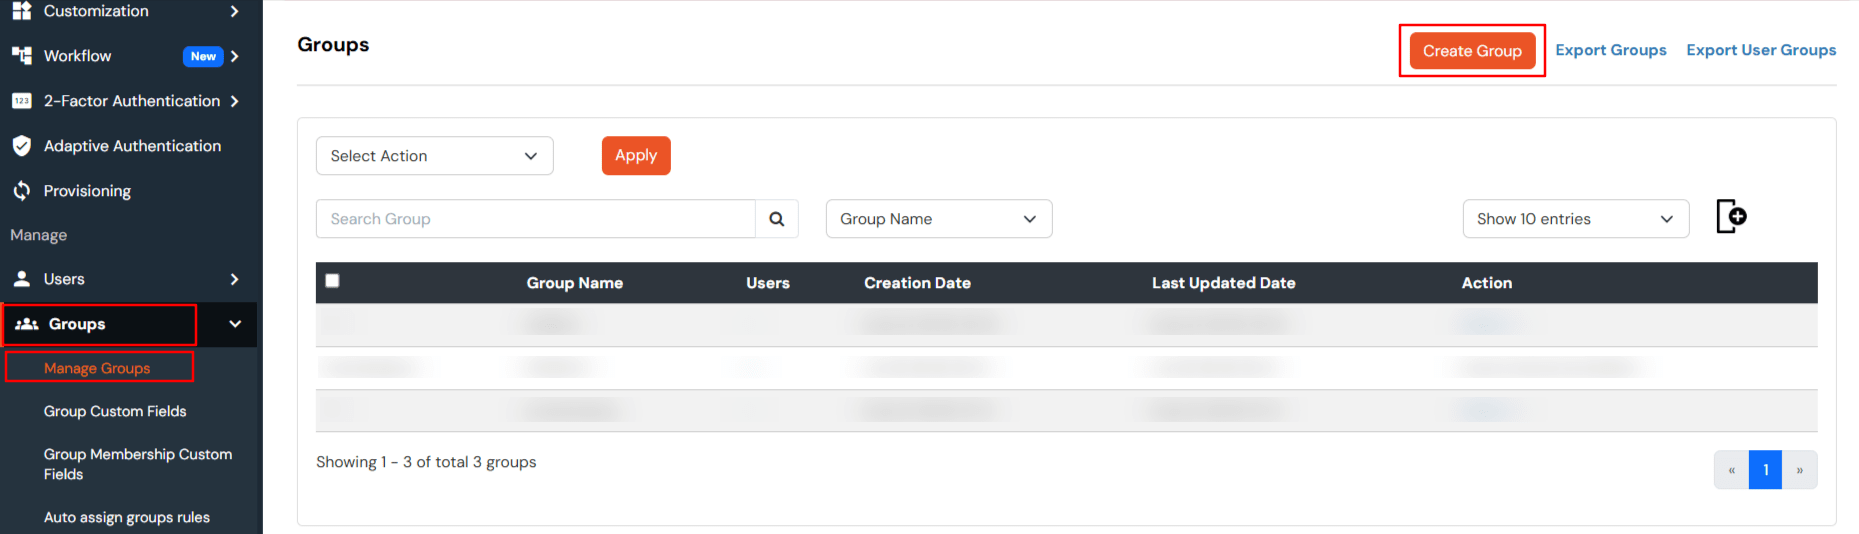
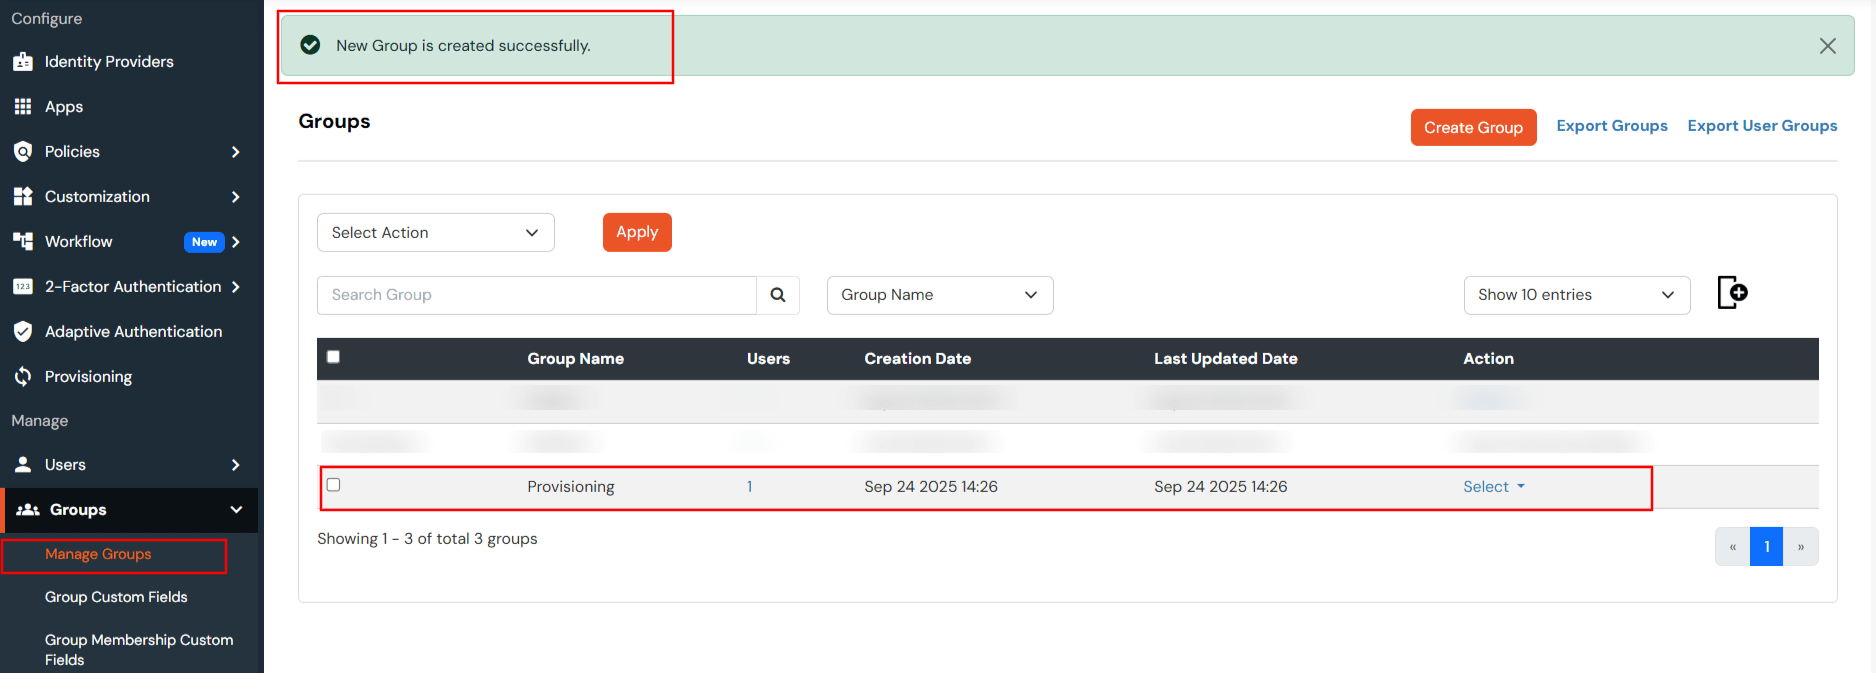
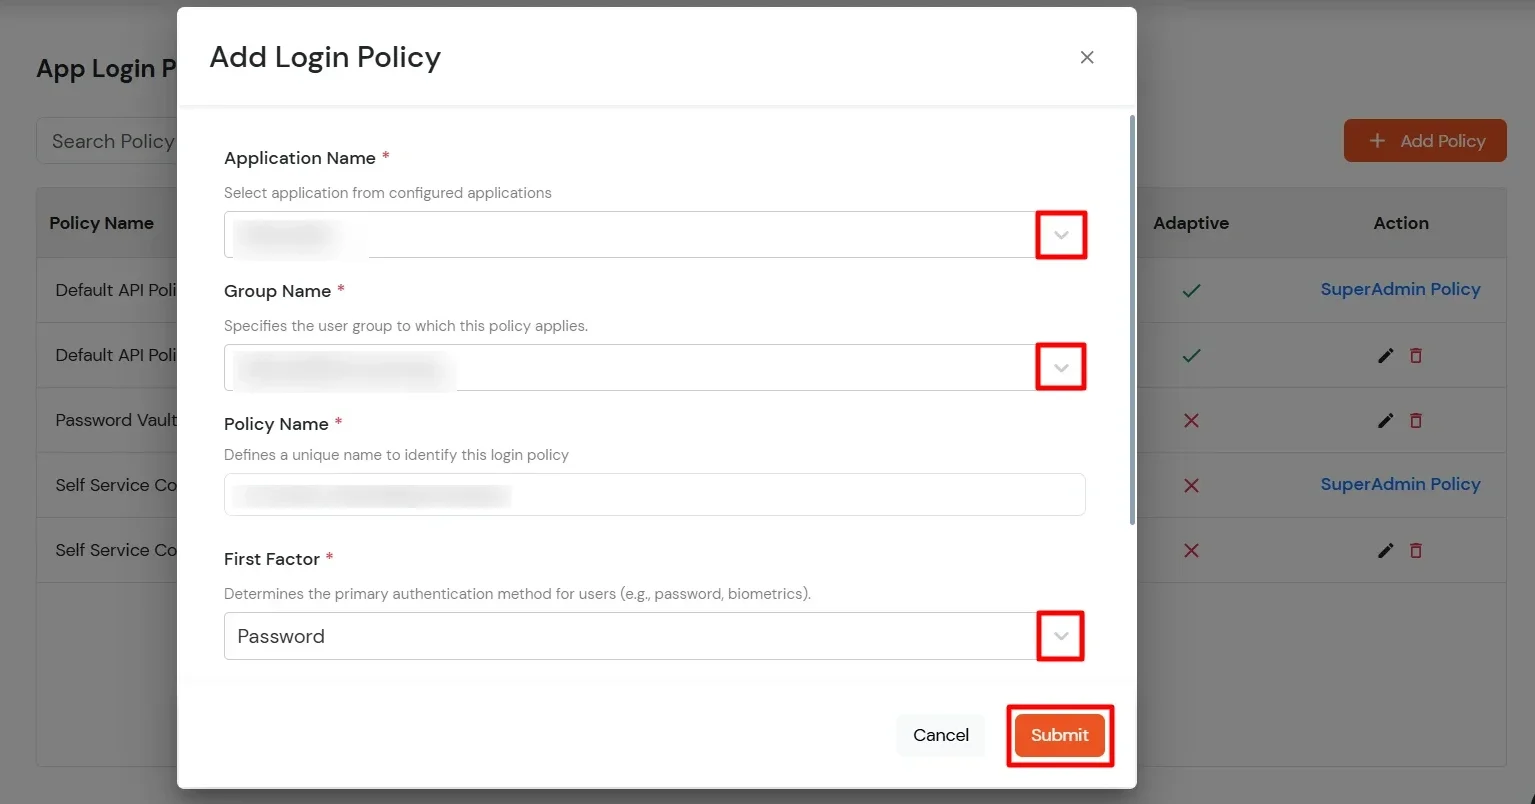
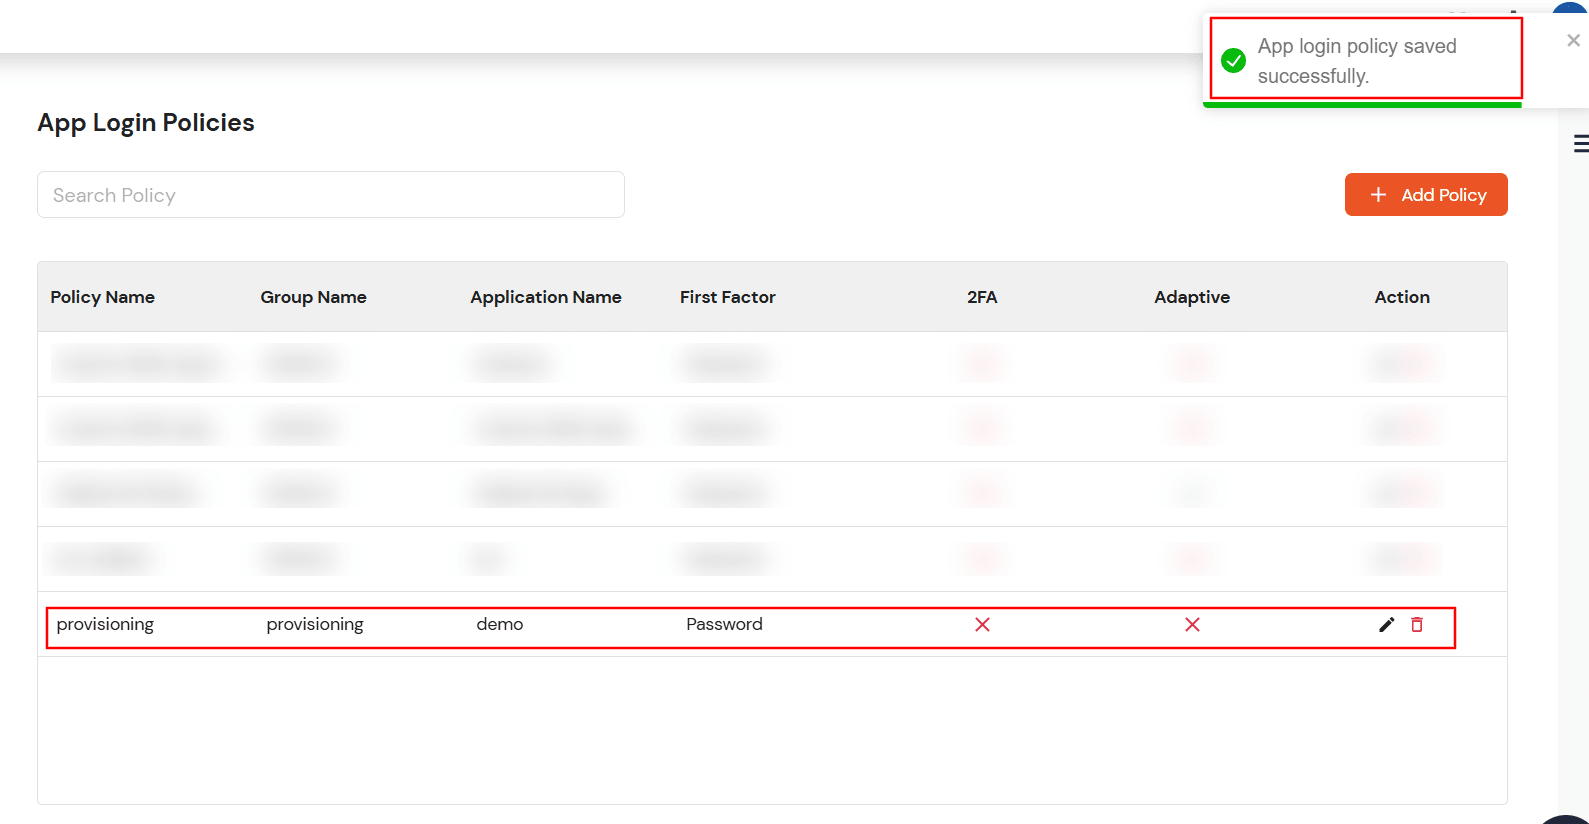
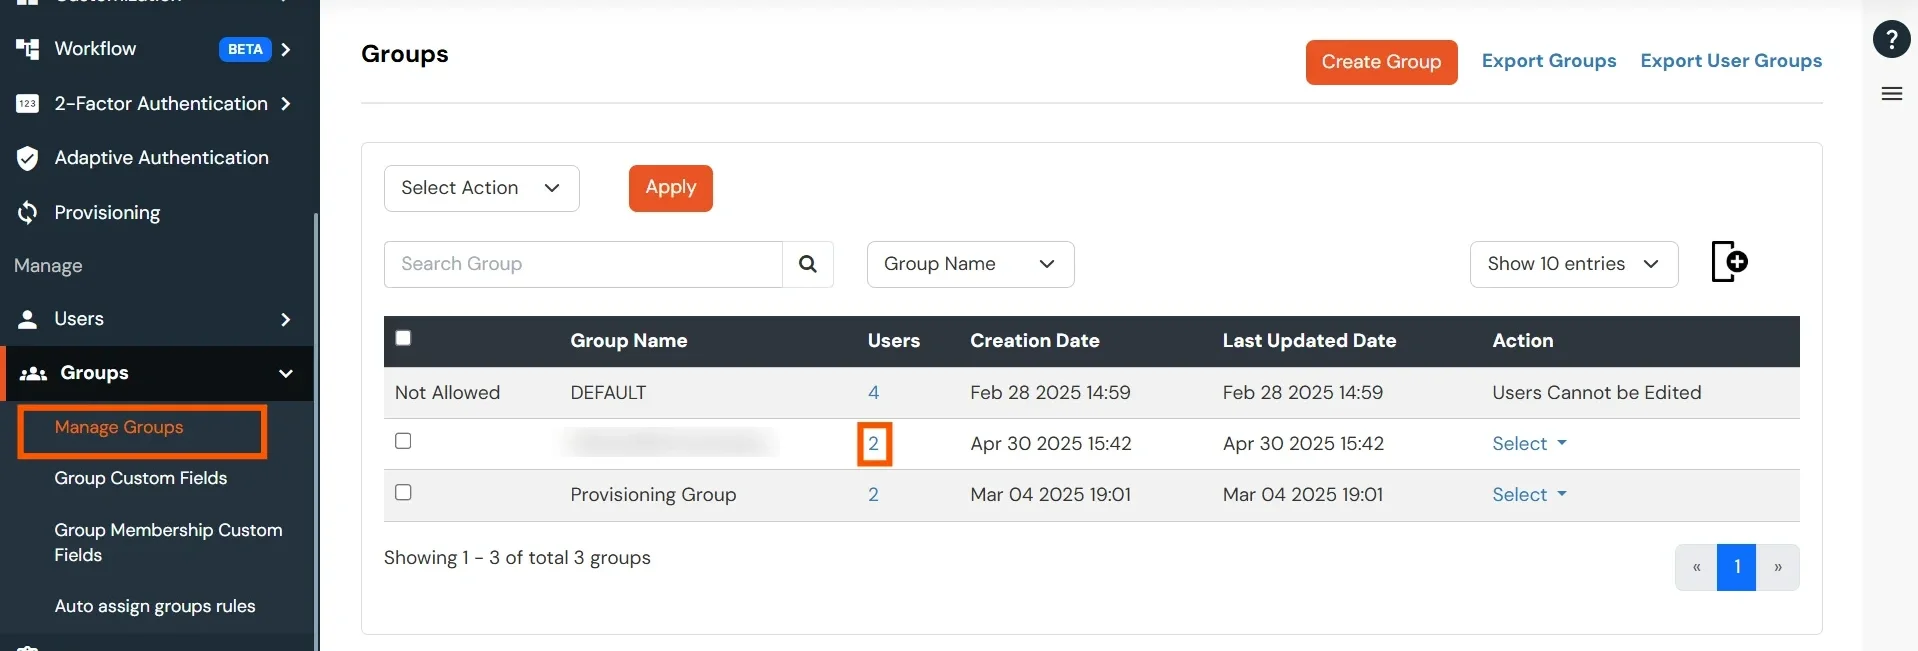
To create a group, follow these steps:

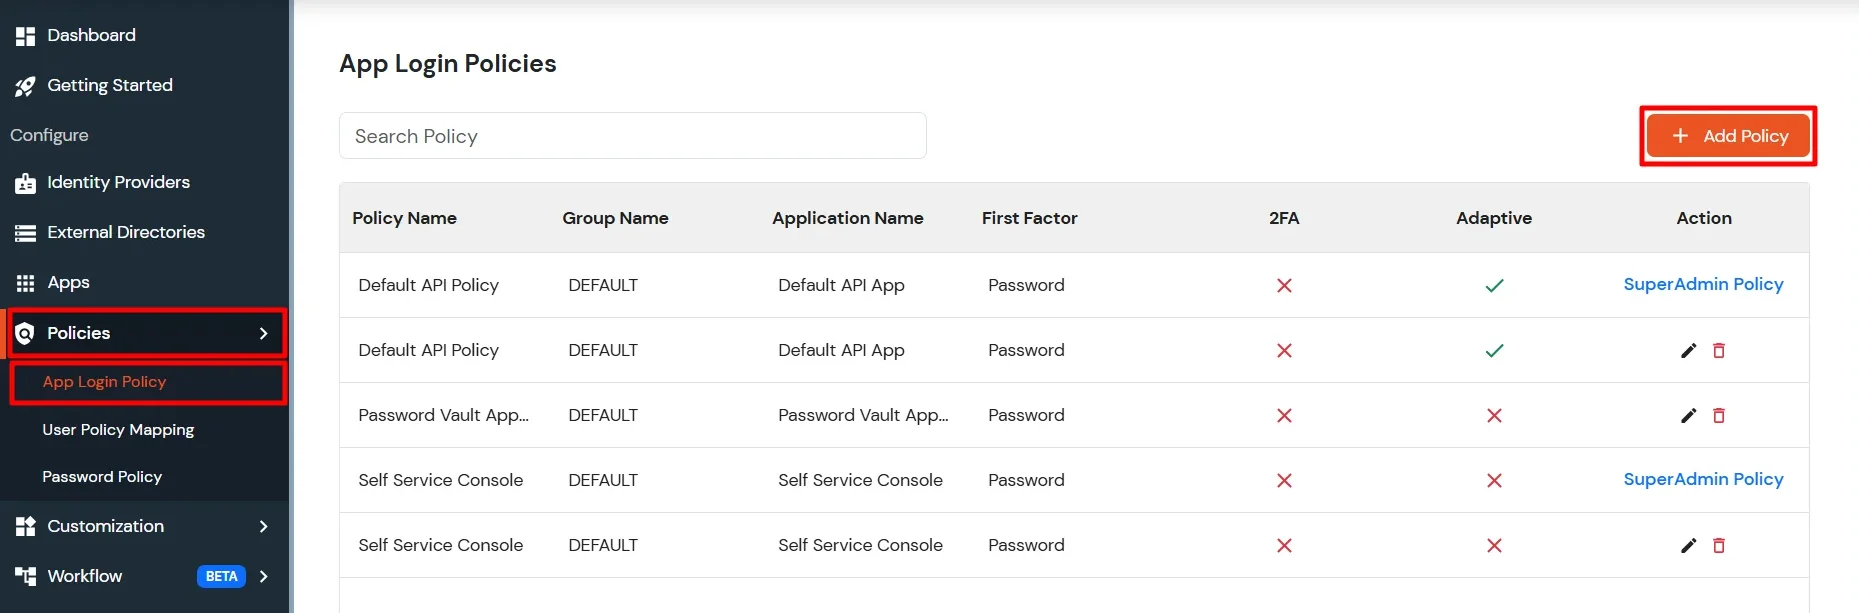
| Field | Description |
|---|---|
| Application Name | Select the application you have configured in the External Directories tab. |
| Group Name | Enter the group name created earlier. |
| Policy Name | Enter a policy name of your choice. |
| First Factor | Password OR Passwordless (OTP/PUSH/Mobile Token) |
| 2-Factor Authentication (MFA) | Enable two-factor authentication for enhanced account security. (Optional) |
| Adaptive Authentication | Enable context-aware authentication based on risk assessment. (Optional) |
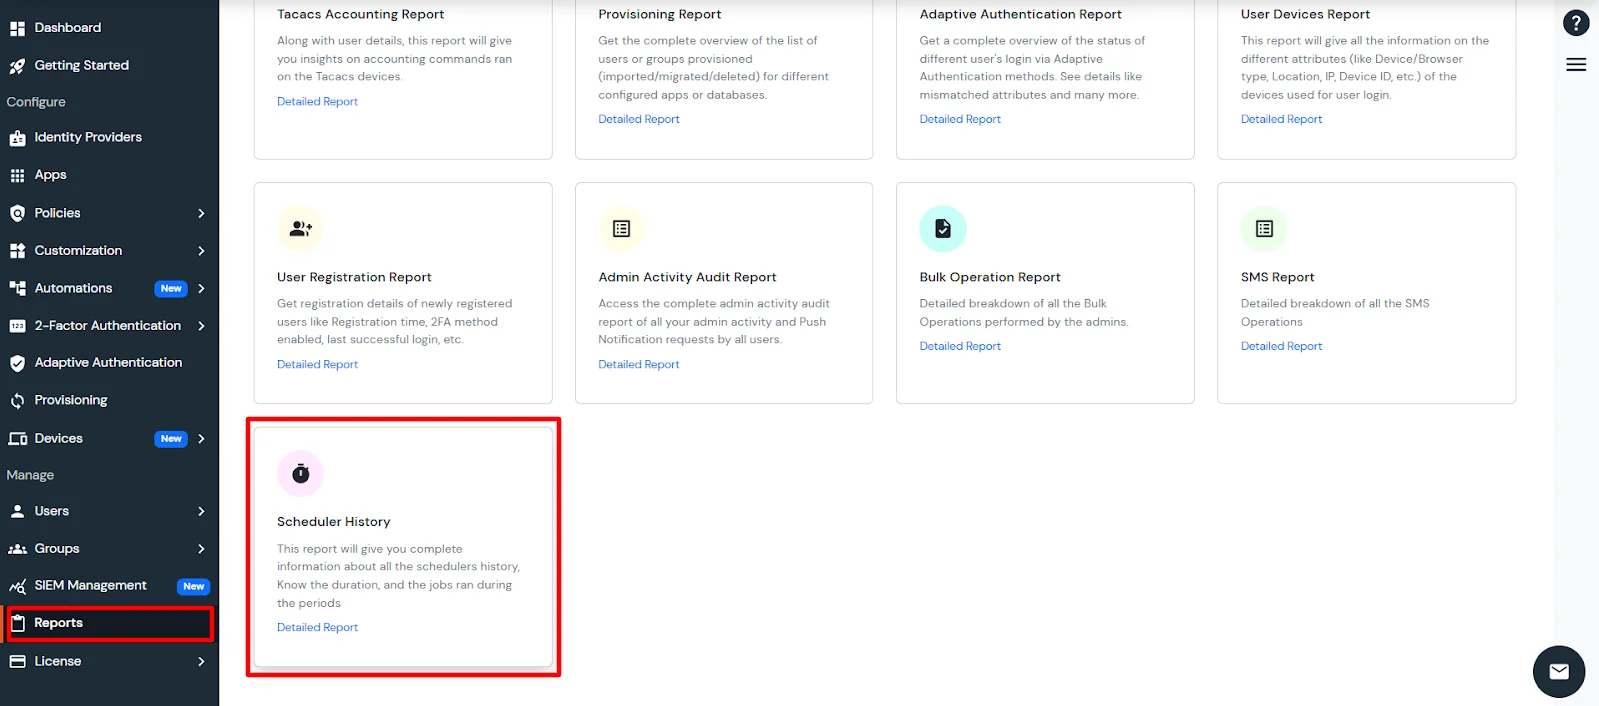
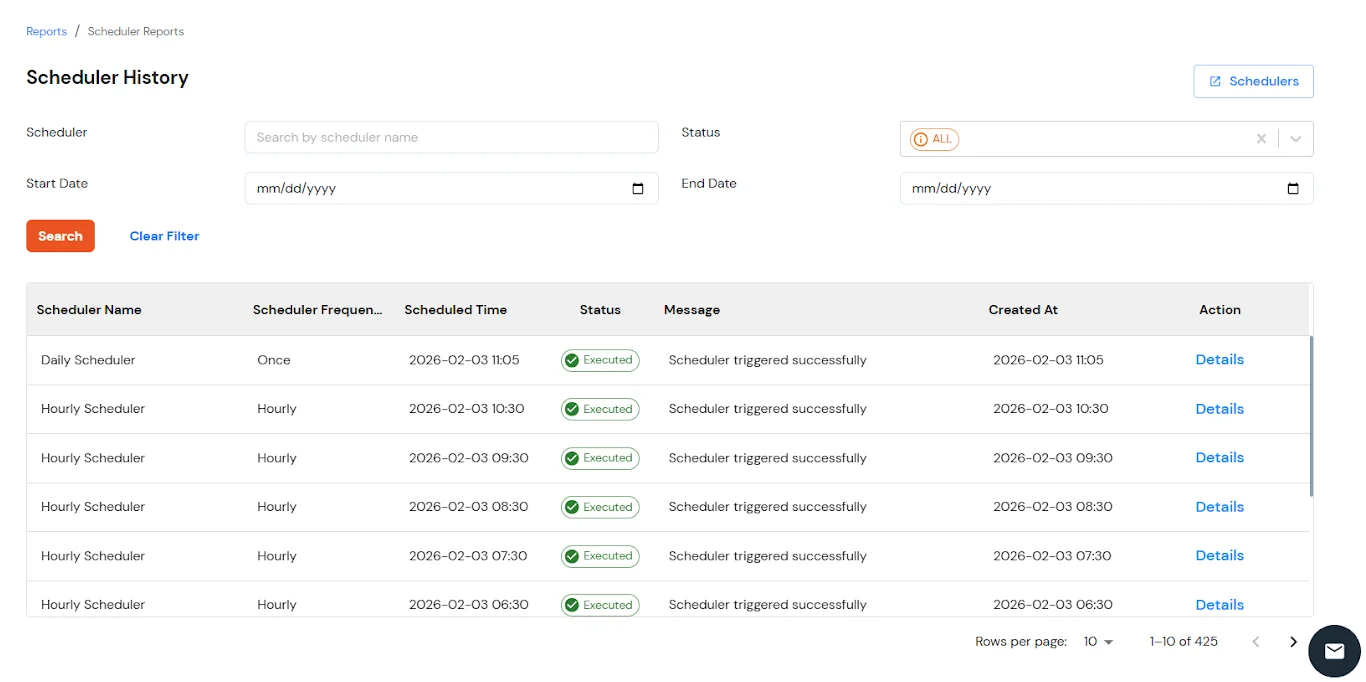
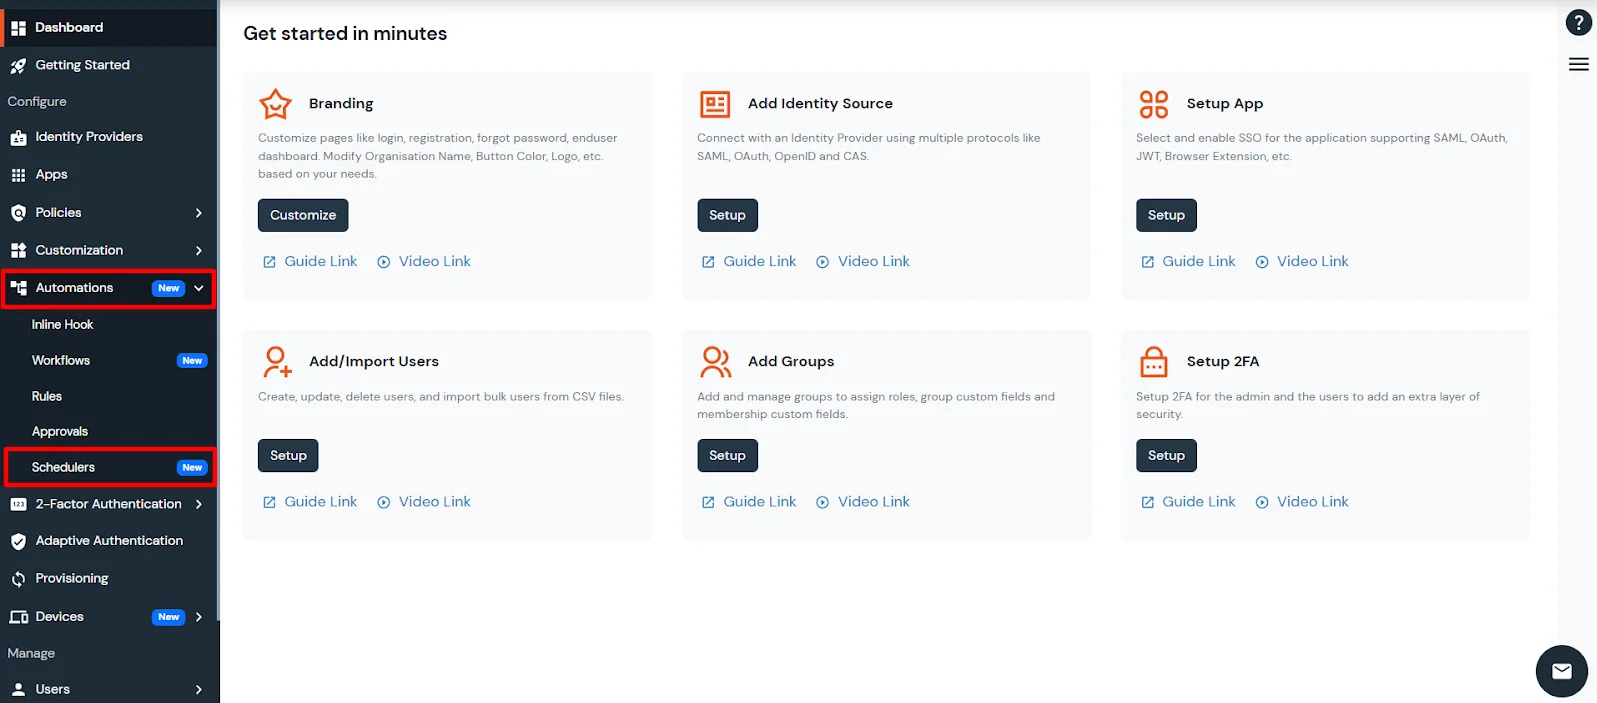
Note: If the Schedulers tab is not visible, contact idpsupport@xecurify.com to have it enabled.
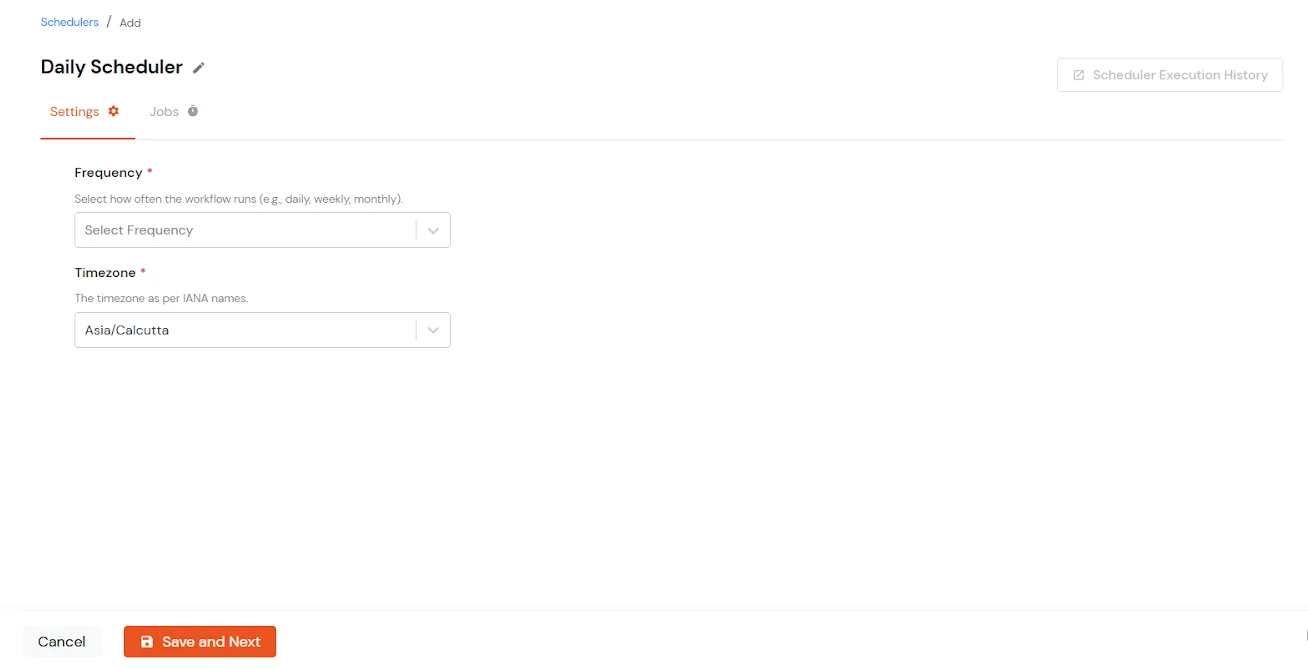
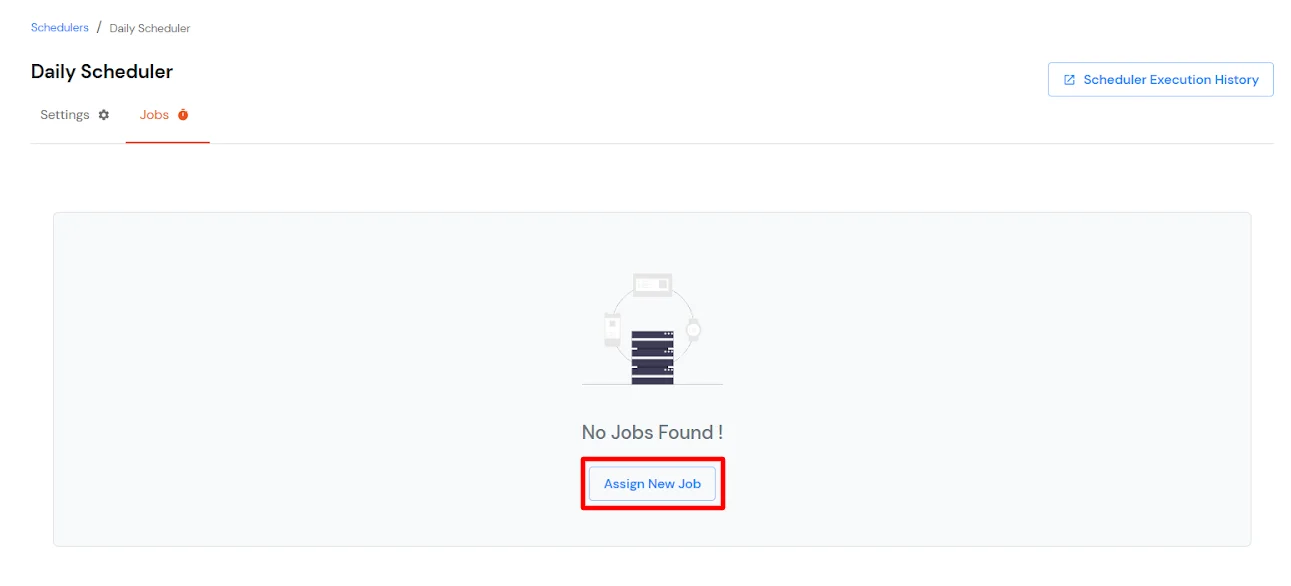
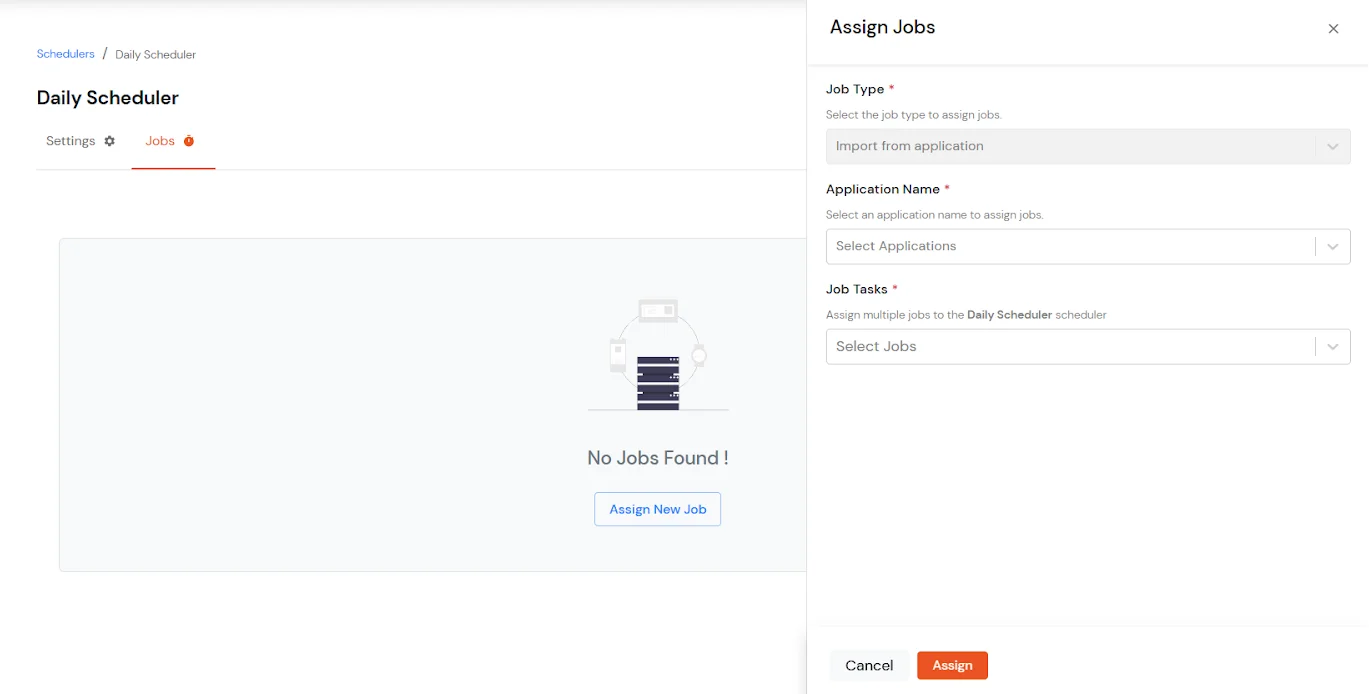
Note: If you want to import data from multiple applications, you can assign multiple jobs to the same scheduler.