Step by step guide to setup LDAPS on Windows Server
Connect with LDAPS using miniOrange guidelines to setup LDAP over SSL and establish a secure connection with LDAP Server. Secure your LDAP server connection between client and server application to encrypt the communication. In case of simple bind connection using SSL/TLS is recommended to secure the authentication as simple bind exposes the user credentials in clear text.
1. Install Certificate Authority, Create and Export the certificate
1.1: Install "Active Directory Certificate Services" role through Server Manager roles.
- On your Windows Server Machine, click on Start -> Server Manager -> Add Roles and Features.
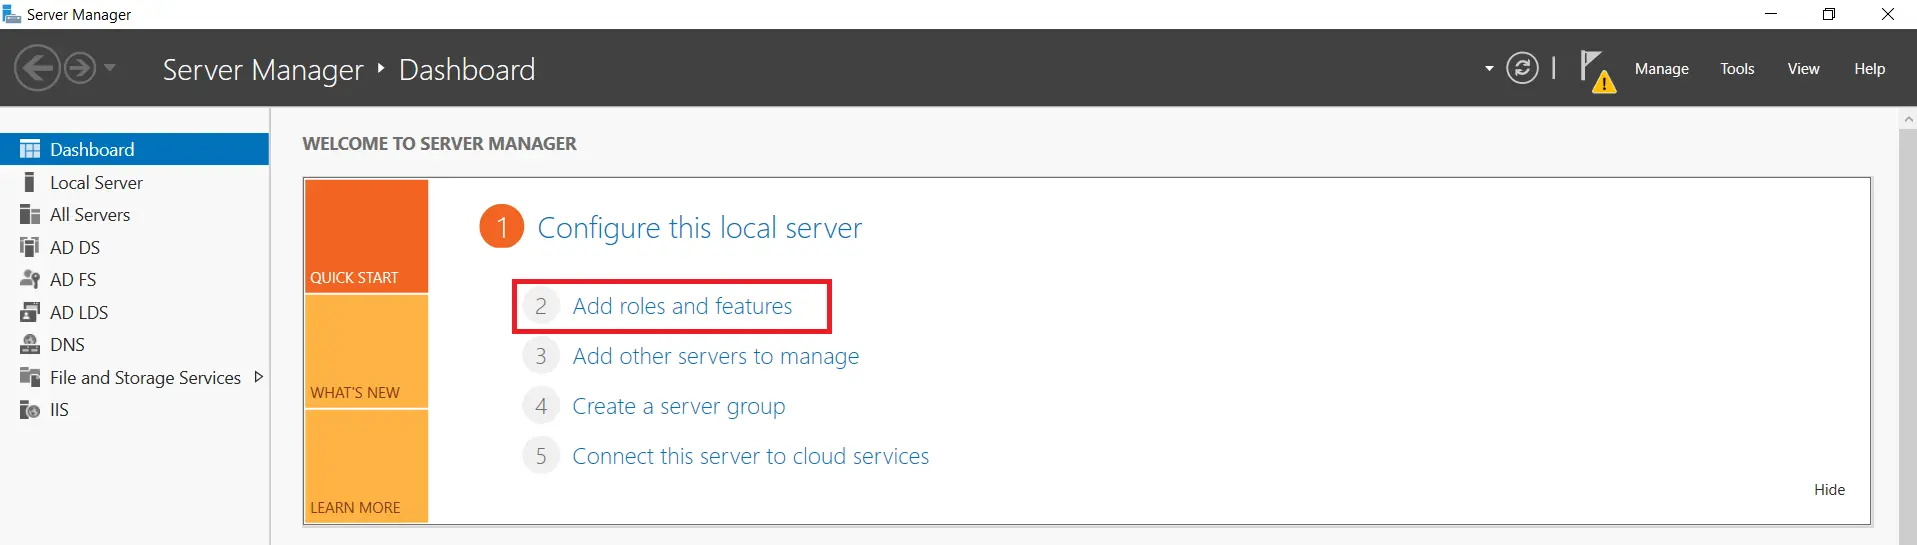
- After selecting Add Roles and Features and Click on Next.

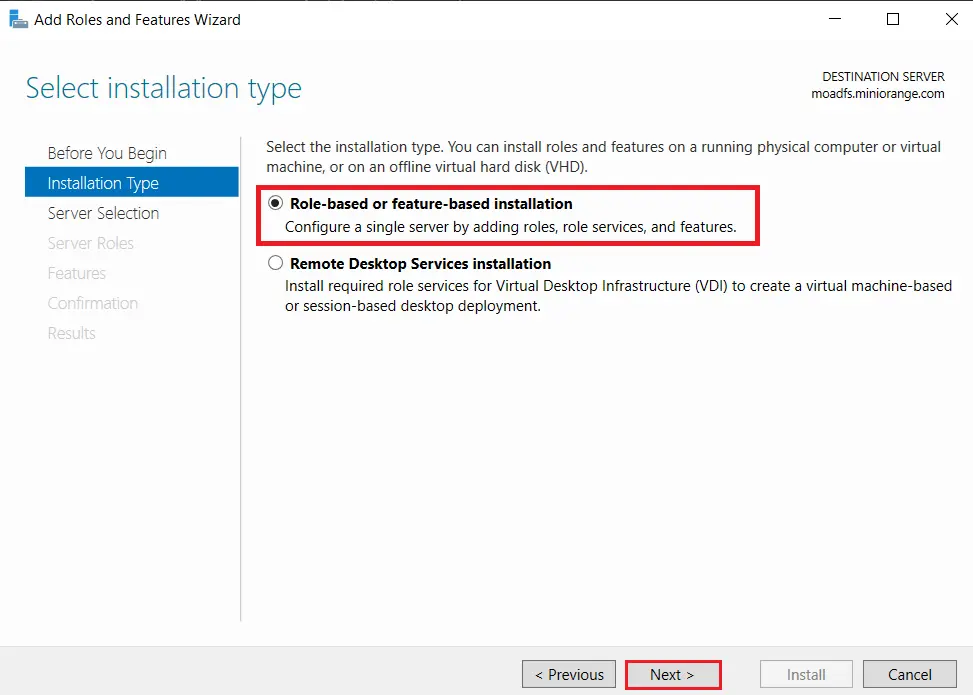
- Choose Role-based or feature-based installation option and Click on Next button.
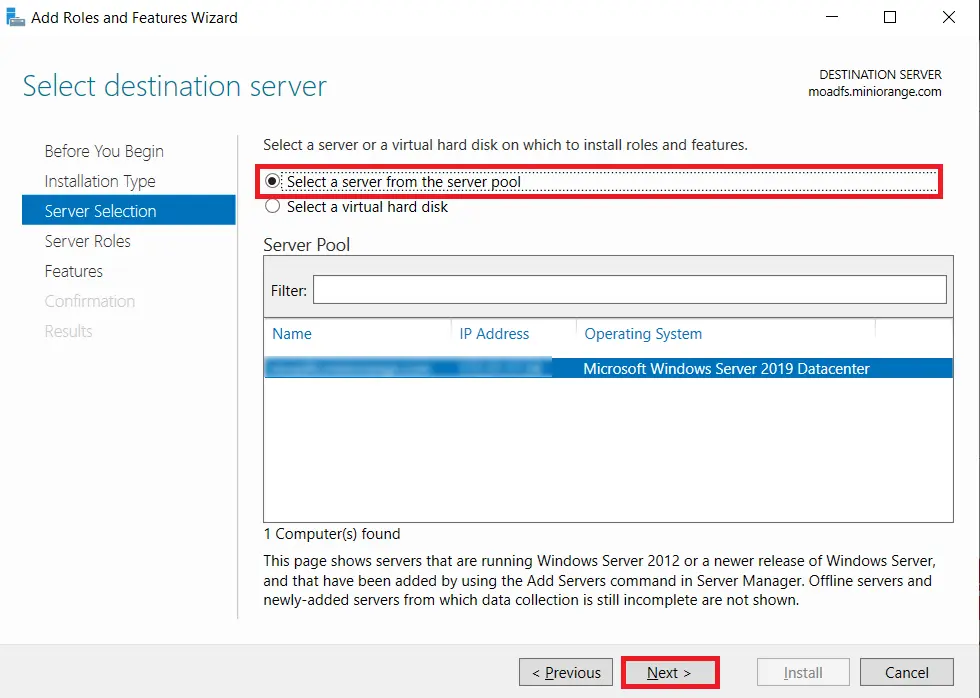
- Choose Select a server from the server pool option & Select ldap server from the server pool and click on Next button.
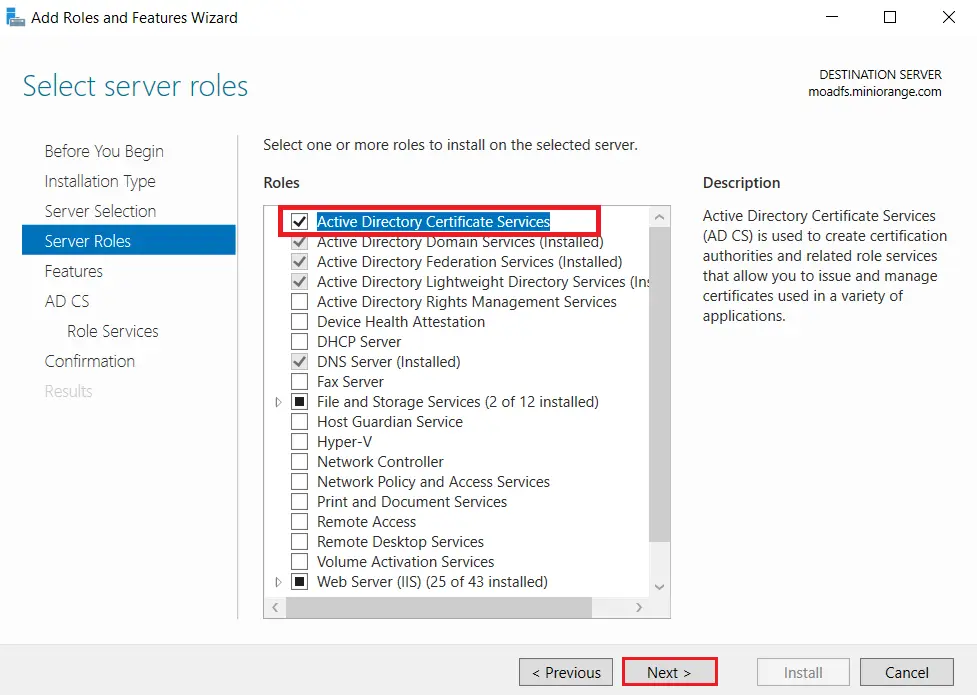
- Choose Active Directory Certificate Services option from the list of roles and click on Next button.
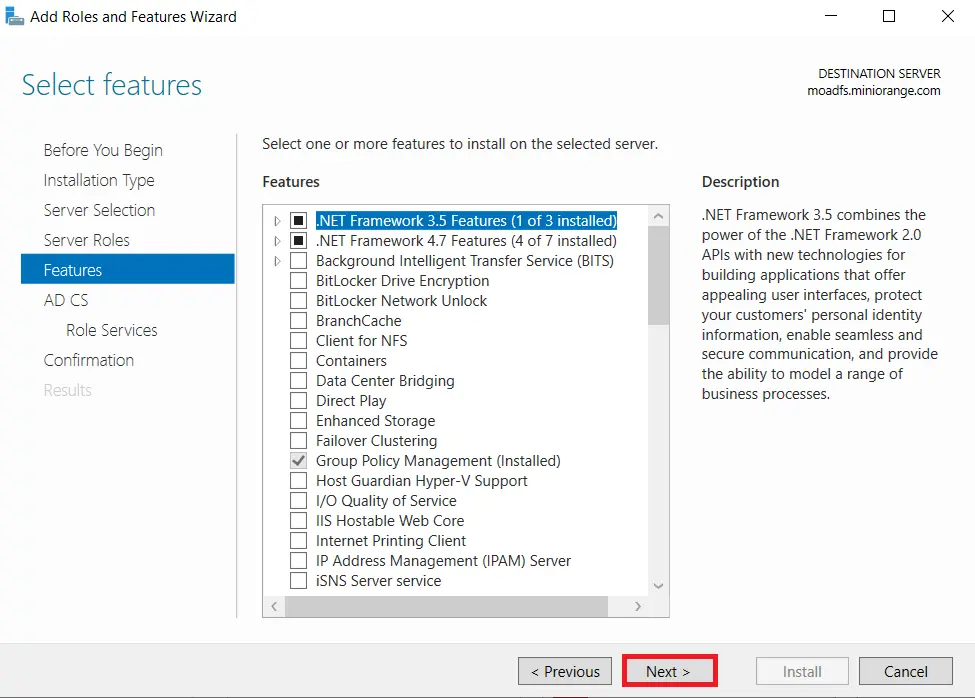
- Choose nothing from the list of features and click on Next button.
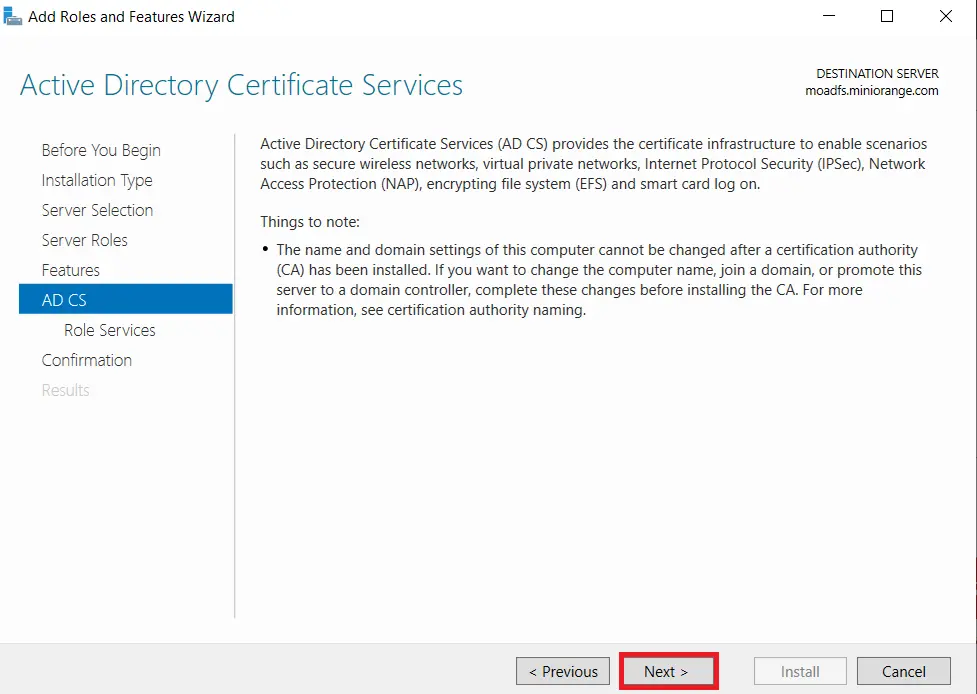
- In Active Directory Certificate Services (AD CS) choose nothing and Click on Next button.
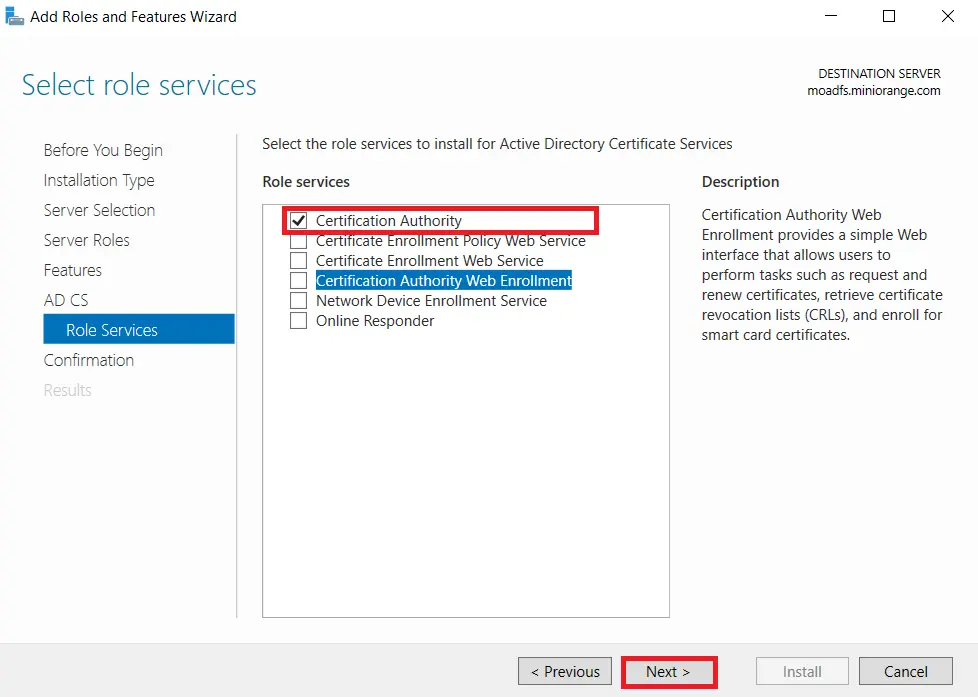
- Mark Certification Authority from the list of roles and Click on Next button.
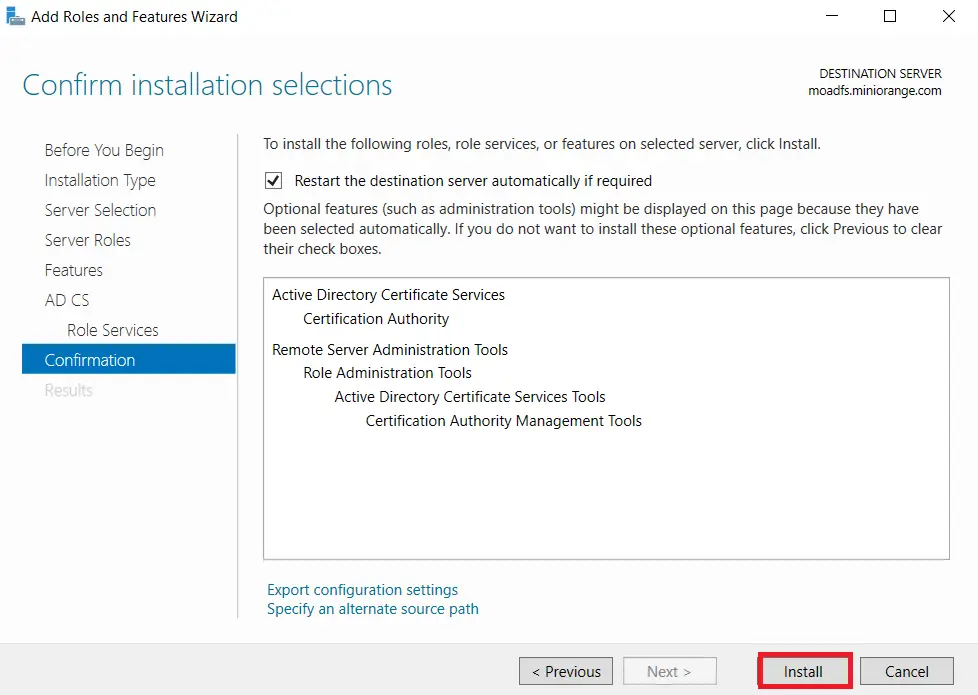
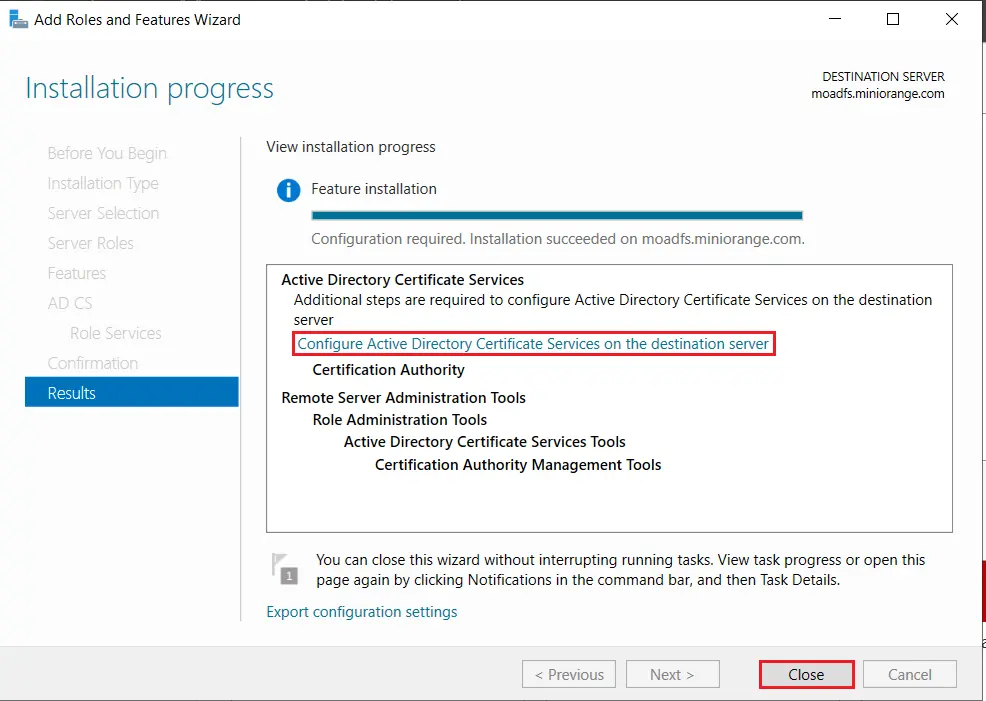
- Click on Install button to confirm installation.
- Now, click on Configure Active Directory Certificate Services on Destination Server option and click on Close button.
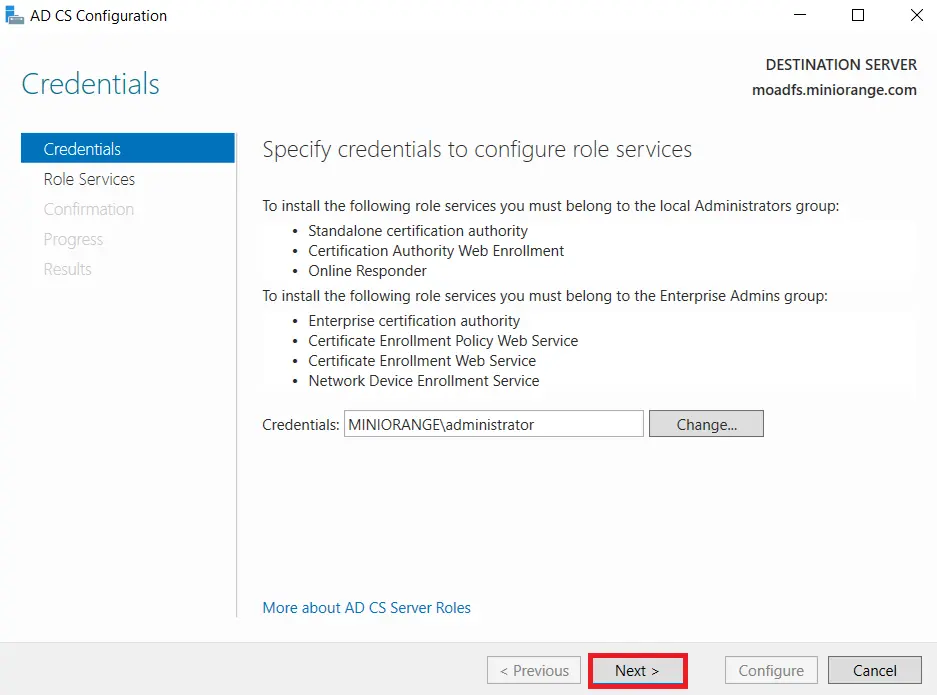
- We can use the currently logged on user to configure role services since it belongs to the local Administrators group. Click on Next button.
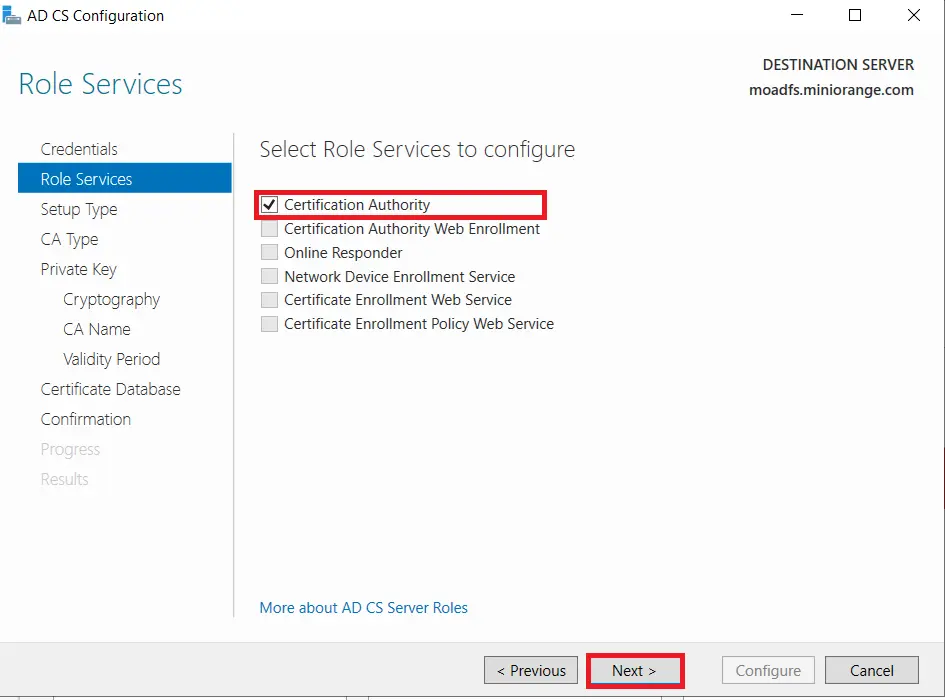
- Mark Certification Authority from the list of roles and Click on Next button.
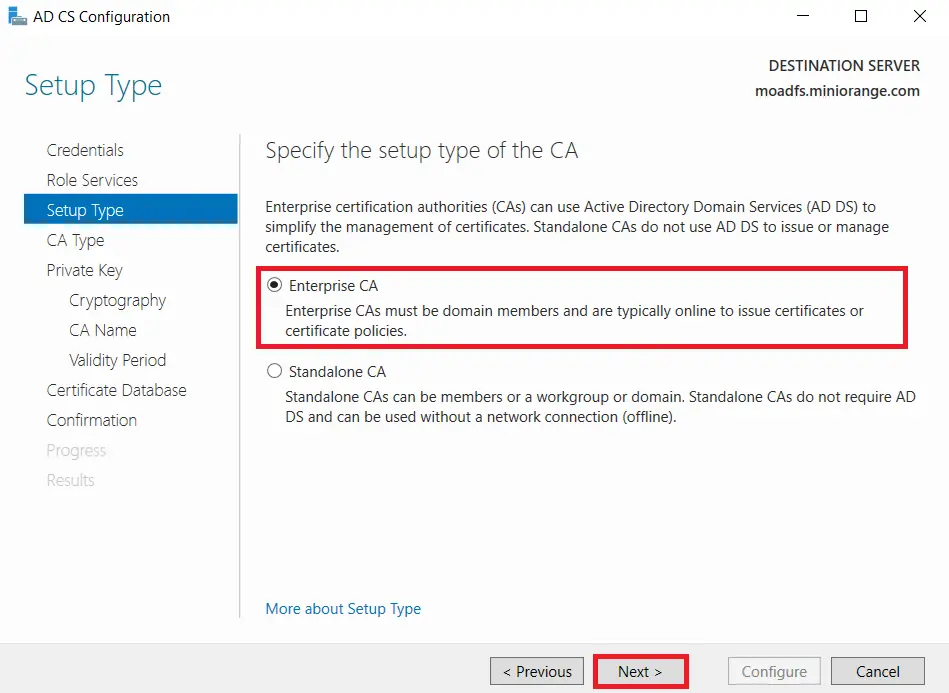
- Choose Enterprise CA option and Click on Next.
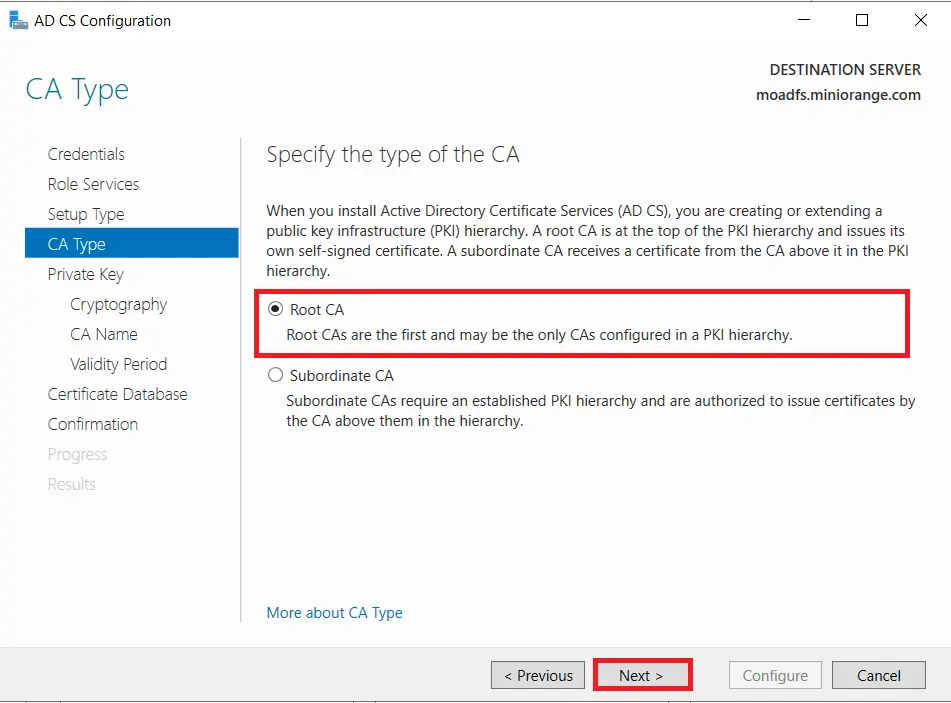
- Choose Root CA option and Click on Next button.
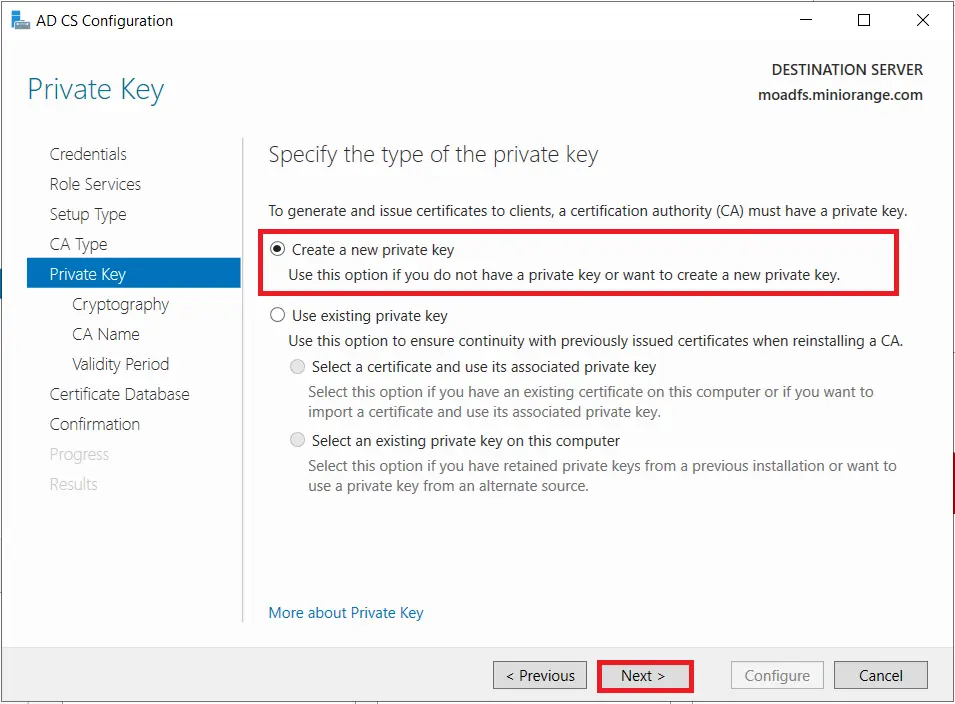
- Choose Create a new private key option and Click on Next button.
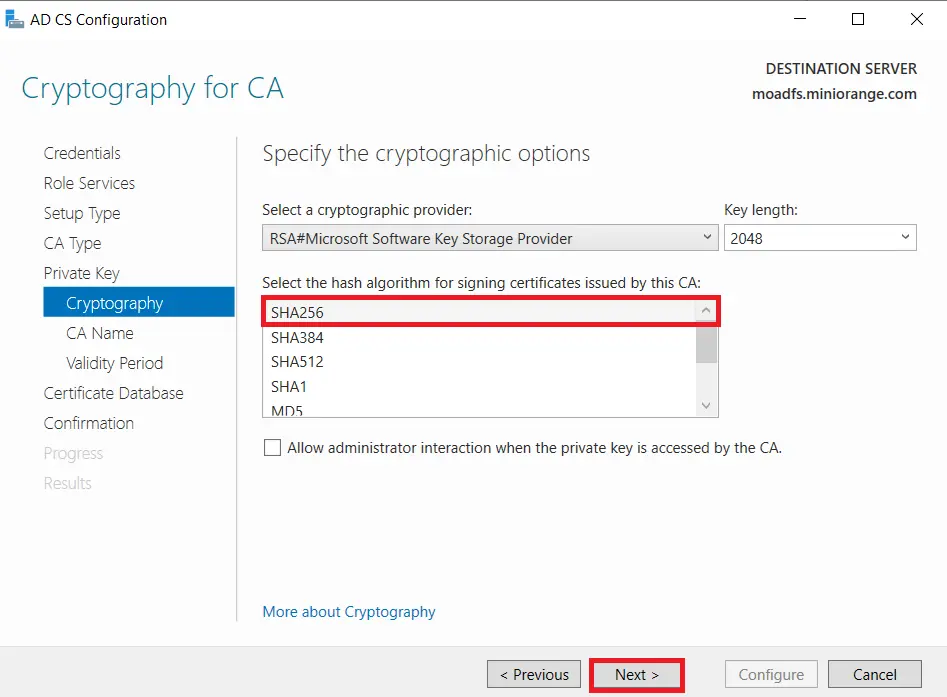
- Choose SHA256 as the hash algorithm and Click on Next.
UPDATE : Recommended to select the most recent hashing algorithm.
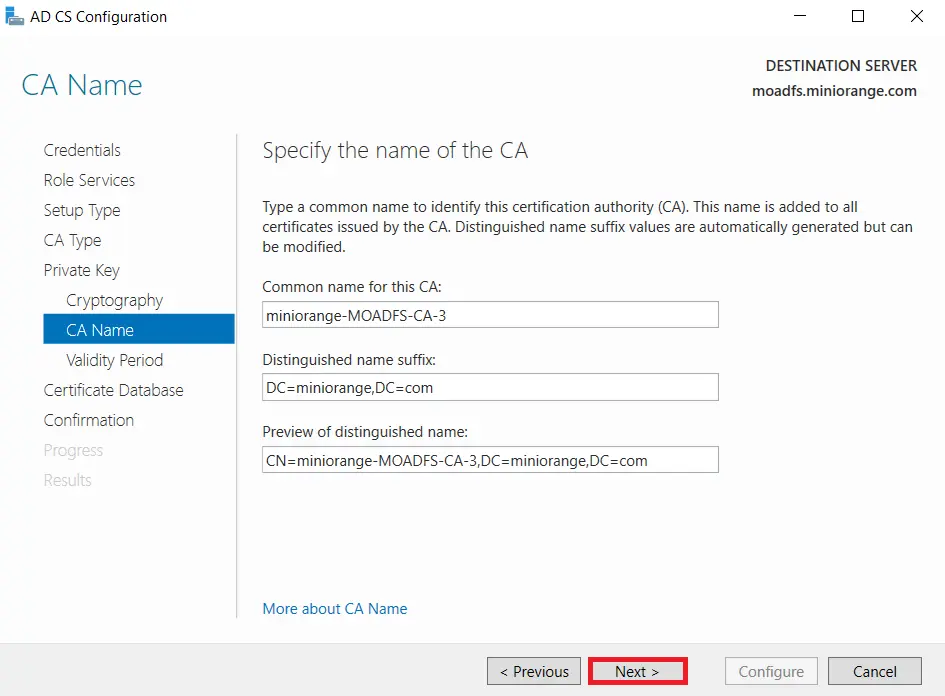
- Click on Next button.
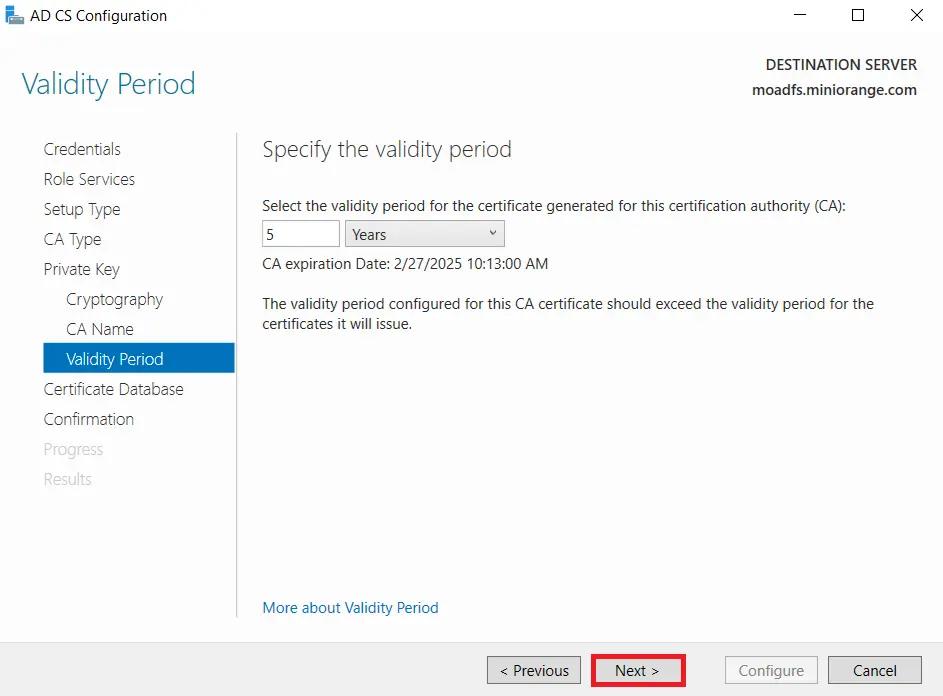
- Specify the validity of the certificate choosing Default 5 years and Click on Next button.
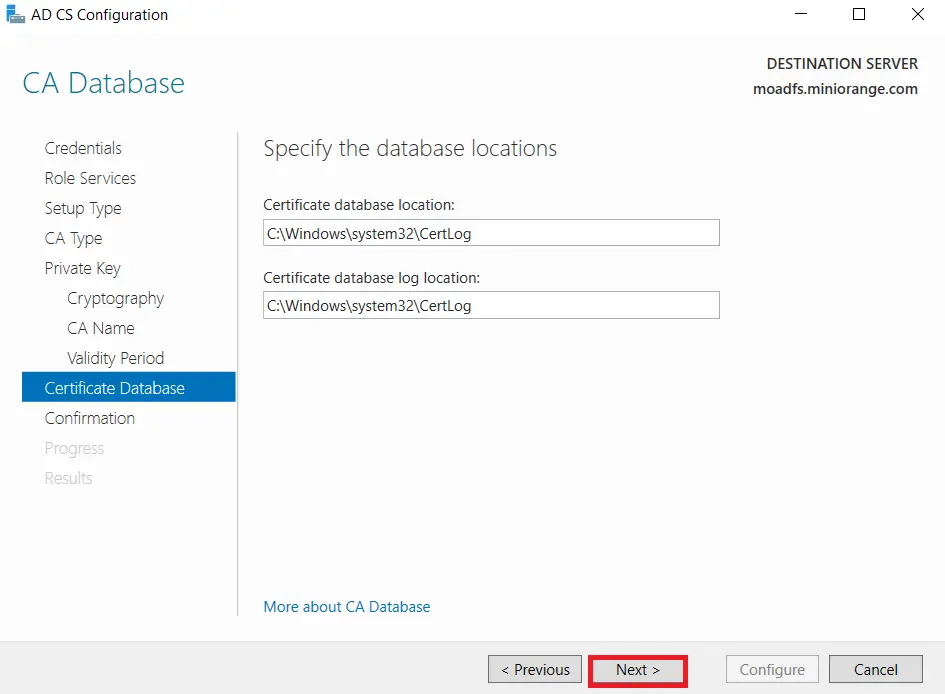
- Select the default database location and Click on Next.
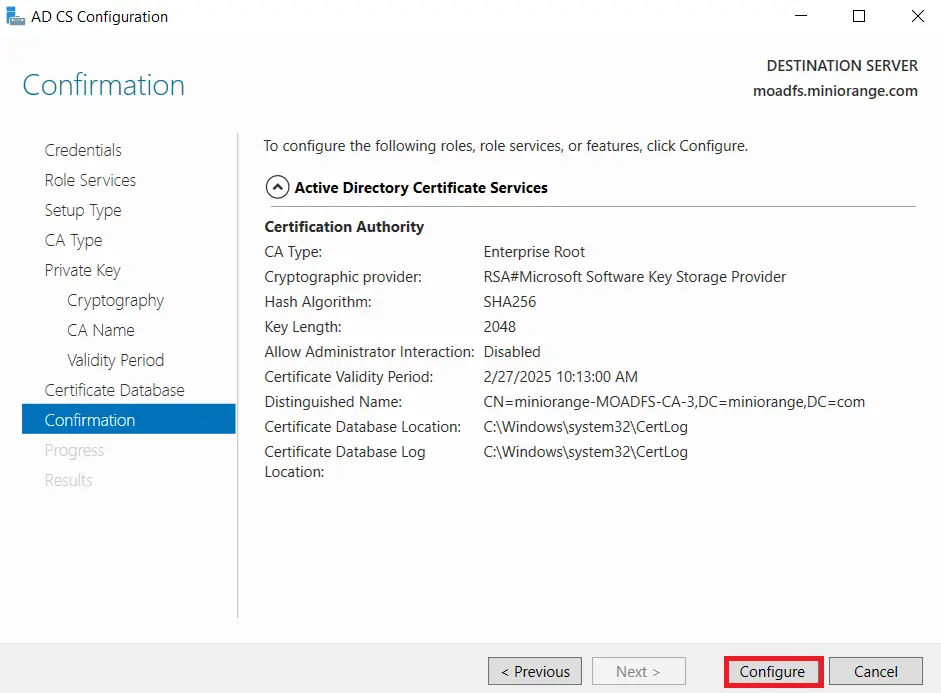
- Click on Configure button to confirm.
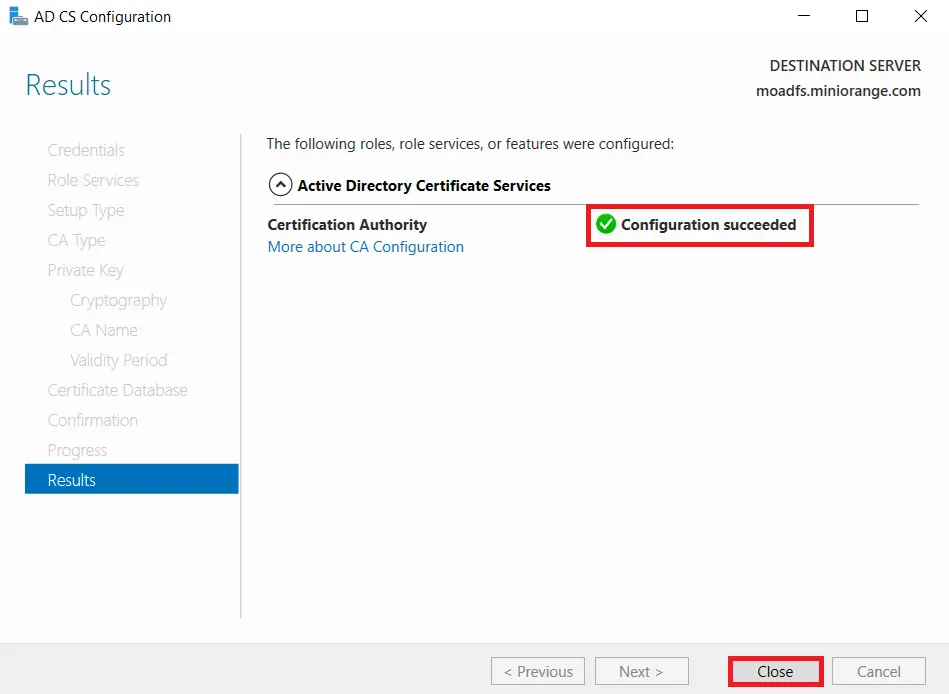
- Once the configuration succeeded and click on Close button.
1.2: Create certificate template
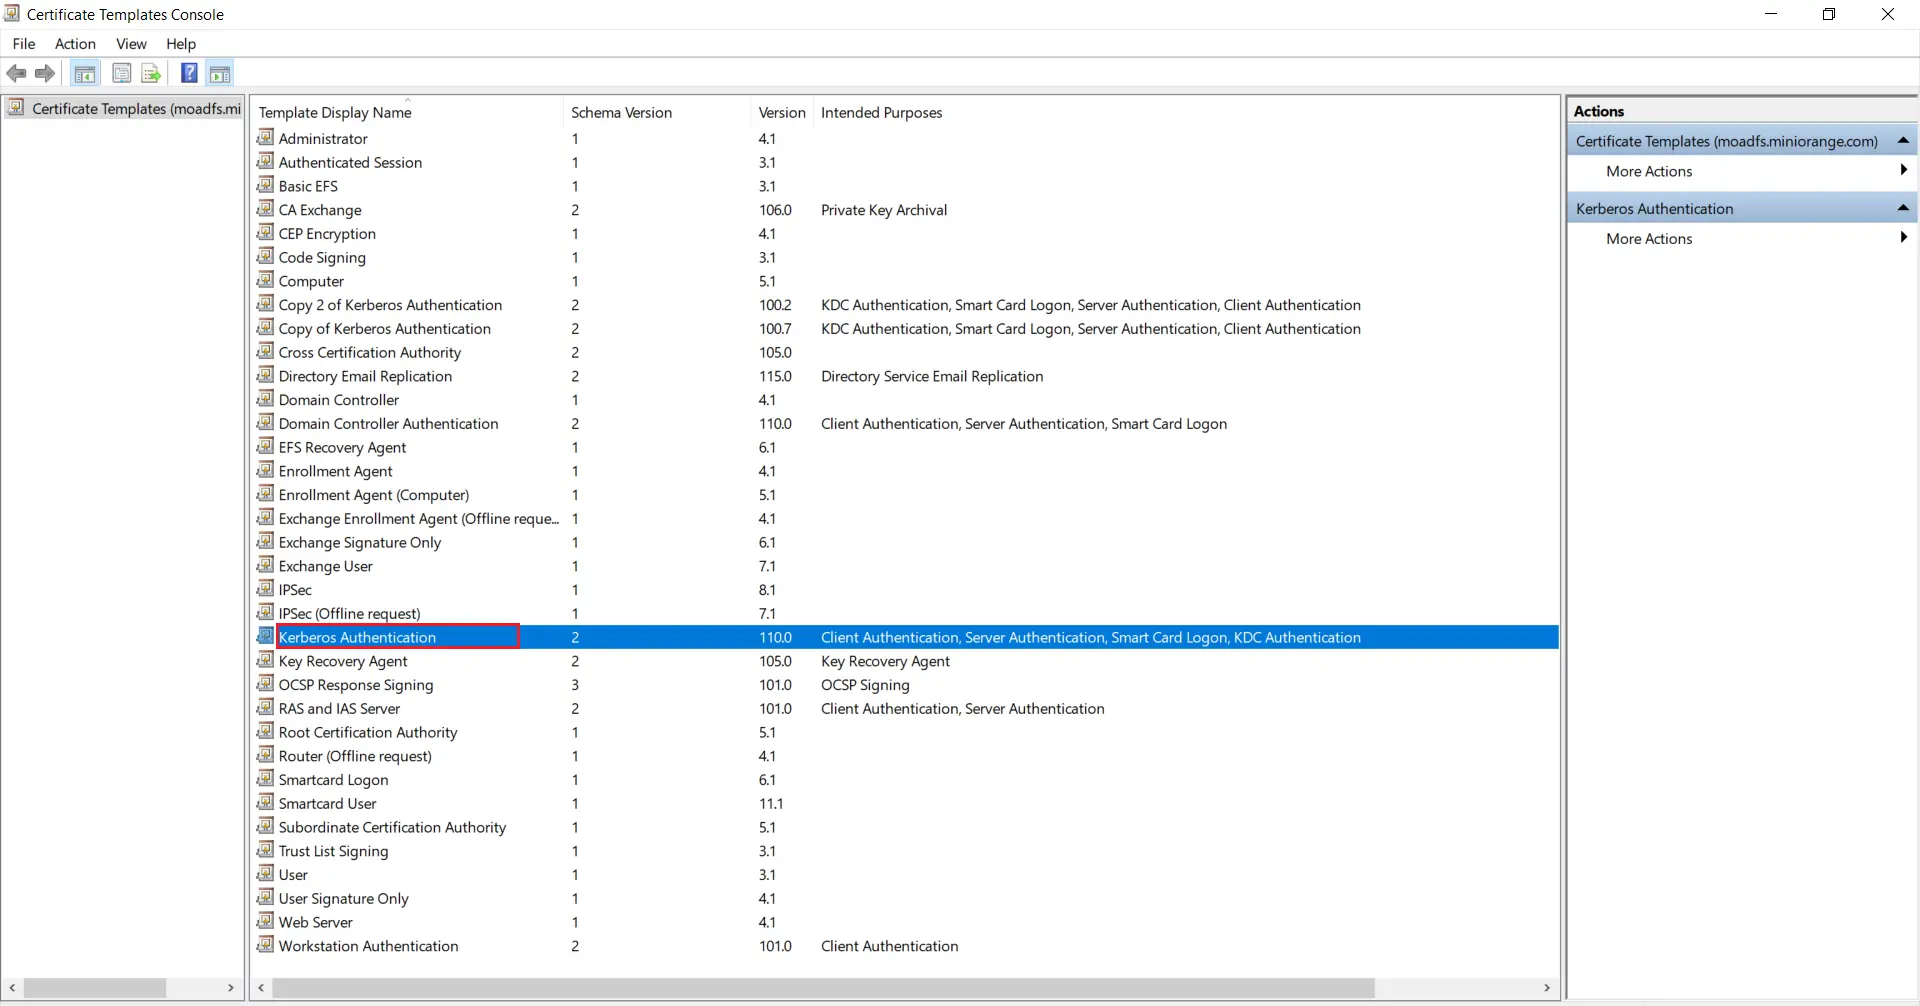
- Go to Windows Key+R and run certtmpl.msc command and choose the Kerberos Authentication Template.
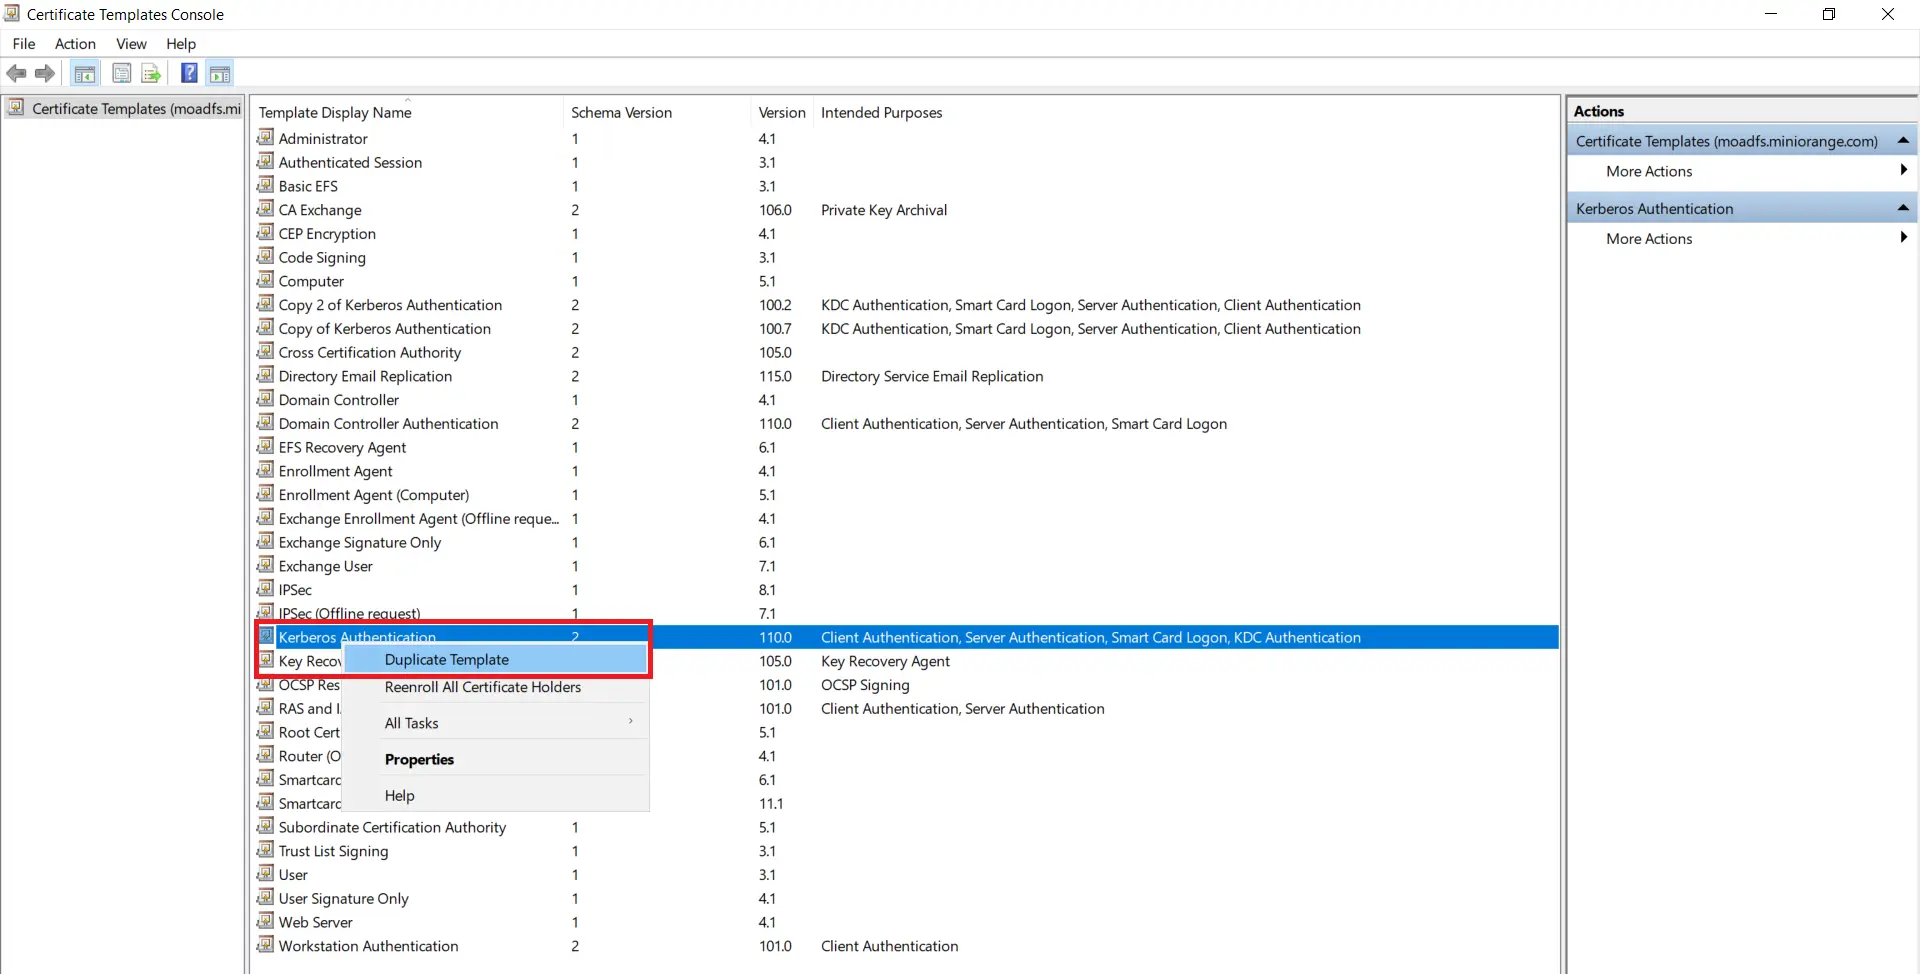
- Right-click on Kerberos Authentication and then select Duplicate Template.
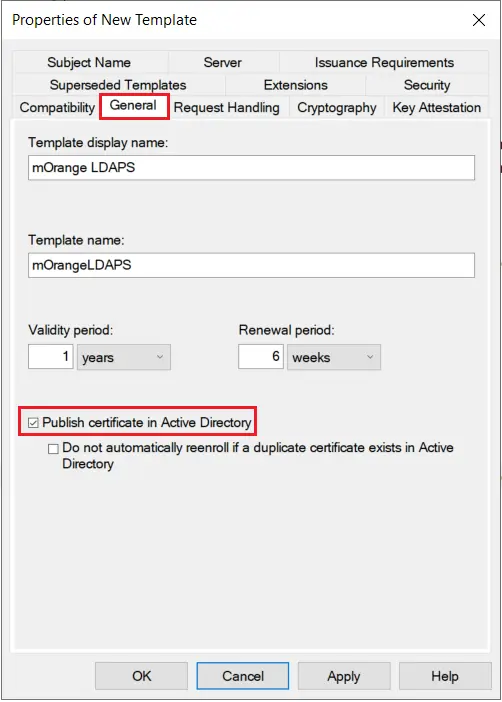
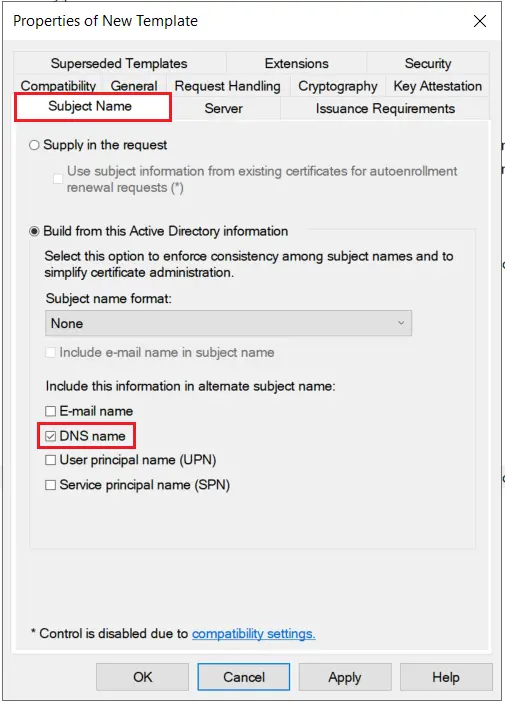
- The Properties of New Template will appear. Configure the setting according to your requirements.
- Go to the General tab and Enable publish certificate in Active Directory option.
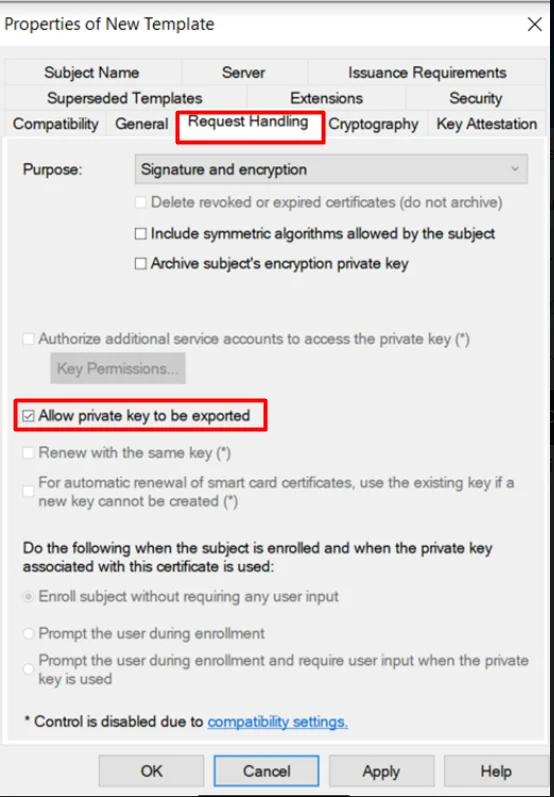
- Go to the Request Handling Tab and Enable ‘Allow private key to be exported’ option.
- Go to the Subject Name tab and Enable subject name format as DNS Name and click on Apply & OK button.
1.3: Issue certificate template
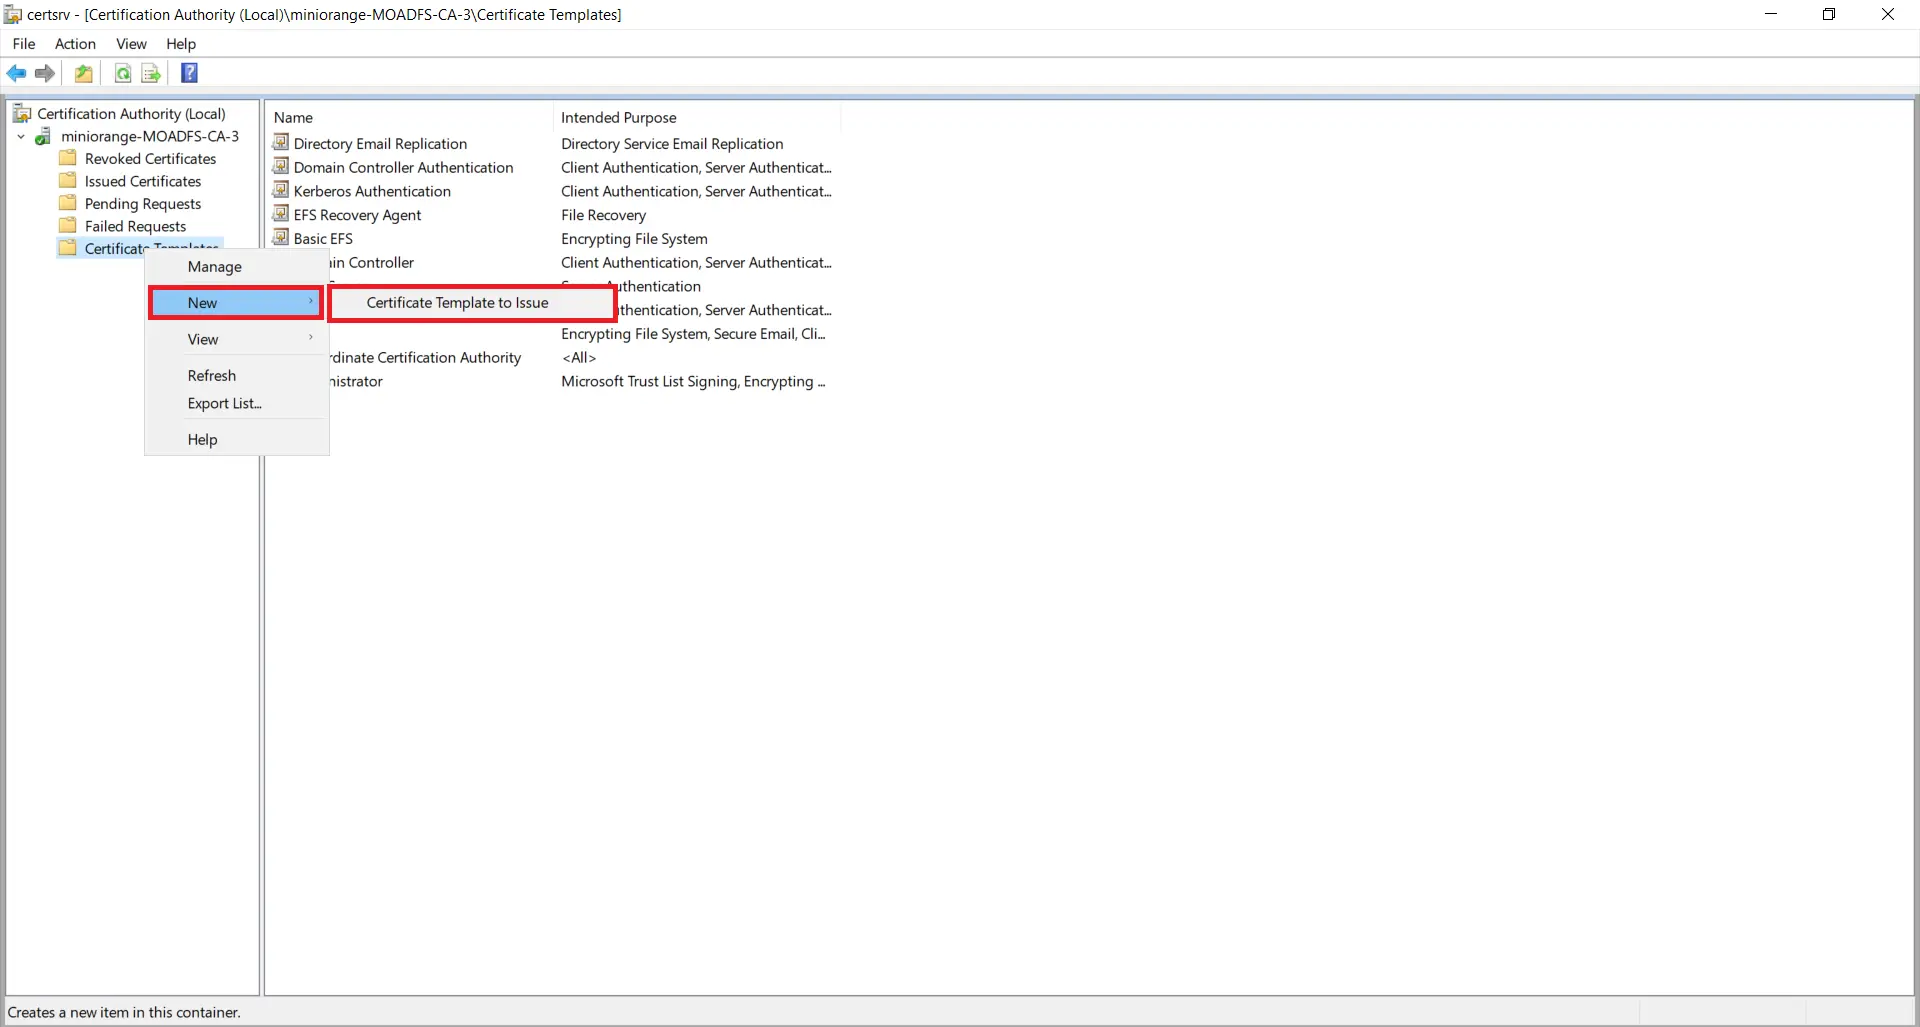
- Go to Start -> Certification Authority Right click on "Certificate Templates" and select New-> Certificate Template to Issue.
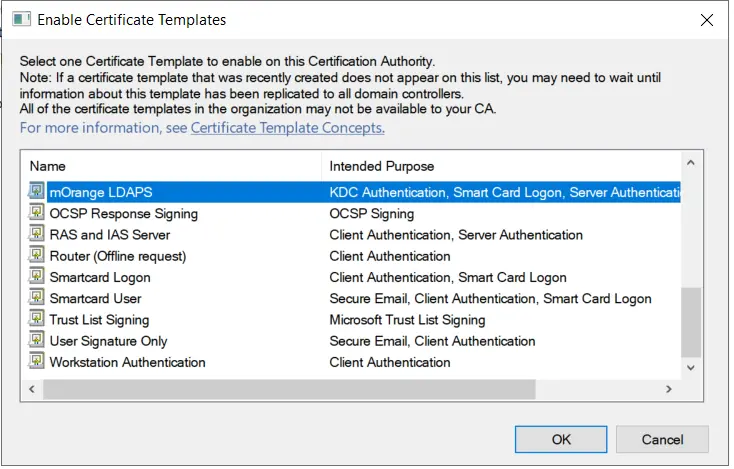
- Now, select your recently created Certificate Template and click on ok button.
1.4: Request new certificate for created certificate template
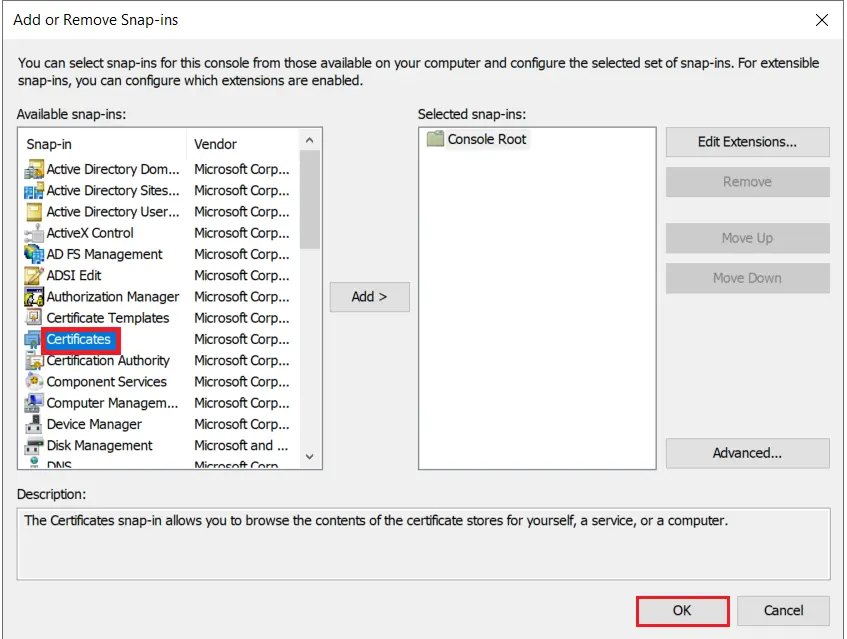
- Go to Windows Key+R -> mmc -> File -> Add/Remove snap-in. Select Certificates, and click on Add button and then click on Ok button .
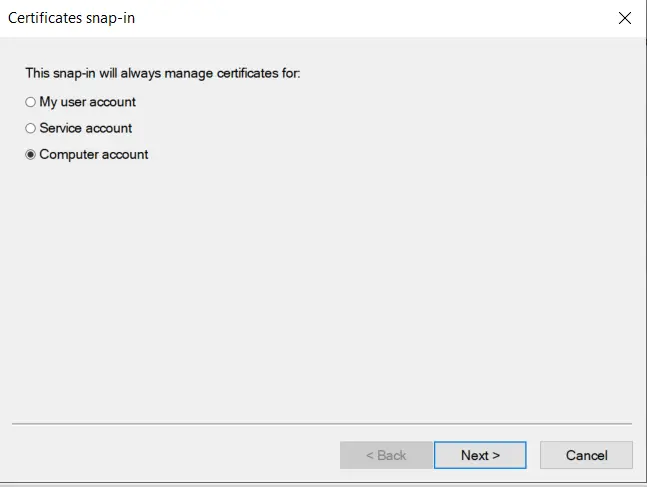
- Select Computer account option and click on Next button.
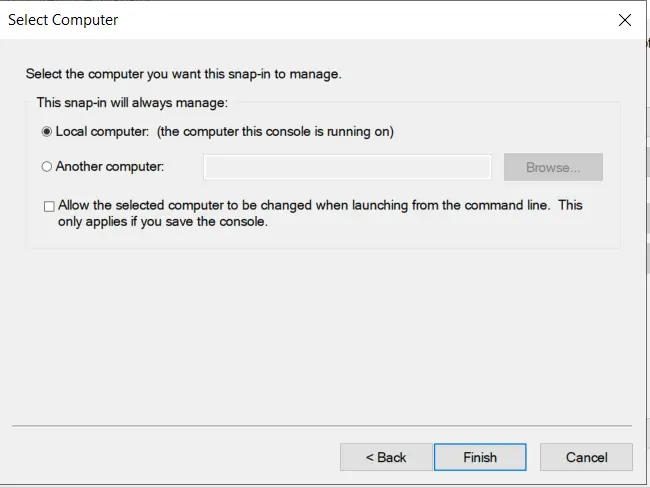
- Select Local computer option and click on Finish button.
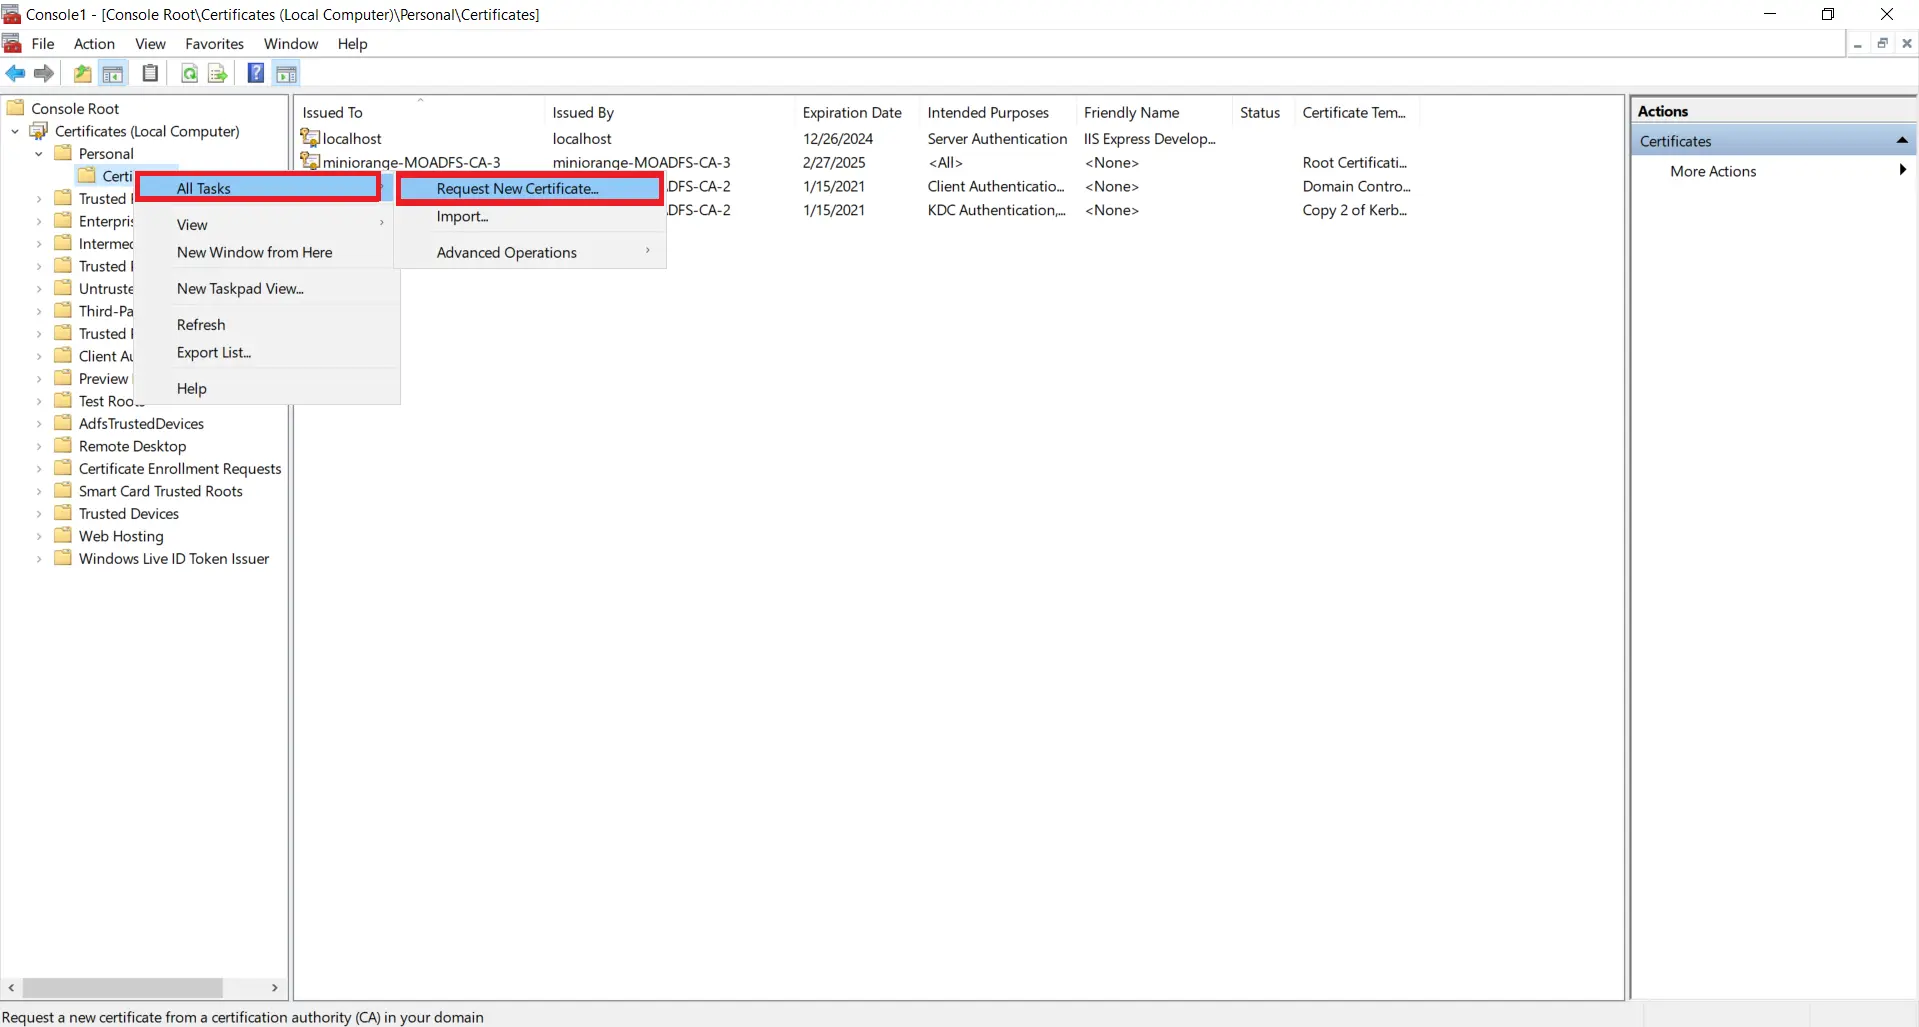
- Now, right Click on Certificates select All Tasks and click on Request for new Certificate.
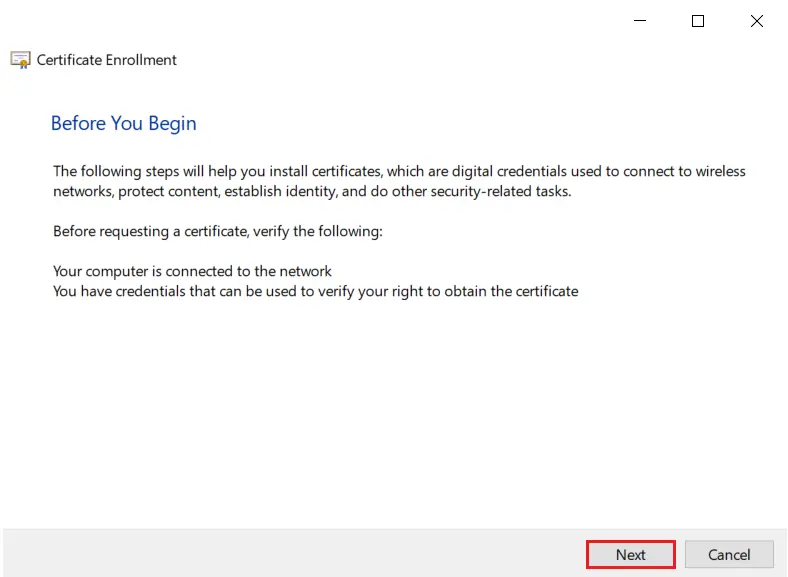
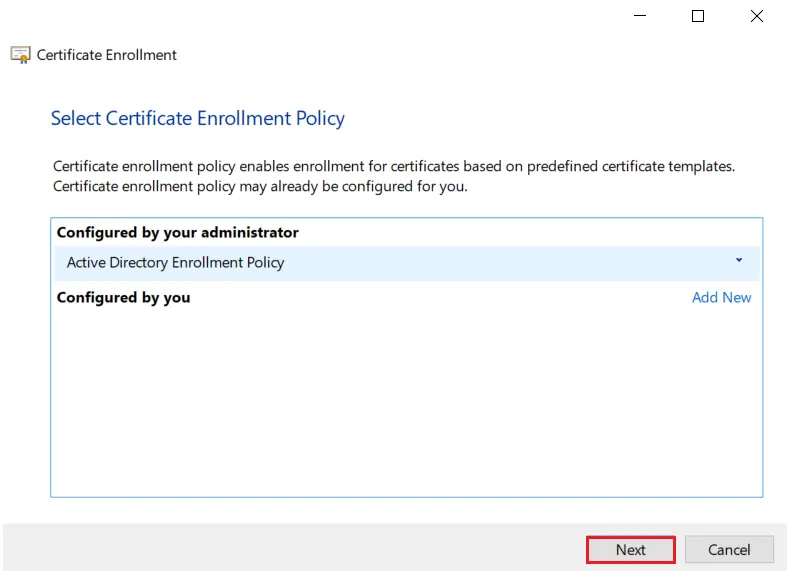
- Click on Next button.
- Click on Next button.
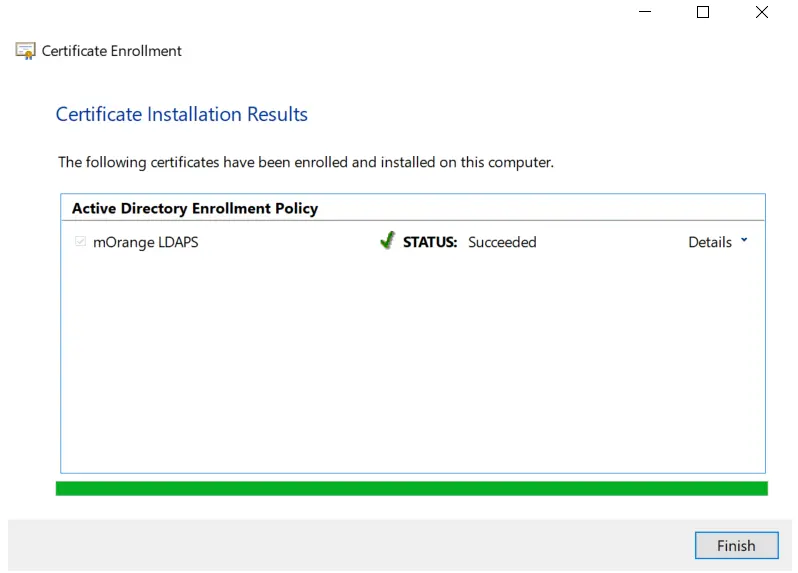
- Select your certificate and click on Enroll button.

- Click on Finish button.
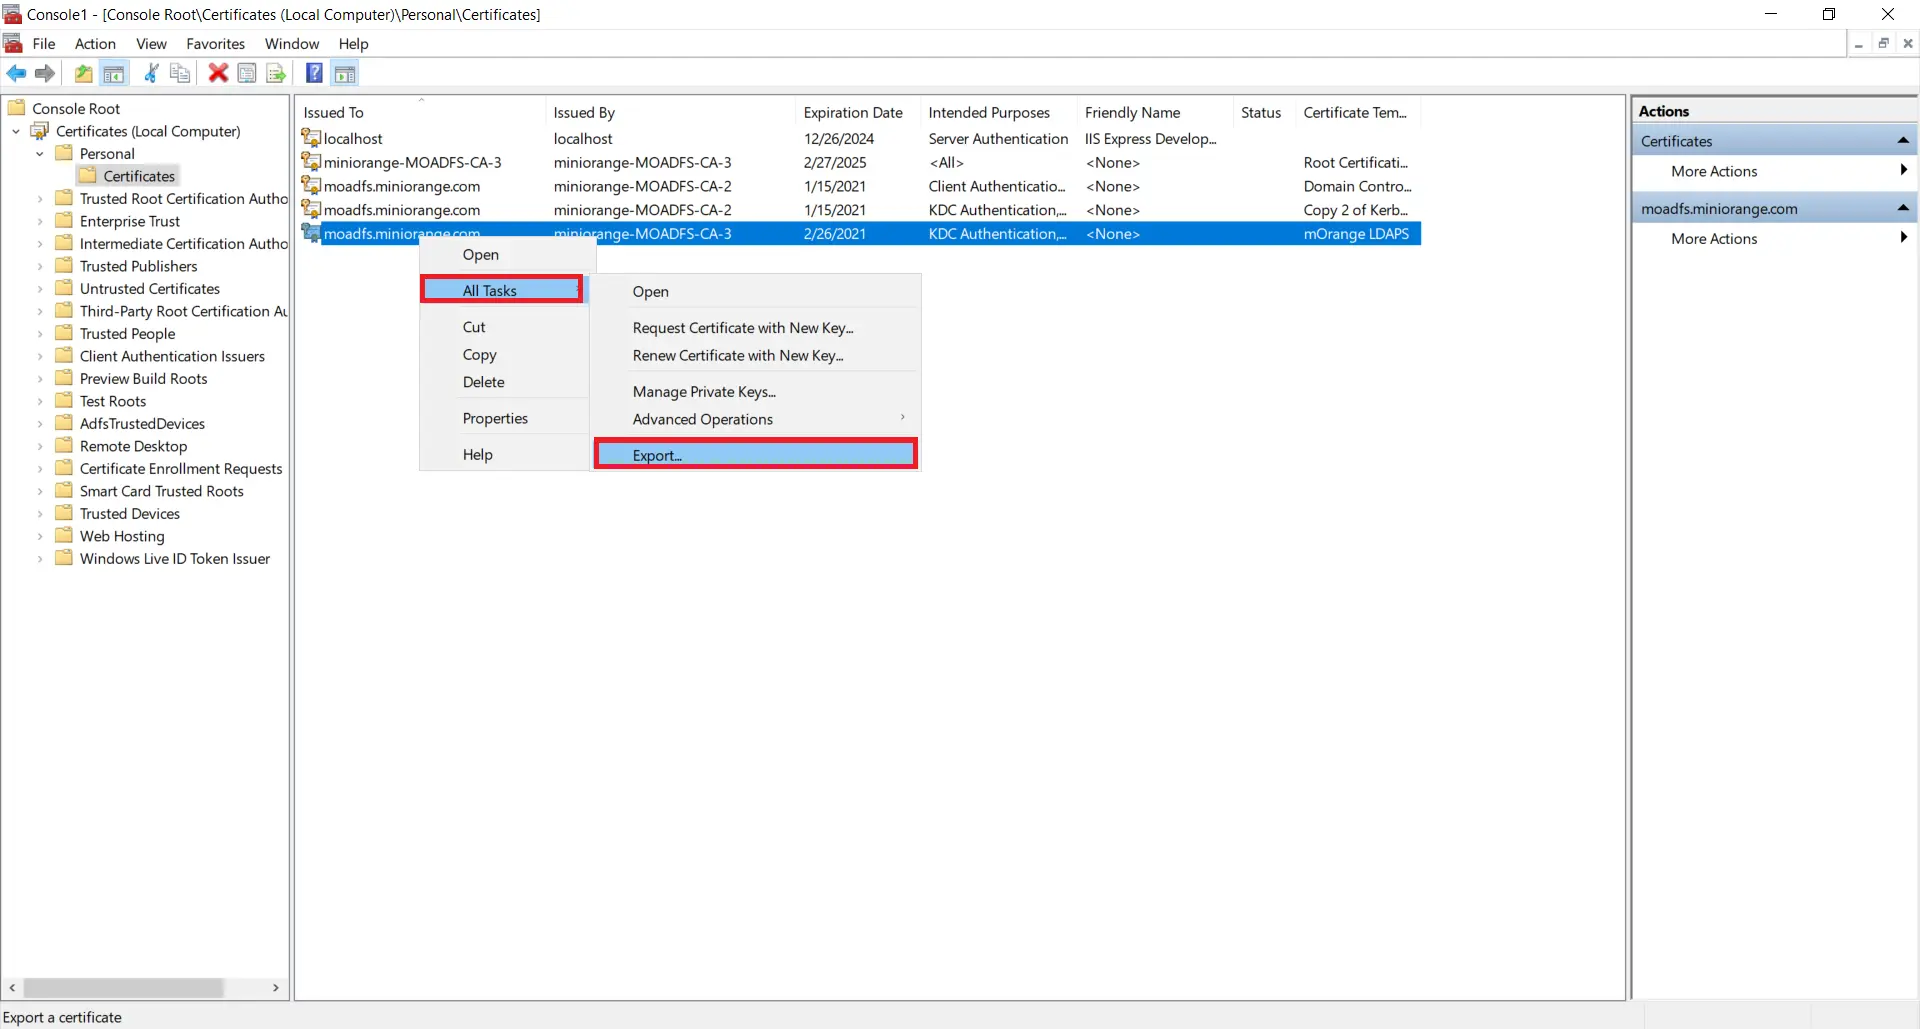
1.5: Export the created certificate
- Right click on recently generated certificate and select All tasks -> Export.
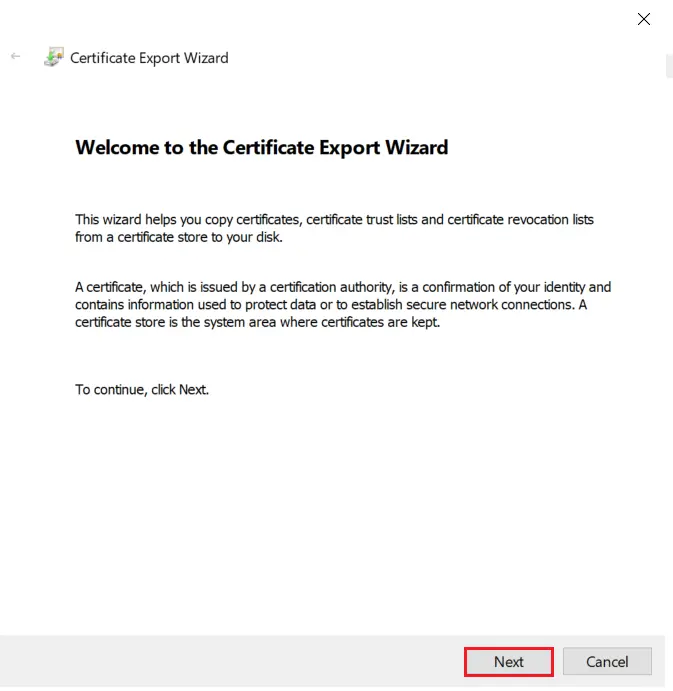
- Click on Next button.
- Select Do not export the private key option and click on Next button.
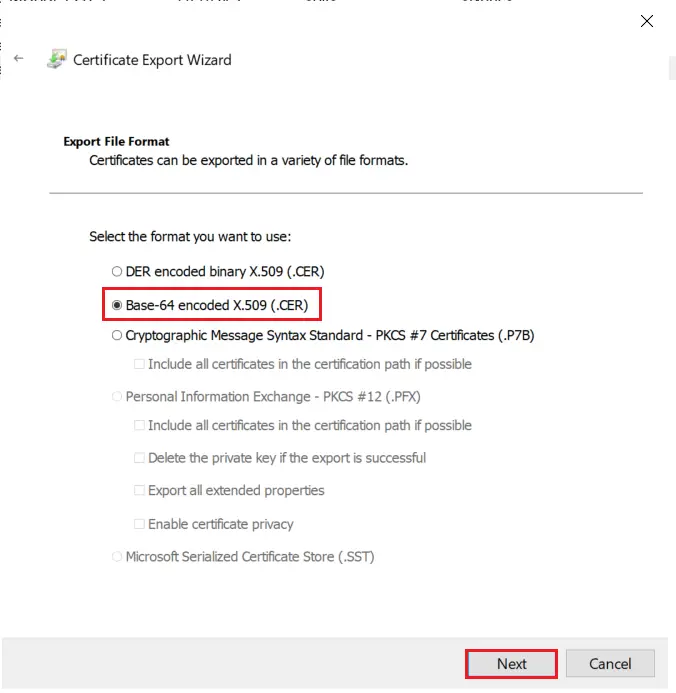
- Choose Base-64 encoded X .509 file format and click on Next.
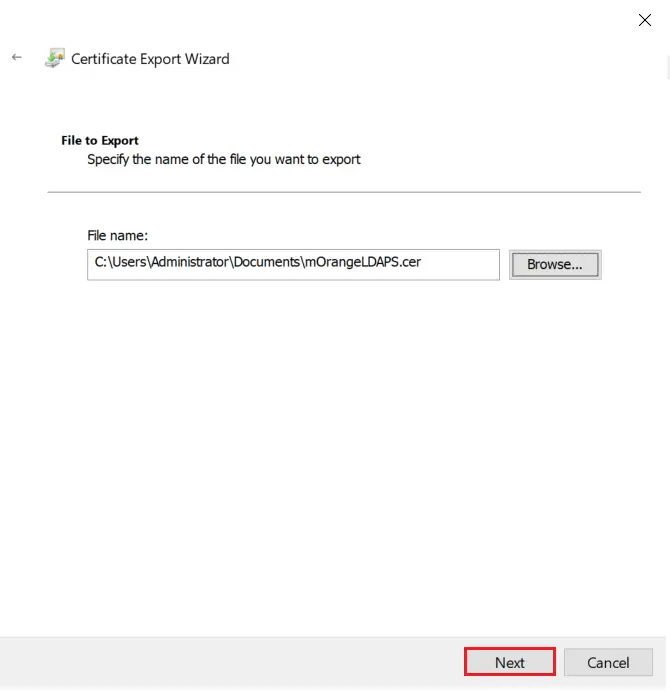
- Export the .CER to your local system path and click on Next.
- Click on Finish button to complete the certificate export.

2. Configure LDAPS on the client side server
2.1: Convert Certificate Format and Install the Certificate using OpenSSL
- To convert the certificate from .cer to .pem format you can use OpenSSL.
- You can obtain this software from here: http://gnuwin32.sourceforge.net/packages/openssl.htm if you don’t already have it.
- Copy the certificate file you generated in the previous step to the machine on which PHP is running. Run the following command:
For example:
C:\openssl\openssl x509 -in mOrangeLDAPS.cer -out mOrangeLDAPS.pem
This creates the certificate file in a form that OpenLDAP Client Library can use.
- Place the .pem file generated in a directory of your choosing (C:\openldap\sysconf may be a good choice since that directory already exists.)
- Add the following line to your ldap.conf file:
TLS_CACERT C:\openldap\sysconf\mOrangeLDAPS.pem
- This directive tells the OpenLDAP Client Library about the location of the certificate, so that it can be picked up during initial connection.
- Run the following command to install the Openssl.
- For Ubuntu:
sudo apt-get install openssl
- For RHEL/CentOS:
- Copy the certificate file you generated in the previous step to the machine on which PHP is running. Run the following command:
For example:
/openssl x509 -in mOrangeLDAPS.cer -out mOrangeLDAPS.pem
This creates the certificate file in a form that OpenLDAP Client Library can use.
- Place the .pem file generated in a directory of your choosing (/etc/openldap/ may be a good choice since that directory already exists.)
- Add the following line to your ldap.conf file:
TLS_CACERT /etc/openldap/mOrangeLDAPS.pem
- This directive tells the OpenLDAP Client Library about the location of the certificate, so that it can be picked up during initial connection.
2.2: Install certificate in JAVA Keystore.
- Run the following command to install the certificate in cacerts.
keytool -importcert -alias "mOrangeLDAPS"
-keystore "C:\Program Files\Java\jre1.8.0_231\lib\security\cacerts"
-file "C:\Users\Administrator\Documents\mOrangeLDAPS.cer"
keytool -importcert -alias "mOrangeLDAPS"
-keystore "/usr/java/jdk1.8.0_144/jre/lib/security/cacerts"
-file "/home/mOrangeLDAPS.cer"
- Restart your web server.
3. Test Connection
ldapsearch -ZZ -h ad_host.example.com -D some_user@EXAMPLE.COM -W -b OU=users,DC=EXAMPLE,DC=COM dn
- ZZ: Start TLS (for LDAPS)
- h: IP/hostname of Active Directory server
- D: BindDN or User principal name
- W: Password (to be provided interactively)
- b: Base DN for search (where in the LDAP tree to start looking)
- For Windows:
[Role Required: Admin]
- Ensure that Windows Support Tools are installed on the domain controller (DC).
- The Support Tools setup (suptools.msi) can be found in the \Support\Tools directory on your Windows Server CD.
- Select Start >> All Program >> Windows Support Tools >> Command Prompt. On the command line, type IDP to start the tool.
- From the IDP window, select Connection >> Connect and supply the local FQDN and port number (636). Also select the SSL.
- If successful, a window displays and lists information related to the Active Directory SSL connection. If the connection is unsuccessful, try restarting your system and repeat this procedure.
Further References