- In conf/idp.properties, uncomment and set 'idp.encryption.optional' to true.
eg. idp.encryption.optional = true
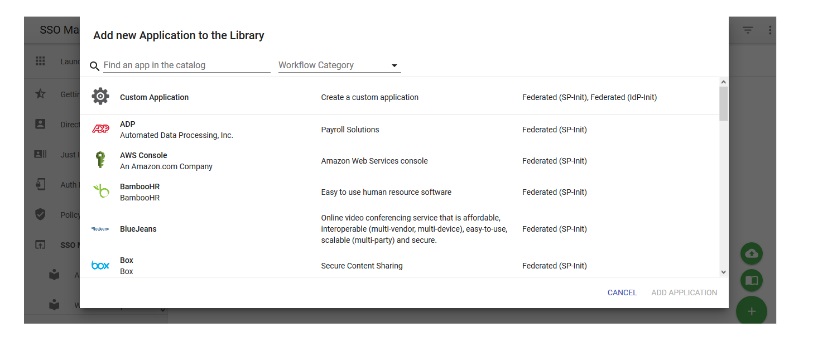
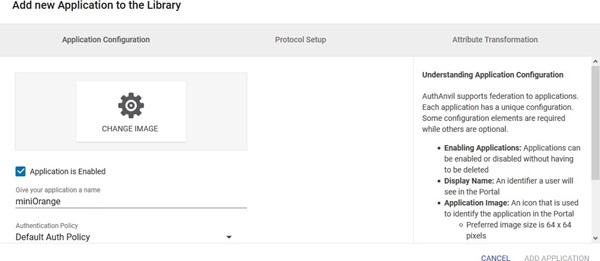
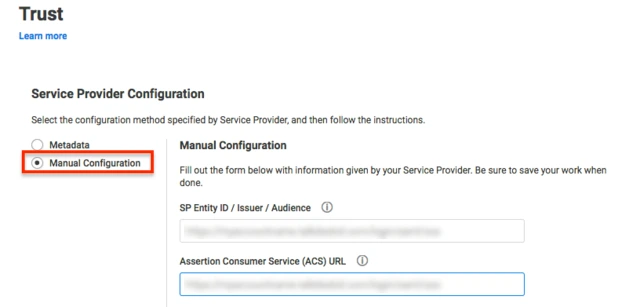
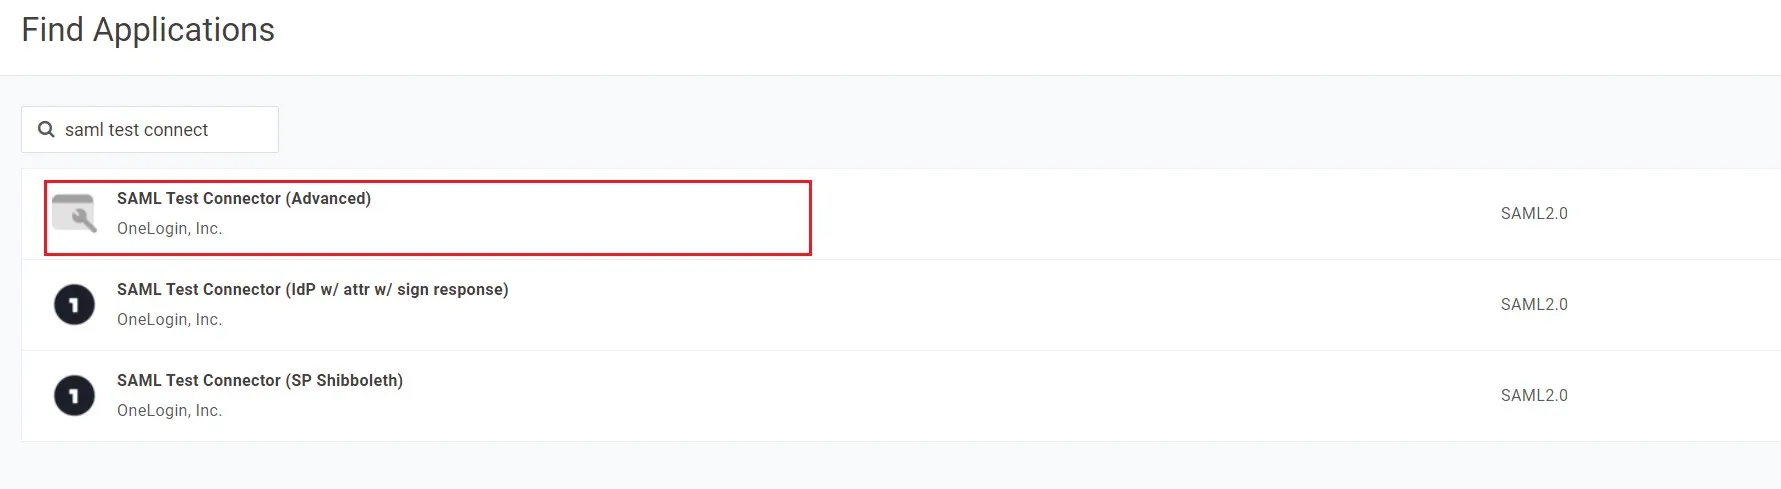
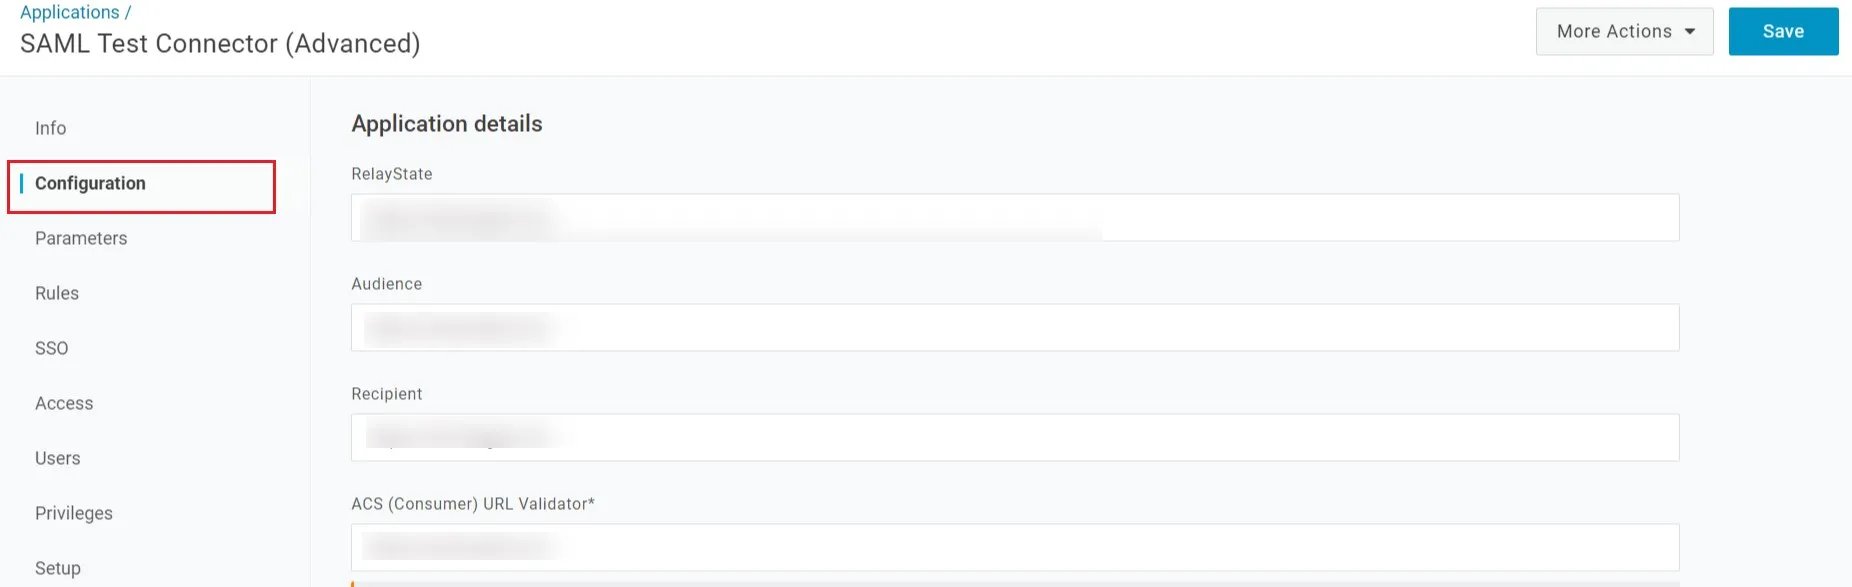
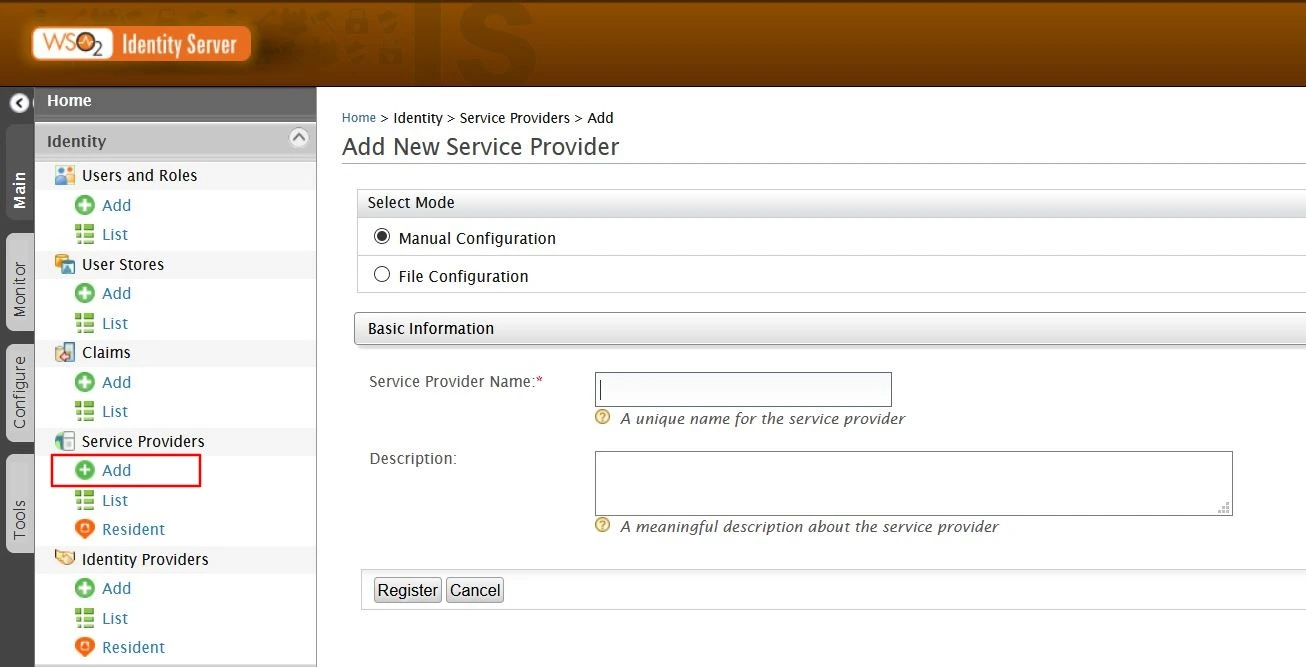
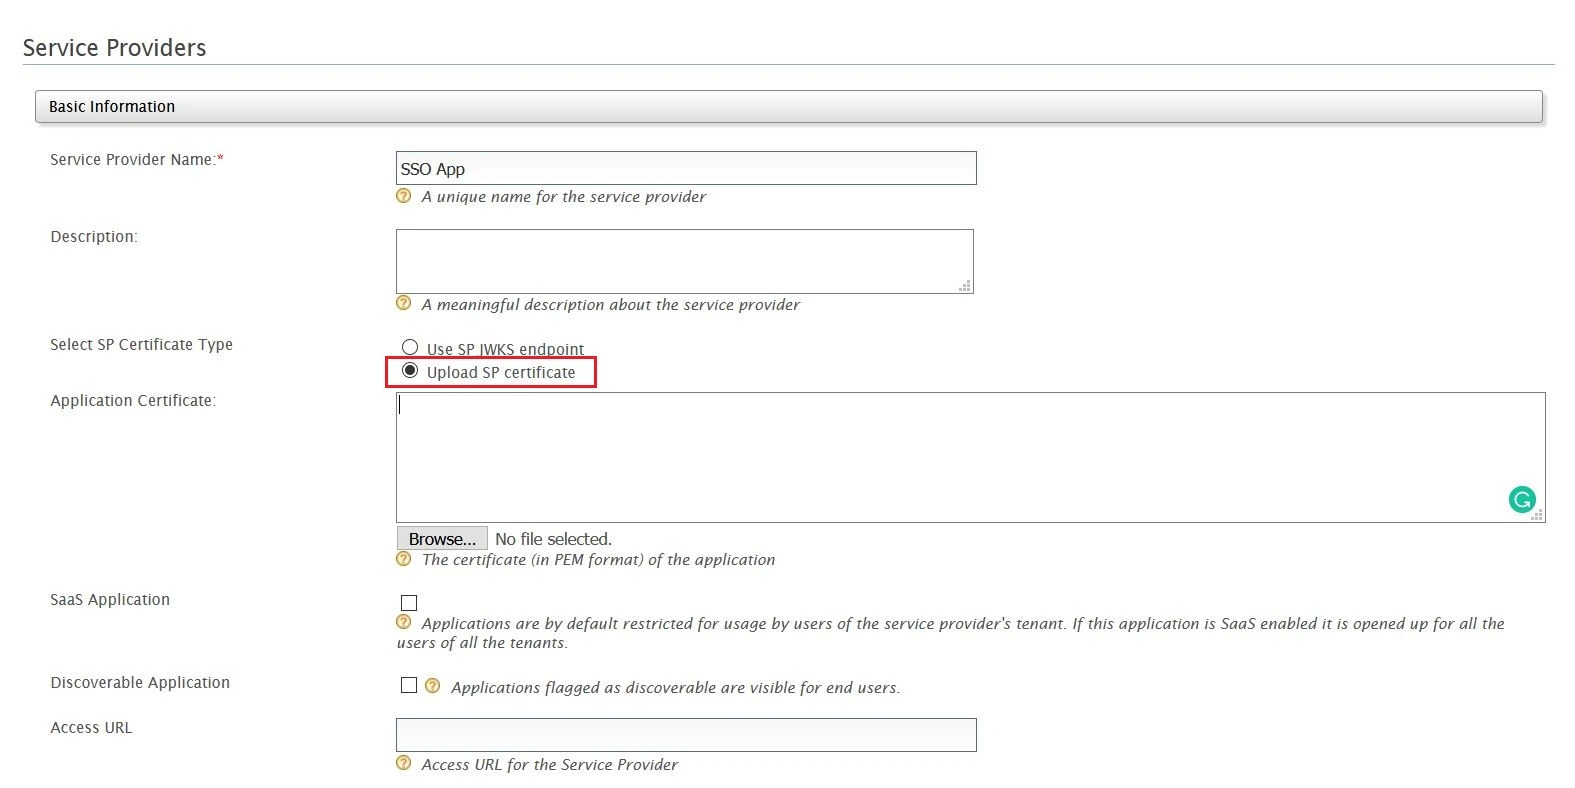
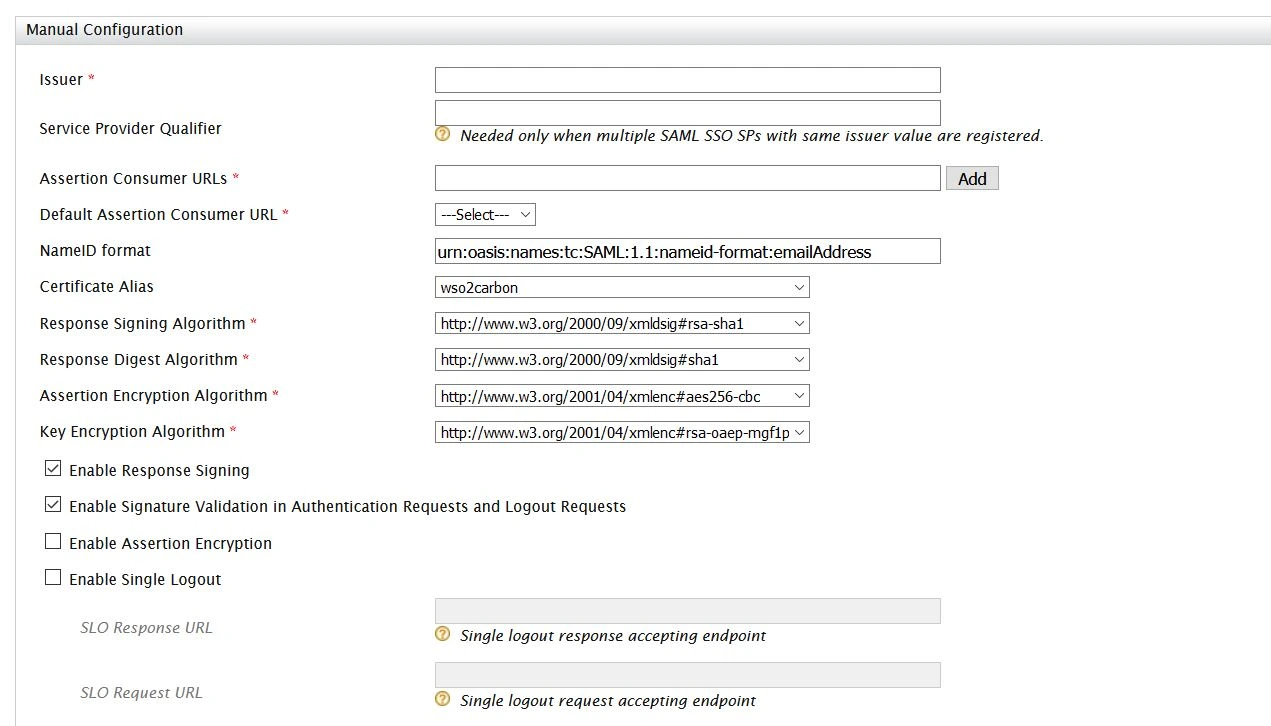
- In conf/metadata-providers.xml, configure Service Provider like below.
<MetadataProvider xmlns:samlmd="urn:oasis:names:tc:SAML:2.0:metadata"
id="miniOrangeInLineEntity" xsi:type="InlineMetadataProvider" sortKey="1">
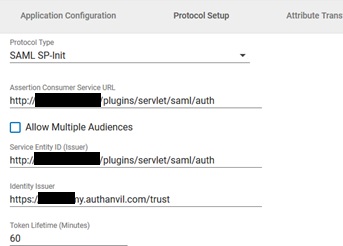
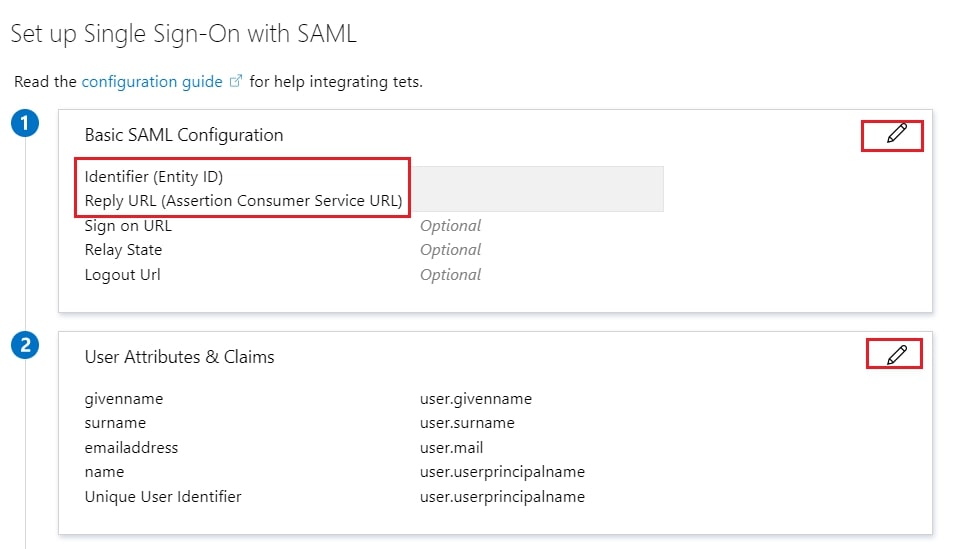
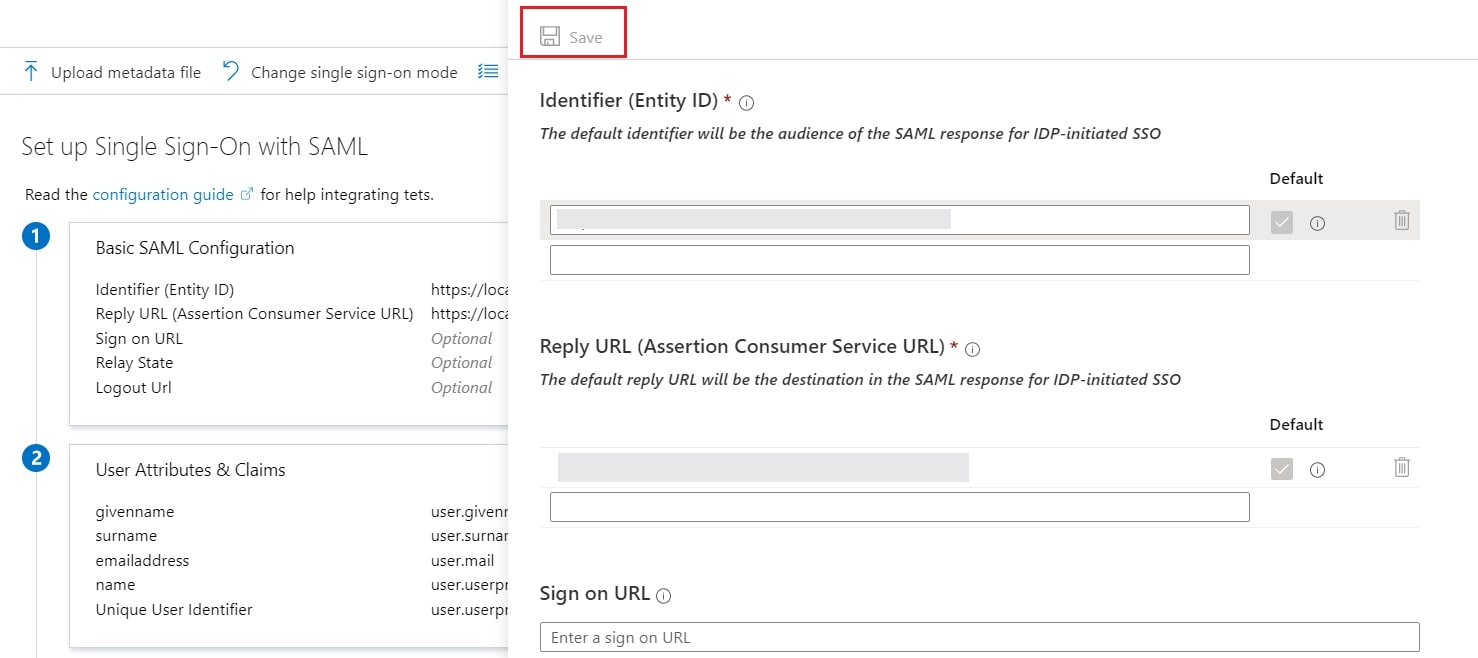
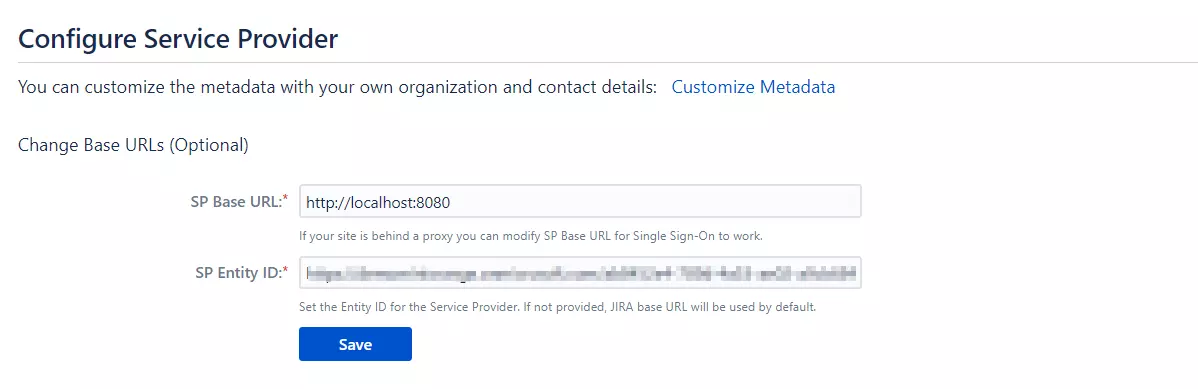
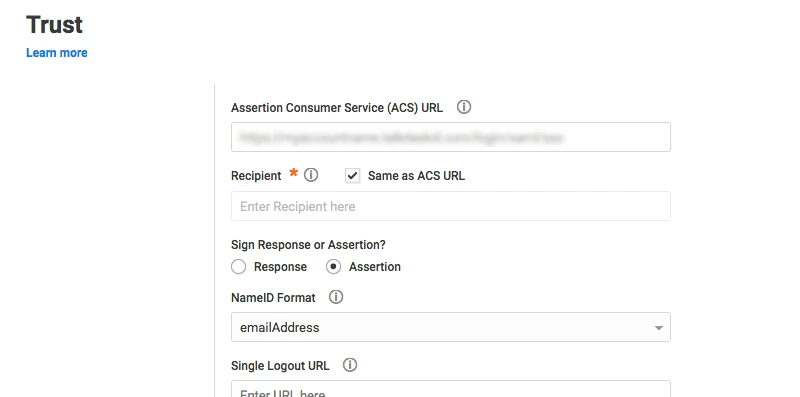
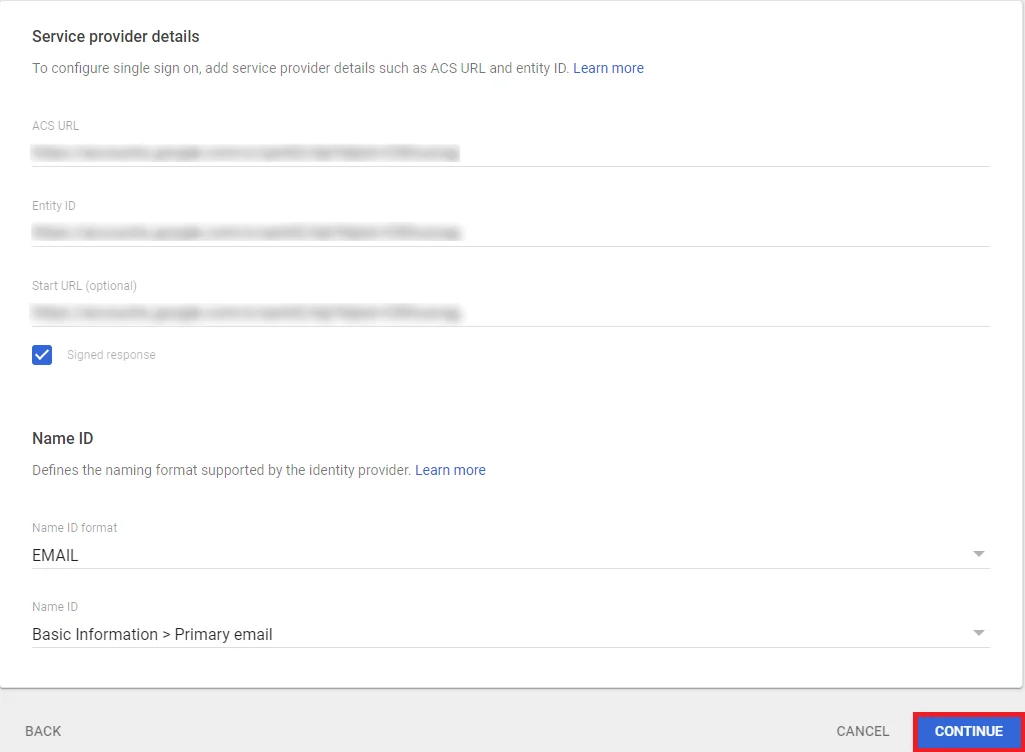
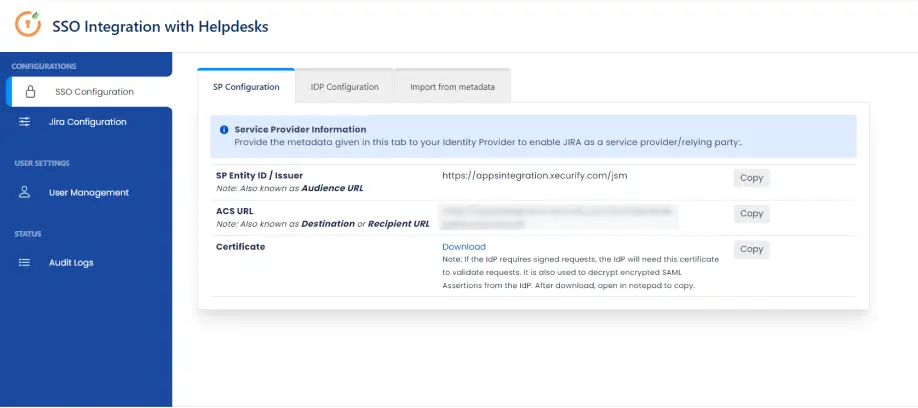
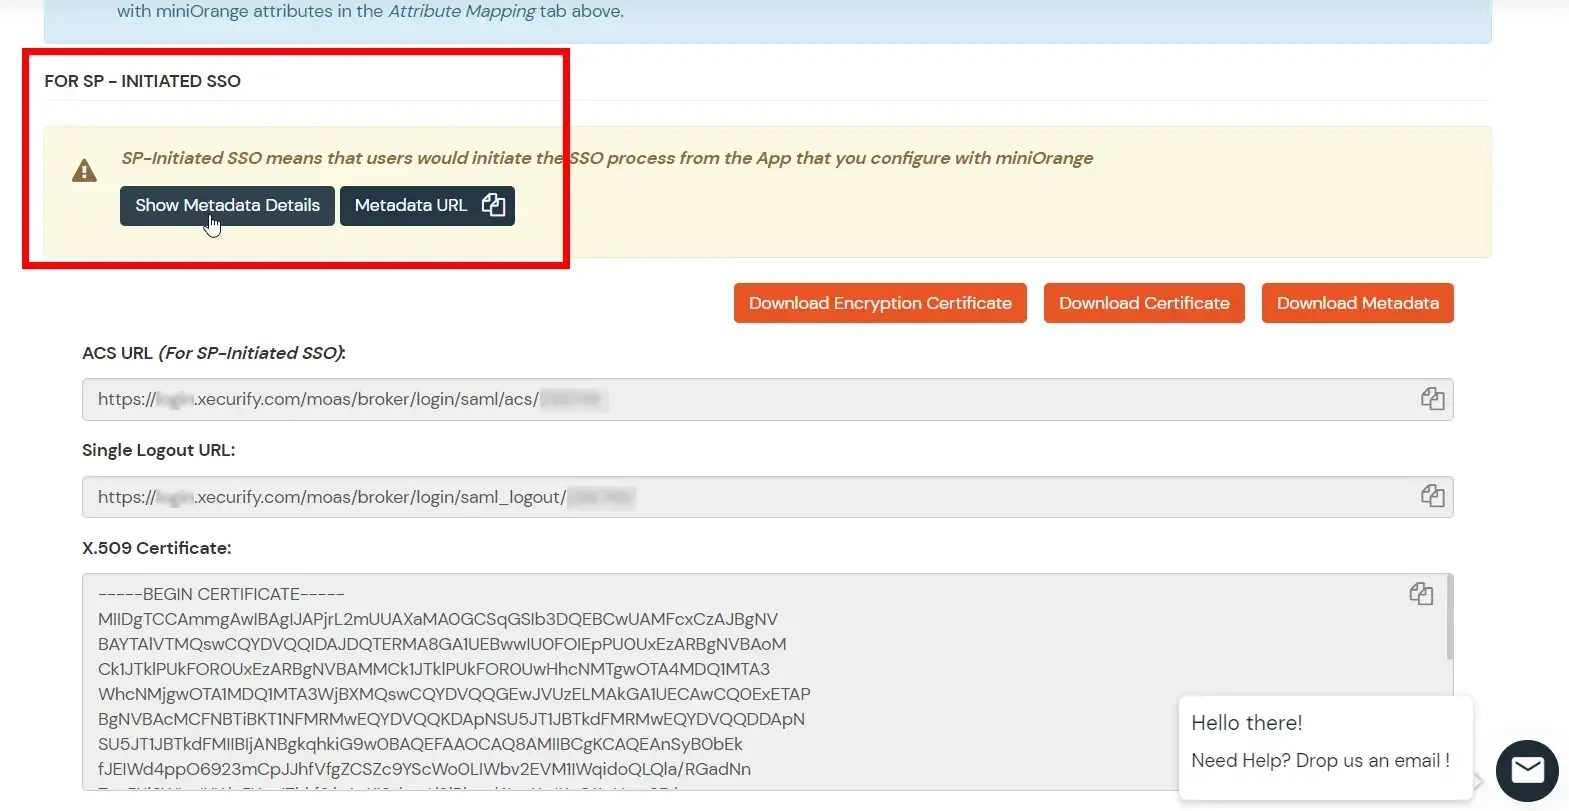
<samlmd:EntityDescriptor ID="entity" entityID="<SP-EntityID / Issuer from Service Provider Info tab in plugin.>"
validUntil="2020-09-06T04:13:32Z">
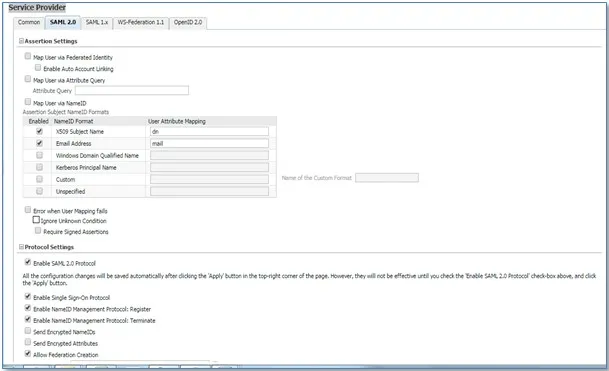
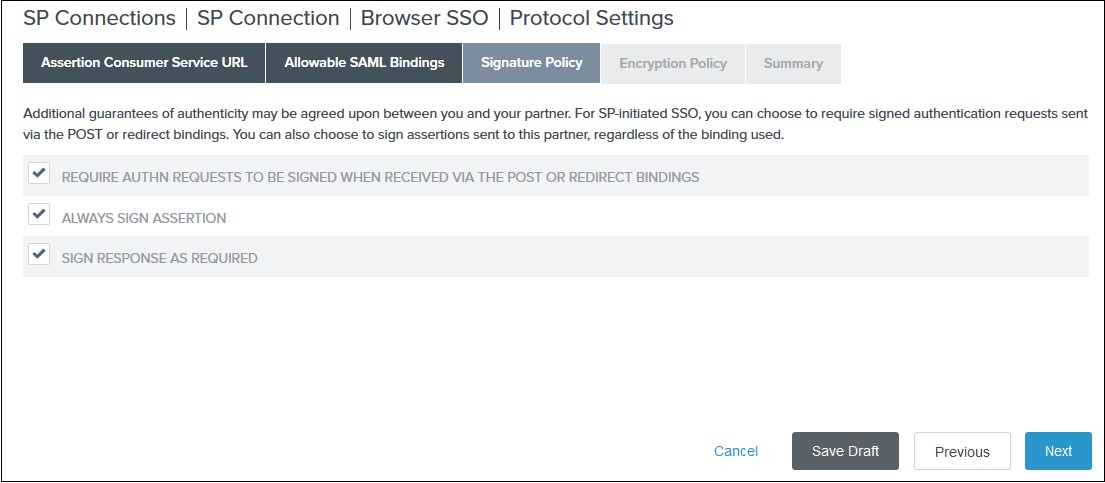
<samlmd:SPSSODescriptor AuthnRequestsSigned="false" WantAssertionsSigned="true"
protocolSupportEnumeration="urn:oasis:names:tc:SAML:2.0:protocol">
<samlmd:NameIDFormat>
urn:oasis:names:tc:SAML:1.1:nameid-format:emailAddress
</samlmd:NameIDFormat>
<samlmd:AssertionConsumerService Binding="urn:oasis:names:tc:SAML:2.0:bindings:HTTP-POST"
Location="<ACS (AssertionConsumerService) URL from Step1 of the plugin under Identity Provider Tab.>"
index="1" />
</samlmd:SPSSODescriptor>
</samlmd:EntityDescriptor>
</MetadataProvider>
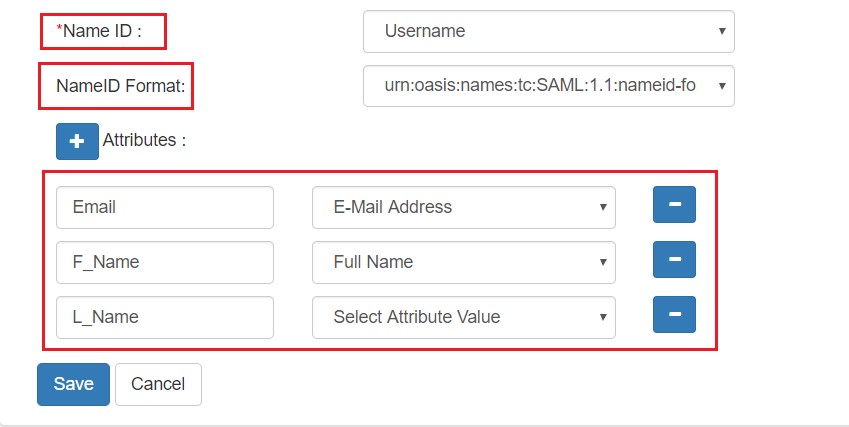
- In conf/saml-nameid.properties, uncomment and set default NameID as Email Address like this
idp.nameid.saml2.default=urn:oasis:names:tc:SAML:1.1:nameid-format:emailAddress
- In conf/saml-nameid-xml, search for shibboleth.SAML2NameIDGenerators. Uncomment the shibboleth.SAML2AttributeSourcedGenerator bean and comment all other ref beans.
<!-- SAML 2 NameID Generation -->

<util:list id="shibboleth.SAML2NameIDGenerators">

  <!--<ref bean="shibboleth.SAML2TransientGenerator" /> -->

  <!-->ref bean="shibboleth.SAML2PersistentGenerator" /> -->

  <bean parent="shibboleth.SAML2AttributeSourcedGenerator"

  p:format="urn:oasis:names:tc:SAML:1.1:nameid-format:emailAddress"

  p:attributeSourceIds="#{ {'email'} }" />

</util:list>
- Make sure you have defined AttributeDefinition in conf/attribute-resolver.xml.
<!-- Note: AttributeDefinitionid must be same as what you provided in attributeSourceIds in conf/saml-nameid.xml -->

<resolver:AttributeDefinitionxsi:type="ad:Simple" id="email" sourceAttributeID="mail">

  <resolver:Dependency ref="ldapConnector" />

  <resolver:AttributeEncoderxsi:type="enc:SAML2String" name="email"  friendlyName="email" />

</resolver:AttributeDefinition >


<resolver:DataConnector id="ldapConnector" xsi:type="dc:LDAPDirectory" ldapURL="%{idp.authn.LDAP.ldapURL}"

  baseDN="%{idp.authn.LDAP.baseDN}" principal="%{idp.authn.LDAP.bindDN}"

  principalCredential="%{idp.authn.LDAP.bindDNCredential}">


  <dc:FilterTemplate>

    <!-- Define you User Search Filter here -->

    <![CDATA[   (&(objectclass=*)(cn=$requestContext.principalName))   ]]>

  </dc:FilterTemplate>


  <dc:ReturnAttributes>*</dc:ReturnAttributes>

</resolver:DataConnector>
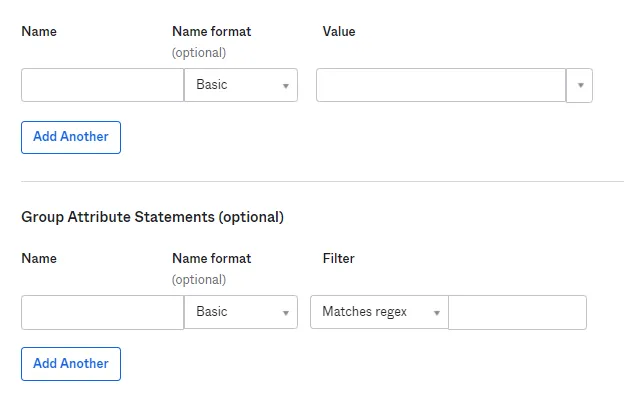
- Make sure you have AttributeFilterPolicy defined in conf/attribute-filter.xml.
<afp:AttributeFilterPolicy id="ldapAttributes">

<afp:PolicyRequirementRulexsi:type="basic:ANY"/>

  <afp:AttributeRuleattributeID="email">

    <afp:PermitValueRulexsi:type="basic:ANY"/>

  </afp:AttributeRule>

</afp:AttributeFilterPolicy>
- Restart the Shibboleth server.
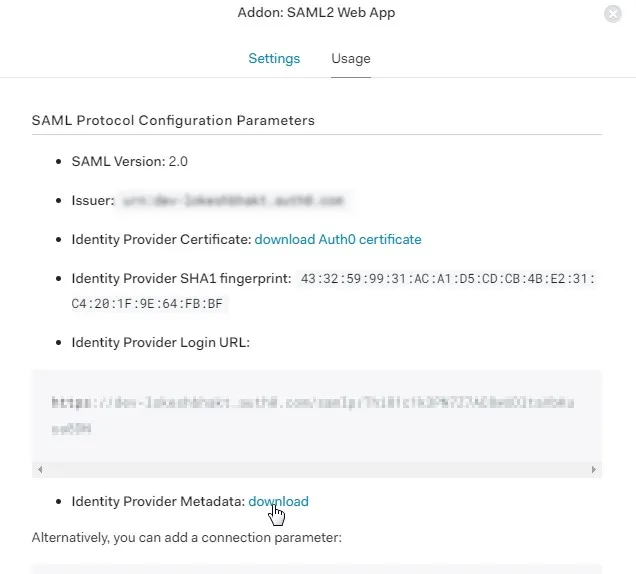
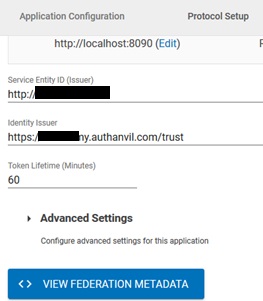
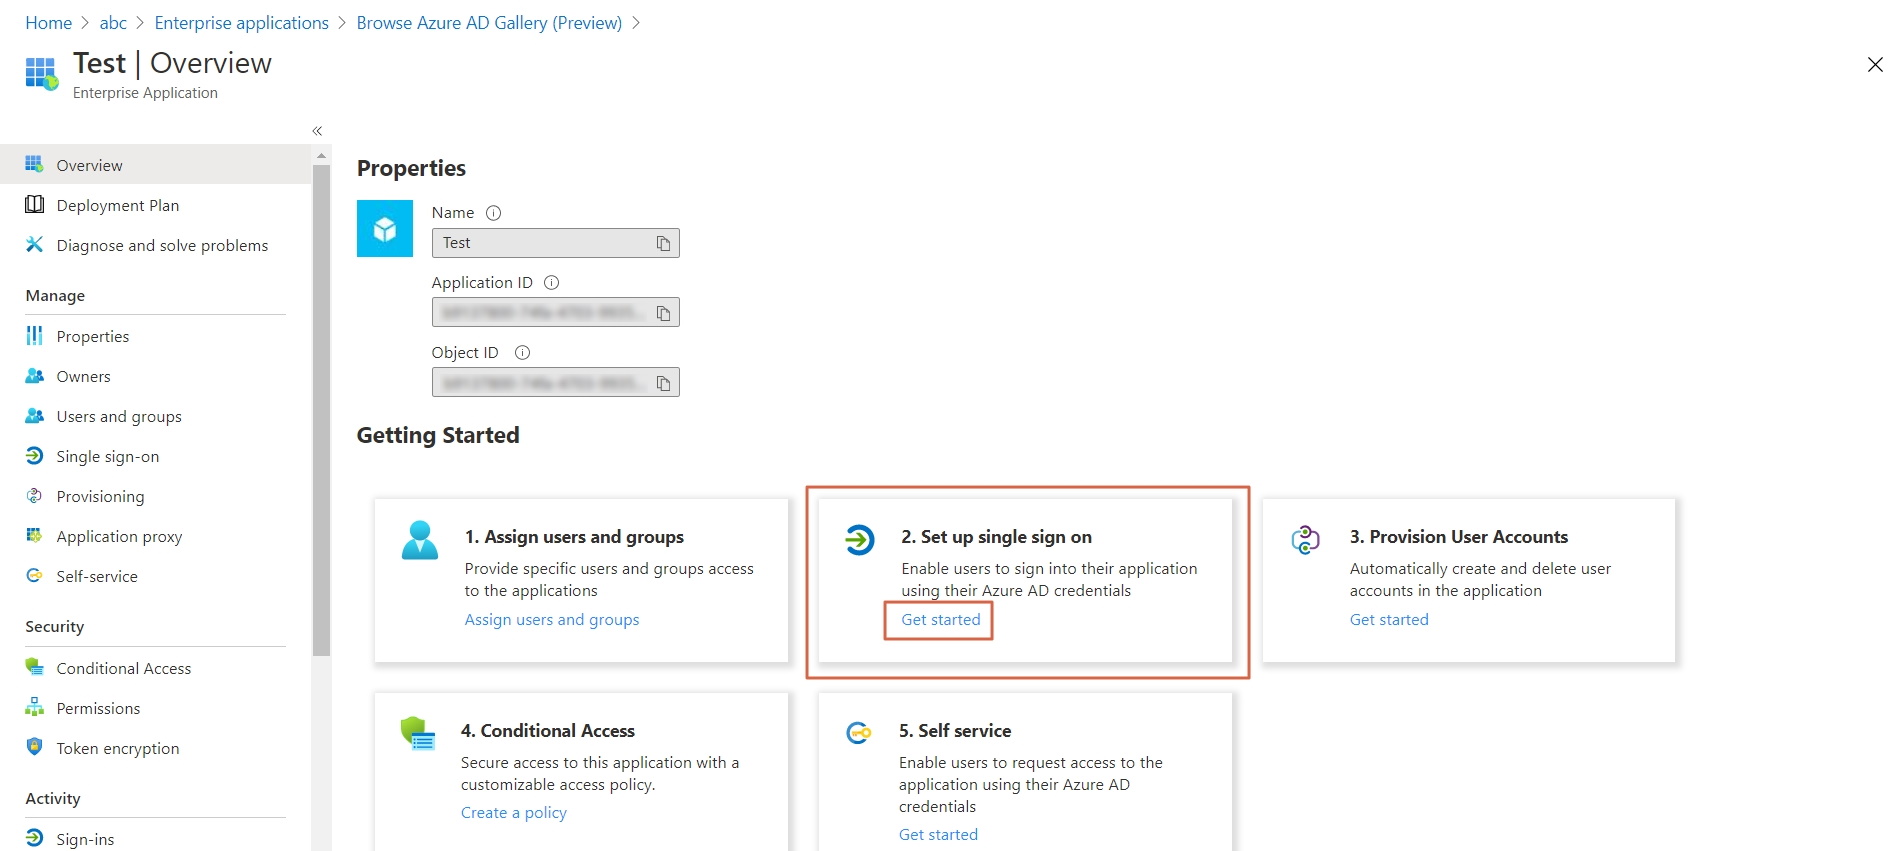
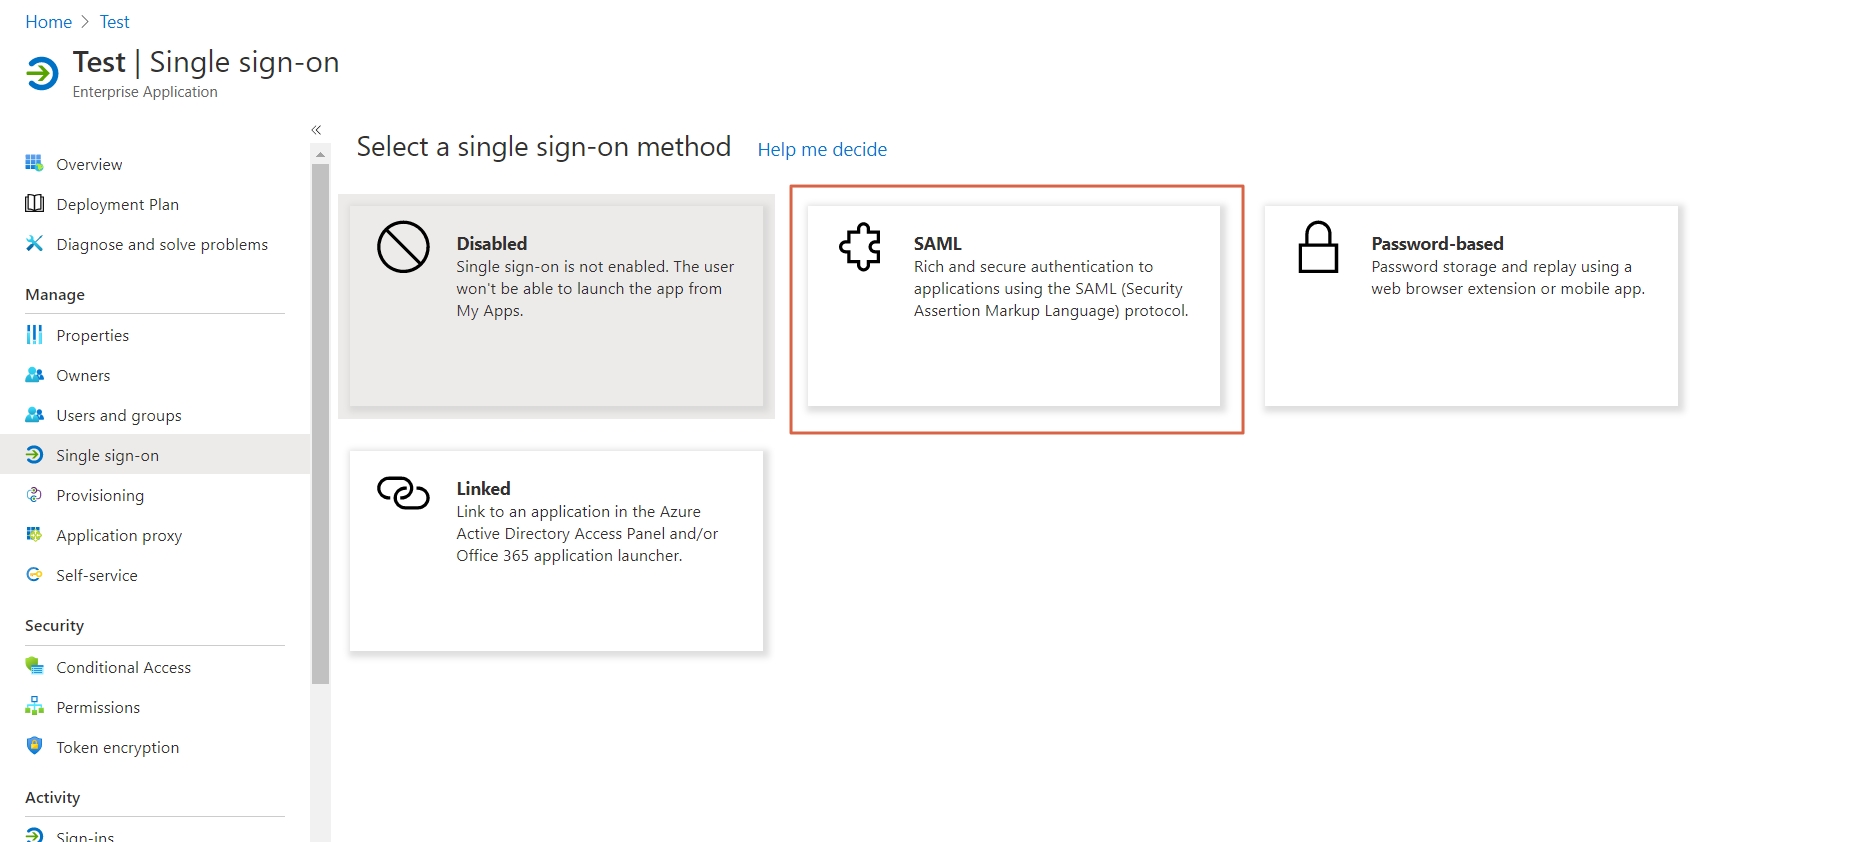
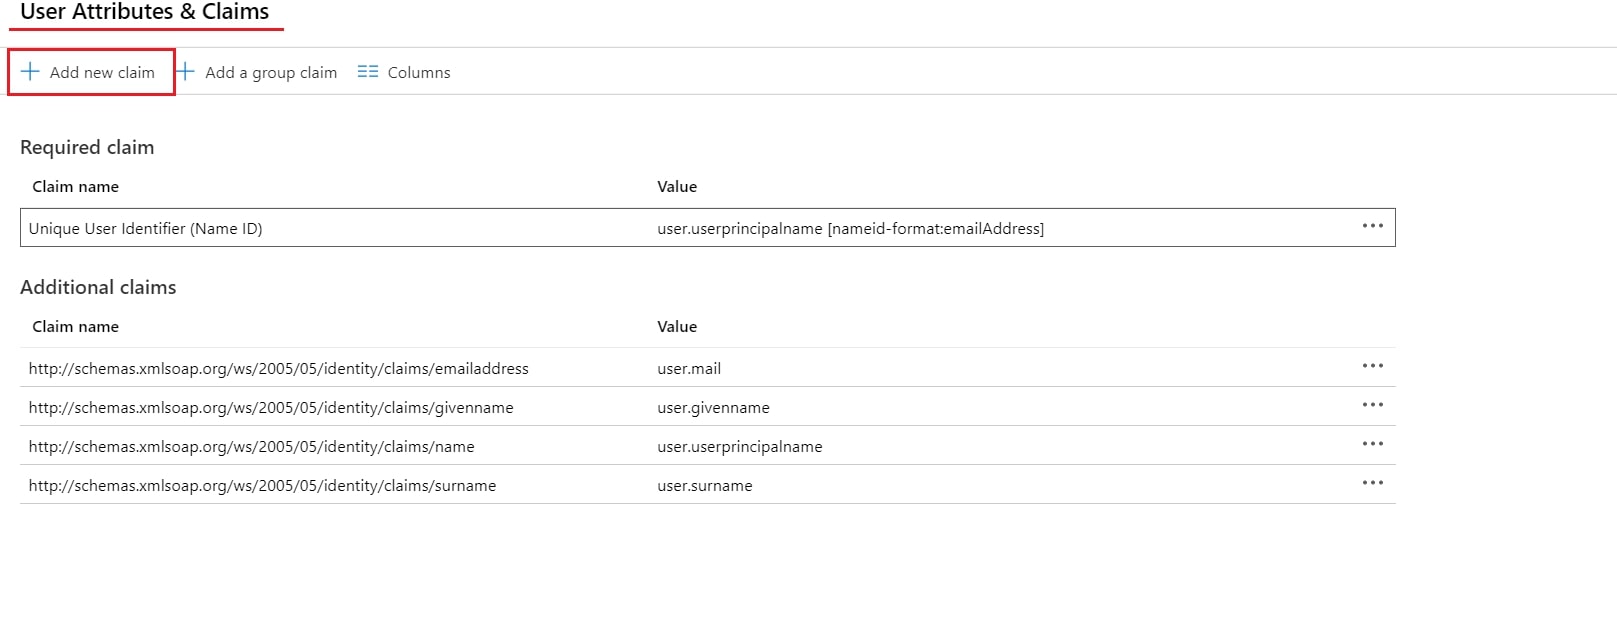
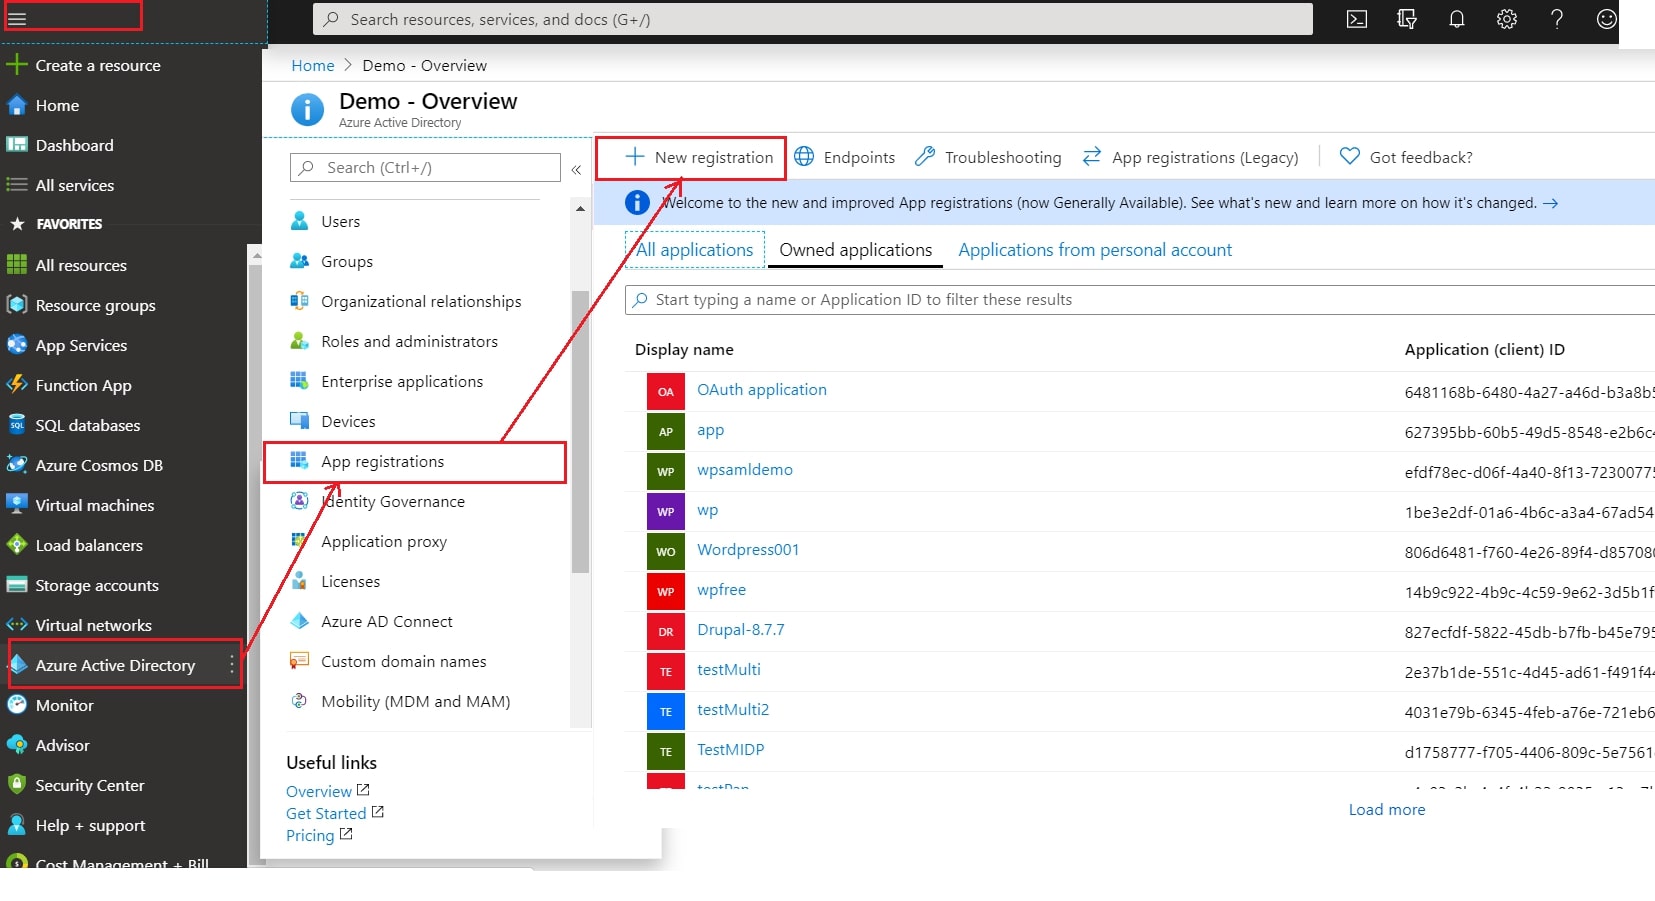
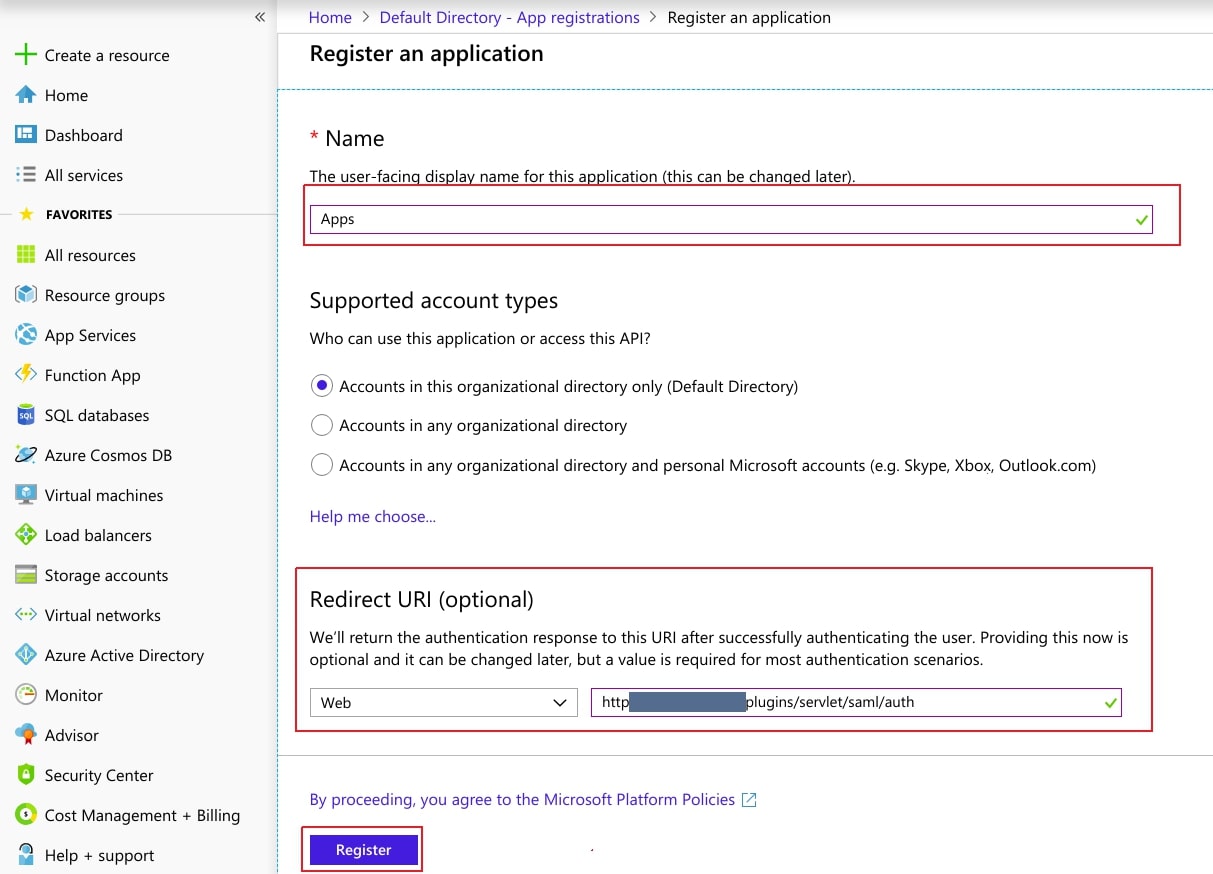
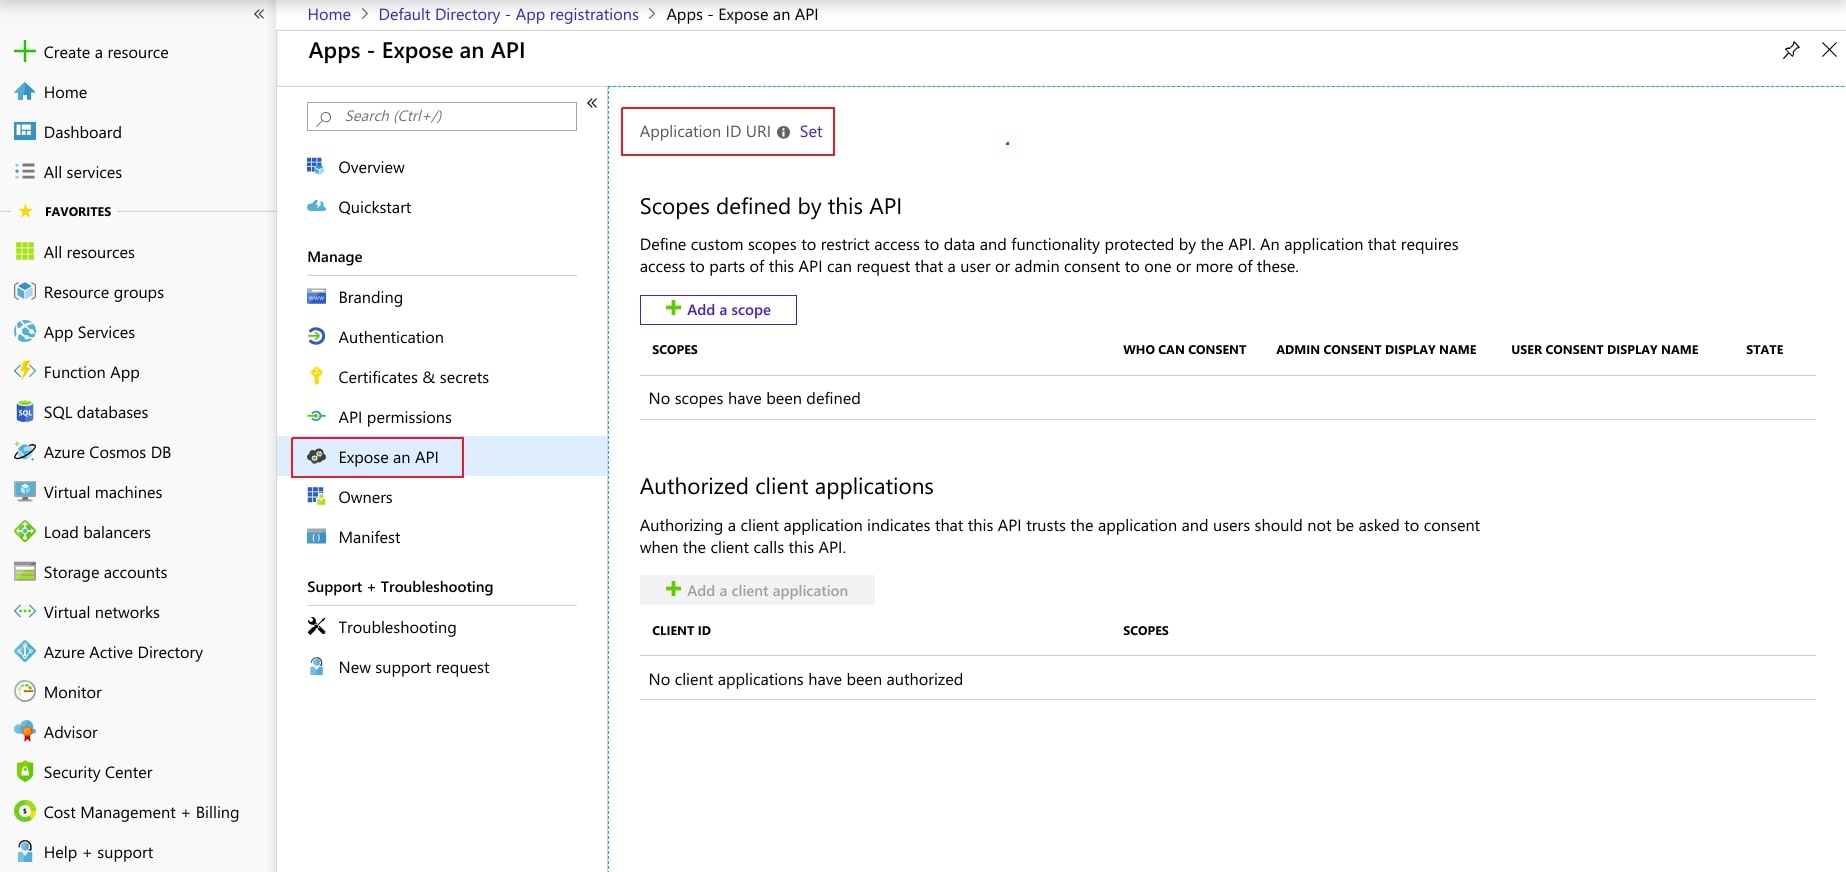
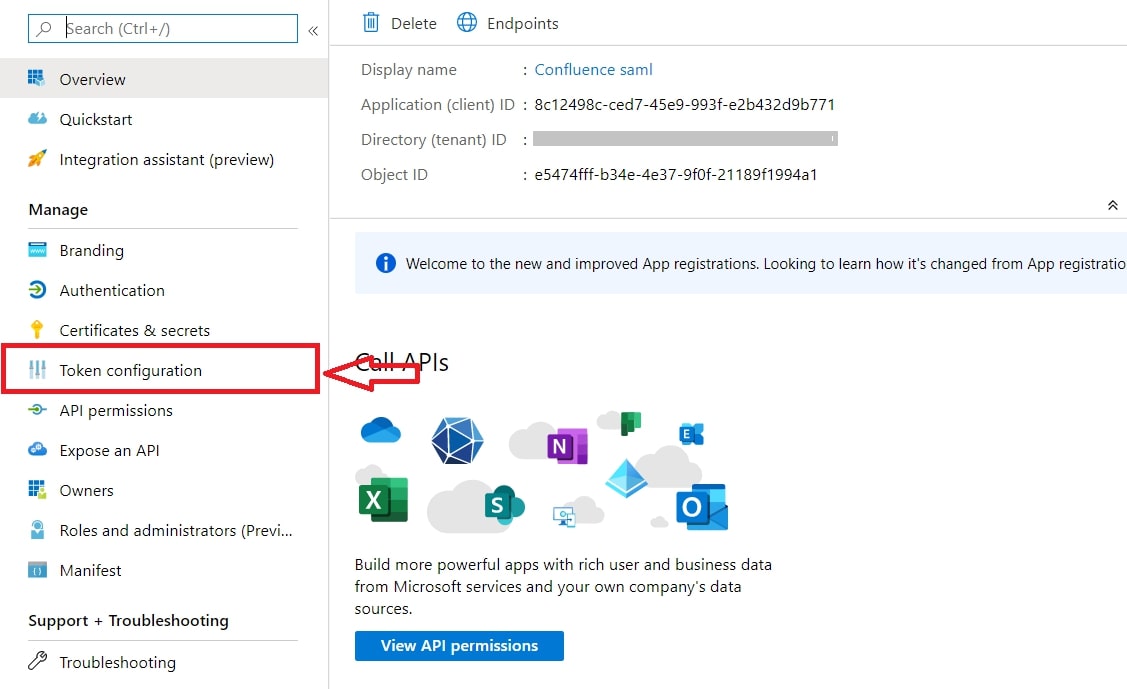
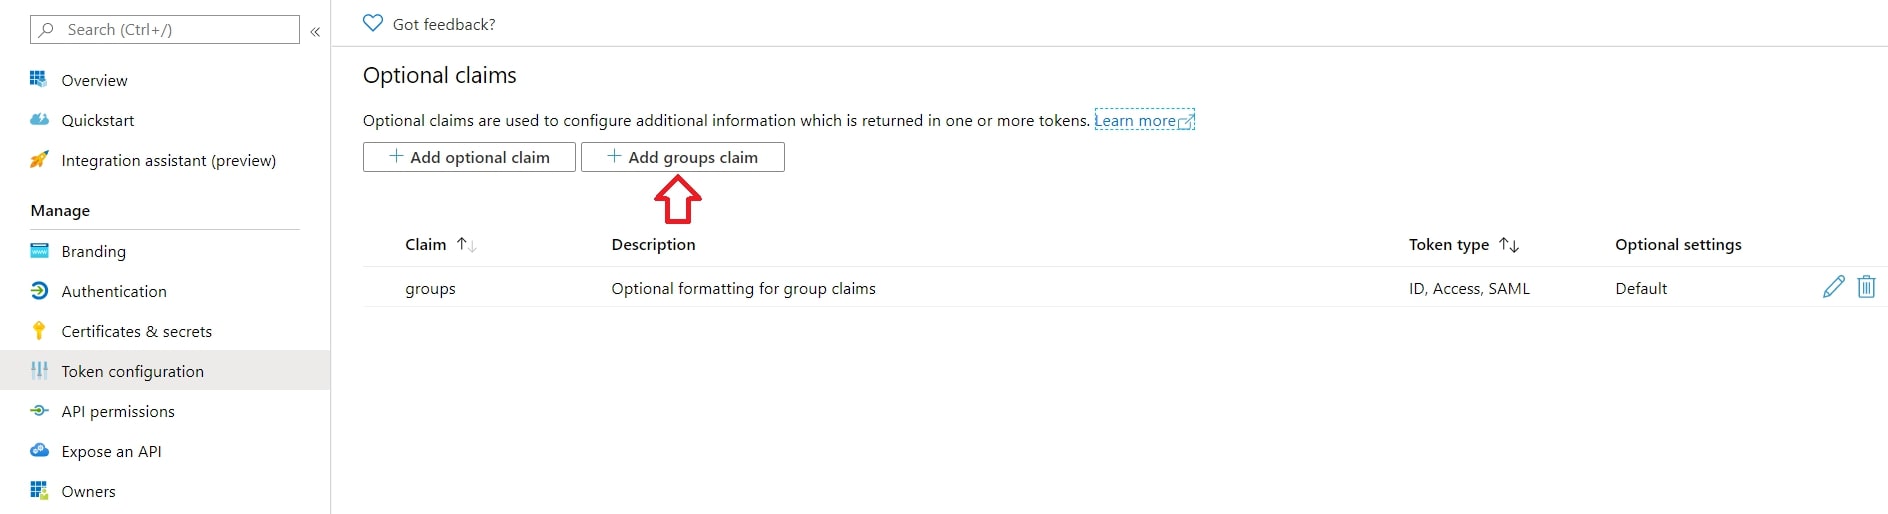
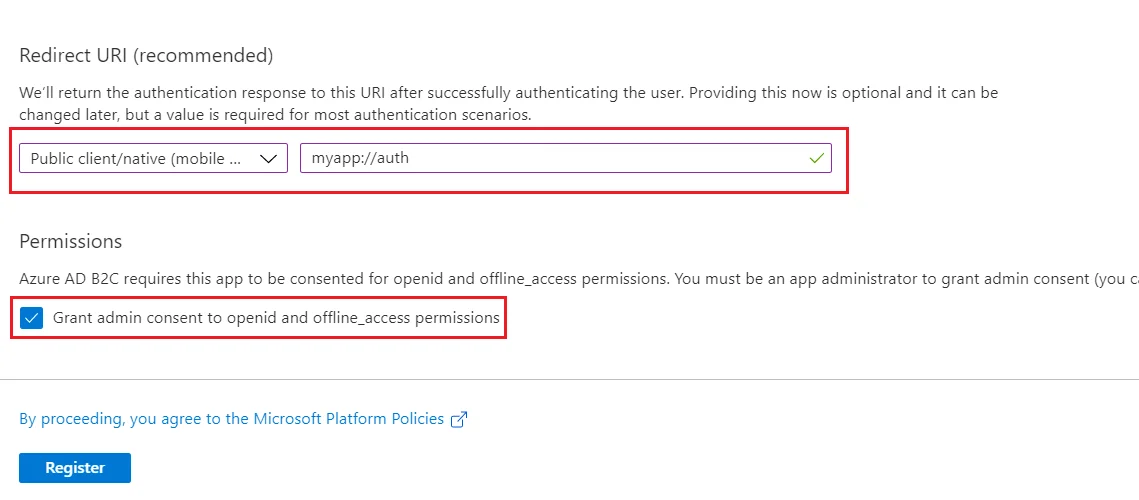
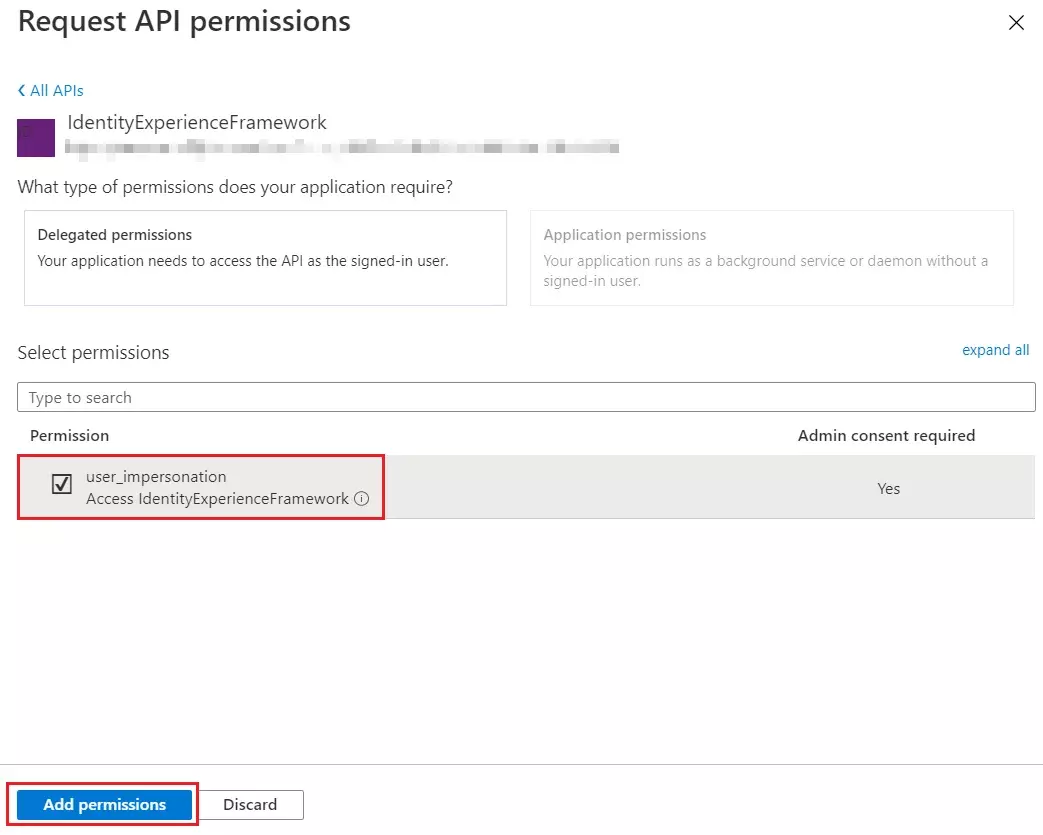
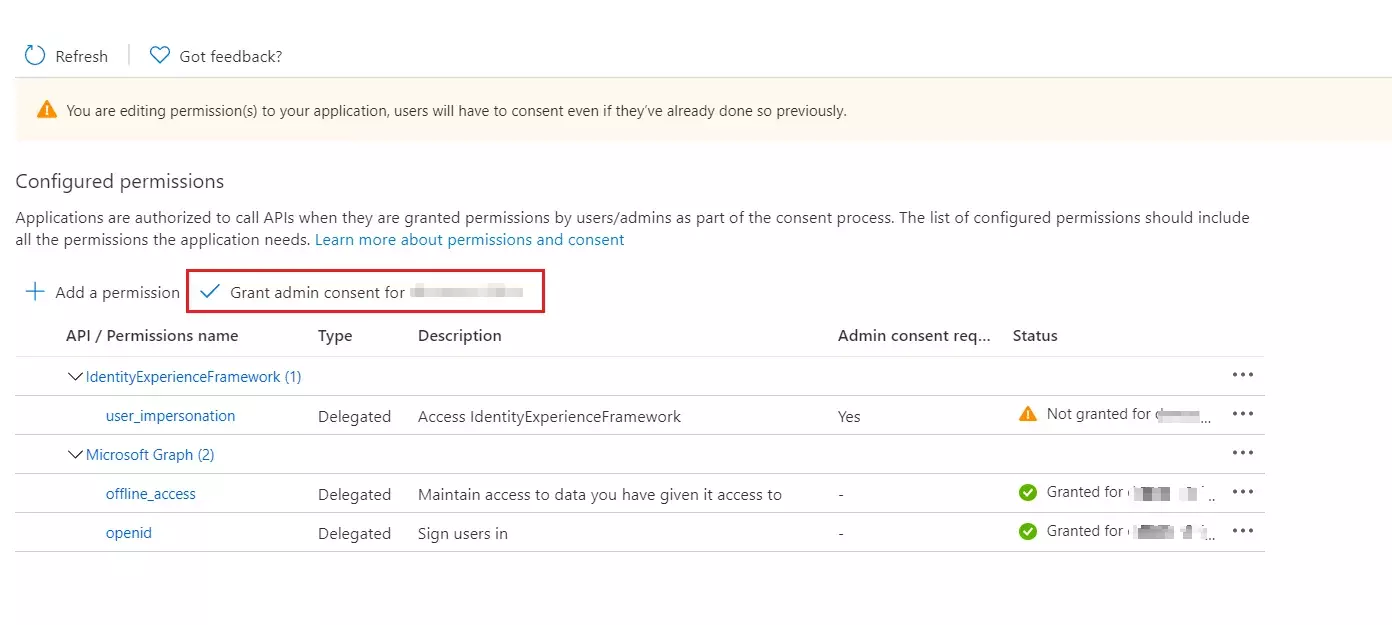
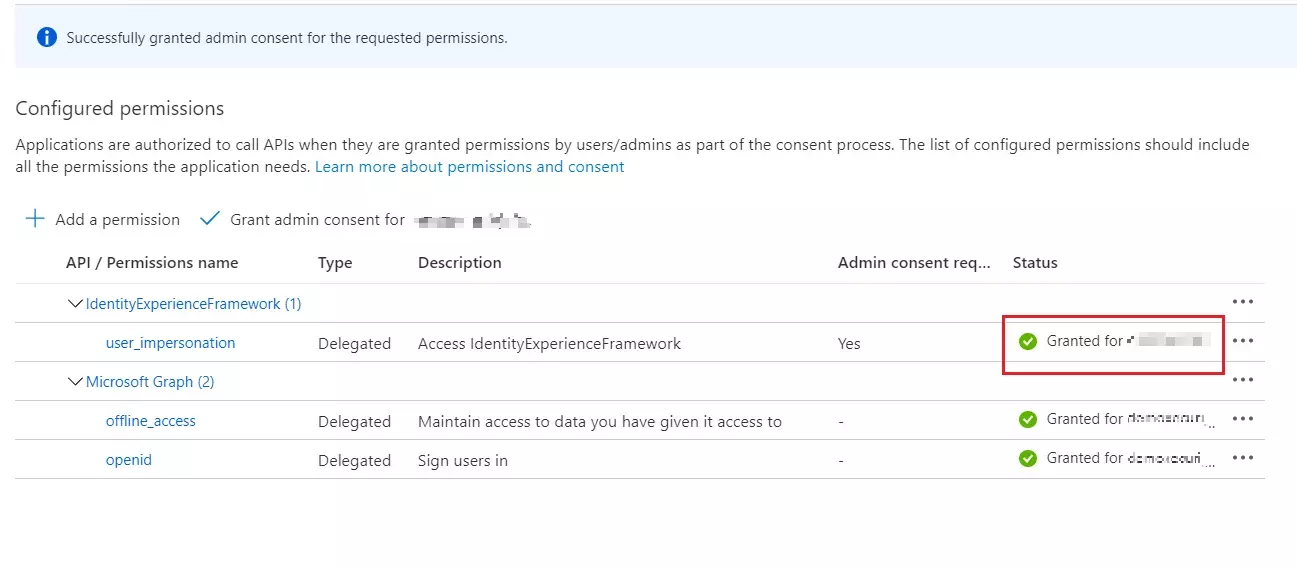
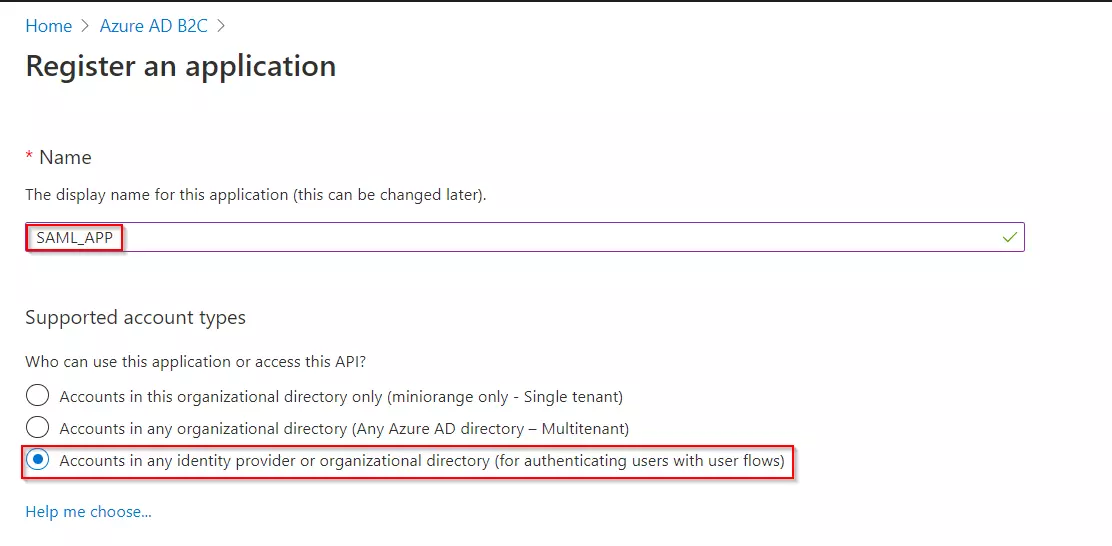
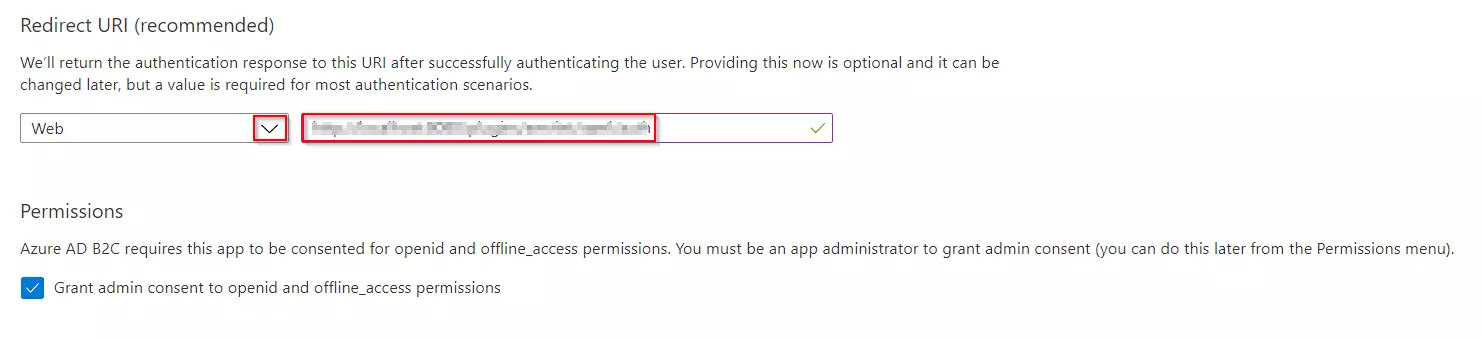
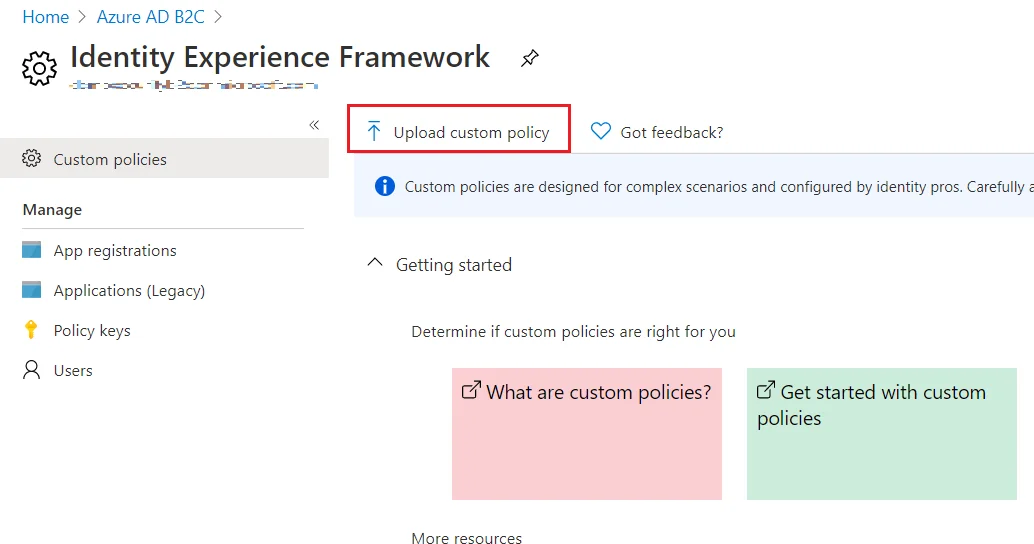
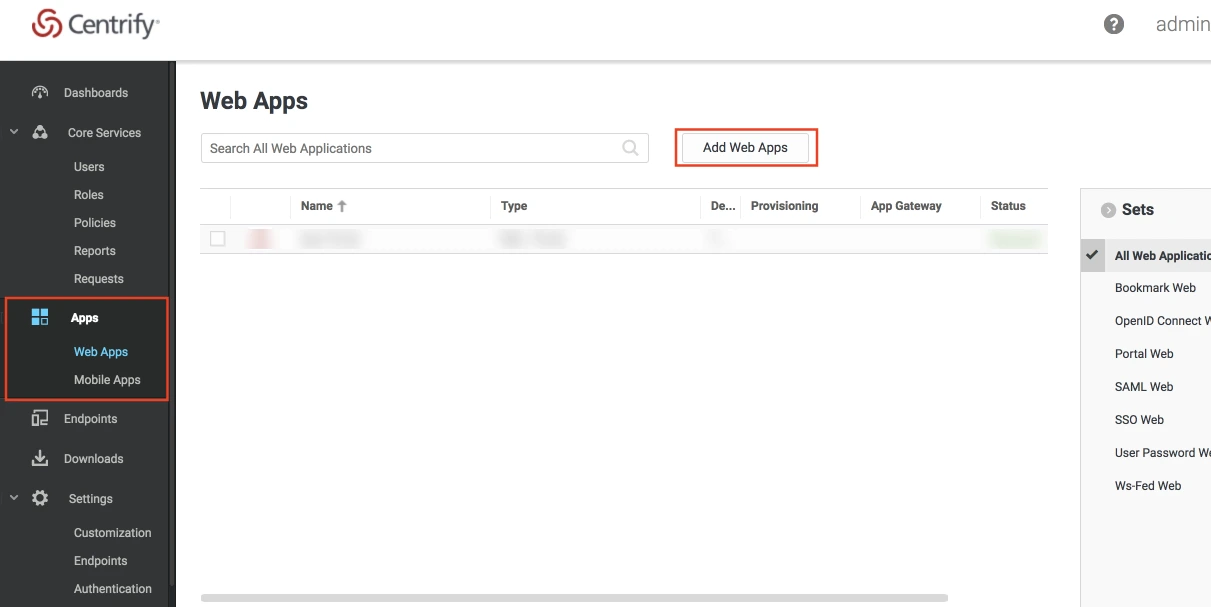
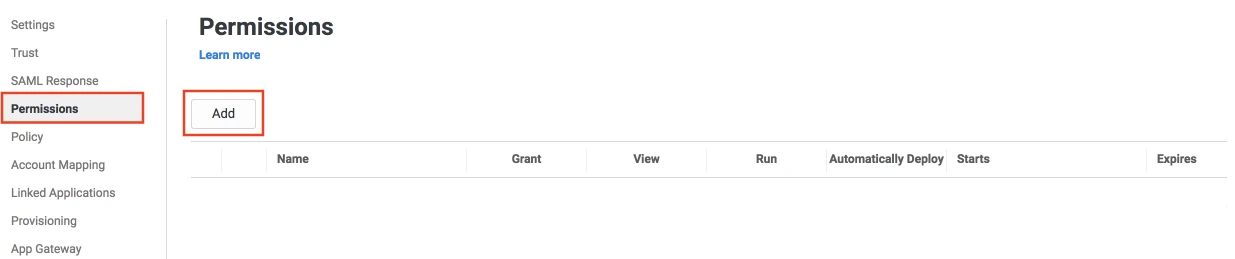
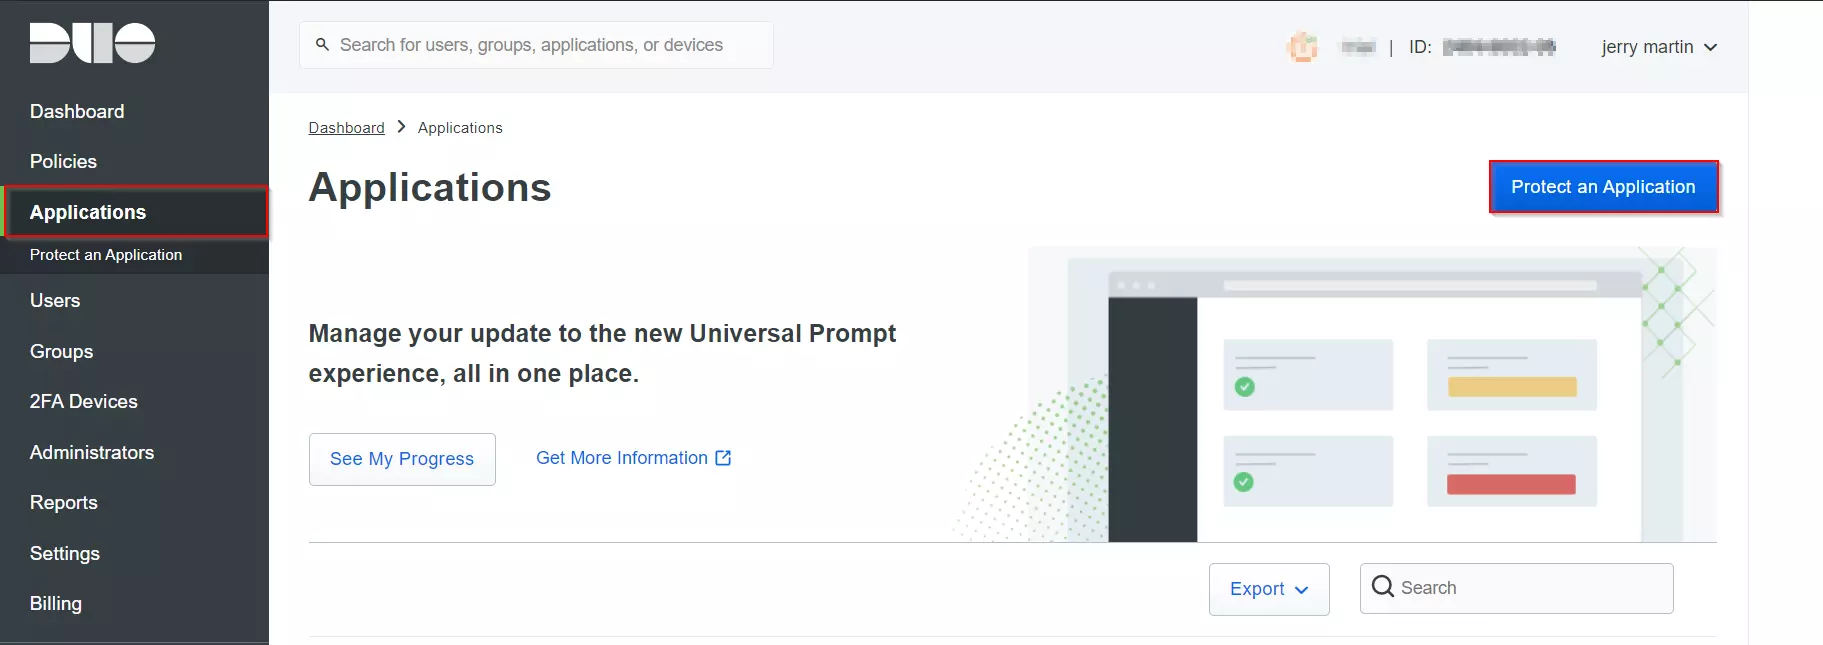
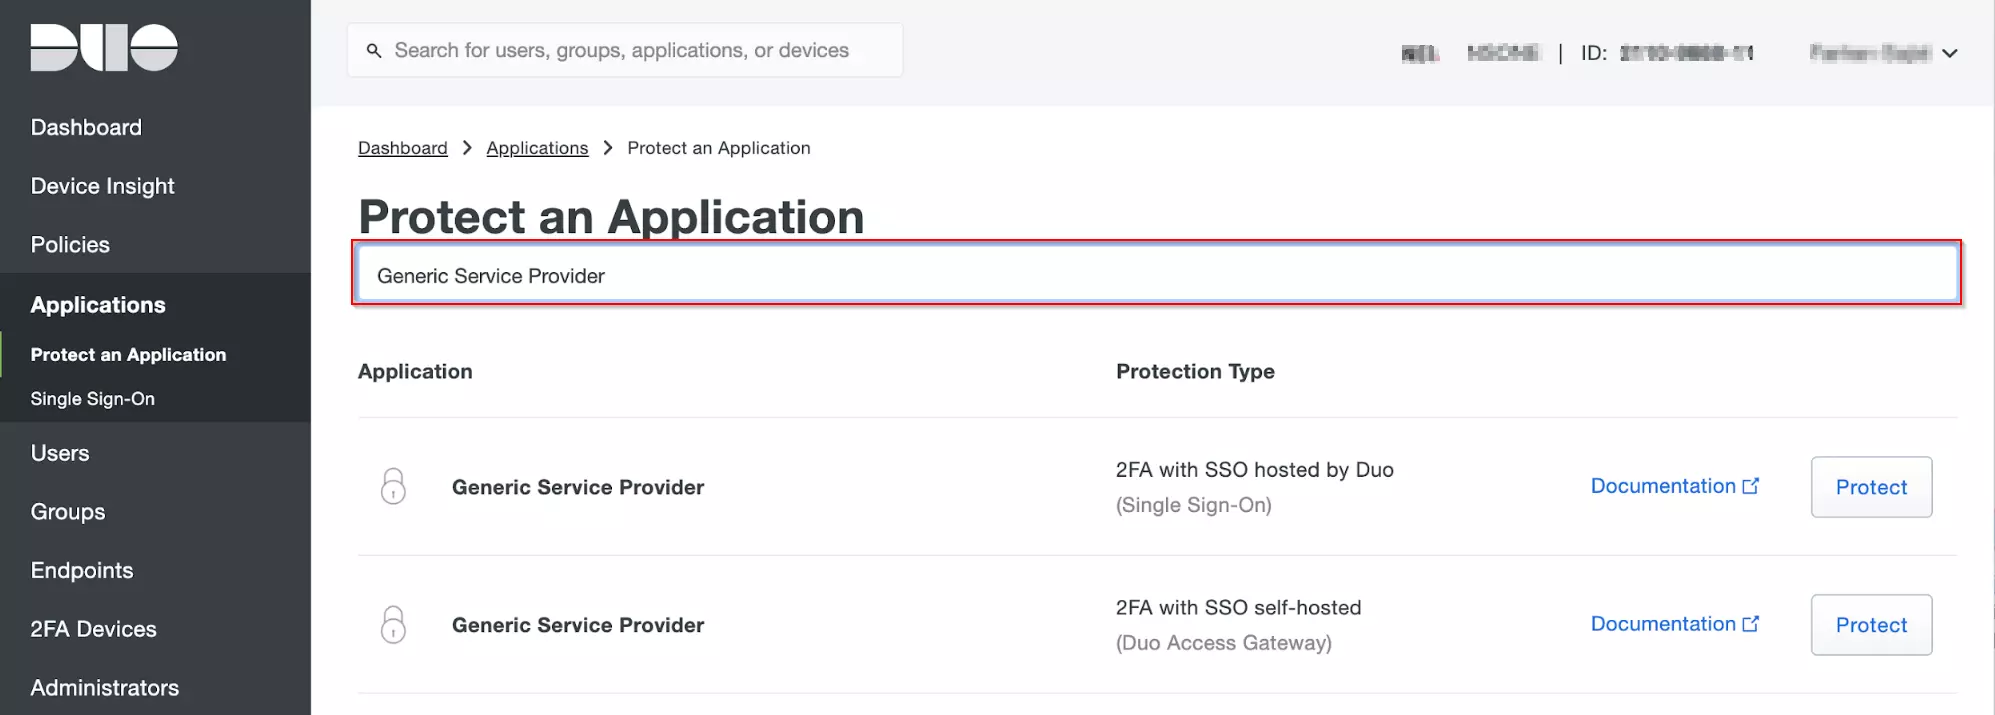
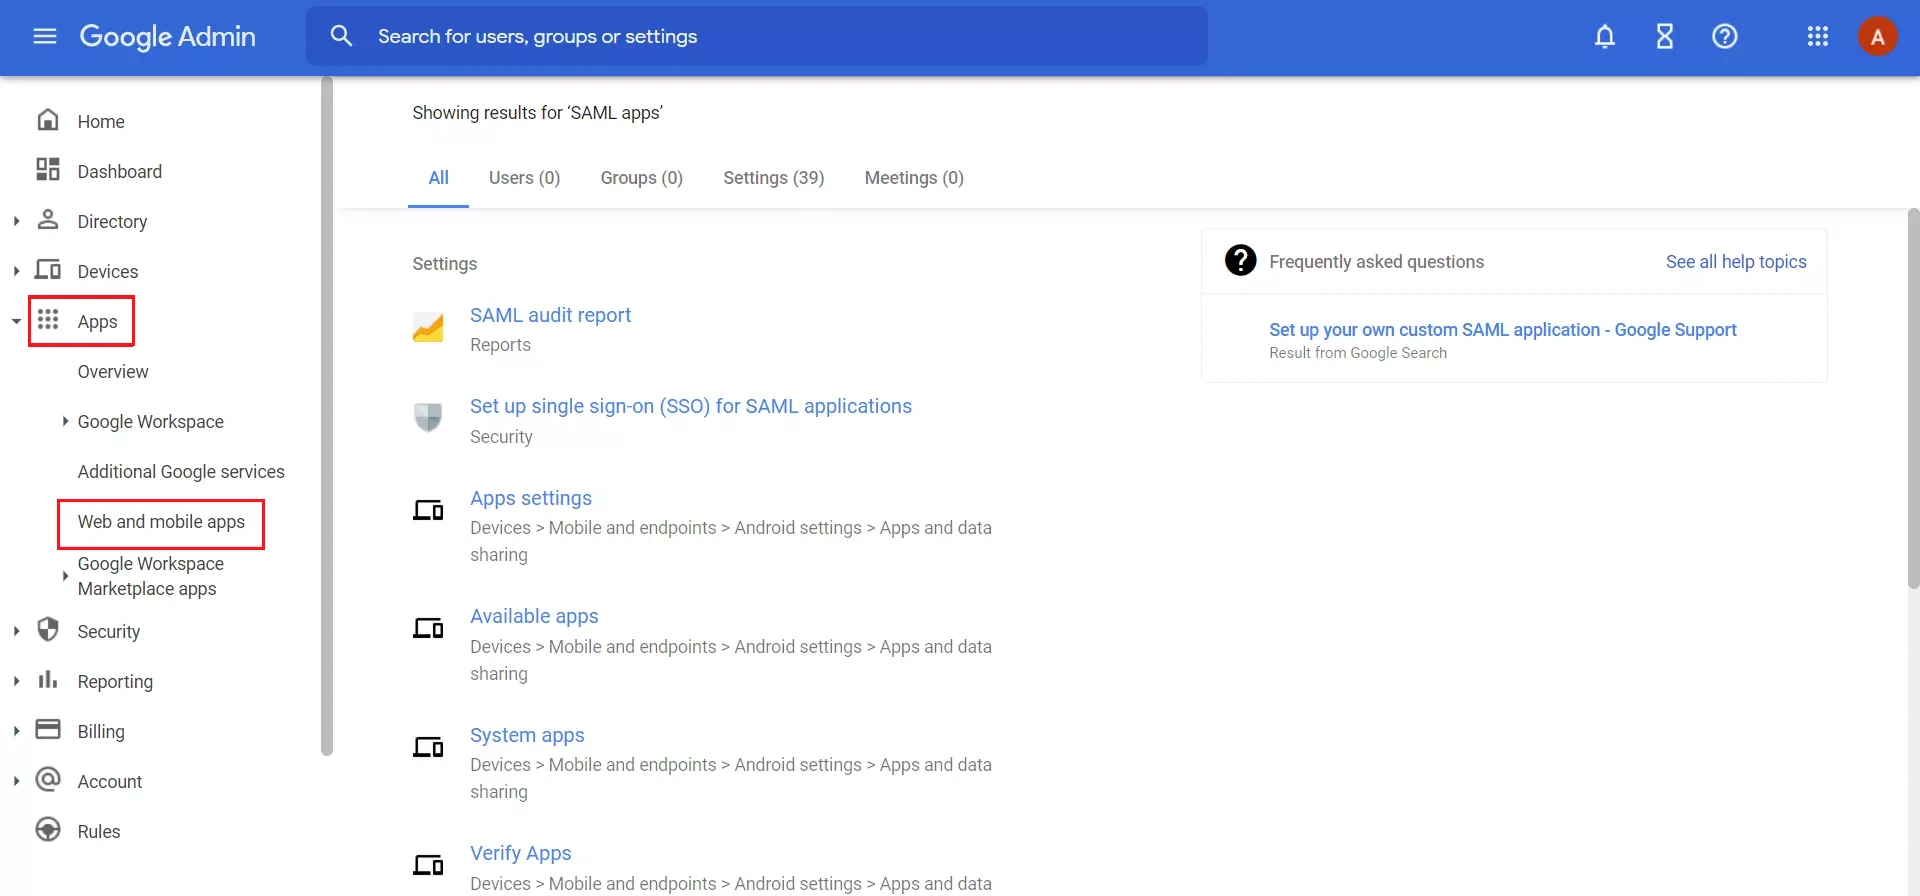
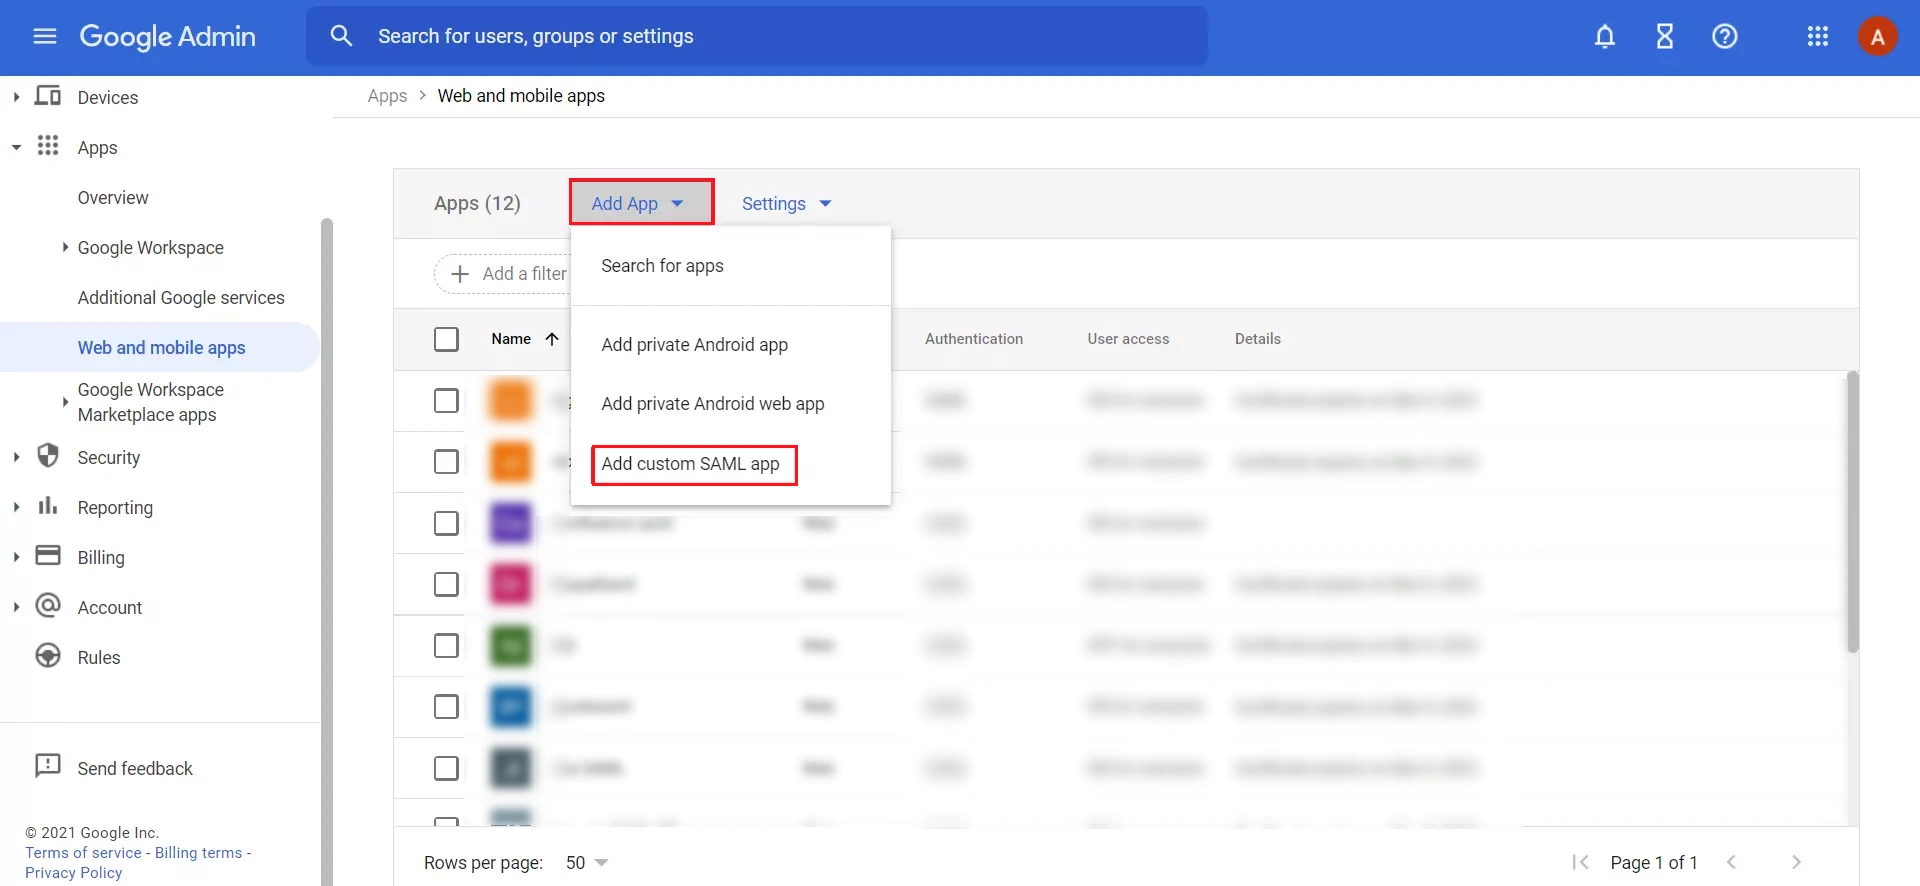
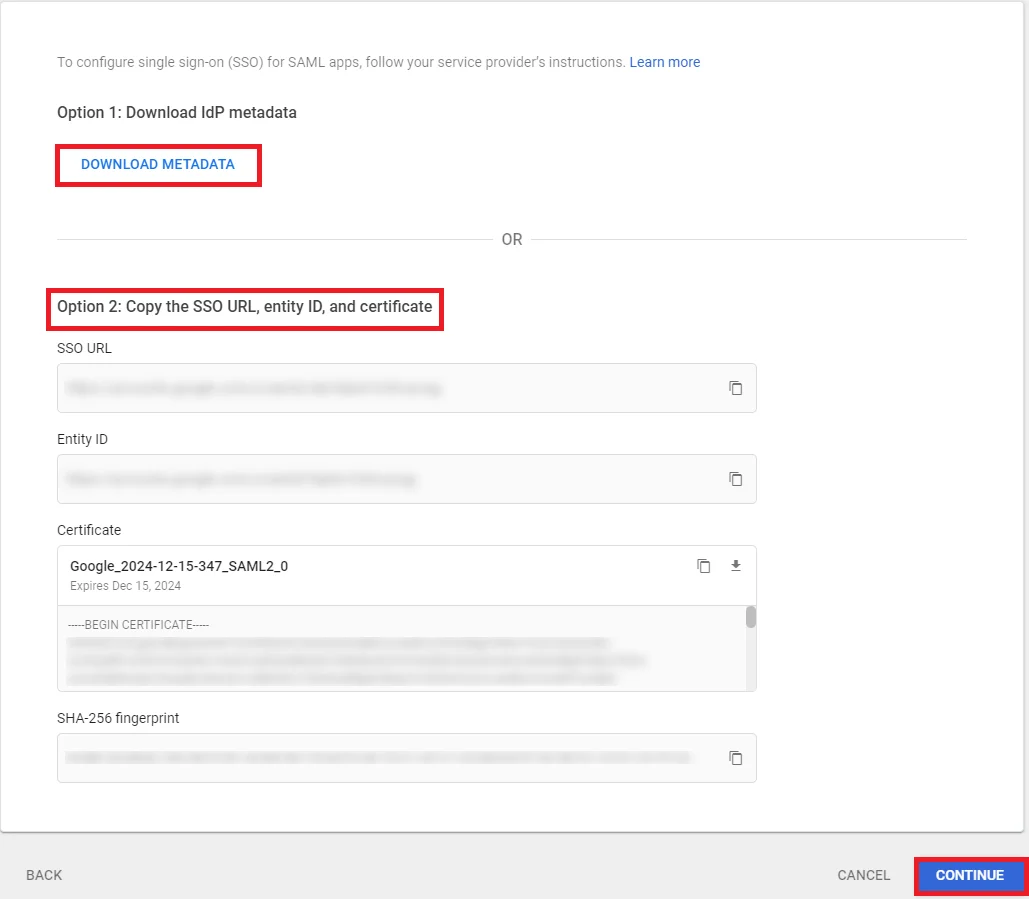
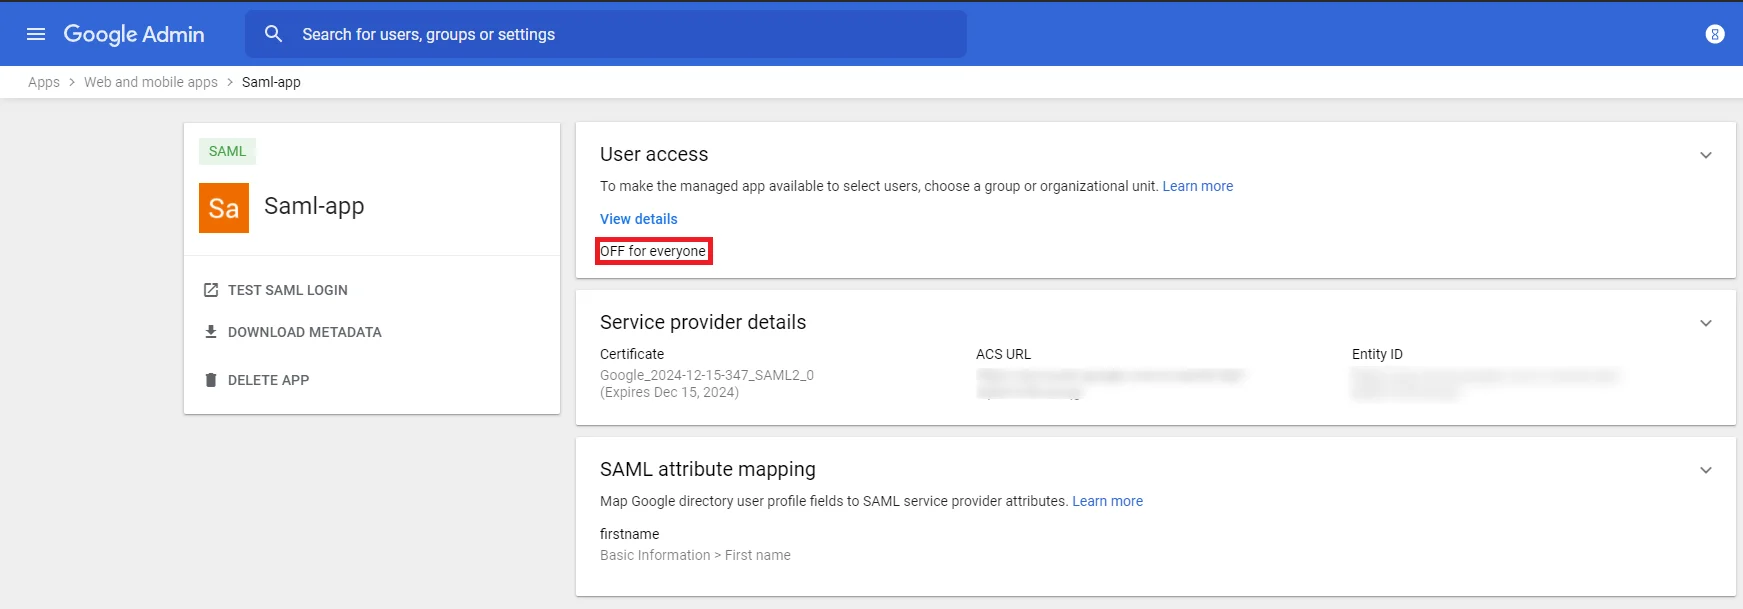
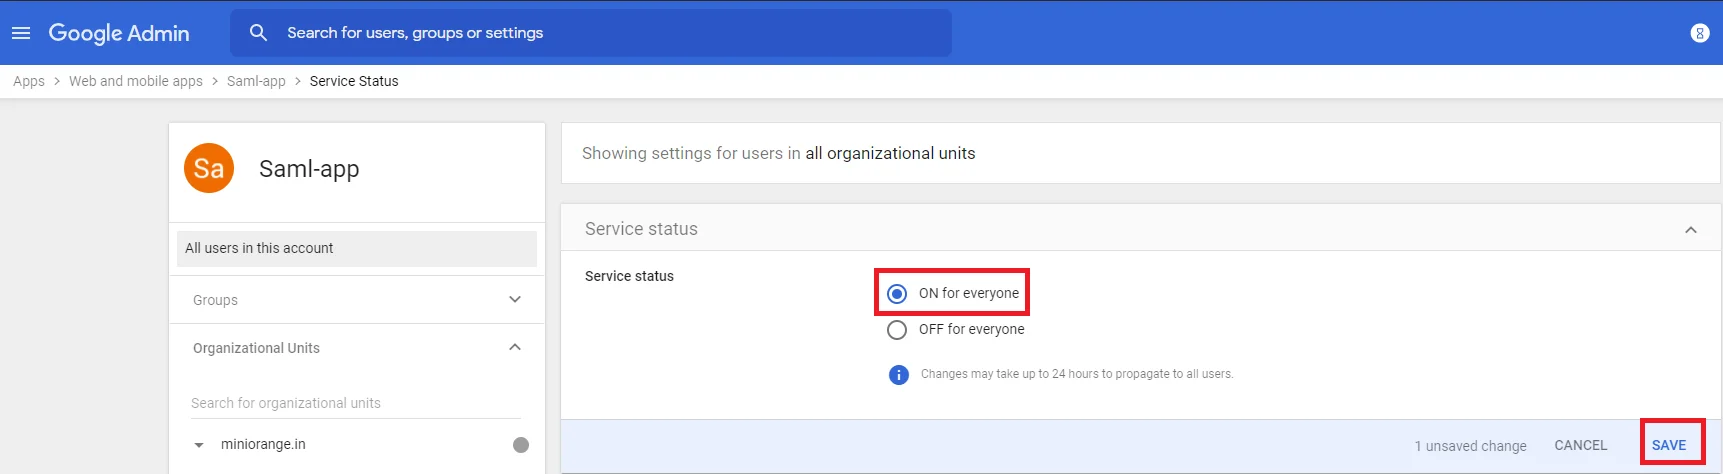
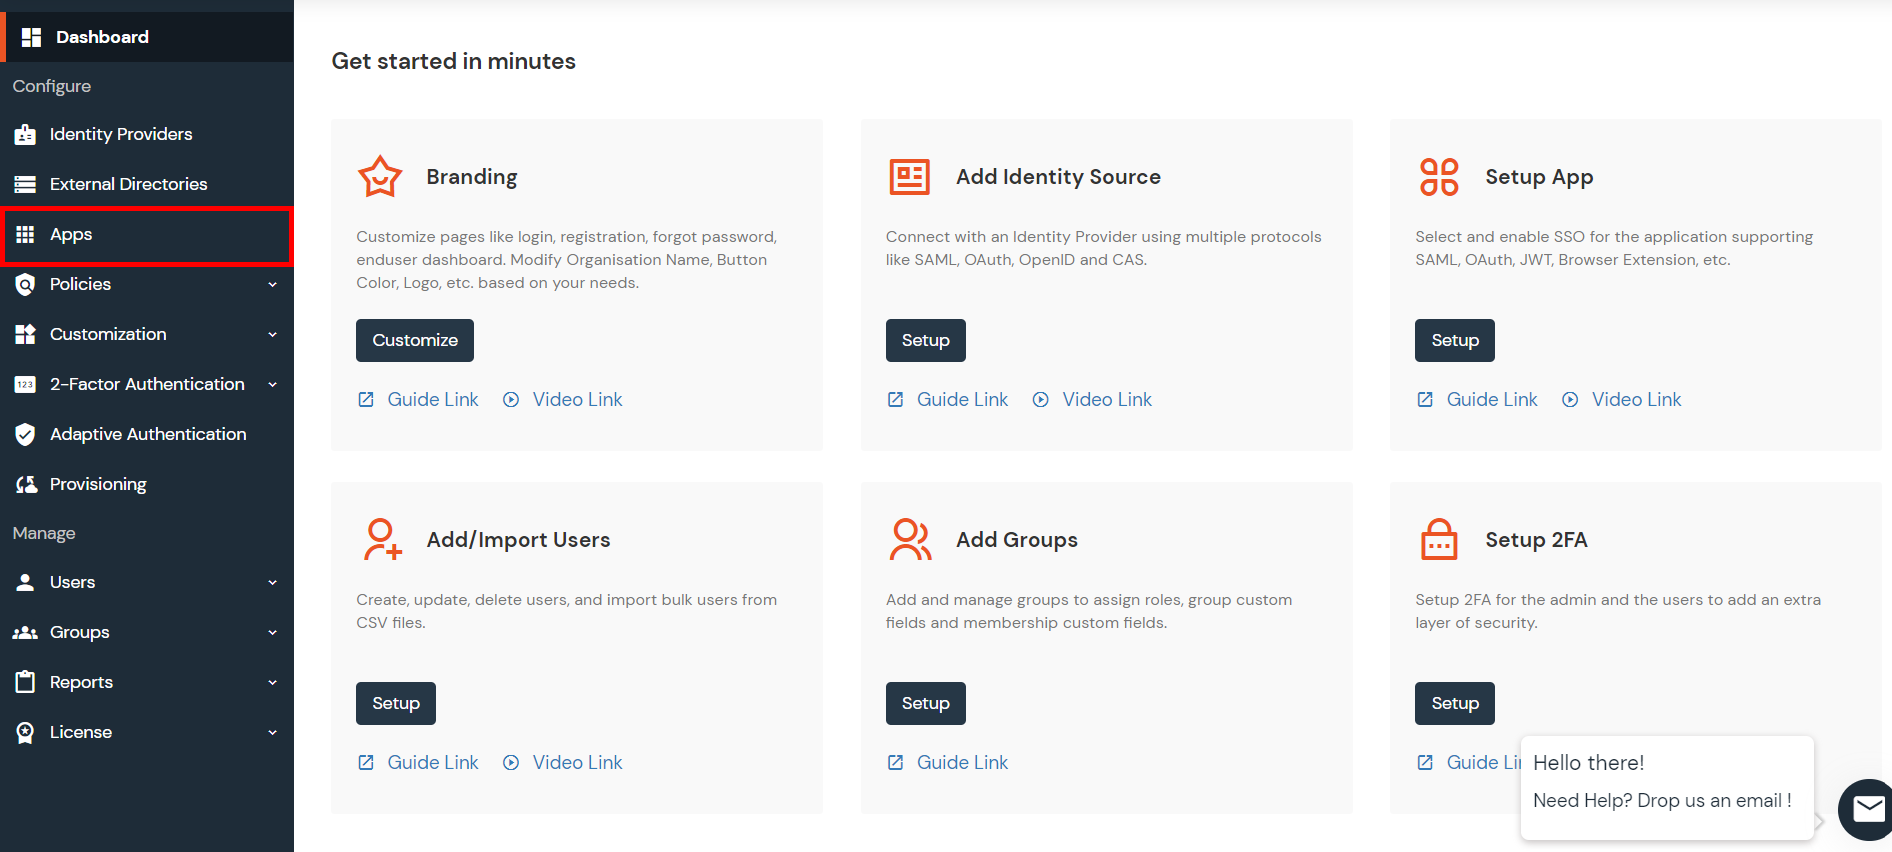
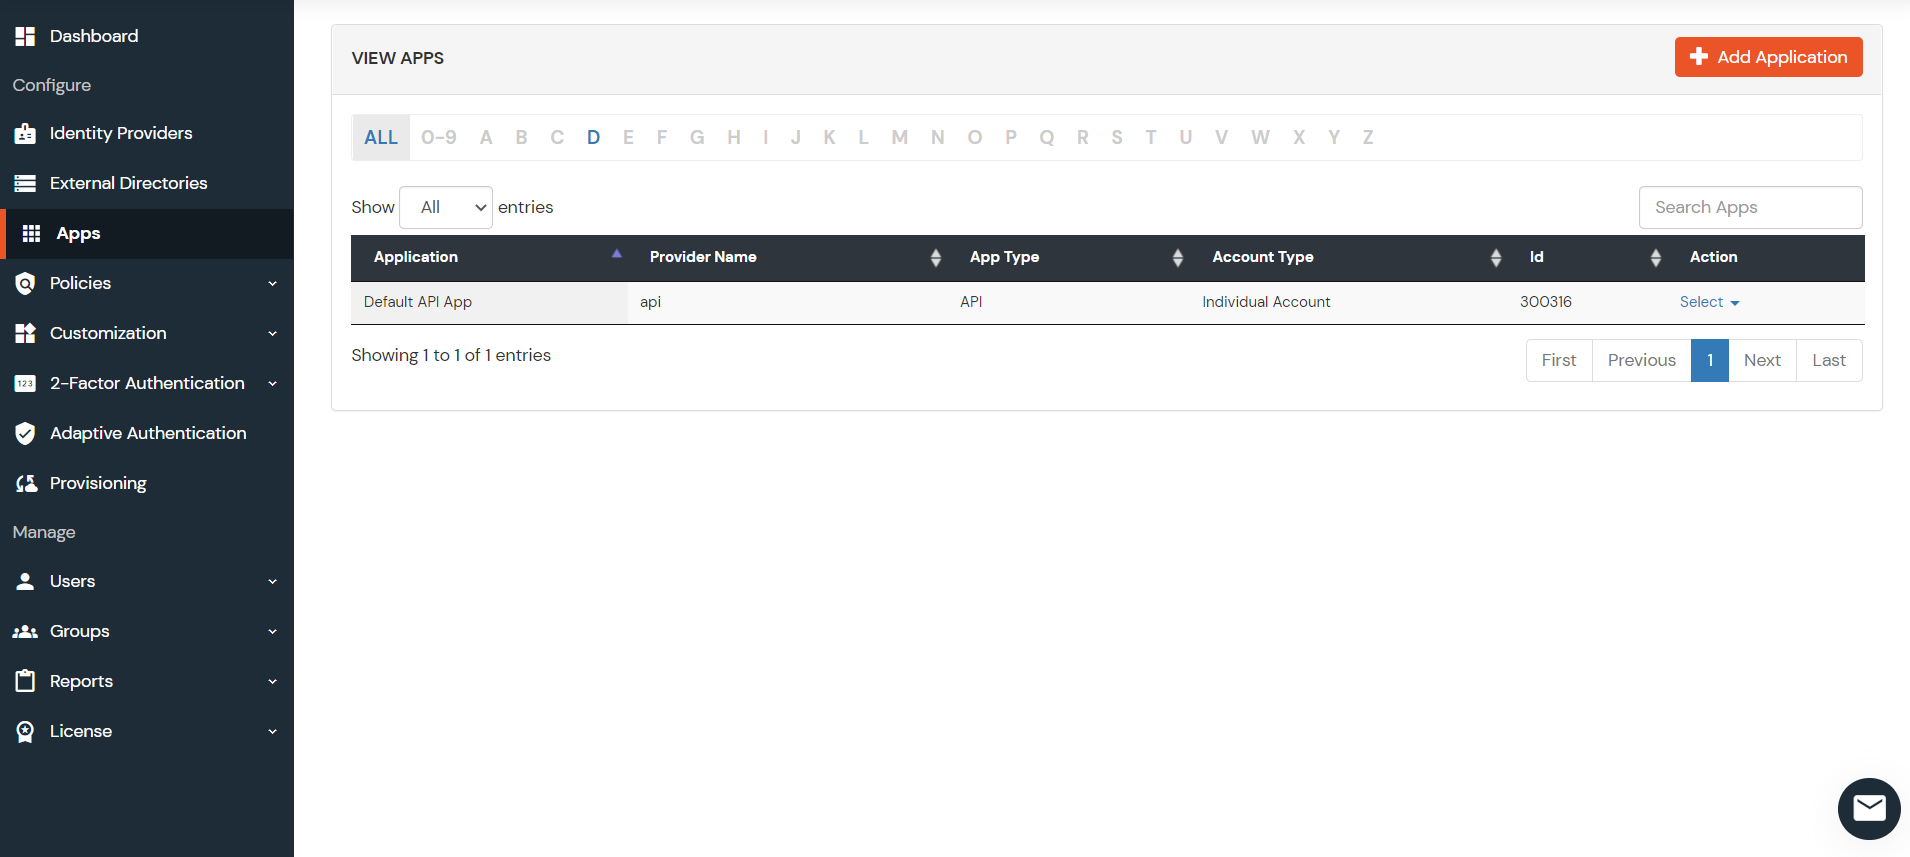
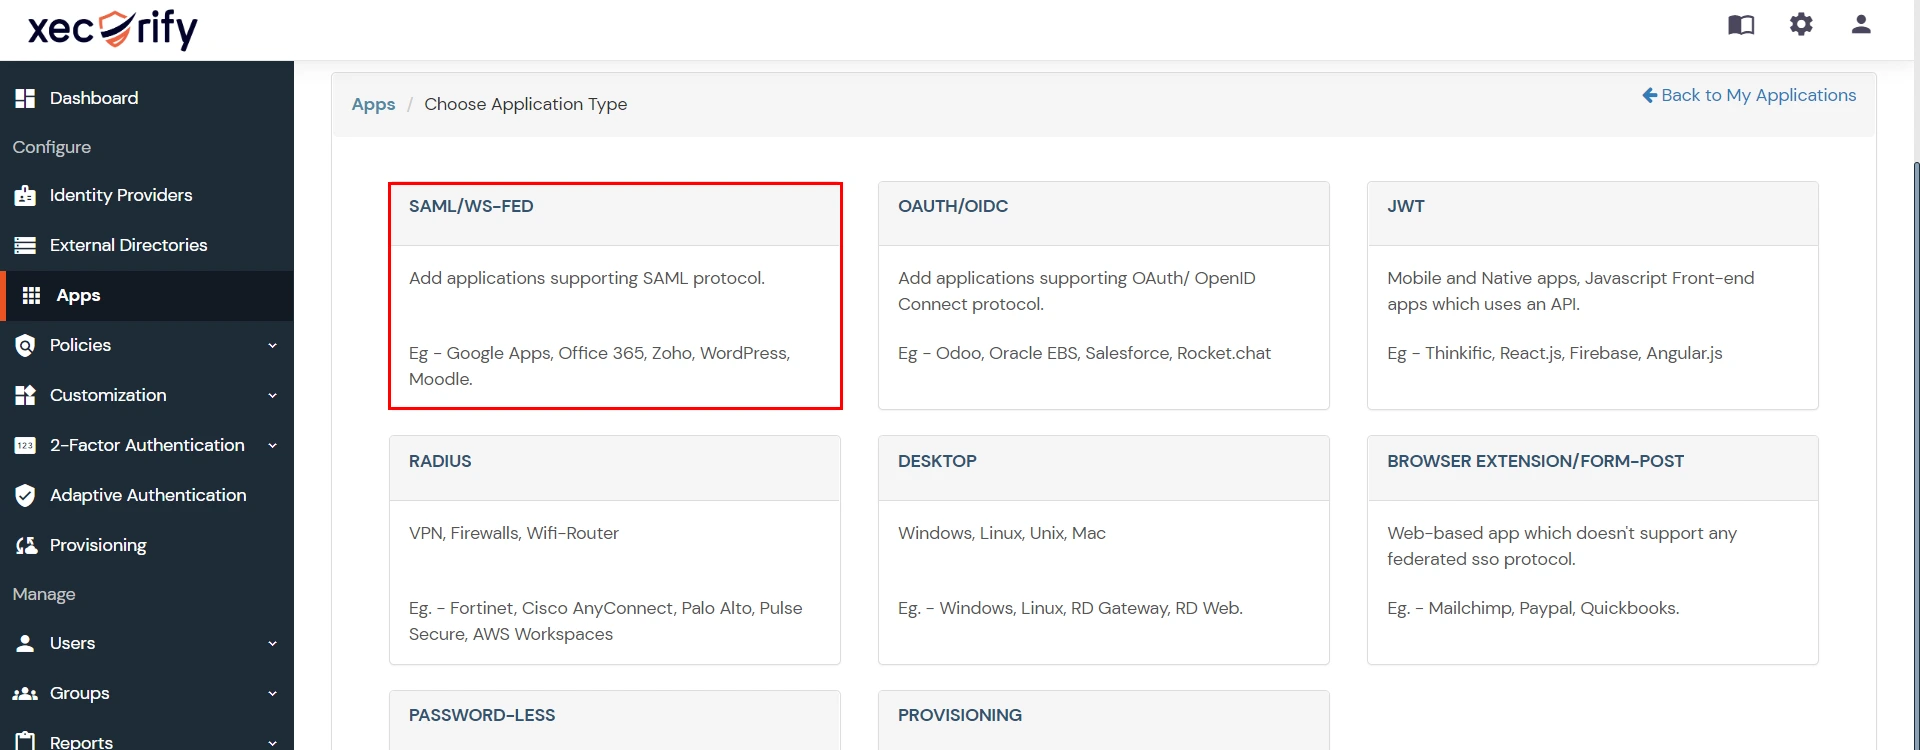
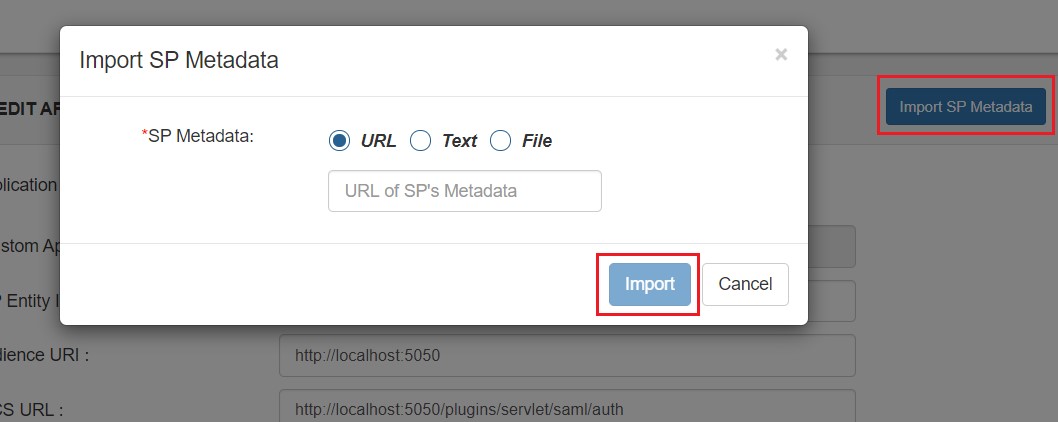
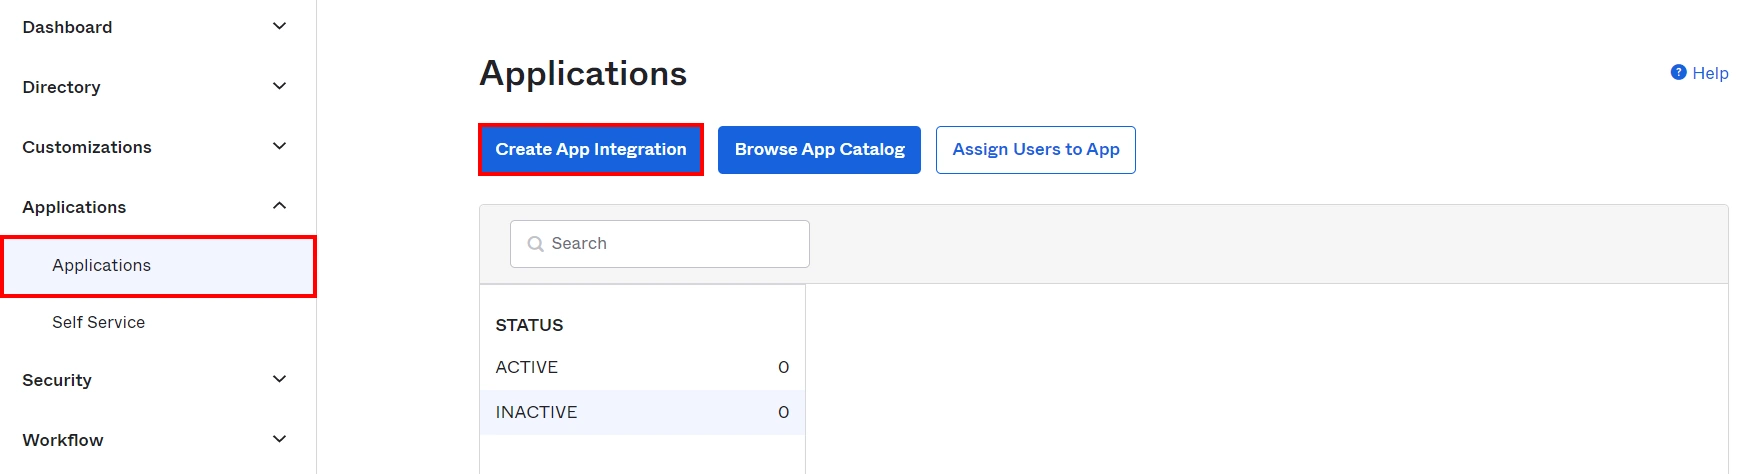
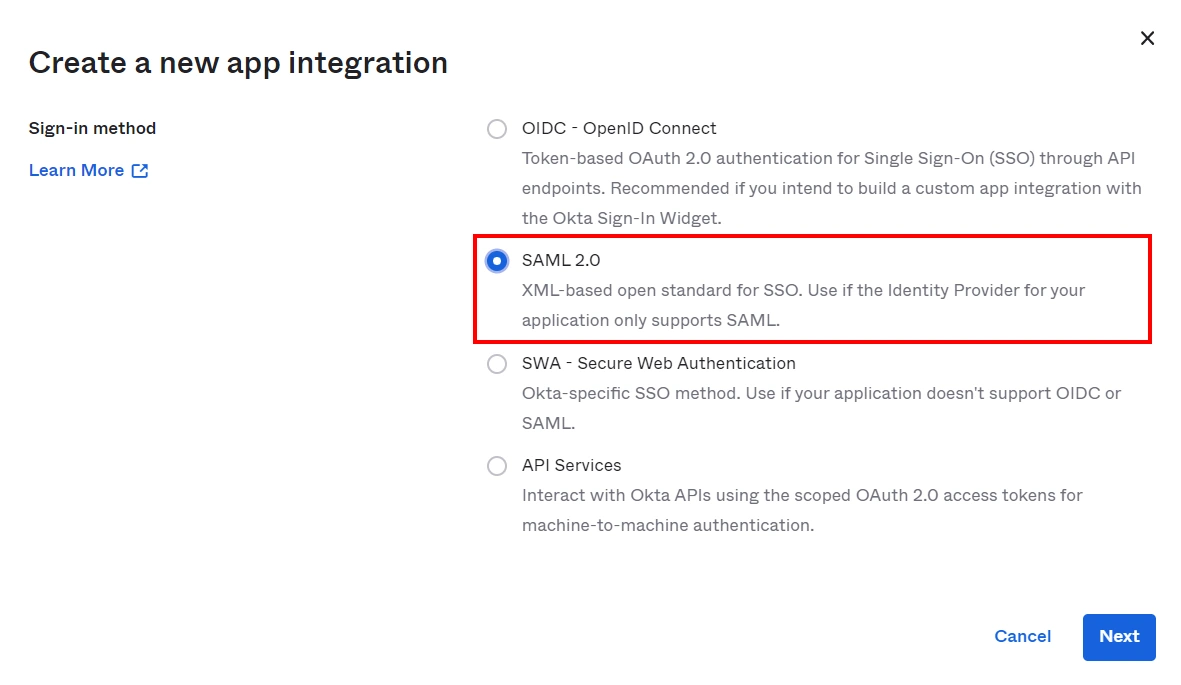
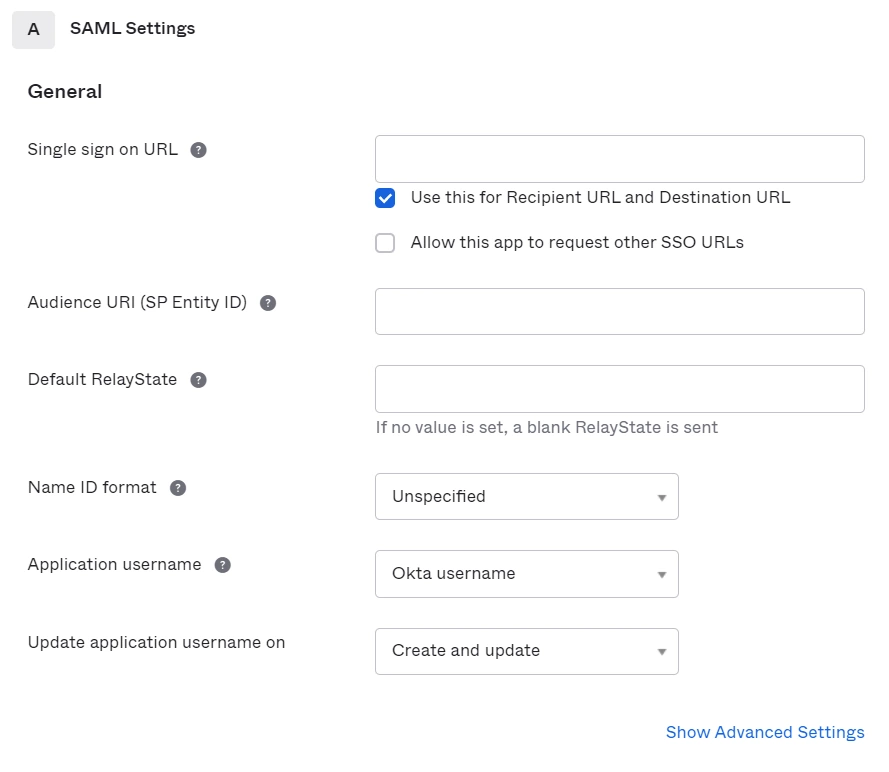
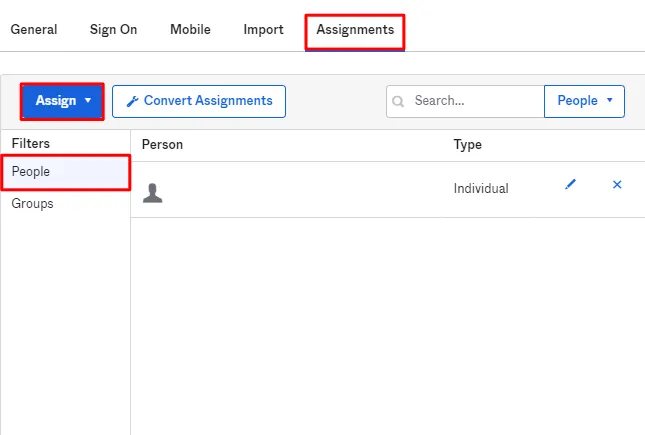
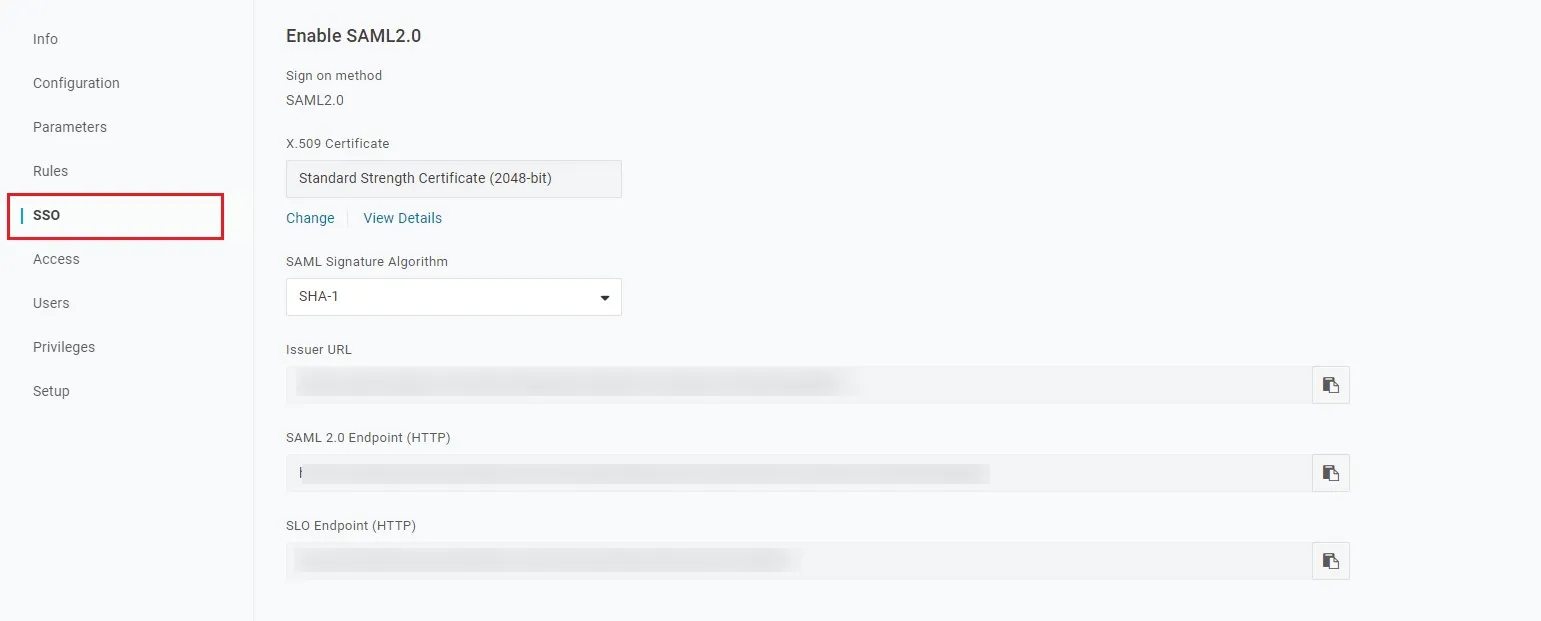
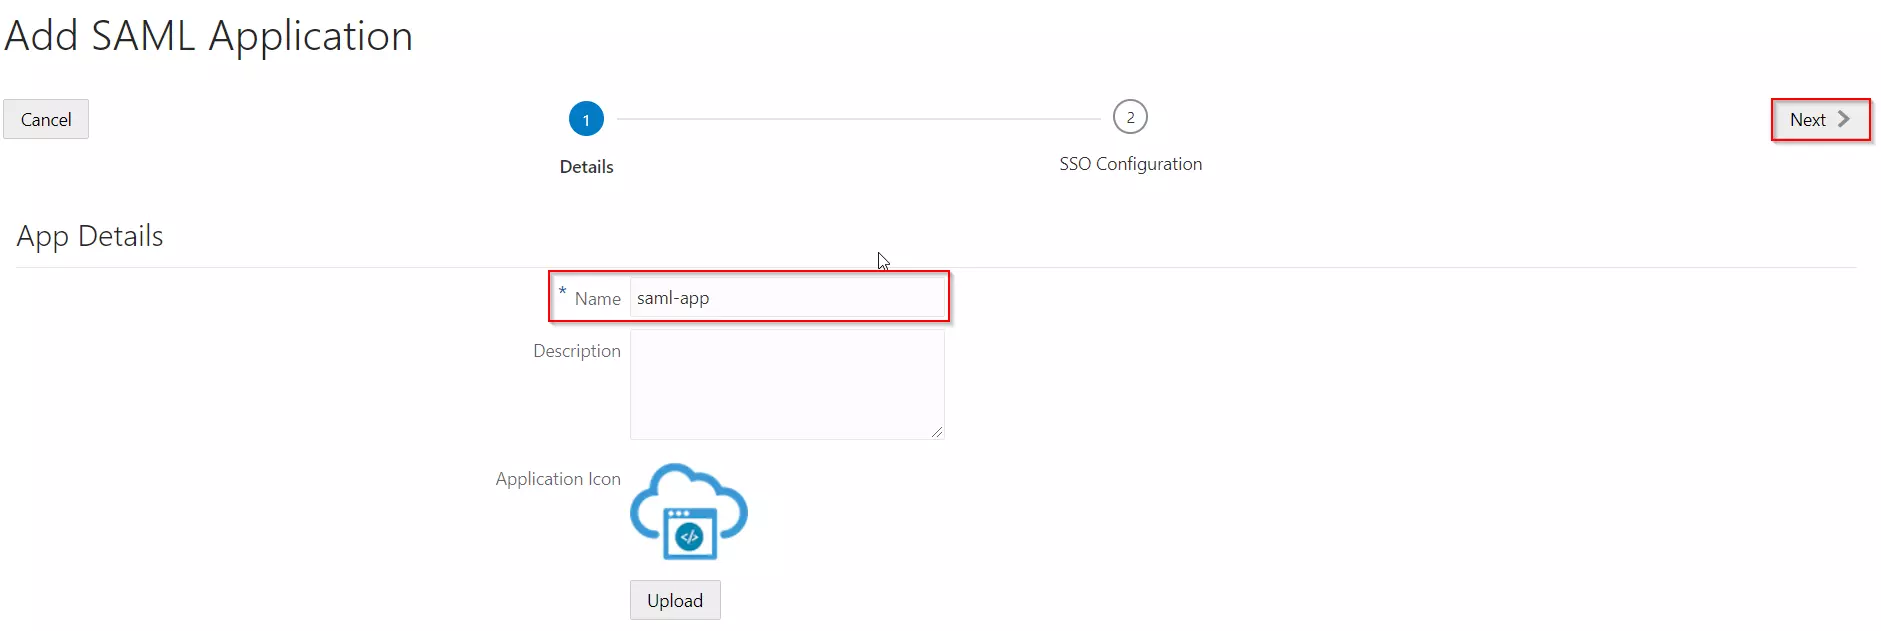
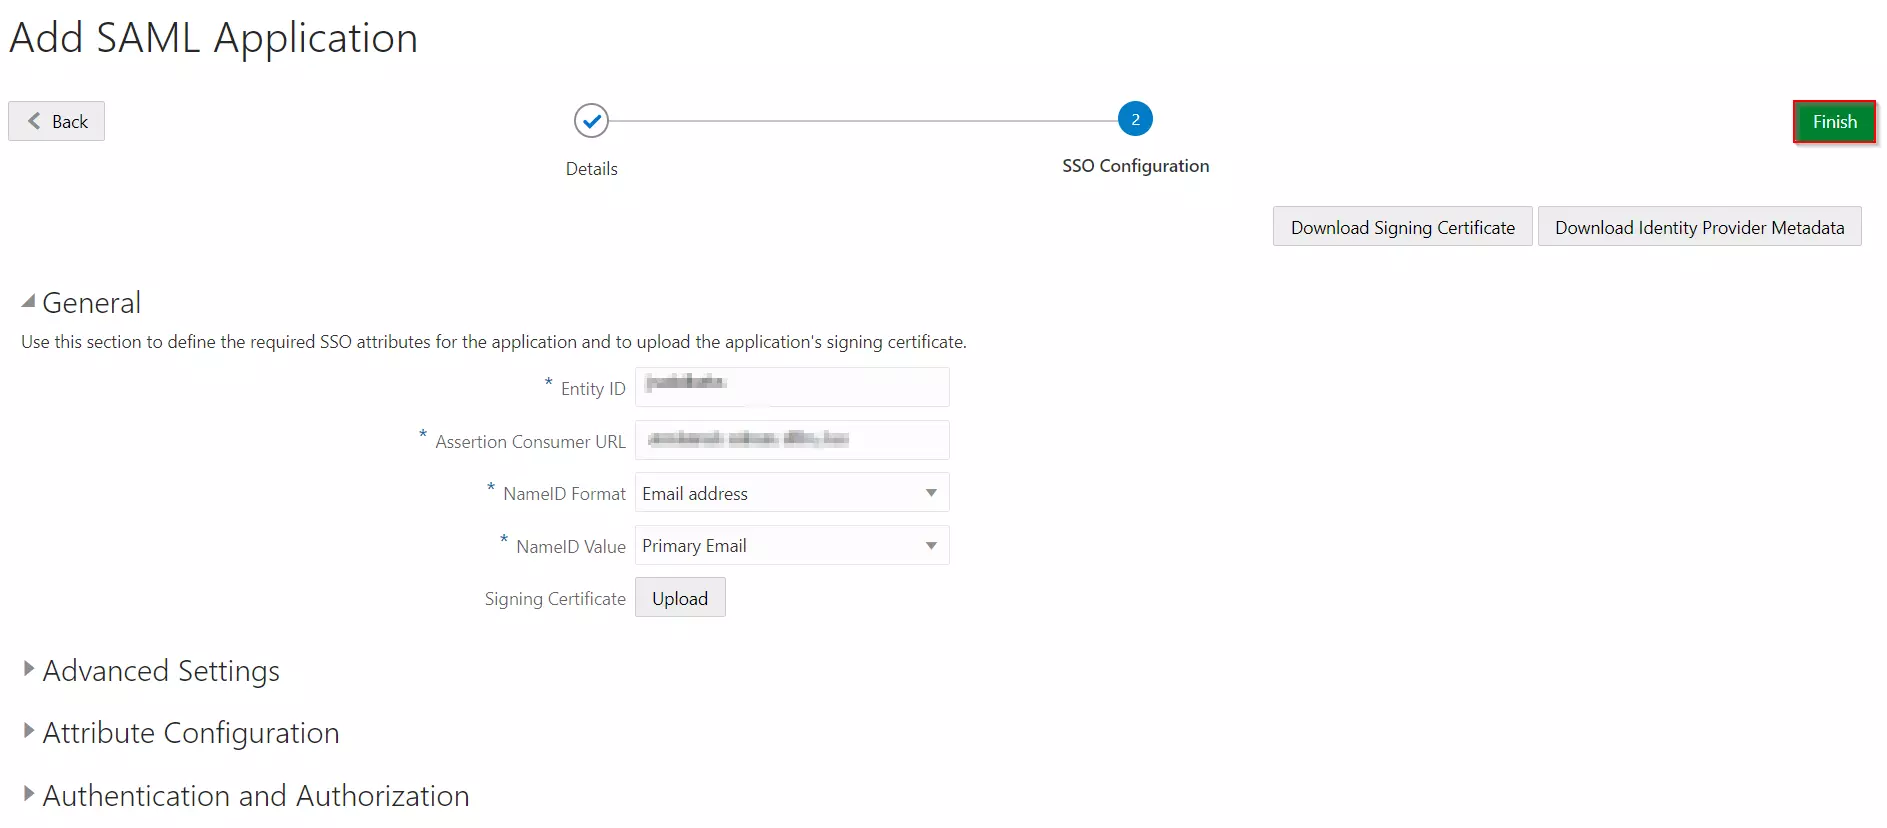
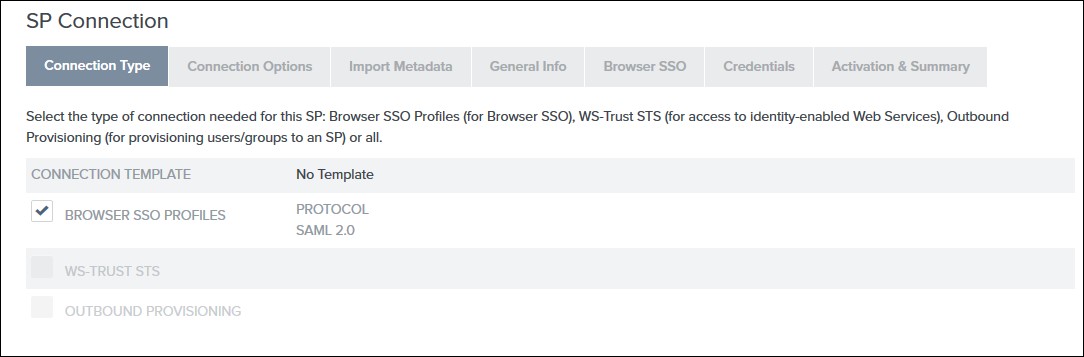
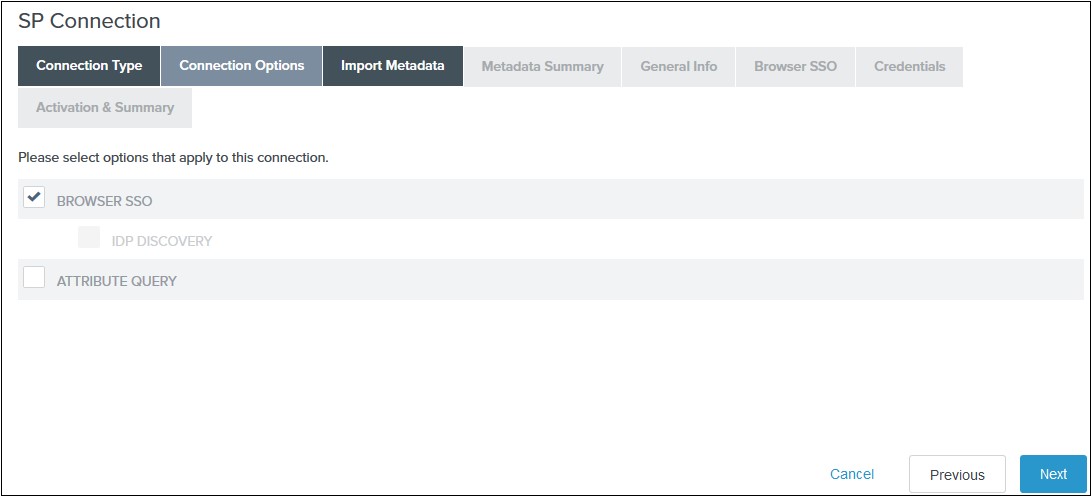
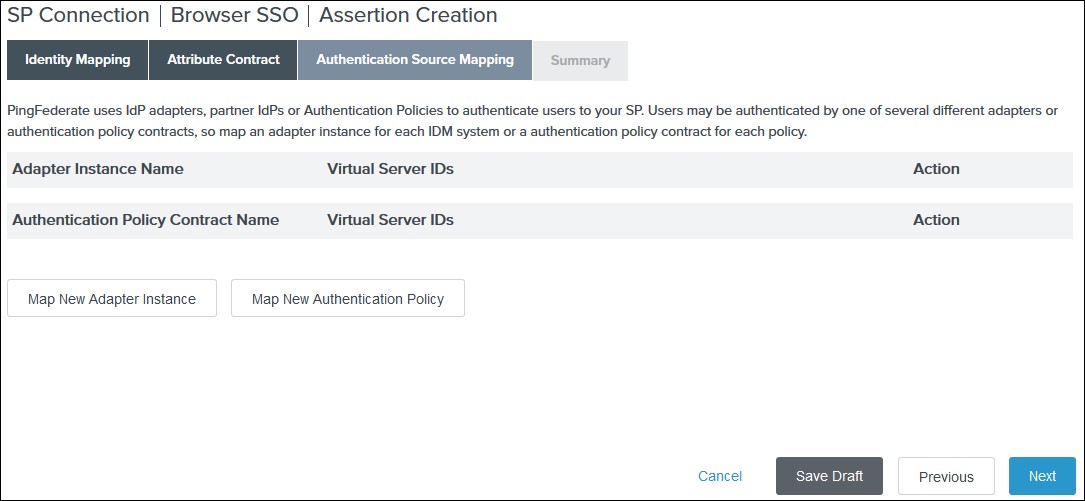
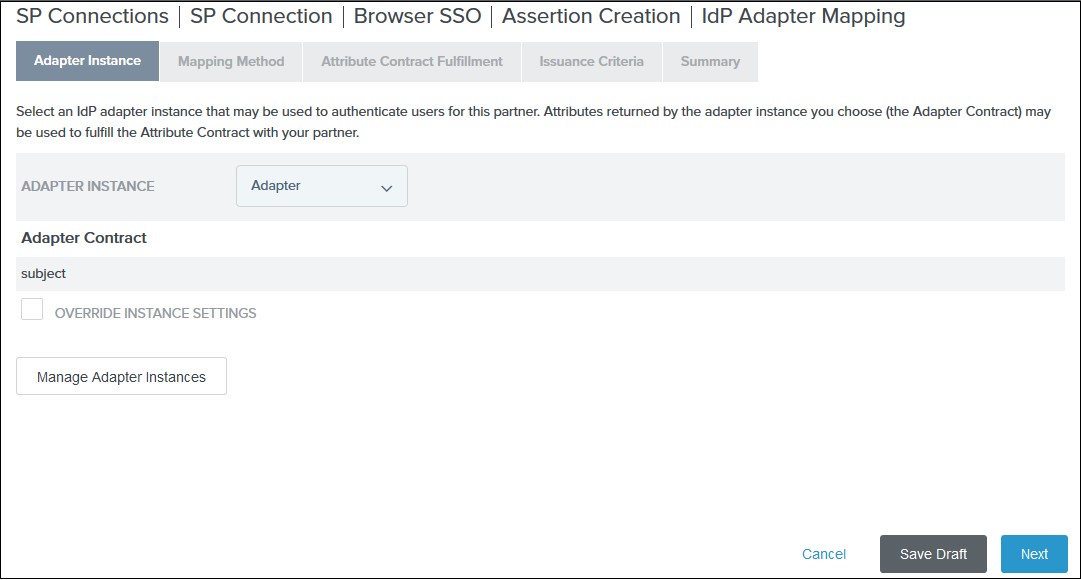
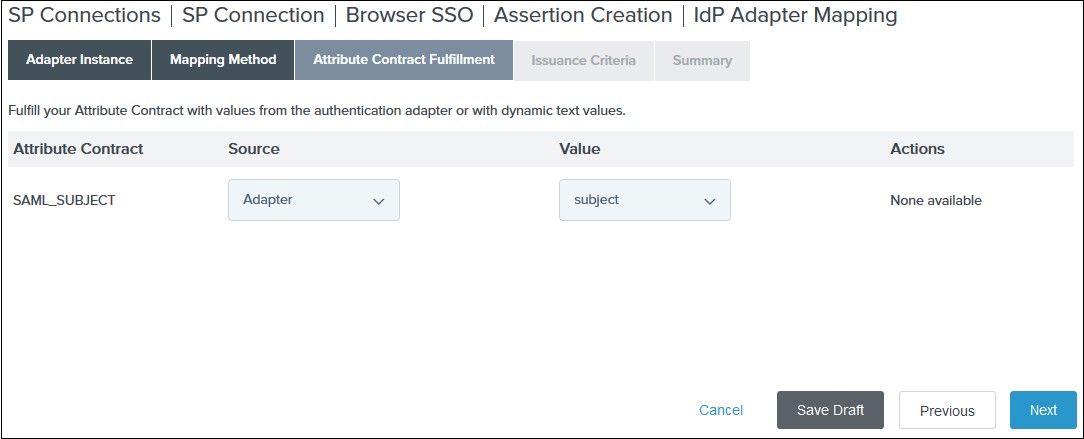
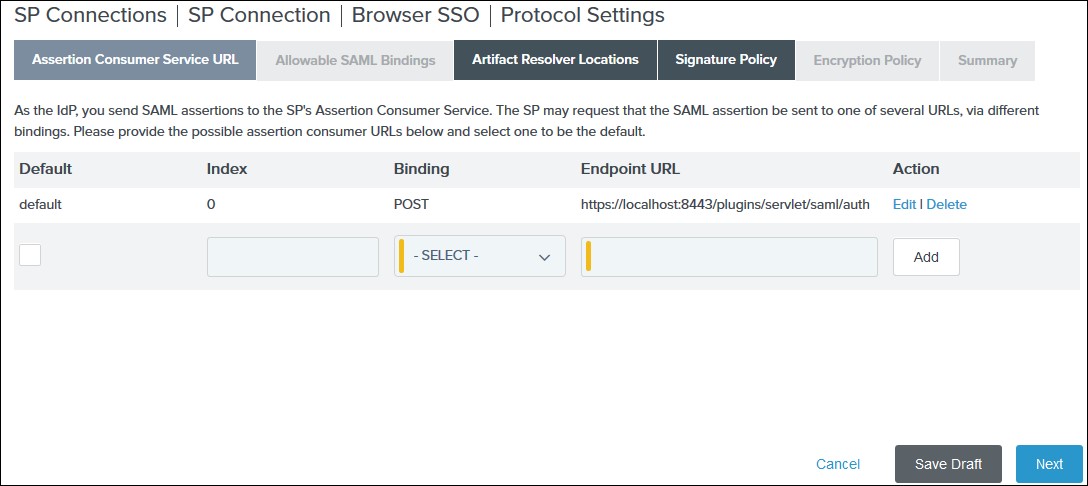
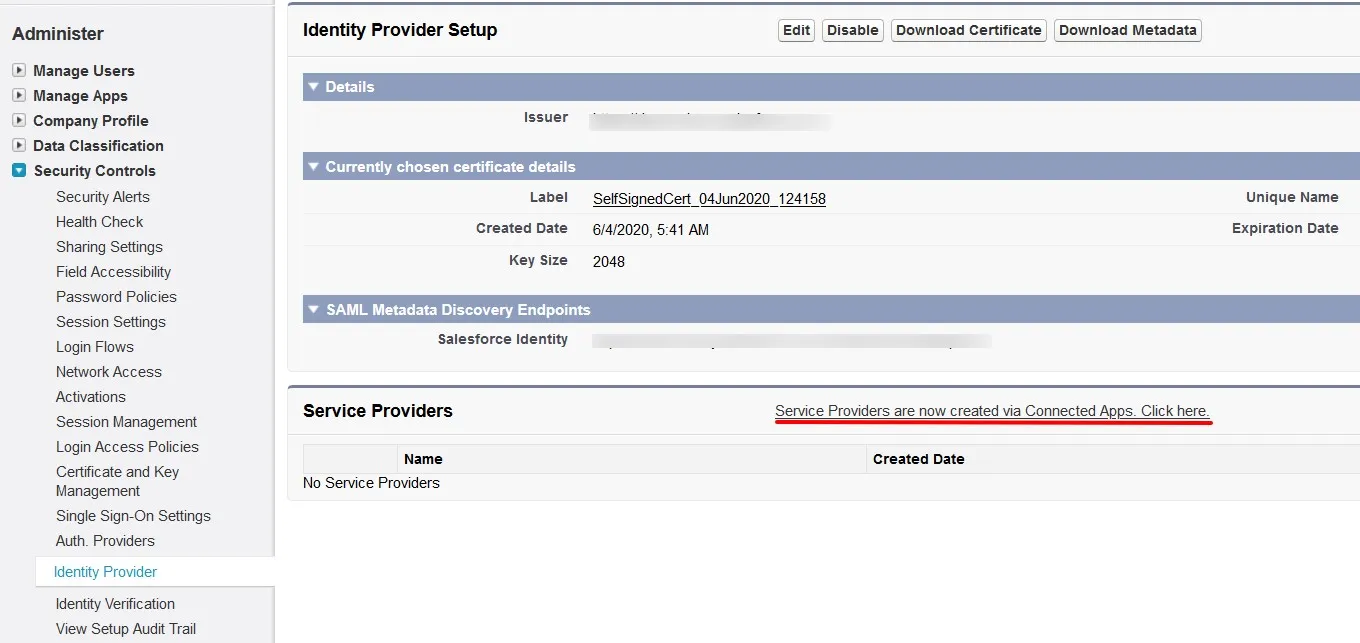
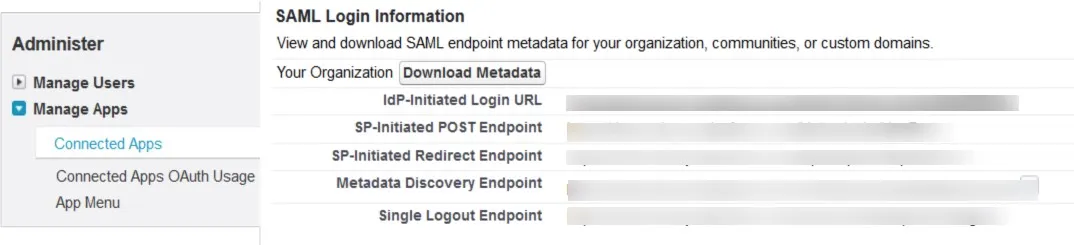
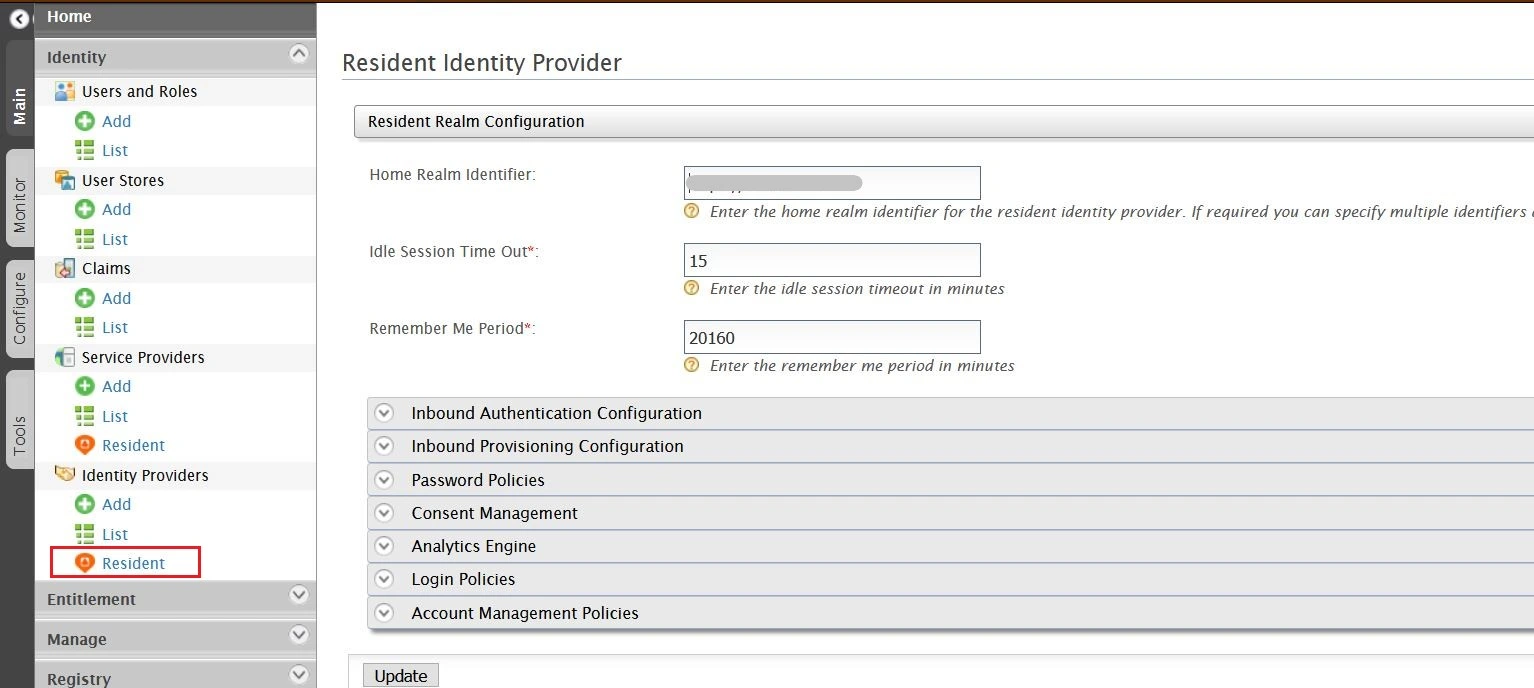
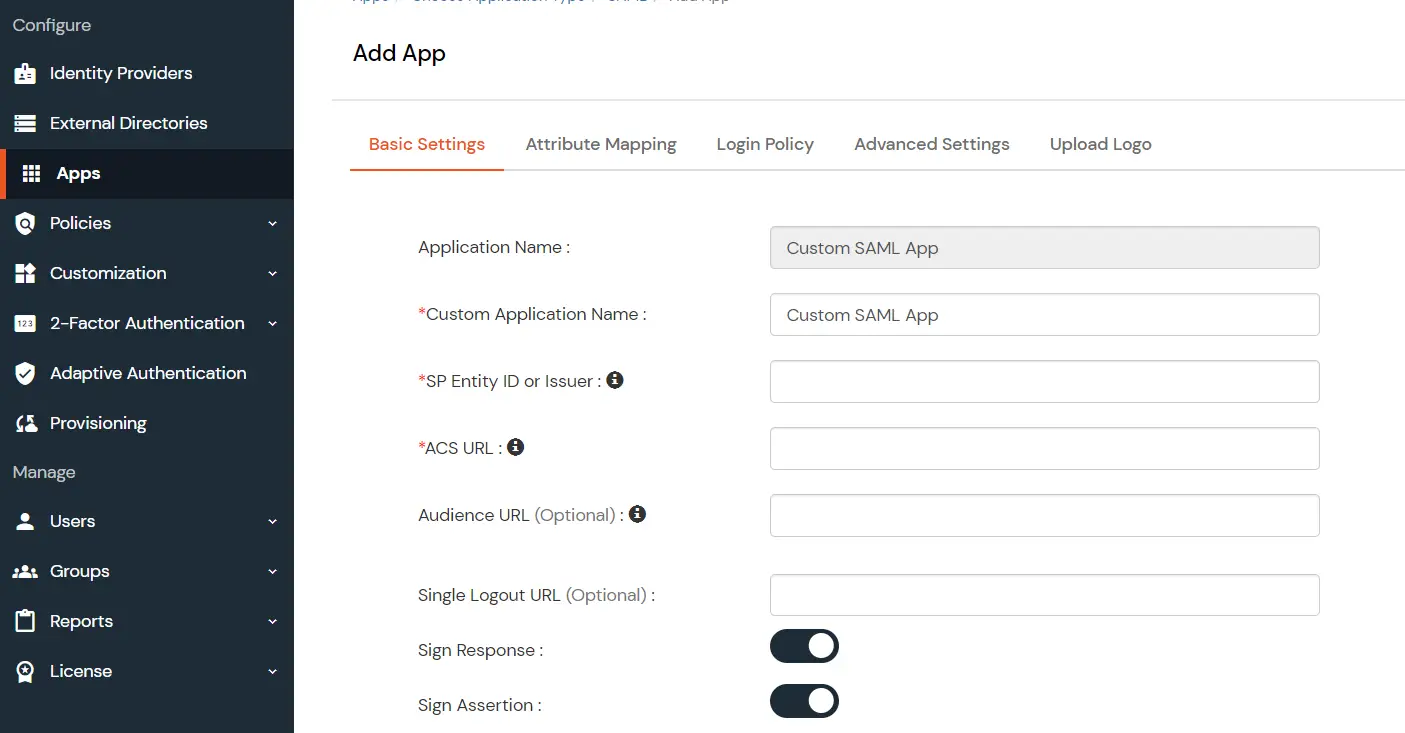
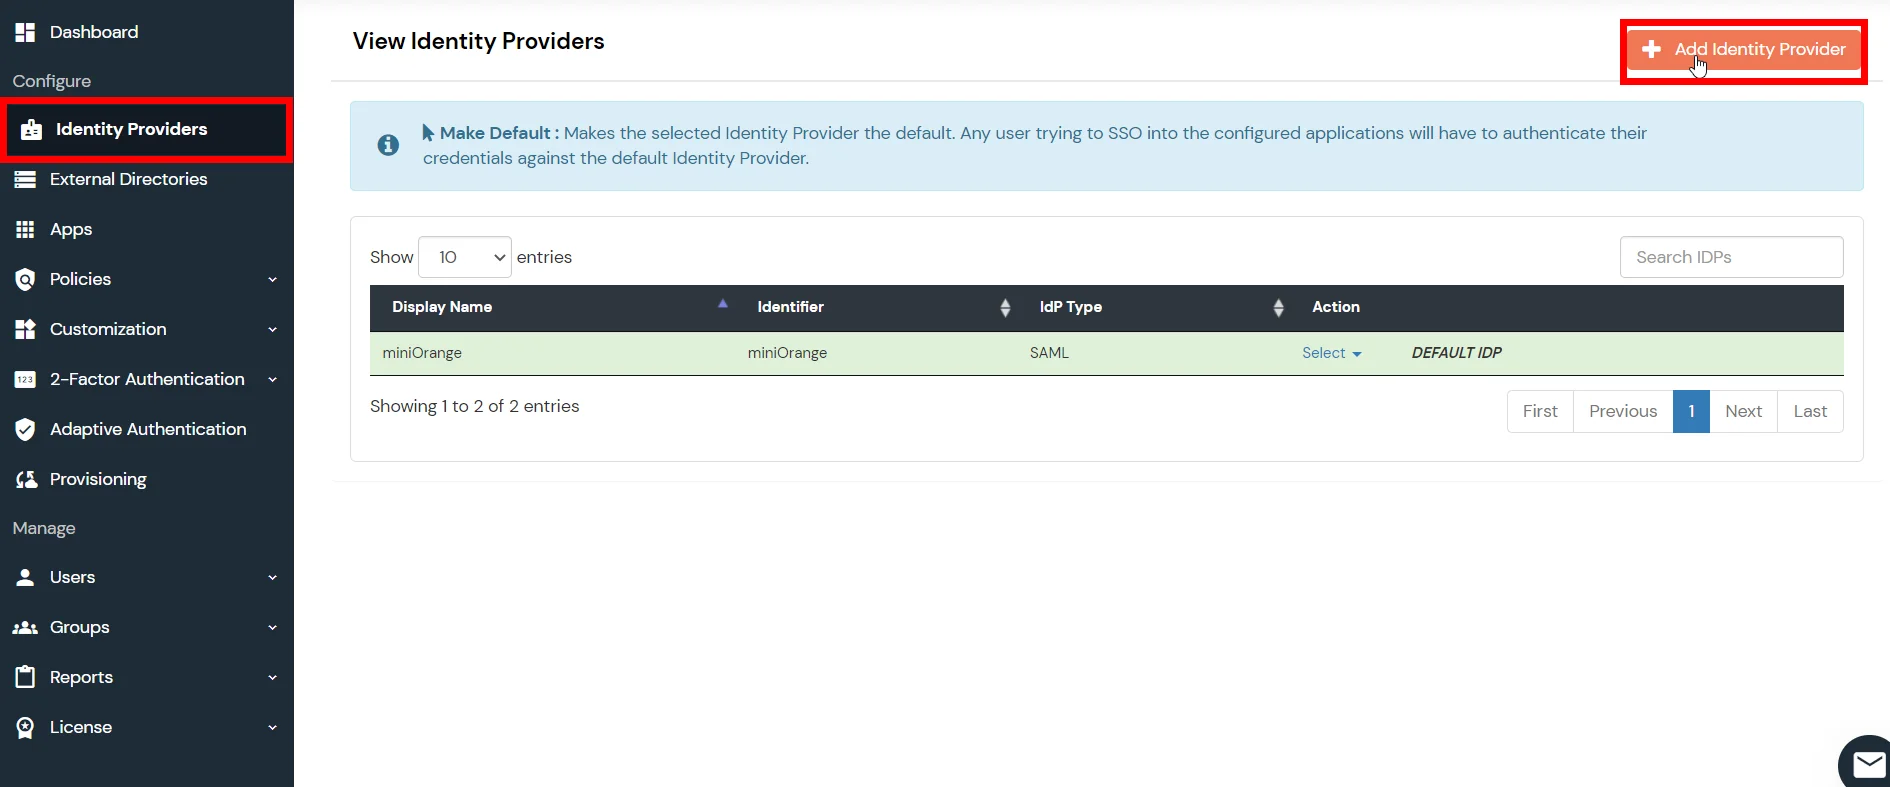
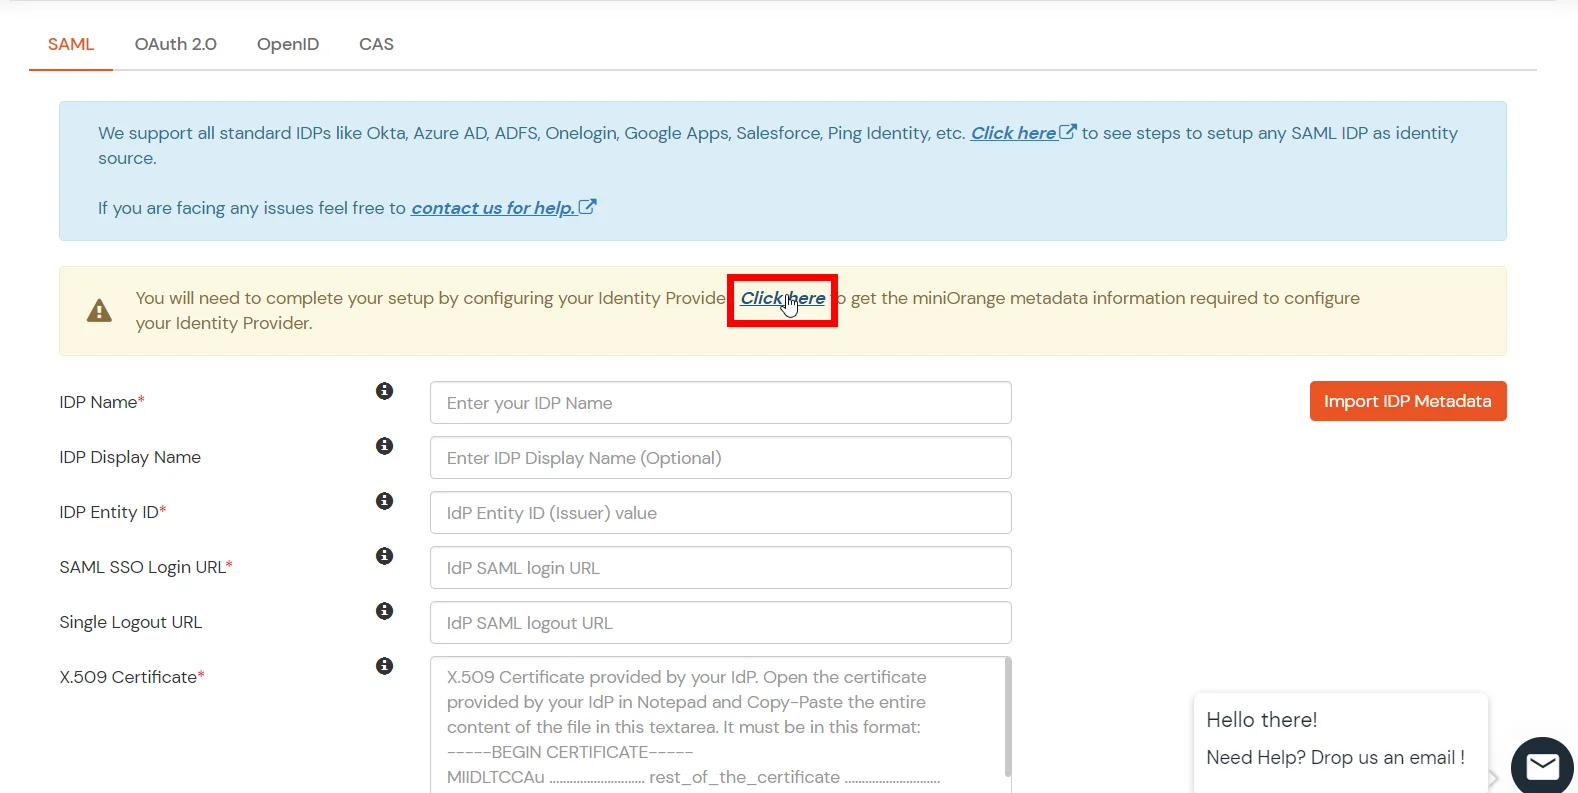
- You need to configure these endpoints in the miniOrange plugin.
| IDP Entity ID |
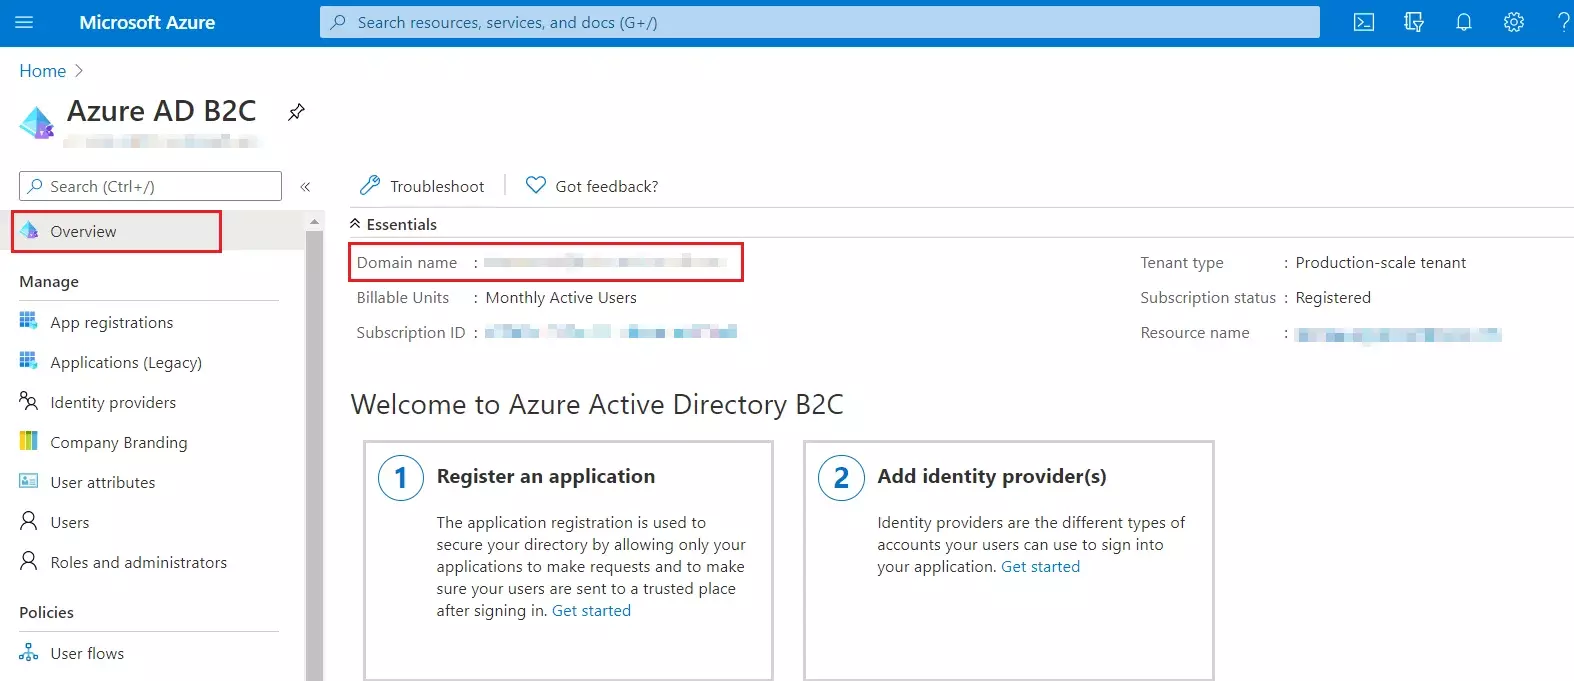
https://<your_domain>/idp/shibboleth |
| Single Login URL |
https://<your_domain>/idp/profile/SAML2/Redirect/SSO |
| Single Logout URL |
https://<your_domain>/idp/shibboleth |
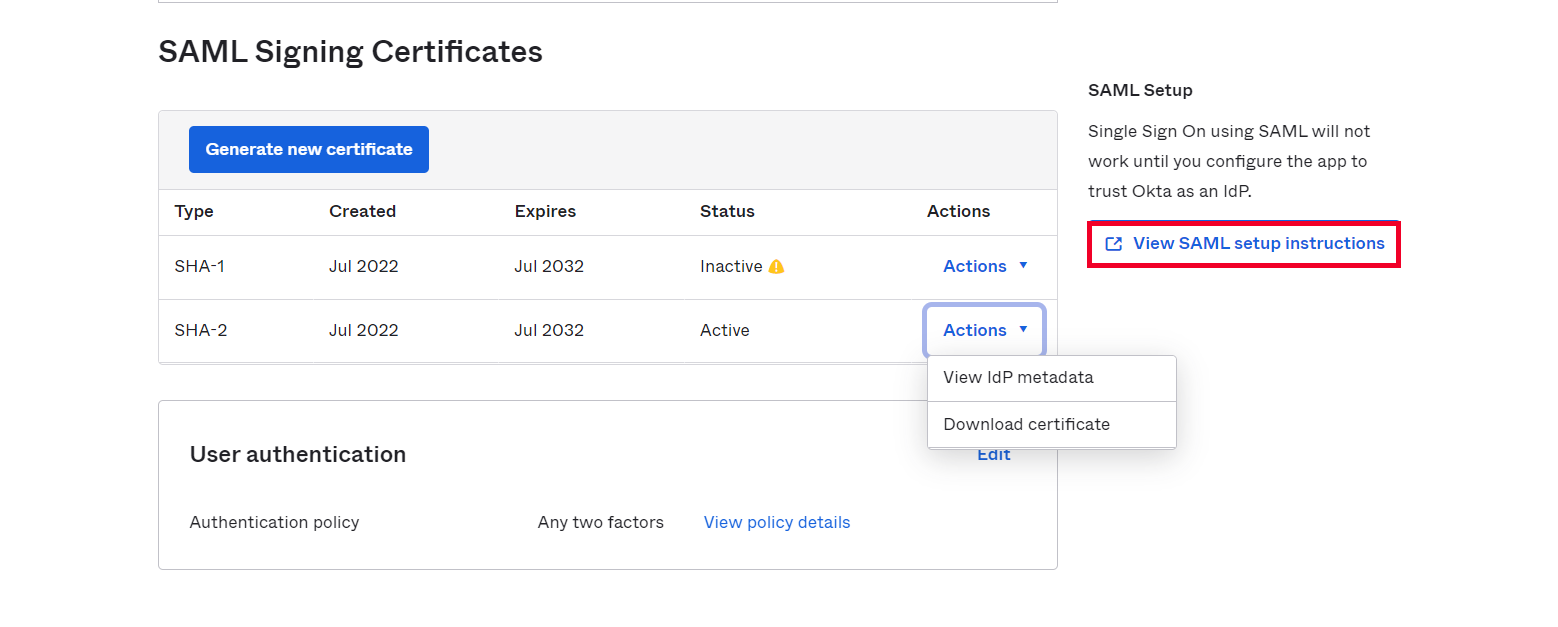
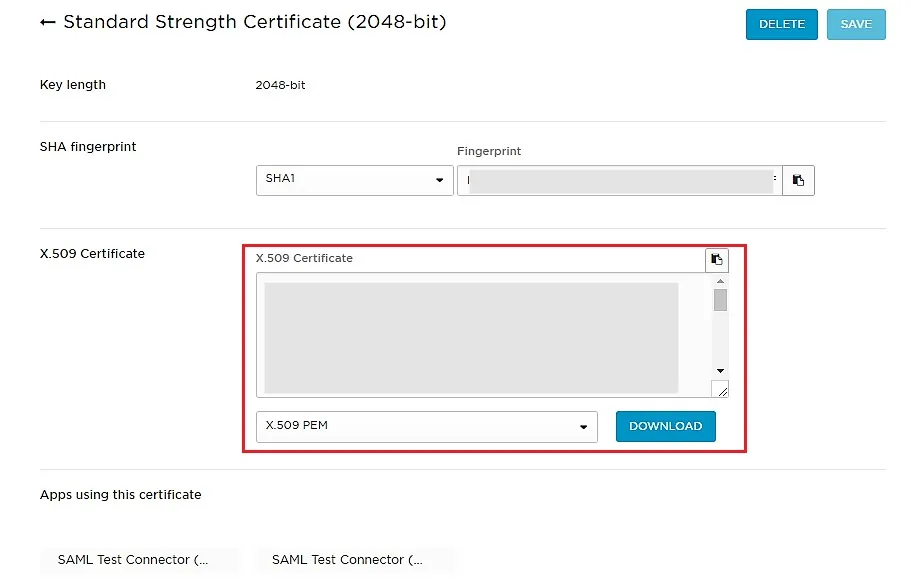
| X.509 Certificate |
The public key certificate of your Shibboleth server |

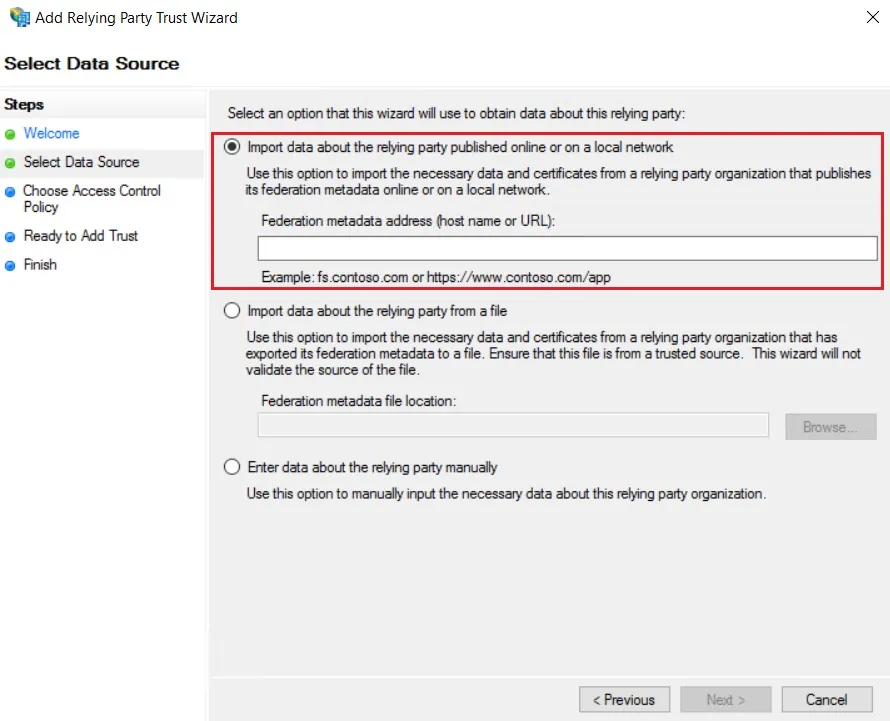
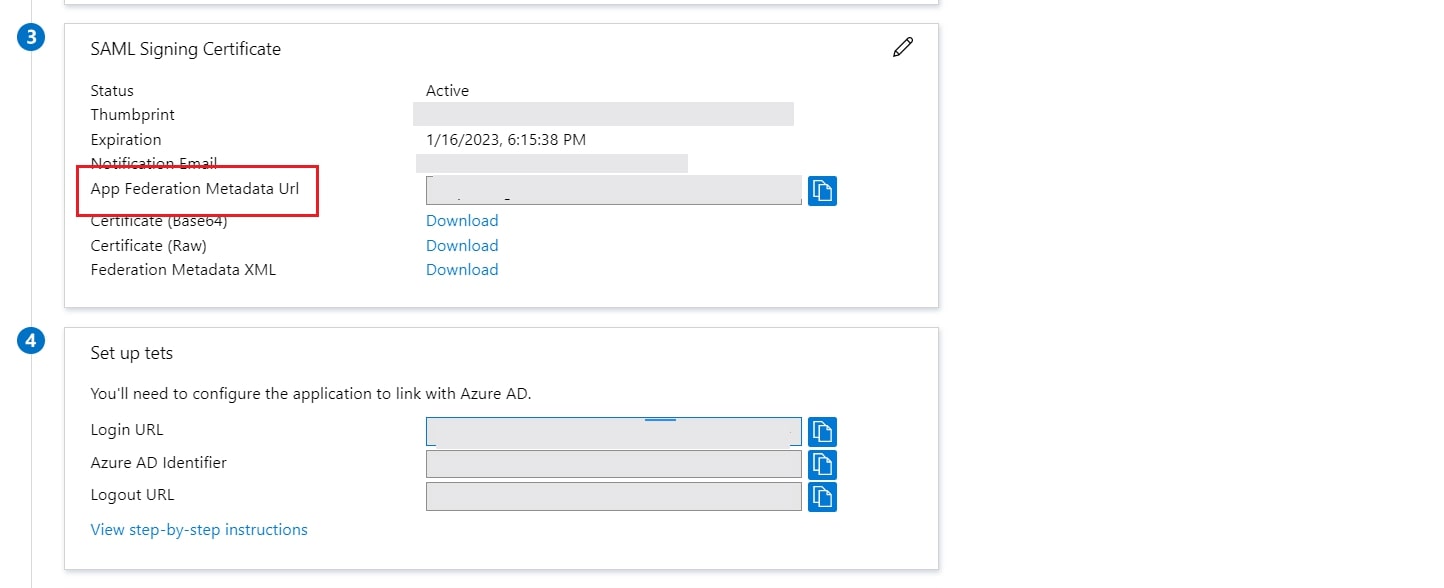
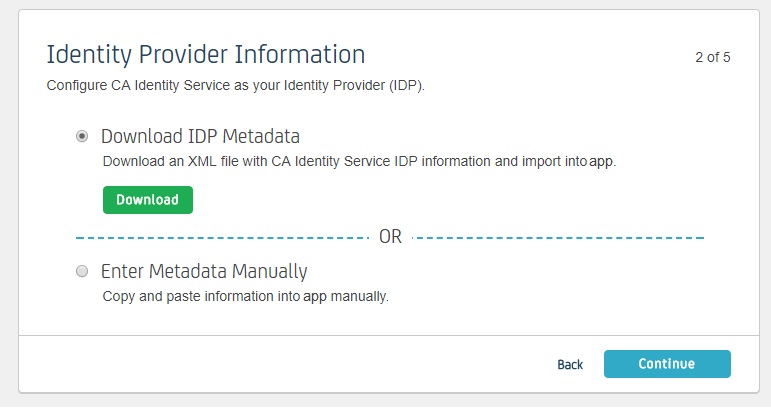
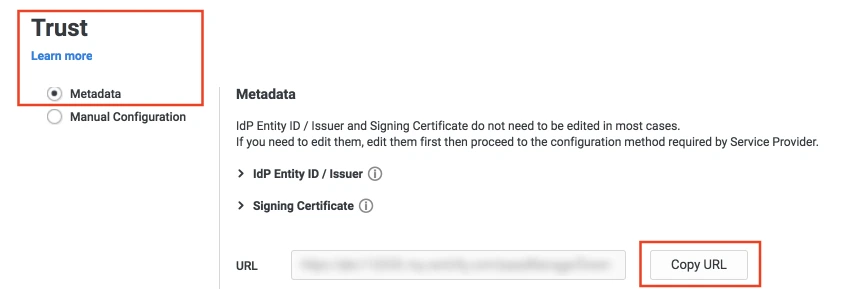
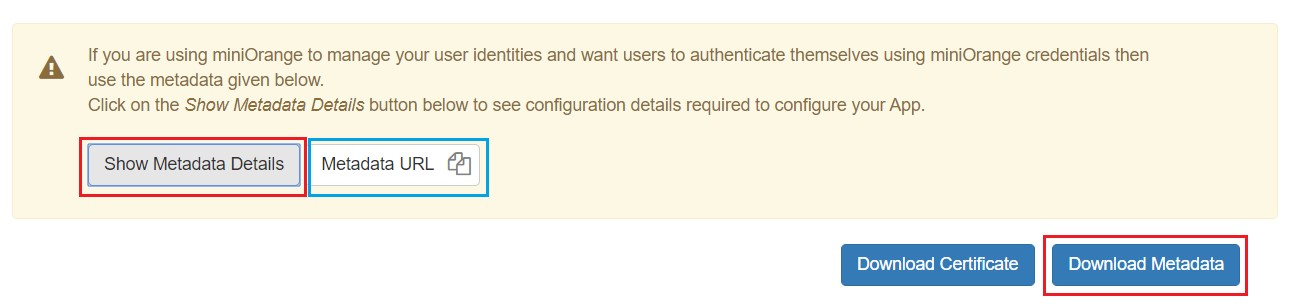
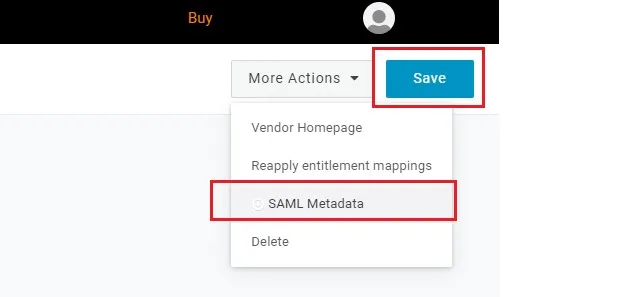
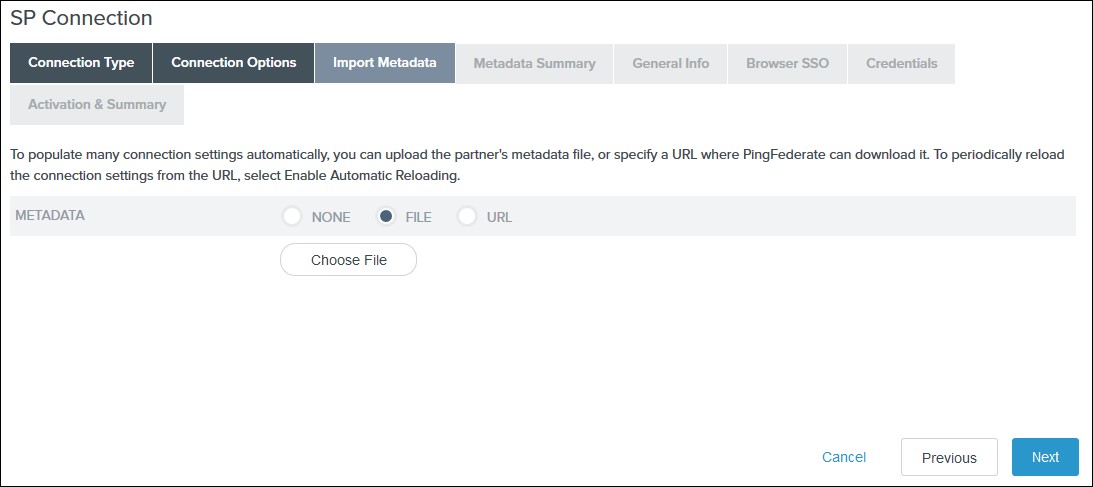
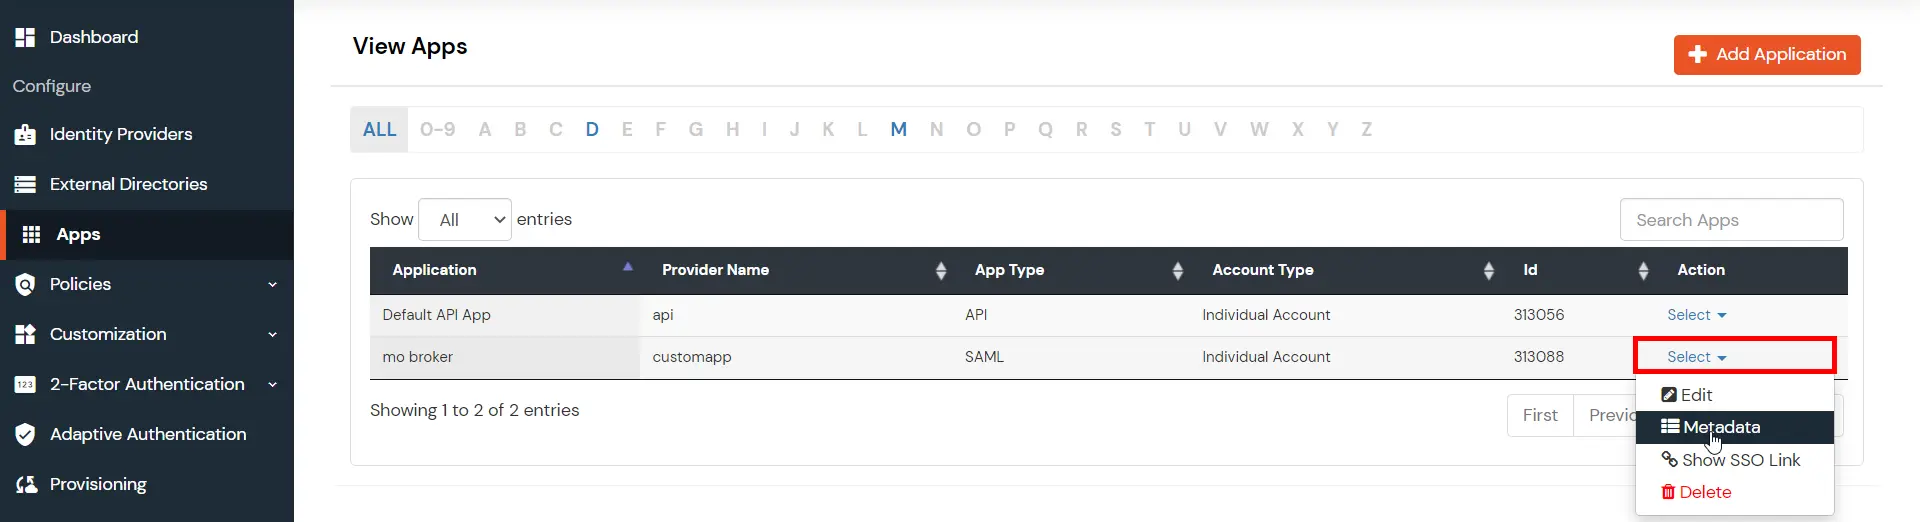
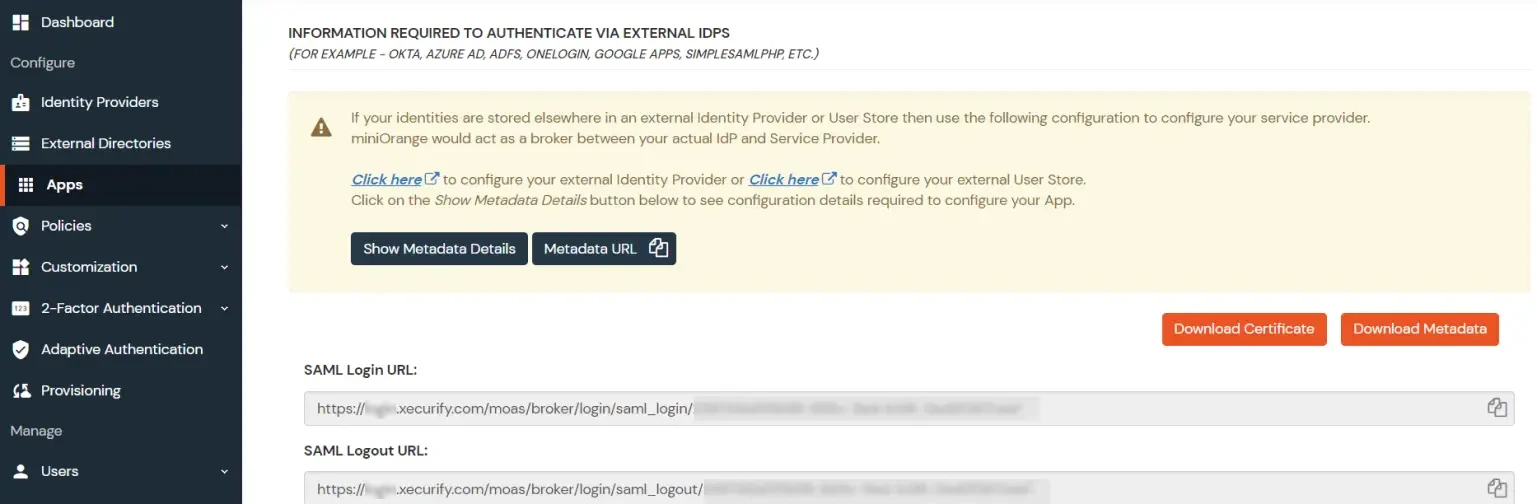
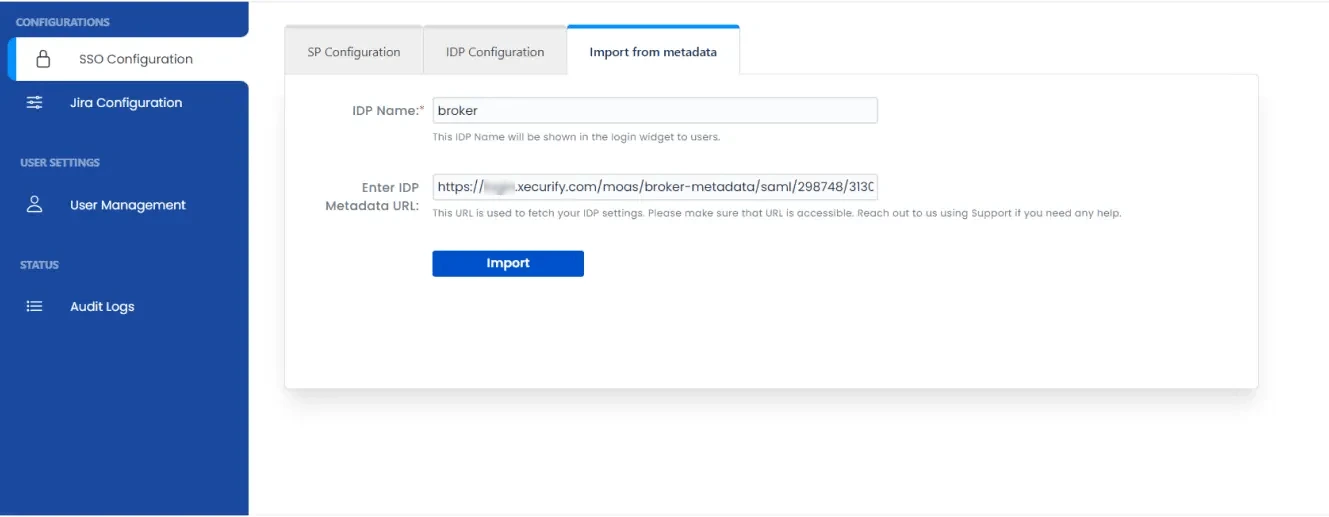
 Using Metadata URL