How to add a WS–FED App
miniOrange supports Single Sign-on into your apps to securely login for admins and users. miniOrange supports several different protocols for your applications such as SAML, WS-FED, OAuth, OIDC, JWT, RADIUS, etc. Using Single Sign-on, users can use one set of credentials to log in to multiple applications. This improves security as it reduces avenues for phishing attacks, and also improves access to your application.
WS-Fed( Web Services Federation) is a protocol that can be used to negotiate the issuance of a token. You can use this protocol for your applications (SP) and for identity providers (IDP). miniOrange provides SSO for WS-Fed apps, where you can add any app which supports WS-FED standard protocol for single sign-on. Few popular apps with out of the box integration are Microsoft Exchange Server, Dynamic CRM, etc.
Configure Single Sign-On (SSO) Settings for WS-FED Apps:
- Login into miniOrange Admin Console.

- Click on Apps. It shows a list of all configured applications and option to modify them. Click on Add Application.

- Under Choose Application, select SAML/WS-FED from the All Apps dropdown.
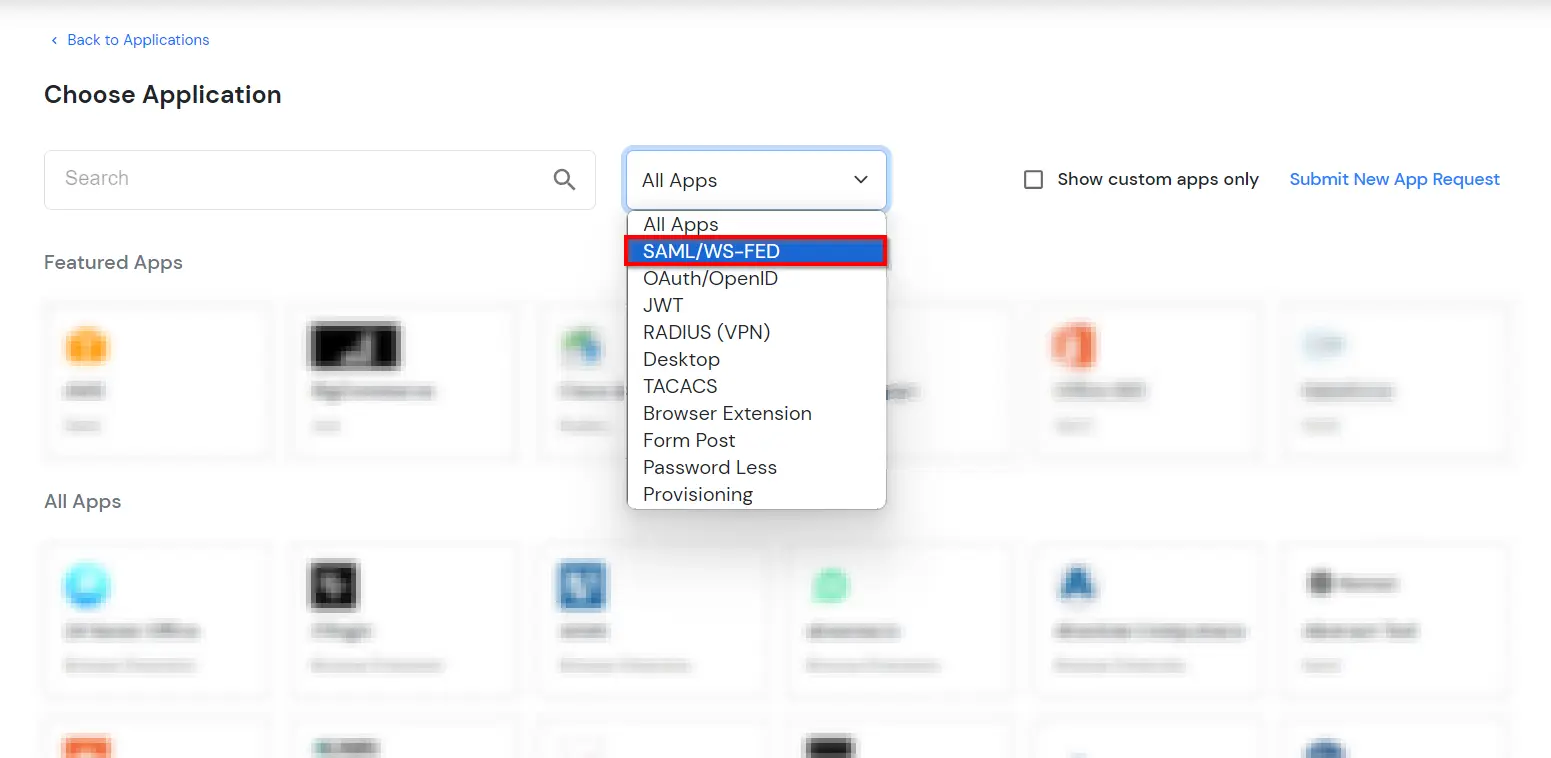
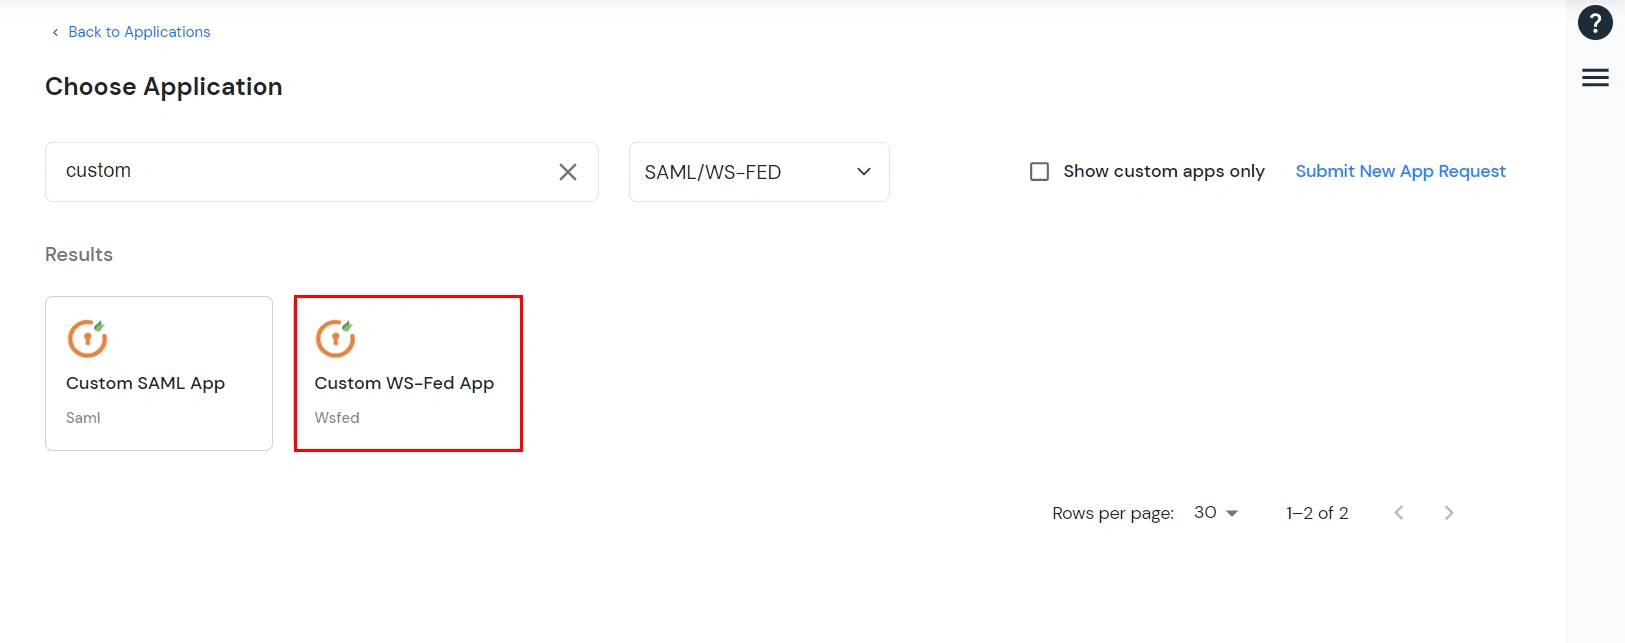
- You can add any app which supports WS-FED standard protocol for single sign-on. Few popular apps with out of the box integration are Microsoft Exchange Server, Dynamic CRM, etc. If your application is not found. Search for custom and you can set up your app via Custom WS-Fed App.
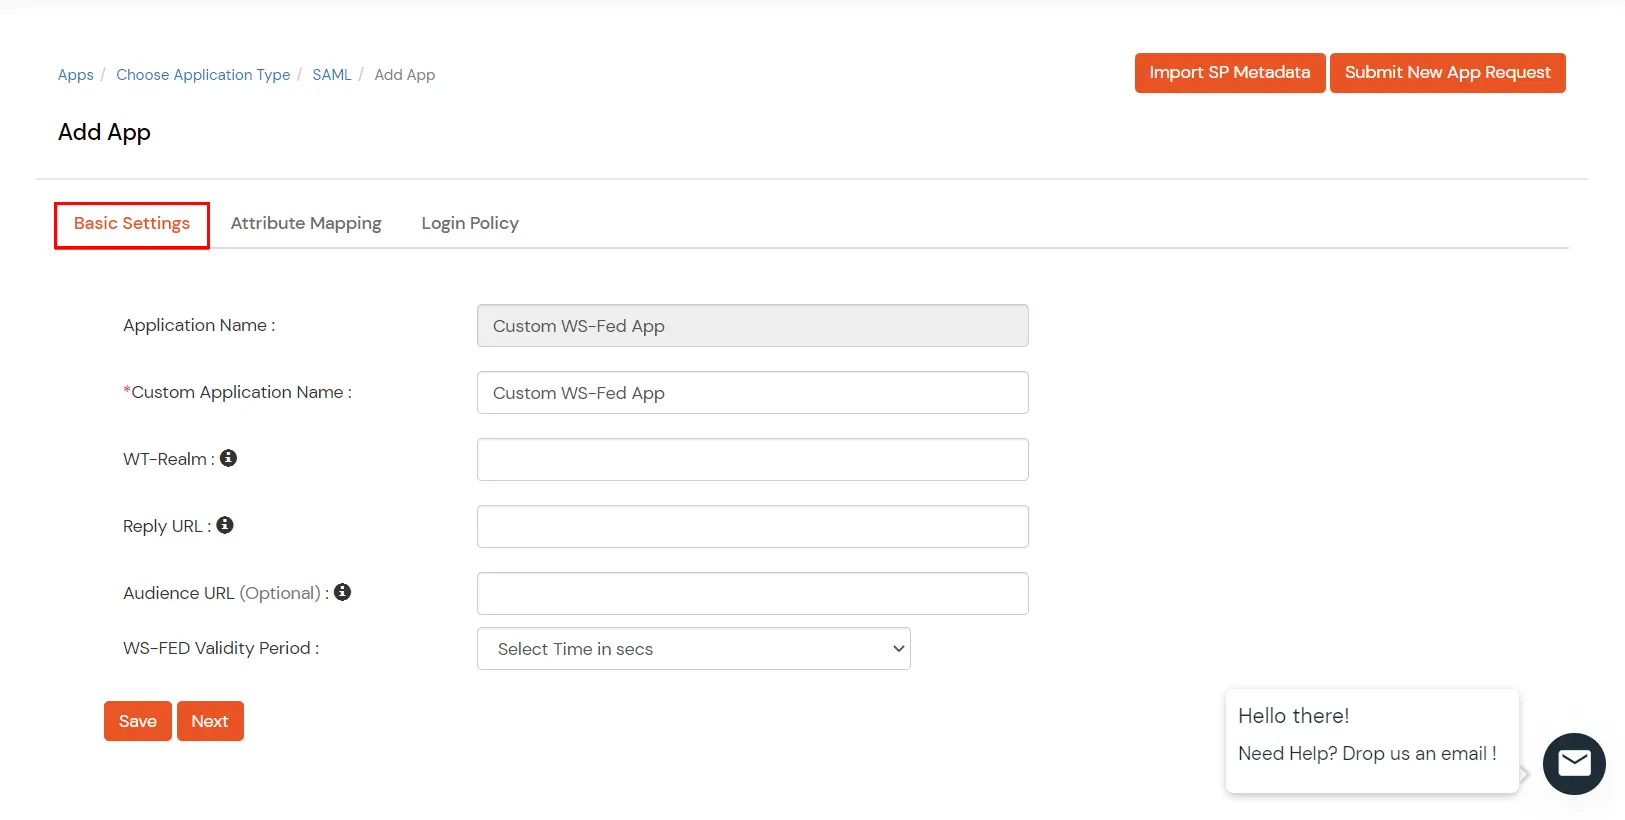
- Under Basic Settings, enter the Custom Application Name.
- Enter the WT-Realm i.e. Callback URL, and the Reply URL. Make sure Reply URL is in this format
https://<mycompany.domainname.com>
- Enter the Audience URL, which is most often the SP entity ID of your Application. (Optional)
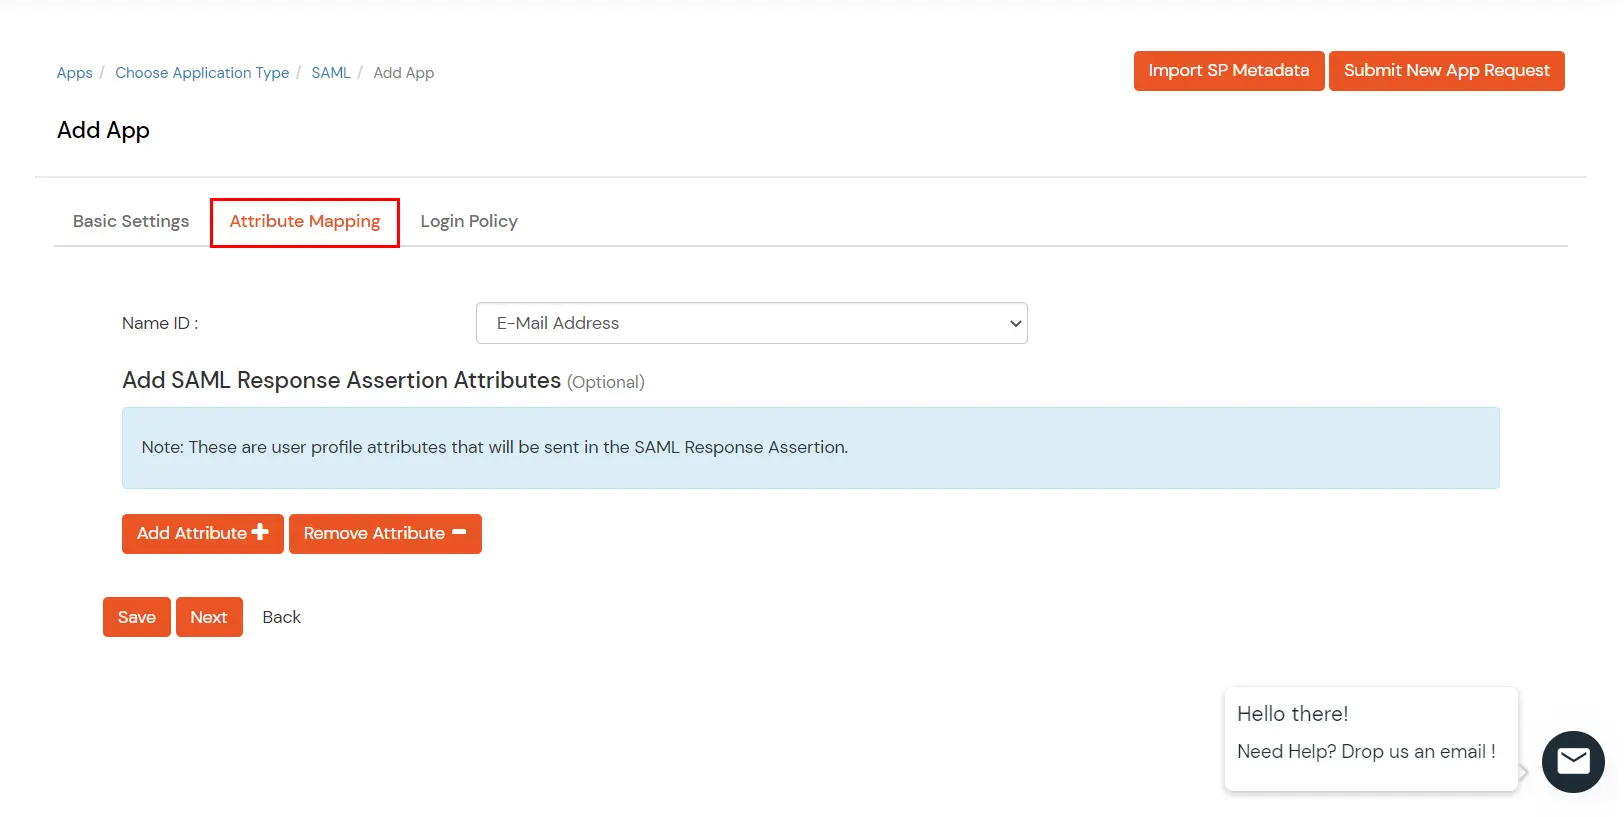
- The Attribute Mapping section allows you to select a Name ID (Username, Phone number, E-mail address etc.).
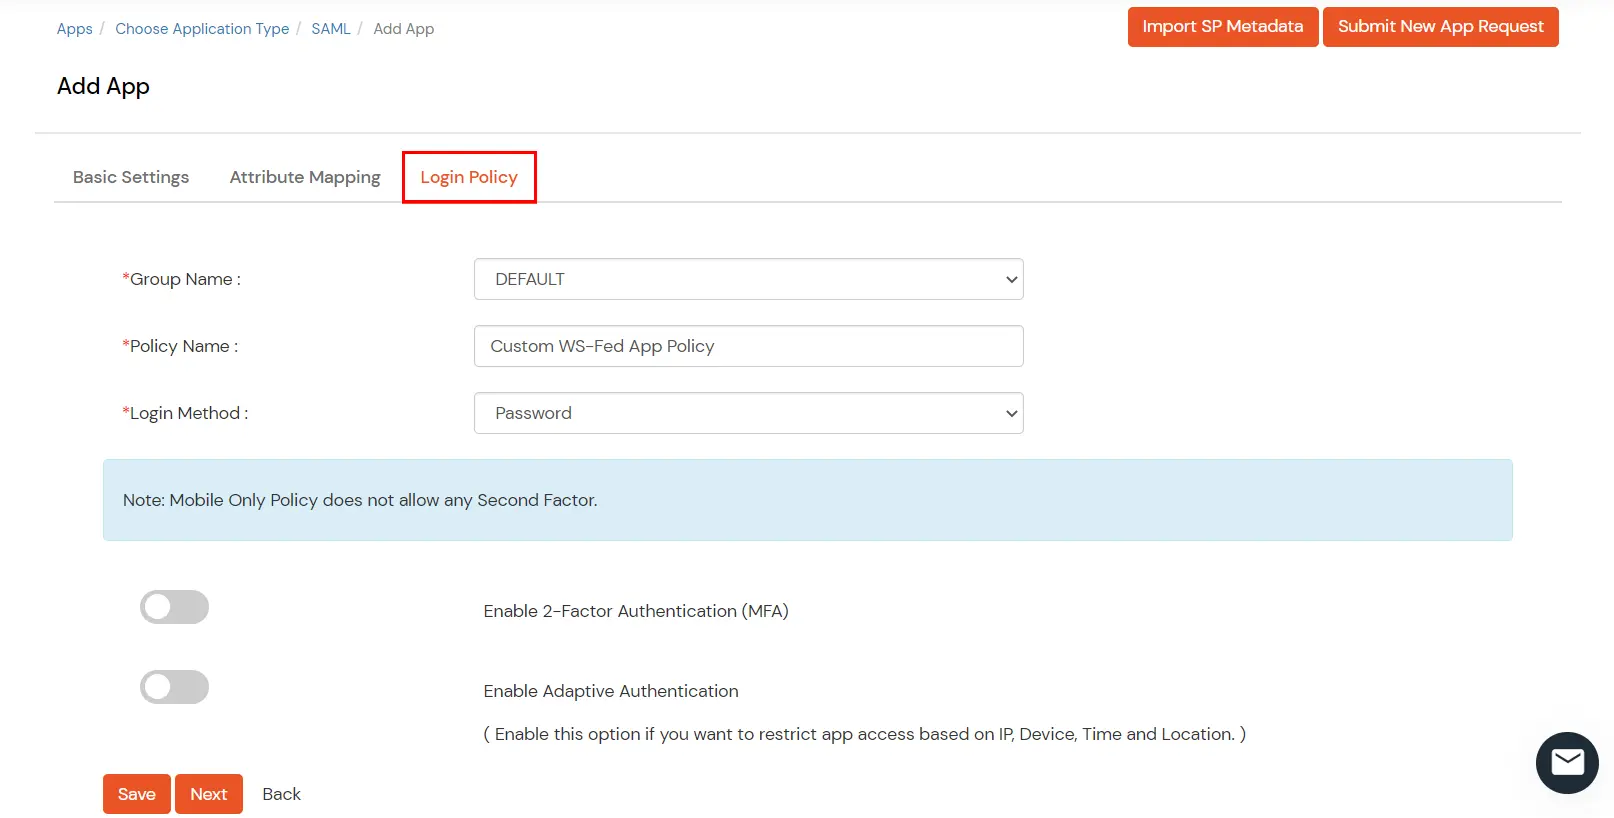
- The Login Policy section allows you to add a new policy for Custom WS-FED.
- Select a Group Name from the dropdown - the group for which you want to add Custom Apps policy.
- Give a policy name for Custom App in Policy Name.
- Select the login method type (Password or Password-less).
- Enable 2-Factor/Adaptive authentication if required
- Click on Save button to add policy for App.
Edit your Application by following the steps below:
- Login as a customer from the Admin Console.
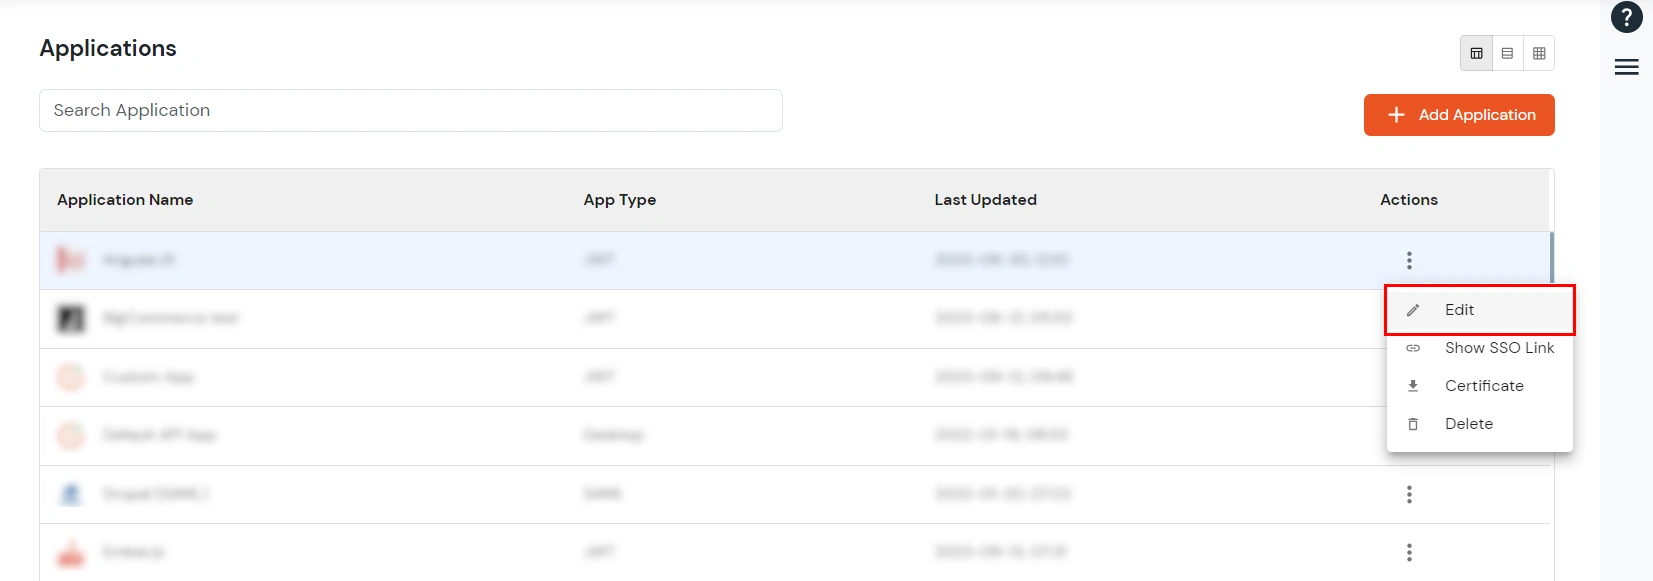
- Go to Apps. From the list of apps configured, locate the app you created. Click on the Select >> Edit option present in front of that specific app to edit your application.
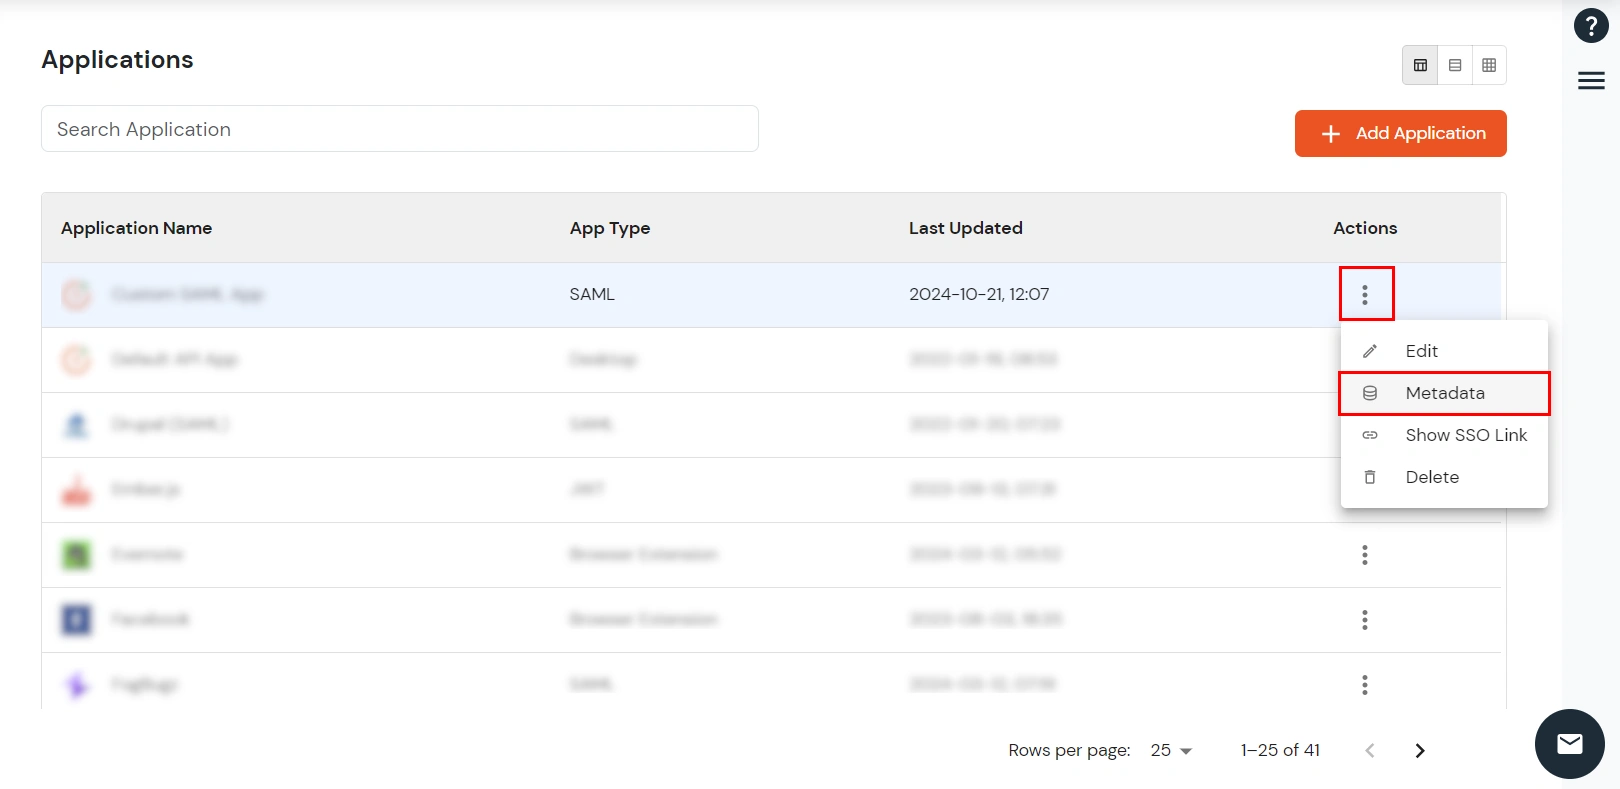
- To check metadata, click on the Select >> Metadata option.
- Download the certificate and check metadata from the Show Metadata Details field.
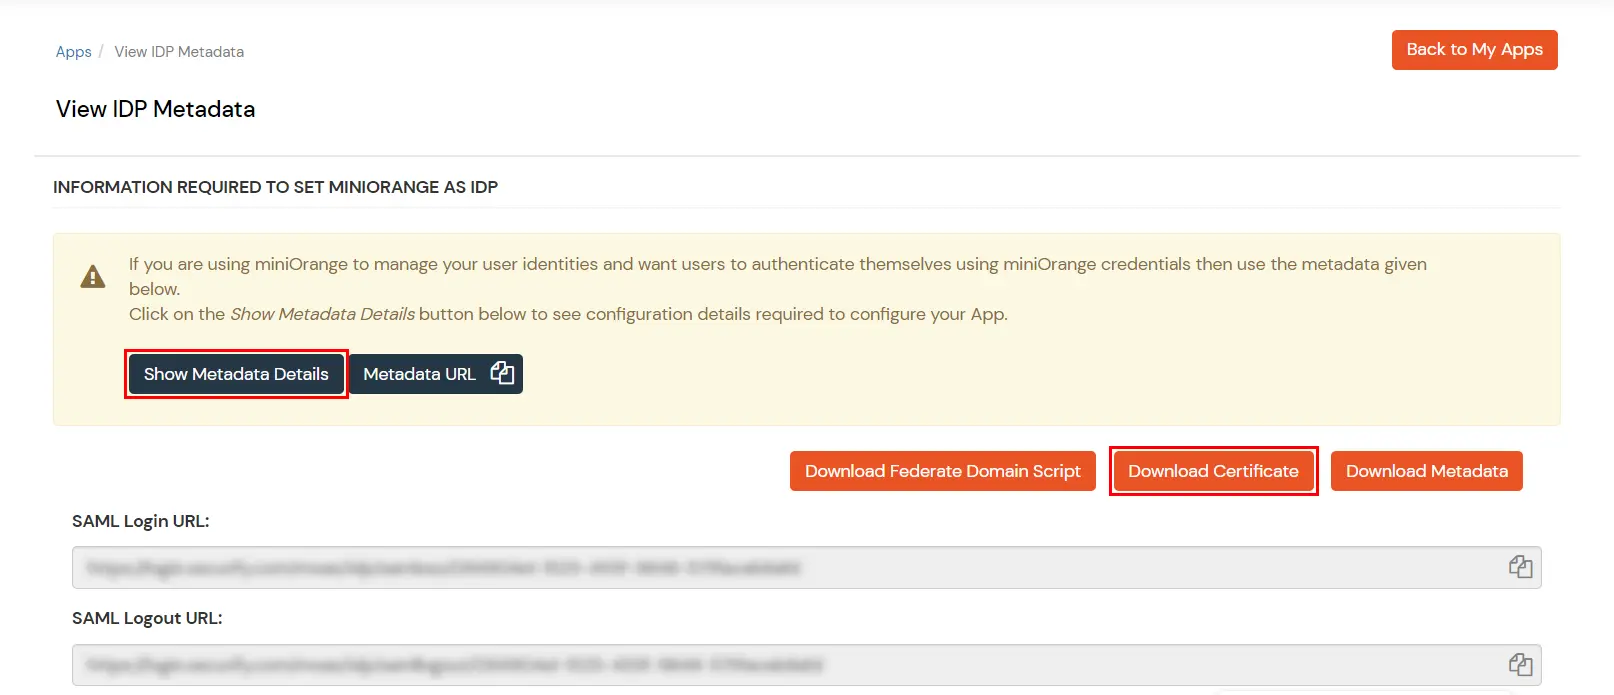
- Download Metadata which you will require further for configuration.
- Use the Certificate, WS–FED Reply URL and Issuer provided by miniOrange in you WS–FED application.


